A black tank that drains well makes RV life easier. A tank that collects waste, smells bad, or gives unreliable level readings can turn a simple dump-station stop into a frustrating job.
An RV black tank flush helps rinse waste and residue from the inside of the holding tank after you dump it. It is useful, but it is not a “connect the hose and walk away” system. Using it incorrectly can overfill the tank, cause a sewage backup, or create a contamination risk.
The good news is that a safe flushing routine is straightforward. Here is how the system works, how to use it, and what to do when your RV does not have one.
What Is an RV Black Tank Flush?
An RV black tank flush is a rinsing system designed to help clean the holding tank that collects waste from your toilet.
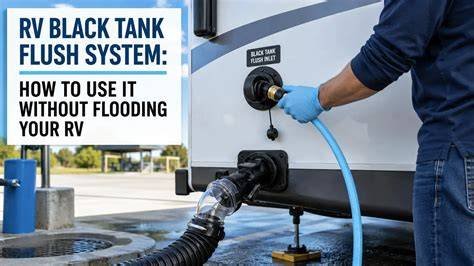
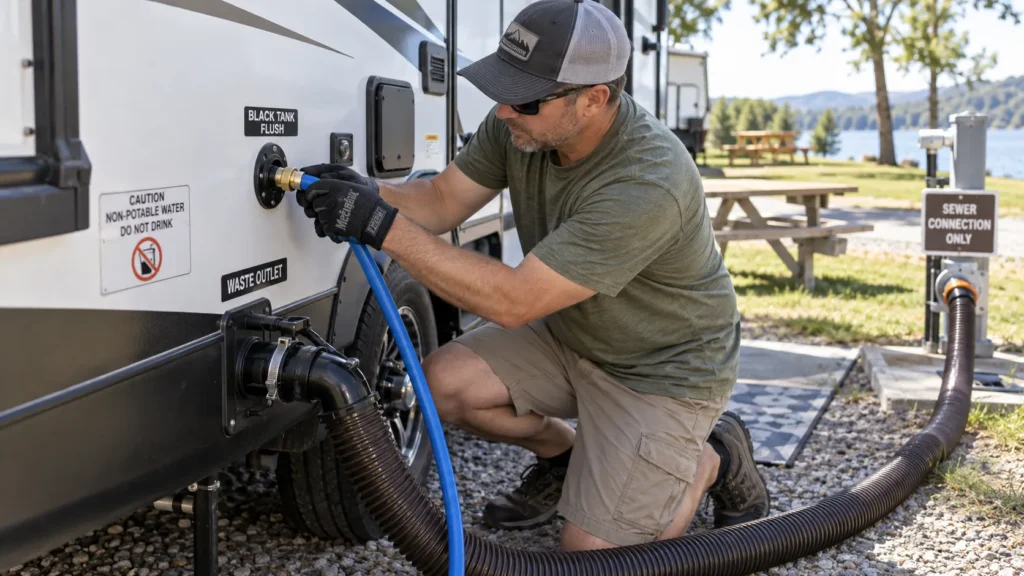
On RVs with a built-in system, an exterior connection—usually labeled “Black Tank Flush” or “Tank Rinse”—feeds water to a spray nozzle inside the tank. That nozzle helps loosen residue so it can drain through the sewer outlet.
The flush connection is separate from your city-water inlet. It does not supply your faucets or fill your freshwater tank.
A black tank flush can help:
- Rinse out loose waste and toilet paper.
- Reduce residue left behind after dumping.
- Limit buildup that can contribute to odors.
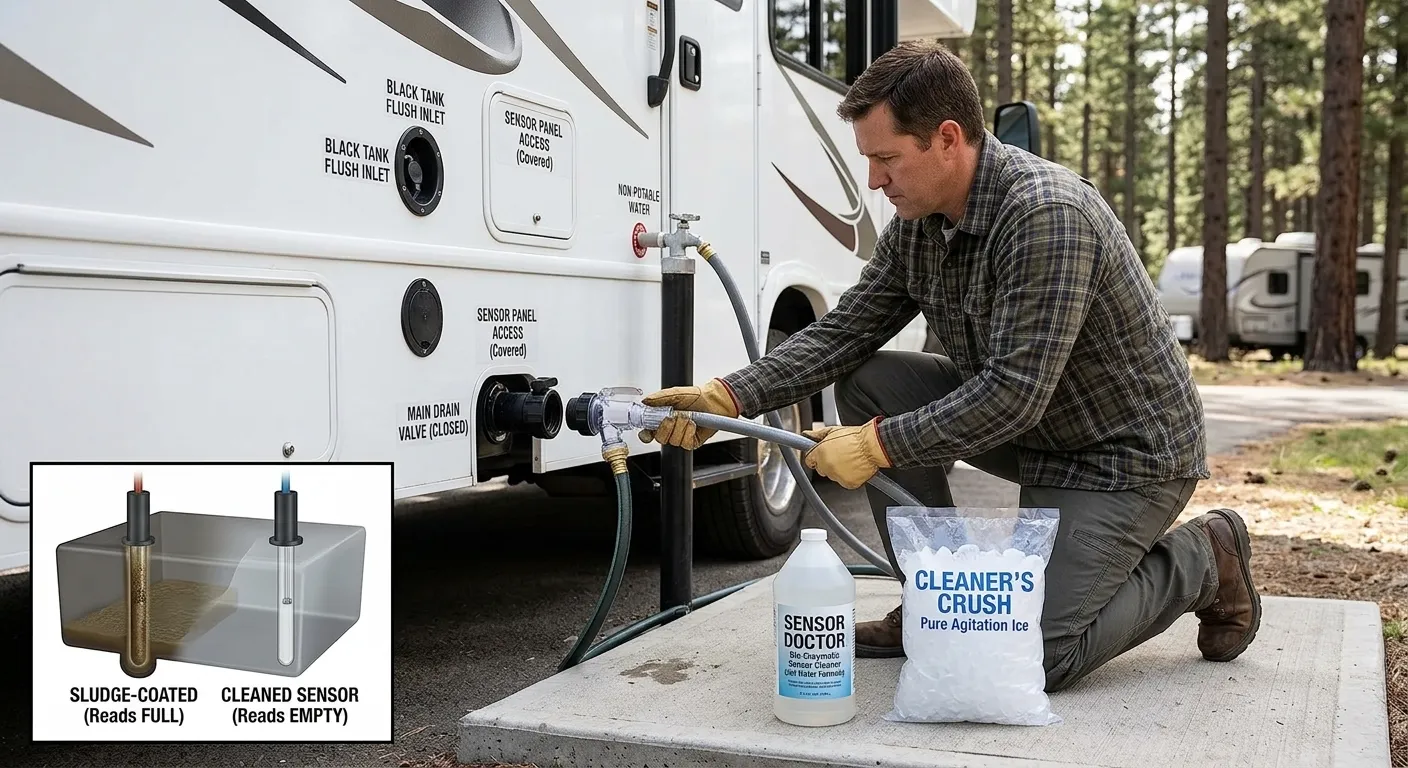
- Sometimes improve readings from dirty tank sensors.
It is not a guaranteed cure for a blockage or inaccurate gauges. Tank design, sensor type, and the condition of the tank all affect the results.
Before You Start: Check Your RV’s Instructions
Your RV manufacturer’s instructions take priority over a general flushing routine.
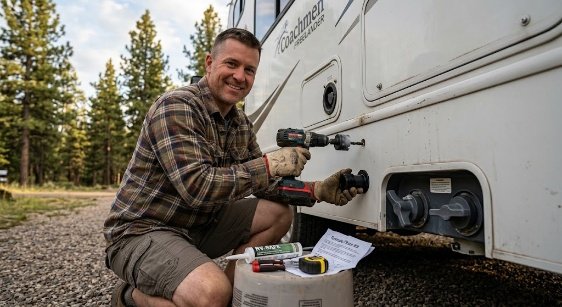
Check the owner’s manual and the label beside the flush inlet for valve position, water-pressure limits, and any special requirements. Different systems can have different operating procedures.
For a routine rinse, the black tank dump valve generally stays open while the flush water is running. Do not close it to fill the tank unless the manufacturer explicitly permits that procedure and you can monitor it continuously.
Never leave an active black tank flush unattended.
What You Need
Have the following ready before you start:
- A sewer hose securely connected to an approved disposal point.
- A dedicated, clearly marked non-potable hose for tank flushing.
- Disposable gloves.
- A clear sewer elbow, if you use one.
- Appropriate water-pressure control when required by the manufacturer.
Do not use your drinking-water hose for black tank flushing. Keep the flush hose separate from freshwater equipment, and avoid contact between hose ends and contaminated surfaces.
Use only a water source approved for tank rinsing. Follow the dump station’s rules, and do not bypass required backflow protection. If your RV’s flush-system backflow device is leaking or damaged, have it inspected rather than removing it.
How to Use an RV Black Tank Flush
1. Connect the sewer hose securely
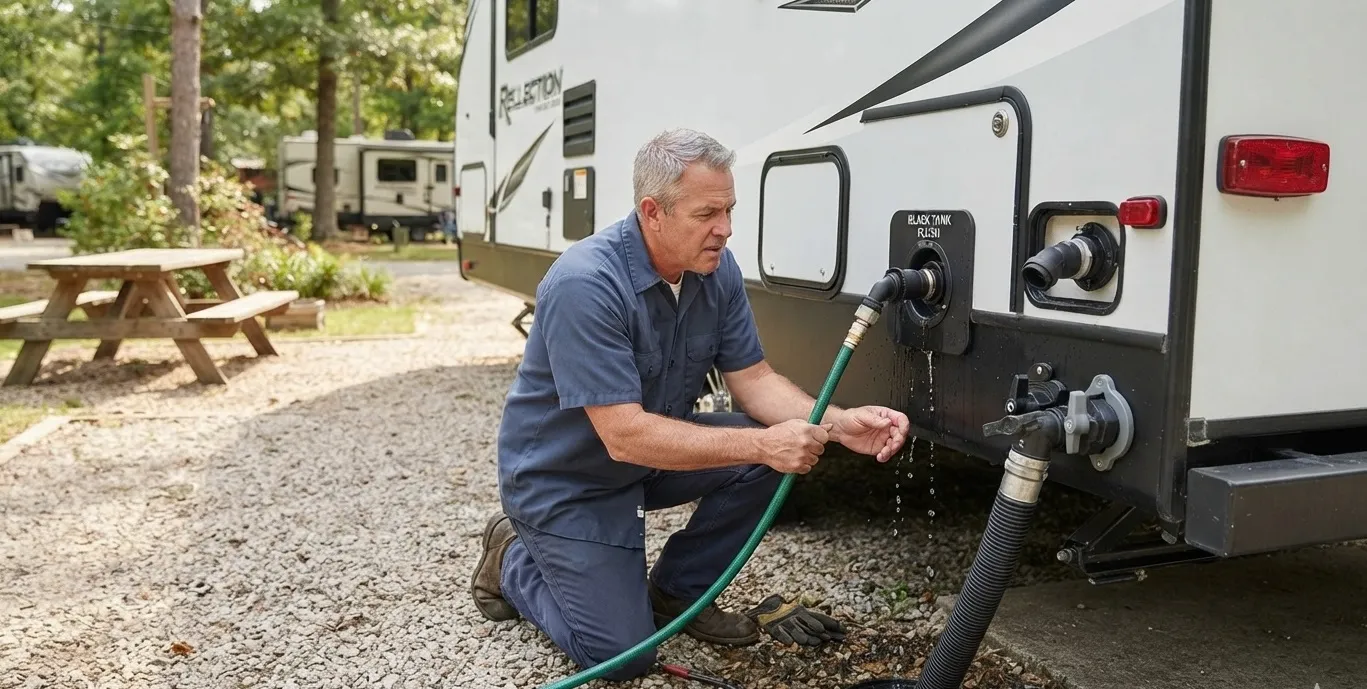
Attach the sewer hose to the RV’s waste outlet and the dump-station or campsite sewer connection.
Check that both ends are secure. Support the hose as needed so waste can flow toward the drain without collecting in low spots.
2. Dump the black tank first
Open the black tank valve and let the tank drain.
The usual dumping order is black first, then gray. Gray water can help rinse remaining waste through the sewer hose after the black tank has been emptied and flushed.
When camping with full hookups, keep the black tank valve closed between dumps. Leaving it open allows liquid to drain away while solids remain behind, which can lead to stubborn buildup.
3. Connect the dedicated flush hose
With the flush water turned off, attach your non-potable hose to the connection labeled for black tank flushing.
Double-check the label. Utility panels can place the flush inlet close to freshwater connections.
4. Run the flush according to the manual
Confirm that the dump valve is in the position required by your manufacturer—normally open for routine flushing—then turn on the water.
Stay beside the RV and watch the discharge. A clear sewer elbow makes it easier to see when waste and paper are no longer passing through.
There is no universal flushing time. Water flow, tank size, nozzle design, and how much residue is present all make a difference. Follow any limits in your manual rather than relying on a fixed number of minutes.
If water is entering but little or nothing is coming out, shut off the flush immediately and investigate. Do not keep adding water to a tank that may not be draining.
5. Turn off the water and let the tank drain
Once the rinse is complete, turn off the flush water.
Allow the remaining water to drain before closing the black tank valve. Disconnect and store the flush hose separately from your potable-water hose.
6. Dump the gray tank
Open the gray tank valve to rinse the sewer hose, then close it when drainage is complete.
Follow the disposal facility’s rules when cleaning and disconnecting your equipment.
7. Add water back to the black tank
After closing the black tank valve, add fresh water through the toilet according to your RV’s guidance. This commonly means adding several gallons, but the appropriate amount depends on the tank and expected use.
The goal is to leave a wet base rather than a dry tank. Adequate water helps keep waste from sticking to the bottom.
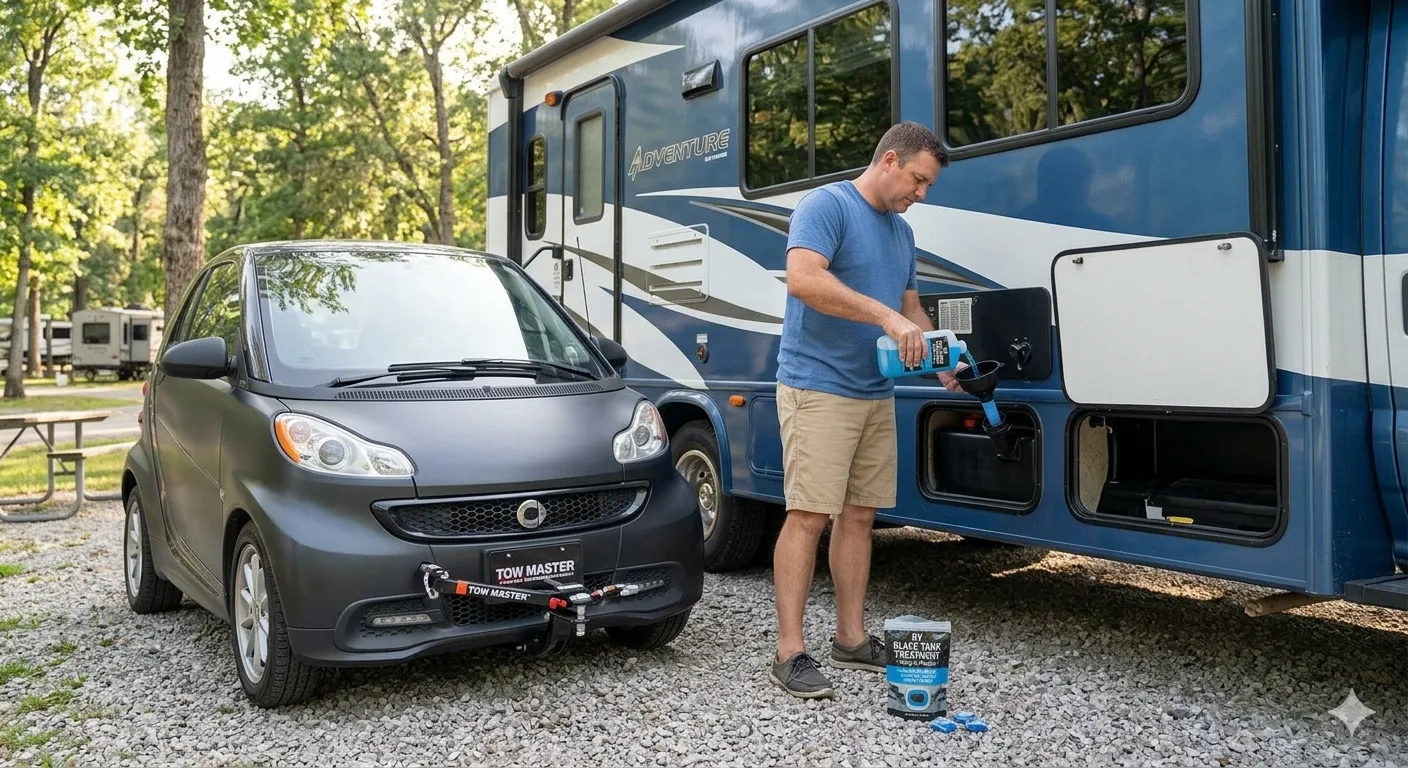
If you use a tank treatment, follow its label. Treatment does not replace sufficient water or regular dumping.
Common Black Tank Flush Mistakes
Walking away while the water is running
An unattended flush can become an overflow, especially if the dump valve is closed or the outlet is obstructed.
Do not rely solely on the tank gauge to warn you. Sensors can give inaccurate readings.
Using too little water during normal toilet use
Flushing the tank cannot compensate for consistently dry toilet use. Enough water during each flush helps move solids and toilet paper into the tank and keeps waste from accumulating beneath the toilet.
Treating repeated flushing as a blockage repair
If the tank drains slowly, stops draining, or repeatedly backs up, more flush water may make the situation worse.
Stop and identify the cause. A blocked outlet or compacted waste may require a different cleaning method or professional service.
Adding household chemicals without checking compatibility
Avoid drain cleaners, harsh acids, and chemical mixtures. Use only products compatible with your RV’s waste system, and follow both the product label and manufacturer’s guidance.
How Often Should You Flush the Black Tank?
A rinse after dumping is useful when an approved water source is available and the facility allows it. It is especially worthwhile before storage or when you notice persistent residue or odors.
At a busy dump station, keep the process efficient and respect anyone waiting. A lengthy deep-cleaning session is better done where extended rinsing is permitted.
Daily habits matter just as much as flushing frequency: use enough water, keep the valve closed between dumps, and empty the tank before it becomes overfilled.
What If Your RV Has No Built-In Flush?
You can still rinse the black tank, but use a method appropriate for your RV.
Options may include a toilet-access cleaning wand or a compatible external rinsing attachment. Keep all cleaning equipment separate from drinking-water equipment.
Some external attachments send water back toward the tank through the waste outlet. Their effectiveness depends on the plumbing layout, so do not assume they will reach or clean every part of the tank.
For persistent buildup or a tank that will not drain, an RV service technician or specialist tank-cleaning service is the safer next step.
Frequently Asked Questions
Can I use the black tank flush with the dump valve closed?
Not as a default practice. Follow your manufacturer’s instructions. Closing the valve while adding water can overfill the tank, so any permitted fill-and-drain procedure requires continuous supervision.
Why does my black tank still read full after flushing?
Residue may still be affecting the sensors, or there may be a sensor or wiring fault. Flushing can help some dirty sensors, but it does not guarantee accurate readings.
Does an RV black tank flush remove all odors?
No. It can reduce waste residue, but odors may also come from toilet seals, vent problems, leaks, or waste buildup. Persistent odors deserve inspection rather than repeated flushing alone.
Can I leave the flush hose connected?
Disconnecting it after use is a sensible default. It reduces the chance of accidentally turning on the flush and helps keep waste-system equipment separate from freshwater equipment.
The Bottom Line
An RV black tank flush is a useful maintenance tool, not a substitute for good holding-tank habits.
Use a dedicated hose, follow your RV’s instructions, maintain an approved drainage connection, and stay with the system while water is running. Finish by adding water back to the tank.
That simple routine helps keep the system draining properly—and makes the next dump-station stop a lot less troublesome.