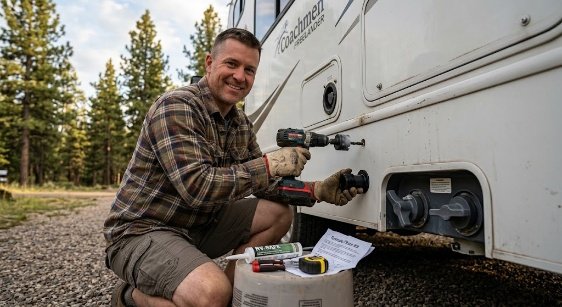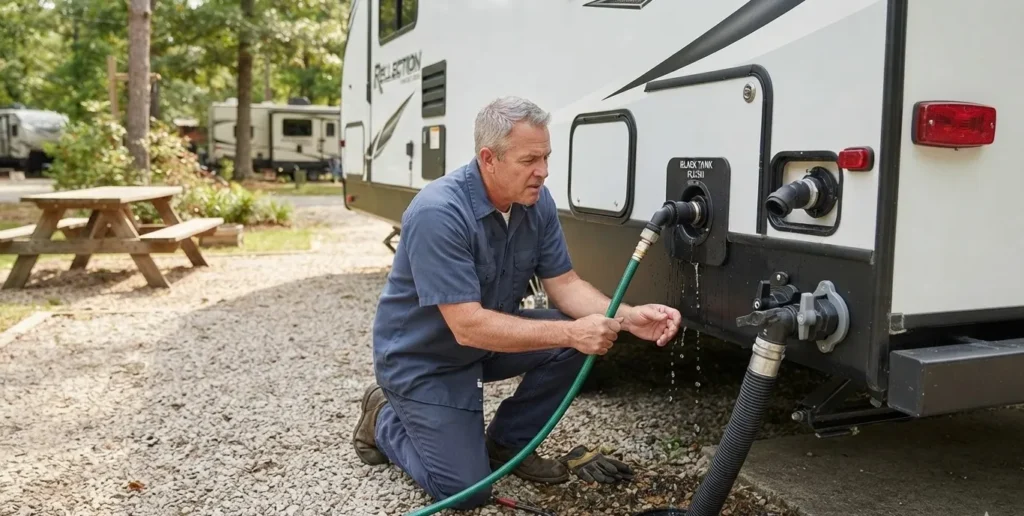
Most RV flush issues stem from clogs, sticky check valves, or weak water pressure.
I connected the hose, turned on the water, and nothing happened. No flow inside the tank, no change in the sensor reading, no sign that anything was working at all. I had a full tank, a campsite checkout in two hours, and an RV black tank flush not working at the worst possible moment. I had seen this problem before on other rigs but dealing with it on my own under time pressure was a different experience entirely.
After servicing and owning RVs long enough to see the same flush problems come up over and over, I know exactly what fails first and how to fix it fast. This guide covers every common cause of an RV black tank flush not working — from blocked nozzles and kinked hoses to failed valves and water pressure problems — with simple clear steps to diagnose and fix each one without making the situation worse.

How Your Black Tank Flush Works
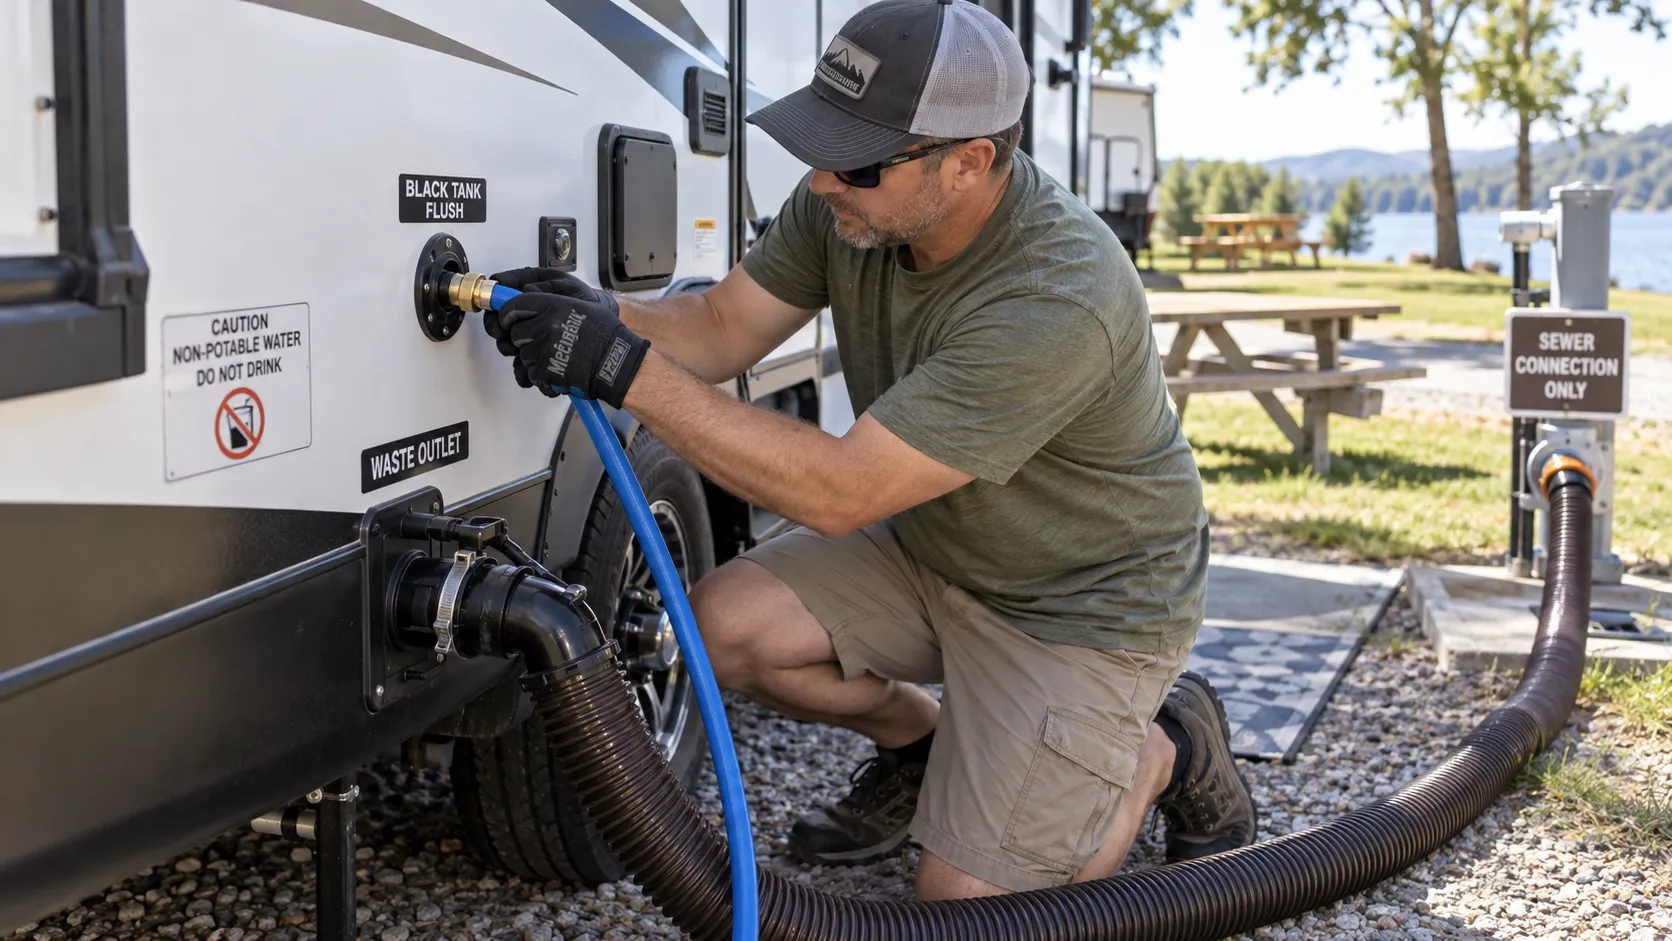
Your black tank flush is a rinse system tied to an external water inlet. When you connect a hose, water feeds through a check valve and a vacuum breaker, then sprays inside the tank through a fixed or rotating nozzle. It should break up waste, rinse paper, and push debris to the outlet.
Key parts you should know:
- External flush inlet. Where you connect fresh water.
- Backflow check valve. Stops sewage from backing into fresh water.
- Anti-siphon vacuum breaker. Stops dirty water from being sucked into freshwater plumbing.
- Sprayer head or nozzle. Delivers the rinse pattern inside the tank.
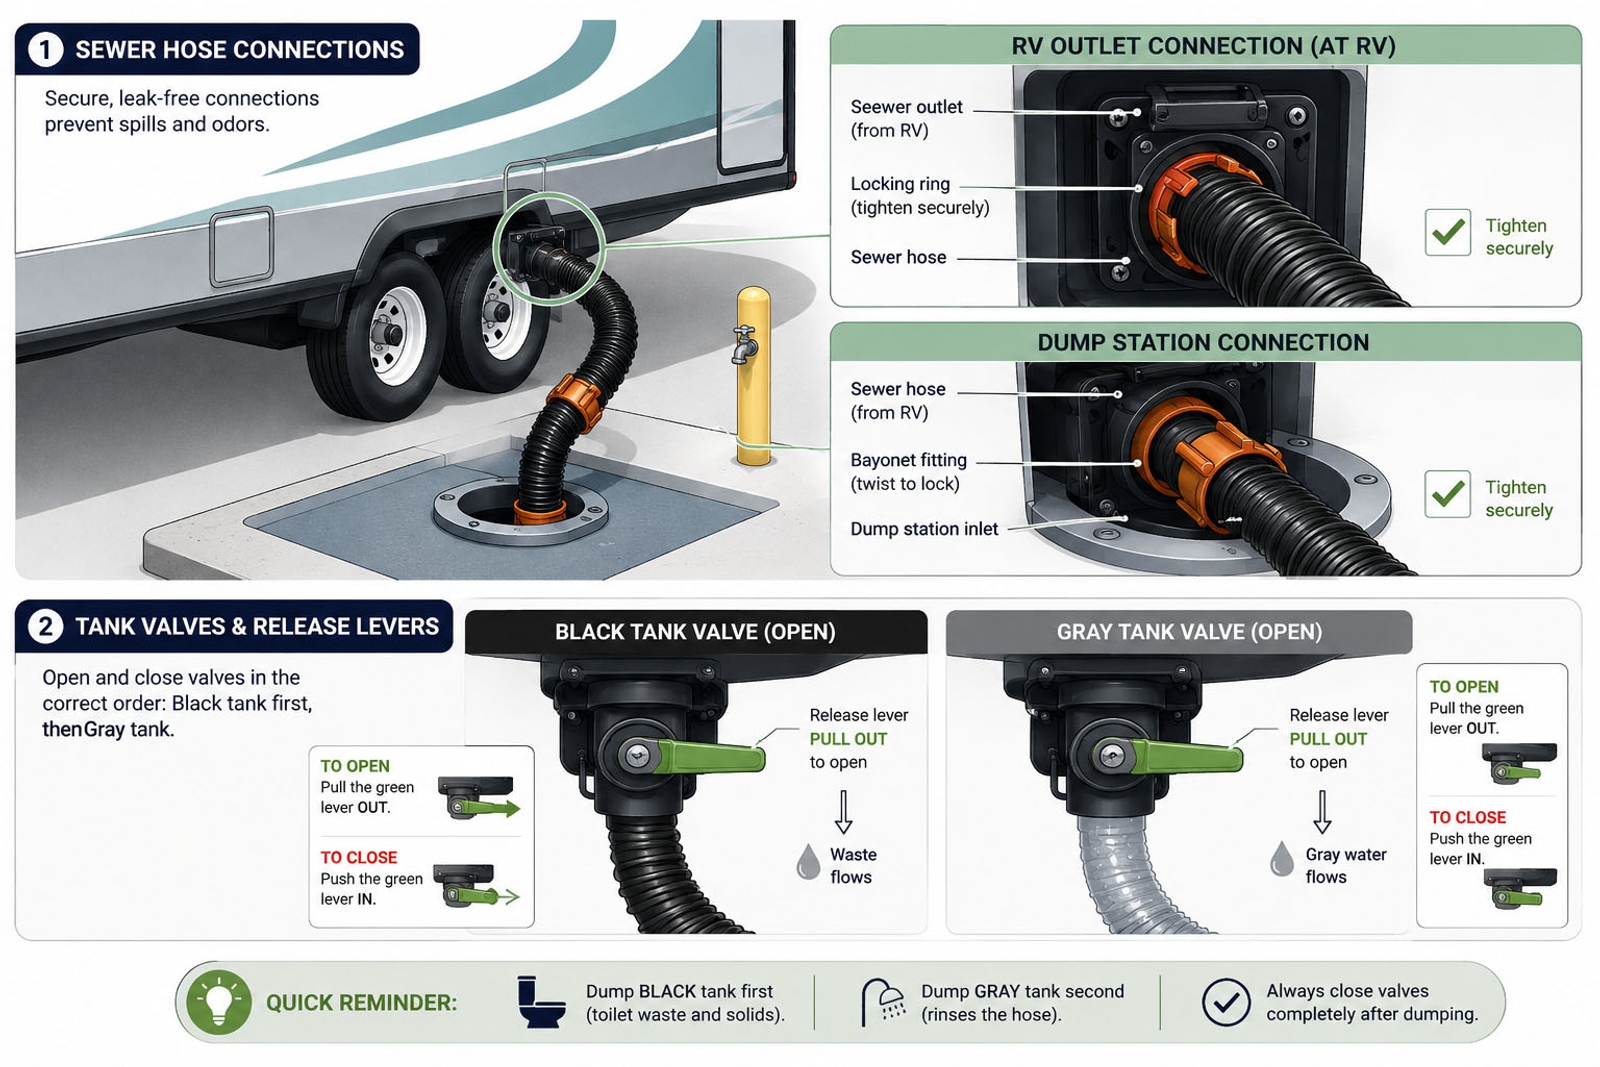
- Black tank gate valve. Must be open during long flushes.
Knowing each part helps you zero in on RV Black Tank Flush Not Working: Causes & Fixes with confidence.

Signs Your Black Tank Flush Is Not Working
Watch for these warning signs before things get worse:
- Weak or no water flow at the drain while flushing.
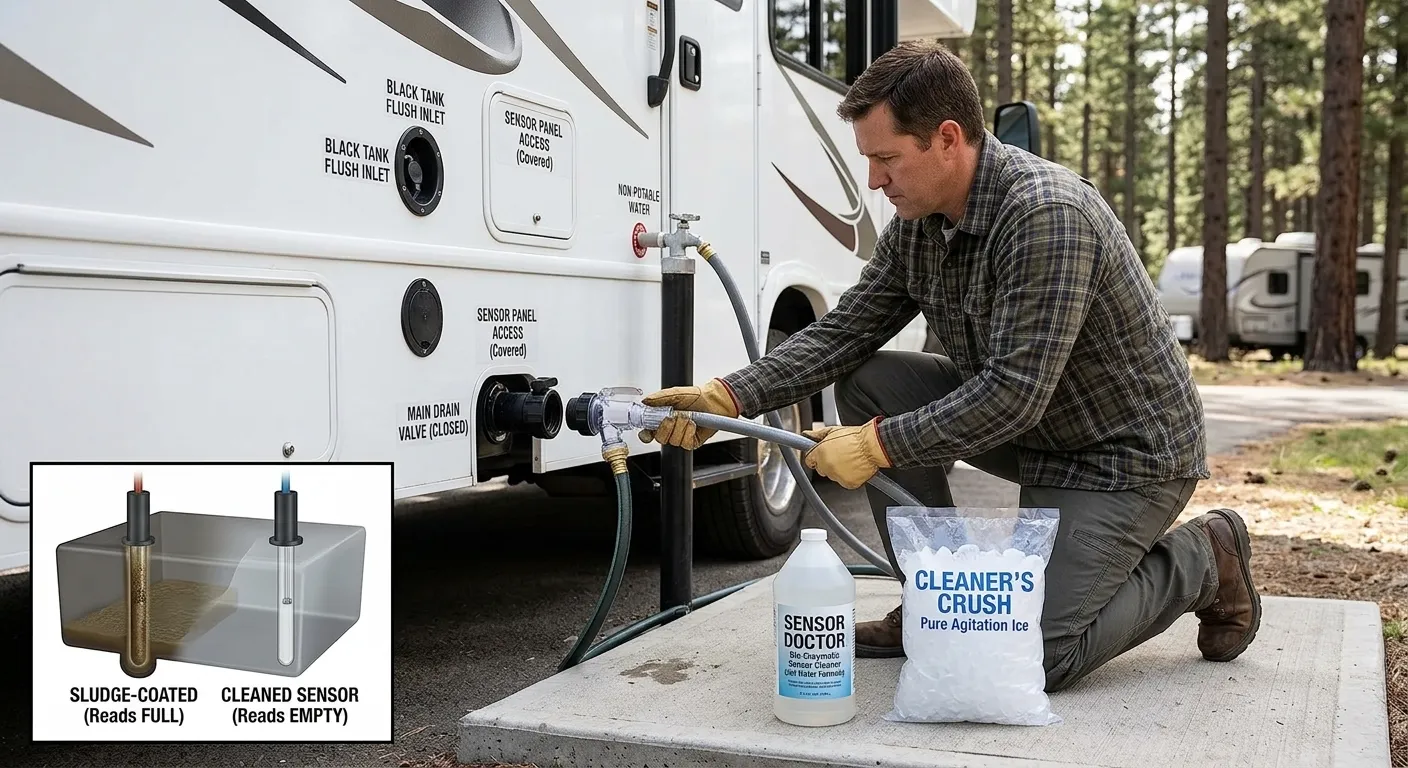
- Tank sensor reads full even after a flush.
- Water leaks behind a wall or under a sink when you start the flush.
- Loud hissing from a vacuum breaker but no rinse action.
- Hose pressure spikes or water spits back at the inlet.
These signs point to RV Black Tank Flush Not Working: Causes & Fixes that you can solve fast if you act early.

Common Causes: Why The Flush Fails
Most issues fall into a few buckets:
- Low water pressure. Many campgrounds run below 40 psi. Regulators can choke flow if undersized.
- Kinked hose or clogged inlet screen. Fine grit or Teflon tape fragments plug the tiny mesh.
- Stuck check valve or vacuum breaker. Mineral scale freezes moving parts. A breaker can spit water inside the cabinet.
- Clogged sprayer head or spray line. Paper sludge or calcium blocks nozzles.
- Closed or jammed black valve. Water cannot rinse out. It can also cause an overflow risk.
- Winterizing residue. Pink antifreeze or debris left in lines can block the sprayer.
- Mineral scale build-up. Hard water coats the sprayer and check valve.
- Misrouted plumbing from prior repairs. Flush line tied wrong or looped low can siphon or trap debris.
When clients ask me about RV Black Tank Flush Not Working: Causes & Fixes, 8 out of 10 times I find a stuck vacuum breaker, a clogged sprayer, or low pressure.
Step-by-Step Troubleshooting And Fixes
Start simple and work forward from the hose to the sprayer. Take safety seriously. Wear gloves and eye protection.
- Confirm water supply and pressure
- Use a clean hose dedicated to black tank flush.
- Remove pressure regulator for a test if safe, or use a high-flow model.
- Aim for 40 to 60 psi. Many systems need 50 psi to spin a rinse head.
- If pressure is low, try a different spigot or time of day.
- Check the basics on the RV side
- Open the black tank valve for any long flush.
- Close the gray valve so you can see if flow improves later when you dump it.
- Listen at the tank. A healthy sprayer makes a steady hiss or slight whir.
- Inspect the inlet and screens
- Remove the hose and check for grit at the RV’s flush port.
- Many ports hide a small mesh screen. Clean it with water and a soft brush.
- Test the vacuum breaker
- The vacuum breaker is often behind the bathroom sink or near the toilet. It sits higher than the sprayer.
- If you hear water spraying inside a cabinet, the breaker is bad or loose. Replace it.
- For diagnosis, you can temporarily bypass the breaker with a short hose. If flow returns, replace the breaker at once.
- Evaluate the check valve
- Some check valves sit near the inlet. Others are built into the vacuum breaker body.
- If it is stuck closed, little or no water reaches the tank.
- Replace with a quality RV-rated backflow device. Do not use garden hose check valves meant for sprinklers.
- Clear the sprayer and line
- Add a backflush from the outlet. Use a clear elbow and a power flush tool from the drain side if needed.
- For heavy build-up, pour warm water and a cup of white vinegar into the tank. Let it soak. Then flush with good pressure.
- If the sprayer is removable, soak it in vinegar to dissolve scale.
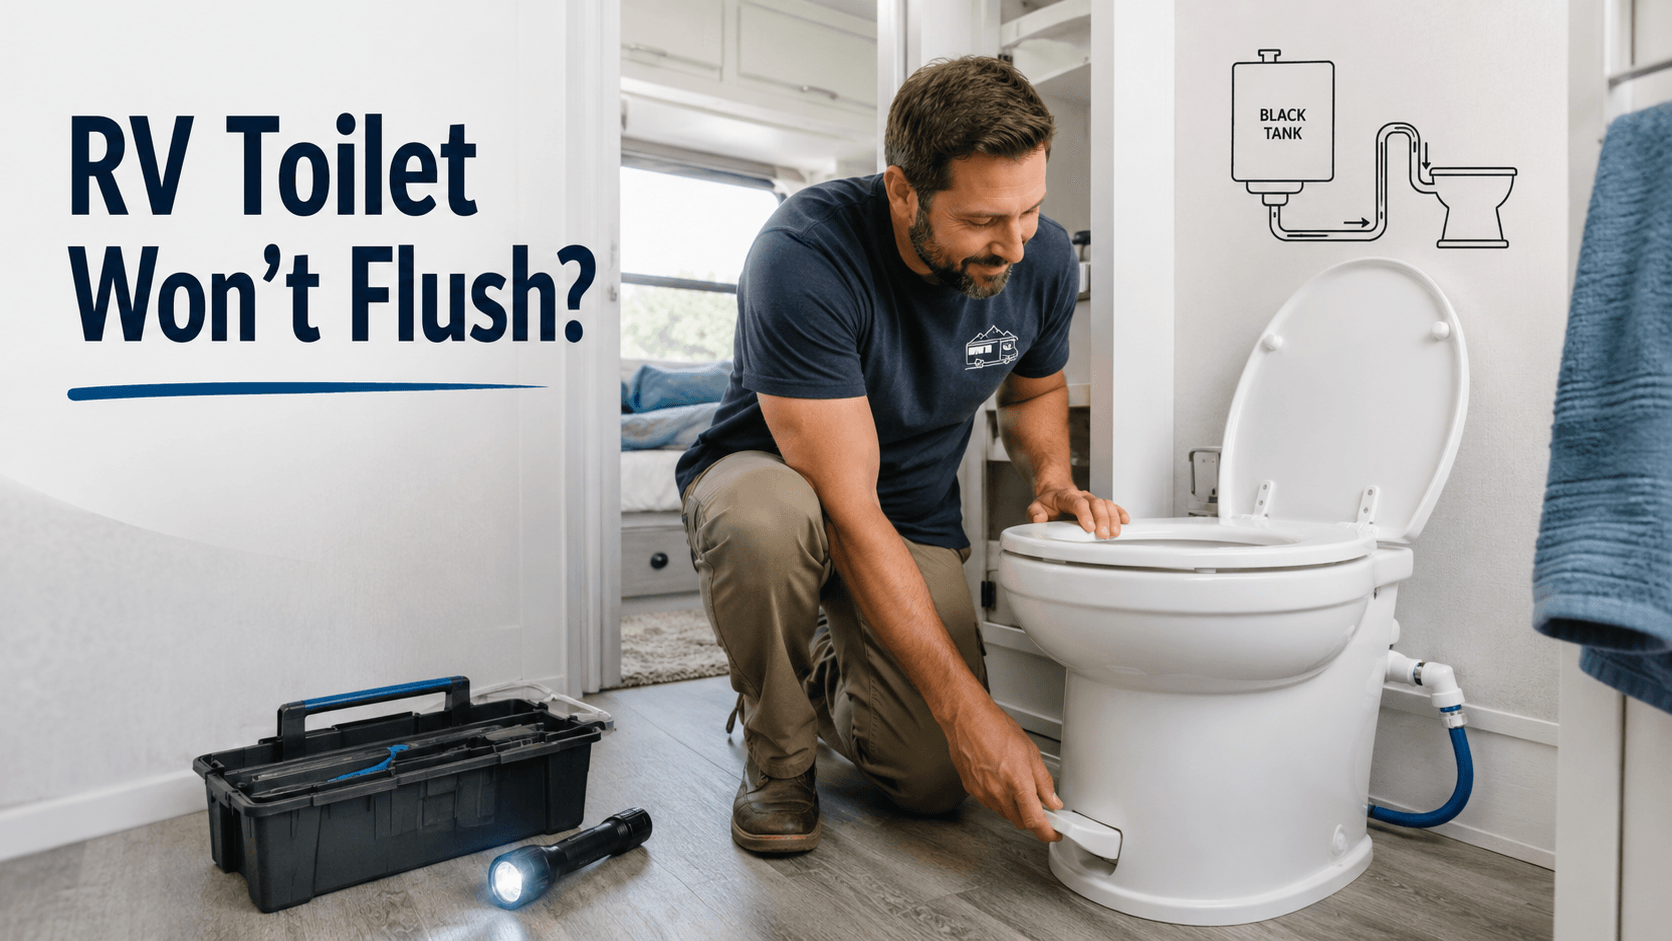
- Use a toilet wand from the top
- Insert a flexible tank wand through the toilet after you open the valve.
- Spray toward the tank’s corners to break paper pyramids. Go slow and steady.
- Reset stuck sensors while you are there
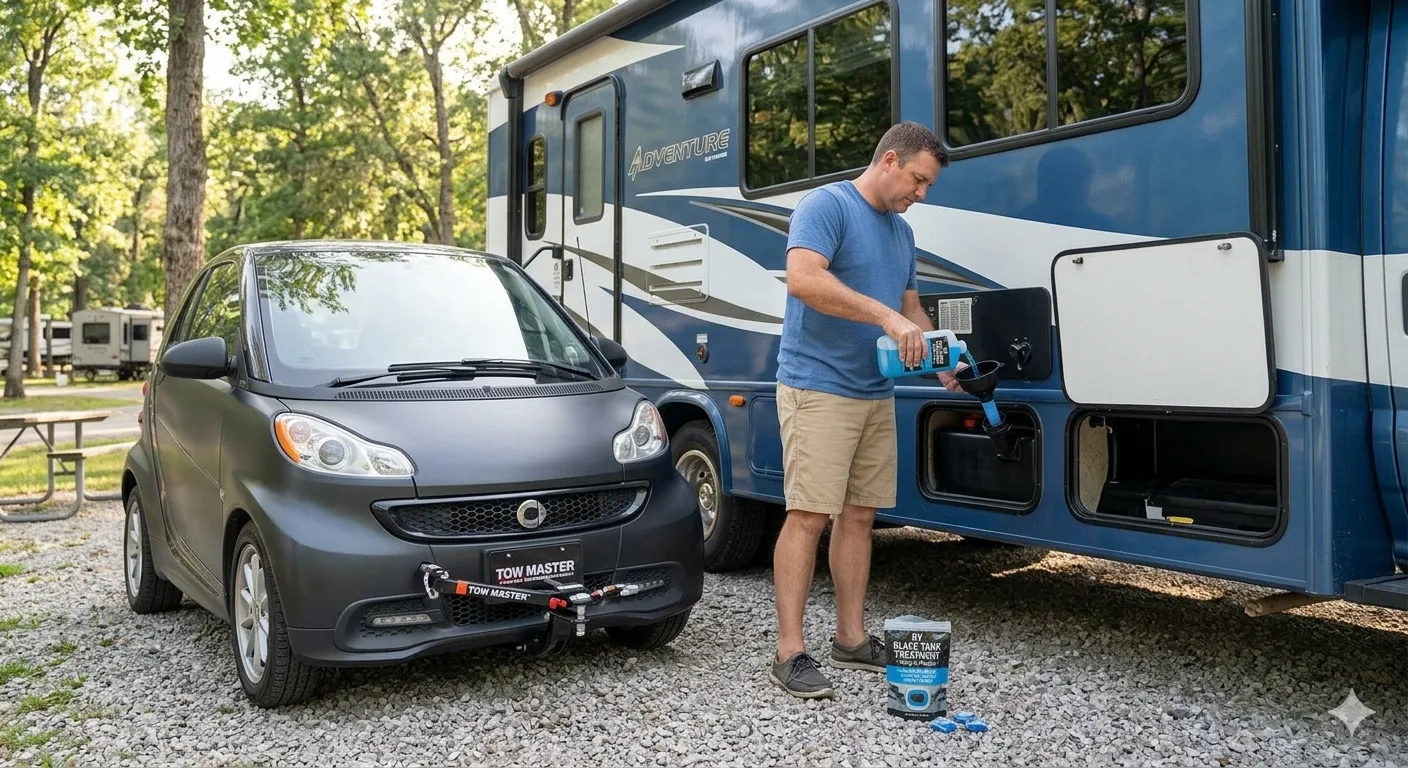
- Add a few gallons of warm water and a tank treatment. Drive a few miles to slosh-clean the walls.
- Leak check and sanitize
- After repairs, run the flush and check all joints with a dry paper towel. A damp spot means a loose clamp or fitting.
- Sanitize the hose and fittings to keep cross-contamination out of fresh water gear.
Experience tip: I once chased “no flush flow” for an hour at a desert boondock. It was a cheap regulator choking the line to 20 psi. I swapped to a high-flow regulator and the sprayer roared back. Keep that in mind for RV Black Tank Flush Not Working: Causes & Fixes.
Is it safe to flush with the black valve closed? Only for a short burst to wet the walls, and never leave it unattended. You can overfill and crack the tank or flood the roof vents.
RV Black Tank Flush Not Working: Causes & Fixes follow a simple path. Check pressure, screens, vacuum breaker, check valve, then the sprayer.
Deep Cleaning Methods That Work
When basic steps fail, try a more thorough clean:
- Soak cycle. Add 5 gallons of warm water, a cup of vinegar, and a bio-enzyme. Drive 30 minutes. Then flush.
- Ice myth bust. Ice cubes do little. Use water, motion, and enzymes instead.
- Outlet backflush. Connect a backflush device at the sewer outlet. Run until clear.
- Night soak for scale. Vinegar or a safe descaler can help free a stuck check valve and sprayer.
These methods often close the loop on RV Black Tank Flush Not Working: Causes & Fixes without replacing parts.

Preventive Maintenance Checklist
Do these after every few trips:
- Open the black valve during a long flush to prevent overfill.
- Use a high-flow regulator that holds 50 to 60 psi.
- Rinse with warm water if possible. It helps dissolve fats and paper.
- Clean inlet screens and inspect fittings twice a season.
- Run a vinegar rinse each quarter in hard water areas.
- Keep a dedicated flush hose. Mark it and never cross-use.
- Store hoses dry and out of sun to prevent algae and cracks.
A simple routine like this avoids most RV Black Tank Flush Not Working: Causes & Fixes down the road.

When To Call A Pro And What It Might Cost
Call a certified RV tech if you find:
- Leaks behind walls or at hidden vacuum breakers.
- A sprayer you cannot access without dropping the tank.
- Cracked fittings or signs of tank swelling.
Typical costs I see:
- Diagnose and replace vacuum breaker: low to mid budget.
- Replace check valve and fittings: low budget.
- Drop tank, replace sprayer, reseal: higher budget, depends on model and access.
If the estimate is close to the coach’s age and value, weigh parts cost against your time and risk. That is often the smart move for RV Black Tank Flush Not Working: Causes & Fixes that need interior wall access.
Tools, Parts, And Specs I Recommend
Tools
- High-flow adjustable pressure regulator with gauge.
- Clear sewer elbow and backflush adapter.
- Flexible toilet tank wand.
- Basic hand tools, Teflon tape designed for potable water, and hose washers.
- Flashlight, nitrile gloves, eye protection.
Parts
- RV-rated vacuum breaker and check valve set.
- Replacement sprayer head for your make and model.
- Spare hose gaskets, inlet screen, and a quality dedicated flush hose.
- Bio-enzymes and white vinegar for maintenance.
Specs to note
- Target pressure: 40 to 60 psi at the flush inlet.
- Use potable-safe hoses and sealants.
- Keep anti-siphon device higher than the sprayer line.
Having the right gear makes RV Black Tank Flush Not Working: Causes & Fixes much simpler to handle on the road.
Safety, Sanitation, And Environmental Tips
Protect your health and your site:
- Wear gloves and eye protection every time.
- Never connect your drinking water hose to the flush port.
- Keep black and gray valves closed until you dump. Then rinse and close.
- Do not leave the flush running unattended.
- Use enzyme treatments instead of harsh chemicals when you can.
Good habits prevent damage, protect water supplies, and help avoid RV Black Tank Flush Not Working: Causes & Fixes in the first place.
Frequently Asked Questions of RV Black Tank Flush Not Working: Causes & Fixes
Why does water spray under my bathroom sink during a flush?
That is a failed vacuum breaker or a loose fitting. Replace the breaker and tighten clamps or fittings, then test again.
Can I flush the black tank with the valve closed to clean sensors?
Do it only in very short bursts while watching the toilet. Leaving it closed can overfill the tank and cause damage.
How do I know if my check valve is stuck?
You will have low or no flow to the sprayer even with good pressure at the hose. Bypass or remove the check valve to test, then replace if faulty.
Will vinegar damage my tank or seals?
White vinegar is safe in diluted amounts and helps dissolve mineral scale. Avoid strong acids and always flush with fresh water after a soak.
What pressure should I use for the flush?
Aim for 40 to 60 psi at the RV’s flush port. Use a high-flow regulator with a gauge so you can verify actual pressure.
Are rotating sprayer heads better than fixed ones?
Rotating heads clean faster but can stick with scale. Fixed heads are simpler but may take longer; both work if pressure is right.
What if my sensors still read full after a flush?
Paper on the walls can fool sensors. Try a soak with warm water and enzymes, a short drive, then a long rinse.
Conclusion
A black tank flush that fails is almost always simple: low pressure, a stuck vacuum breaker or check valve, or a clogged sprayer. Start with pressure and screens, then move to the breaker, the check valve, and the nozzle. Use safe soak-and-rinse methods, and keep a high-flow regulator to prevent repeat problems. RV Black Tank Flush Not Working: Causes & Fixes becomes easy when you follow a clear checklist and keep up on maintenance.
Ready to fix yours today? Grab a gauge, check the breaker, and run a careful test. If this helped, share it with a fellow RVer, subscribe for more hands-on guides, or leave a comment with your results.