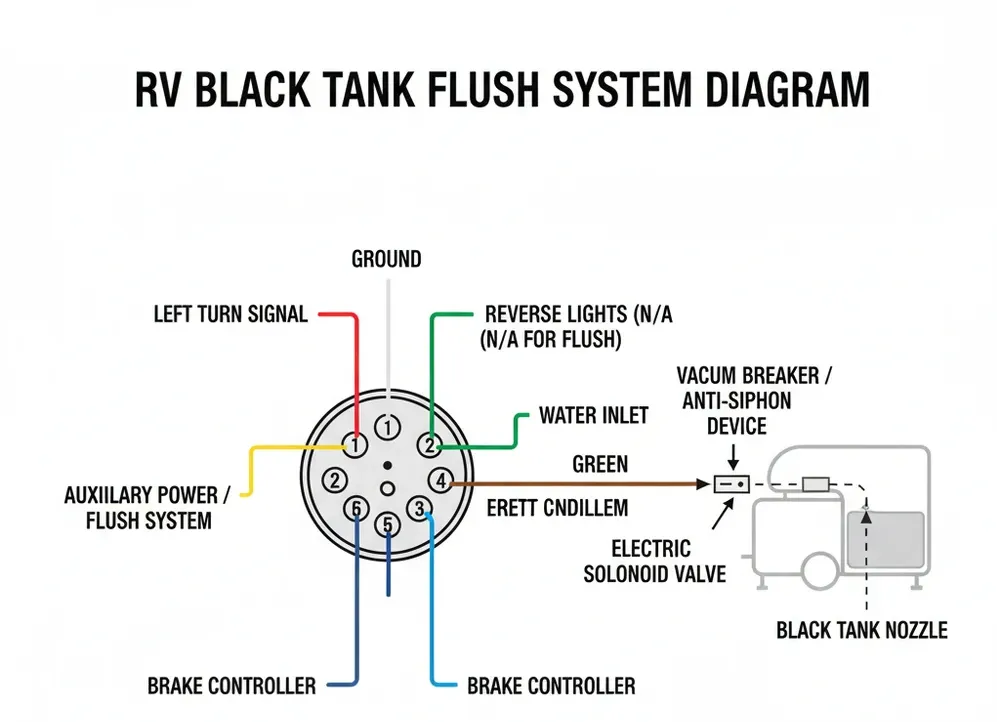
Your RV’s built-in black tank flush helps rinse away waste left after dumping—but safe connections and the right valve settings matter. In this How To Use Black Tank Flush System guide, I’ll explain the basic setup, flushing steps, and cleanup for U.S. campgrounds and RV dump stations.
Some locations provide a non-potable rinse-water spigot, but check the posted rules before connecting. Most built-in flush inlets accept a standard 3/4-inch garden-hose connection. Use a dedicated rinse hose, never your drinking-water hose, and fit a sewer seal where required. Follow your RV manual for valve positions, water pressure, and flushing time, and never leave the flush running unattended.
What the Black Tank Flush Does
A black tank flush system is a built-in spray head and hose connection that rinses the inside walls of your RV’s black tank. It helps:
- Break up leftover waste and toilet paper stuck on walls and sensors.
- Reduce odors by removing residue.
- Improve tank-level accuracy.
If your RV lacks a built-in port, you can achieve a similar rinse with a tank wand inserted through the toilet. Both methods need careful valve control and clean hose practices.
What You Need Before You Flush
- Sewer hookup: A tight-fitting sewer hose with a donut seal or threaded adapter that matches the campground’s rules.
- Gloves and sanitation: Disposable gloves and hand sanitizer.
- Dedicated non-potable hose: Mark it clearly. Never use your drinking-water hose.
- Pressure regulator: Many U.S. parks run high water pressure. A regulator (often set around 40–50 psi) helps protect fittings and reduces flood risk.
- Backflow protection: Most RVs have an internal vacuum breaker/check valve. If your setup lacks it or you’re unsure, add an external vacuum breaker at the hose bib.
- Clear sewer elbow (optional but helpful): Lets you see when the water runs clear.
- Wheel chocks and parking brake: Stability first.
Step-by-Step: Use a Built-In Black Tank Flush
- Stage and secure
- Park on level ground if possible. Engage the parking brake. Chock wheels.
- Put on gloves. Set up your sewer hose with a proper seal at the drain.
- Drain black first
- Pull the black valve to start draining. Let it empty fully.
- Connect the flush hose
- Attach your dedicated non-potable hose to the RV’s black tank flush port.
- Add a pressure regulator at the spigot if needed. Confirm any required backflow device is in place.
- Run the flush with black valve open
- Keep the black valve open so the tank cannot overfill.
- Turn on water at the spigot. Let it run 2–5 minutes. Watch the clear elbow until flow looks lighter in color.
- Pulse-rinse (optional and careful)
- Only if you can monitor the tank level or have a clear outflow: Close the black valve for 20–30 seconds to let water swirl inside, then reopen to release. Repeat 2–3 times. Never walk away during this step.
- Final rinse and drain gray
- Turn off the spigot. disconnect the flush hose.
- Close the black valve.
- Open the gray valve to rinse the sewer hose with soapy gray water. Drain it fully.
- Close gray when done.
- Prep for the next trip
- Add 2–4 gallons of fresh water back into the black tank through the toilet to avoid a dry tank. Use a tank treatment if you prefer.
Signs of success
- Outflow runs clear.
- Odors reduced.
- Tank sensors read closer to accurate.
Read more about How To Flush Black Water Tank
No Flush Port? Use a Tank Wand
A tank wand connects to a non-potable hose and sprays inside the black tank via the toilet opening.
Steps
- Empty the black tank first.
- Turn off the water pump and close the toilet valve.
- Extend the wand through the toilet into the tank.
- Run water with short bursts, moving the wand to reach corners.
- Drain again with the black valve open.
- Repeat until outflow clears.
- Finish by draining gray to rinse your hose.
Tips
- Use a pressure regulator.
- Keep towels handy.
- Do not force the wand if it snags; rotate and withdraw gently.
Troubleshooting: Symptoms, Likely Causes, Practical Fixes
Flush port has no flow
- Possible causes: Kinked hose, campground spigot closed, failed vacuum breaker/check valve, clogged sprayer.
- Fixes: Check water source, straighten hose, listen for the vacuum breaker (often inside a cabinet) cycling, have a tech inspect the check valve or sprayer.
Water backs up into the toilet while flushing
- Possible causes: Black valve closed, clog at the outlet, overfilling during pulse-rinse.
- Fixes: Open the black valve, stop water immediately, use a wand to break blockage, seek professional service if persistent.
Water leaking inside the RV when using flush
- Possible causes: Failed internal fittings or vacuum breaker, split hose.
- Fixes: Stop flushing at once. Do not use the flush system until inspected by an RV technician.
Sensor still reads “full” after cleaning
- Possible causes: Residue on sensors, misaligned sensor, or faulty probe.
- Fixes: Repeat a thorough rinse, drive with several gallons of water and a cleaning treatment to slosh, then recheck. Persistent issues may need new sensors.

How Long and How Often? Flow Rates and a Simple Rule
- How long: Many RVers run the flush 2–5 minutes with the black valve open, then do 1–3 short pulse-rinses if safe to watch the level or outflow. Use a clear elbow to judge clarity.
- How often: Do a basic flush at every full dump. Do a deeper rinse (longer run and a couple pulses) every few trips or after heavy use.
Example calculation (hypothetical)
- Tank size: 40 gallons
- Hose flow: 4 gallons per minute
- Time to fill: about 10 minutes if the valve is closed.
- Risk: That is why pulse-rinses must be short and supervised. Never walk away with the black valve closed.
- Keep the black valve open during most of the flush.
- Only close it briefly for a pulse-rinse you can watch in real time.
Common Mistakes and Safety Limits
- Leaving the flush unattended: Flooding can occur fast. Stay present.
- Using your drinking-water hose: Cross-contamination risk. Keep hoses separate and labeled.
- Skipping a pressure regulator at high-pressure spigots: Can damage RV plumbing.
- Overusing harsh chemicals: Can harm seals and fittings. Pick RV-safe treatments.
- Camping with the black valve left open: Can cause a “pyramid plug.” Keep it closed while camping; only open to dump.
When to stop and call a pro
- Any sign of interior leak while flushing.
- Repeated clogs that a wand cannot clear.
- Vacuum breaker/check valve failures you cannot access safely.
Maintenance, Odor Control, and Winterizing
Routine care
- After each dump, leave several gallons of water in the black tank. Dry tanks smell and clog.
- Use septic-safe RV toilet paper or ensure regular thorough flushing if you use standard paper.
- Add an RV-safe treatment if odors persist.
Descaling and sensor cleanup
- An occasional soak with warm water and an RV-safe cleaning product can help remove buildup.
- Drive a bit with a few gallons in the tank to slosh and scrub.
Winterizing the flush line (U.S. cold climates)
- Do not use the flush in freezing conditions.
- Winterize per your RV manual: blow out lines or add RV antifreeze where specified so the vacuum breaker and sprayer don’t crack.
Next Steps: Simple Post-Trip Checklist
- Dump black, flush, then dump gray.
- Confirm outflow ran clear during the flush.
- Add 2–4 gallons of water to the black tank.
- Store the non-potable hose separately from freshwater gear.
- Inspect for leaks and secure all valves closed for travel.
FAQs
Q1) Do I need a pressure regulator for the black tank flush?
Yes, it’s a smart safeguard at many U.S. parks with high water pressure. It helps prevent damage and reduces the chance of overfilling during mistakes.
Q2) Can I use bleach in the black tank?
Bleach can damage rubber seals and some fittings. Use RV-safe cleaners and treatments recommended by your RV manufacturer or product label.
Q3) How do I know when to stop flushing?
Use a clear elbow at the sewer outlet. When the water runs clear and odors are down, you’re done. Add a short, supervised pulse-rinse if needed.
Q4) My RV doesn’t have a black tank flush port—am I stuck?
No. Use a tank wand through the toilet with a non-potable hose and a pressure regulator. It can clean walls and improve sensor readings.
Q5) Is it okay to use the black tank flush with a macerator pump?
Yes, but be cautious. Keep the macerator running to avoid overfilling, and avoid long pulse-rinses with the valve closed. Monitor constantly.
Conclusion
Using a black tank flush system in the U.S. is simple: drain black, connect a dedicated non-potable hose with a regulator, flush with the black valve open until clear, add short monitored pulses if needed, then rinse with gray. Stay present, keep hoses separate, and winterize in cold regions. These habits keep your RV cleaner, sensors more accurate, and every dump station visit faster and safer.