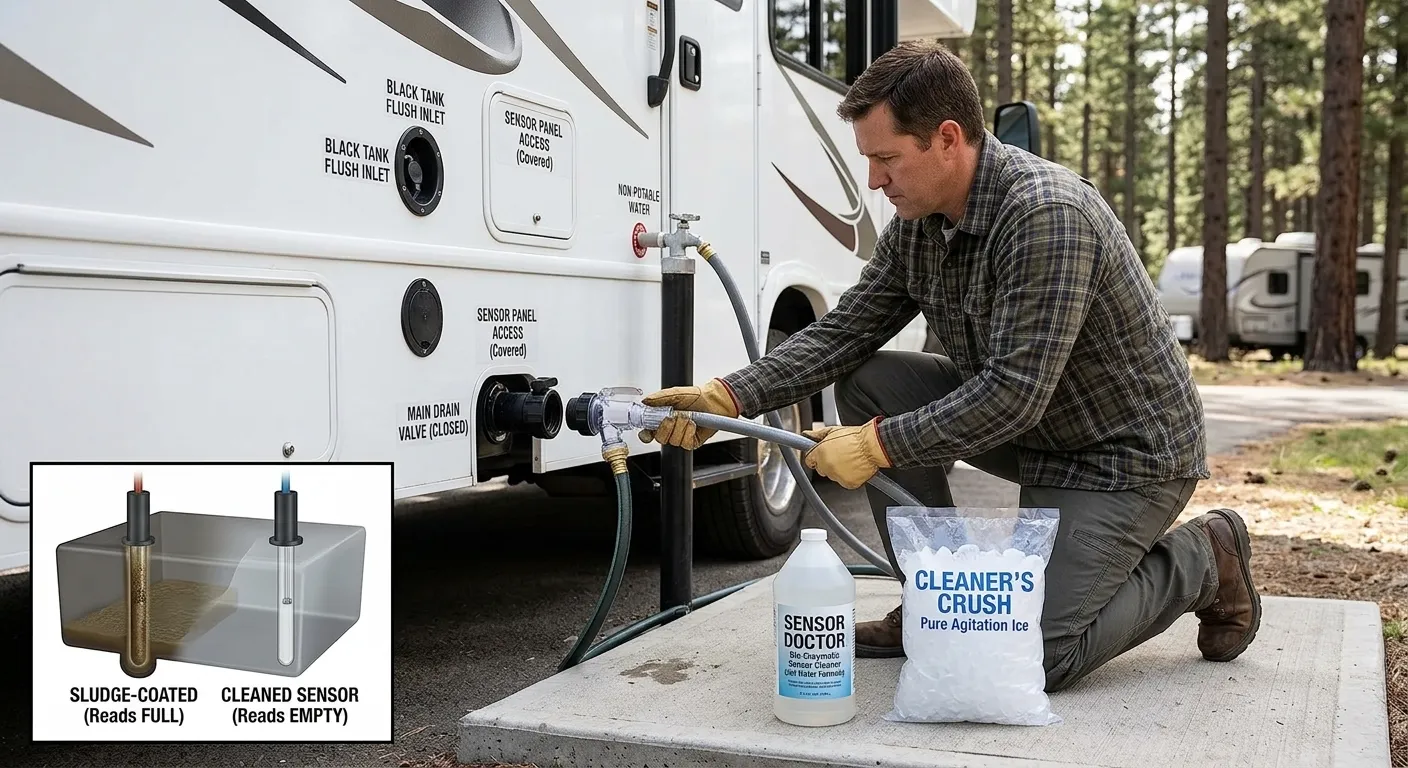
Hook up to a sewer, empty the tank, rinse with fresh water, then repeat until clear.
I made every flushing mistake in the book during my first year of RV ownership. I dumped too early, used too little water, and skipped the flush entirely more times than I should admit. The result was a tank that smelled bad, sensors that read wrong, and a draining problem that took a full deep clean to fix. Learning how to flush an RV black tank properly was the single biggest improvement I made to my entire camping experience.
After thousands of miles on the road and more dump station visits than I can count, I have a simple reliable system that keeps my tank clean, odor free, and draining perfectly every single time. This guide on how to flush an RV black tank covers every step clearly — what to do, what order to do it in, and the mistakes that cost people time and money on the road. If your tank has been giving you trouble, this is where it stops.
Why Flushing Your RV Black Tank Matters
A clean black tank prevents clogs, odors, and bad sensor readings. It also protects valves and seals. When you flush right, you keep waste moving and your toilet fresh.
I have watched sensors jump from full to empty and back. Nine times out of ten, the issue was a dirty tank. Learning How to Flush an RV Black Tank saves time and money. It also makes every trip less stressful.
Do not skip water. Waste needs water to break down and flow. The tank needs a good rinse to clear paper and solids. That is the core of How to Flush an RV Black Tank.
Tools and Supplies You Need
Before you begin, gather the right gear. It keeps you safe and speeds up the job.
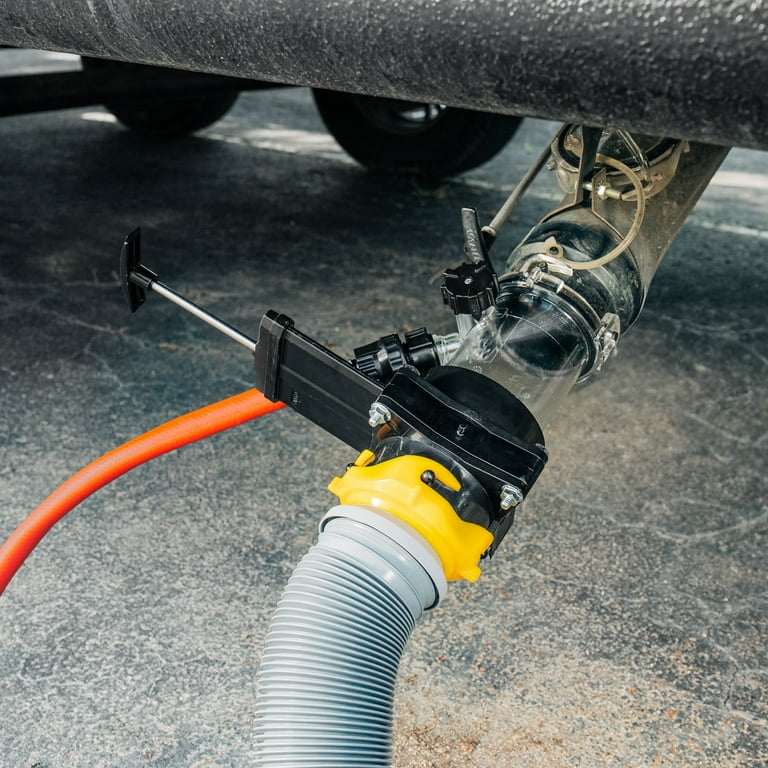
- Heavy-duty sewer hose with a secure bayonet fitting and a clear elbow
- Sewer hose support to keep a steady slope to the drain
- Disposable nitrile gloves and eye protection
- Dedicated flush hose for black tank rinse only (never your drinking water hose)
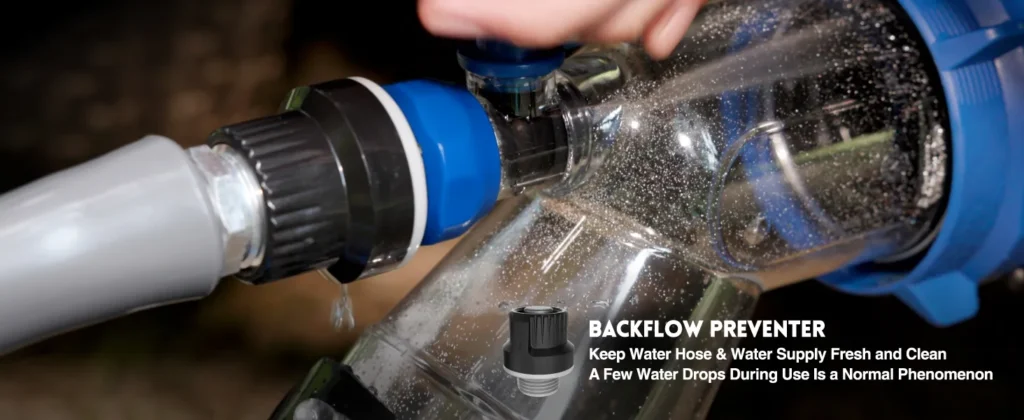
- Clean water source with a pressure regulator (protects fittings and the built-in flush)
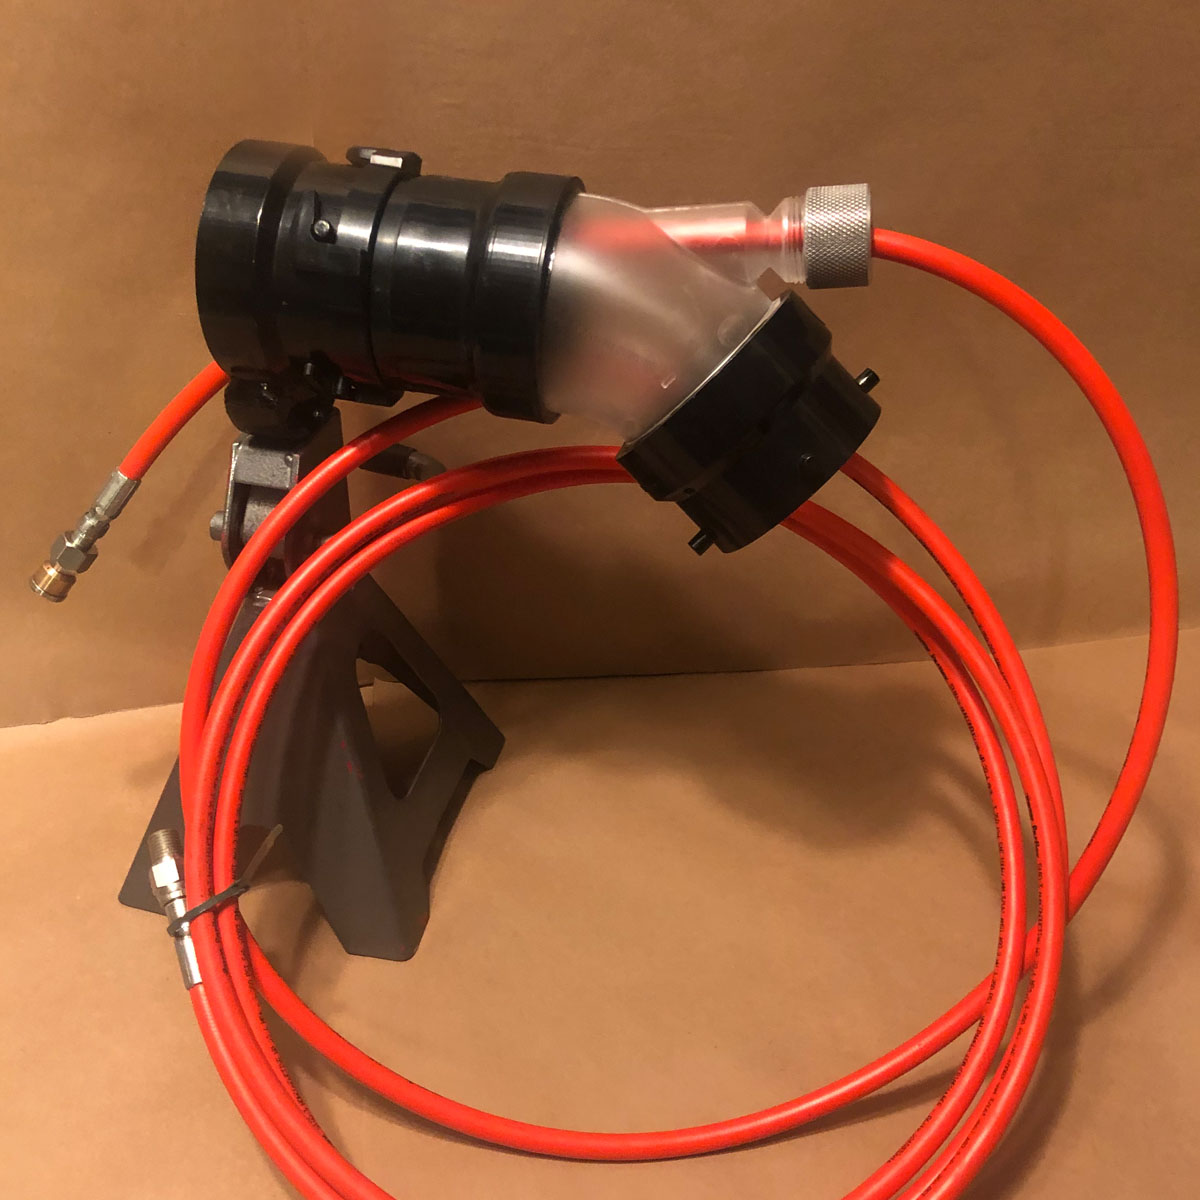
- Backflush adapter or tank rinser wand if you do not have a built-in flush port
- Enzyme-based tank treatment and a small bottle of dish soap (help break down waste)
- Non-toxic RV antifreeze for winter storage, if needed
- Spray bottle with mild disinfectant for cleanup at the site
These items make How to Flush an RV Black Tank easier and cleaner. The clear elbow is key. You can see when the water runs clear.

Safety and Setup Checklist
A clean setup makes the process smooth. Use this quick list each time.
- Park with a slight slope toward the sewer if possible
- Chock wheels and set the parking brake
- Put on gloves and keep them on until cleanup is done
- Connect the sewer hose to the RV first, then to the site or dump station
- Use the hose support to create a steady drop to the drain
- Keep the gray valve closed and the black valve closed until you are ready
- Connect the flush hose to the black tank flush port, if your RV has one
- Add a water pressure regulator before the flush hose to avoid damage
These steps reduce spills and protect fittings. They also build a safe routine for How to Flush an RV Black Tank.

Step-by-Step: How to Flush an RV Black Tank
Use this method at a campsite sewer or a dump station. It is the same flow each time.
Pre-charge with water
- After a trip or before a dump, make sure the black tank has plenty of water. Half-full or more is best. Water moves solids. It also protects the tank walls.
Connect and position
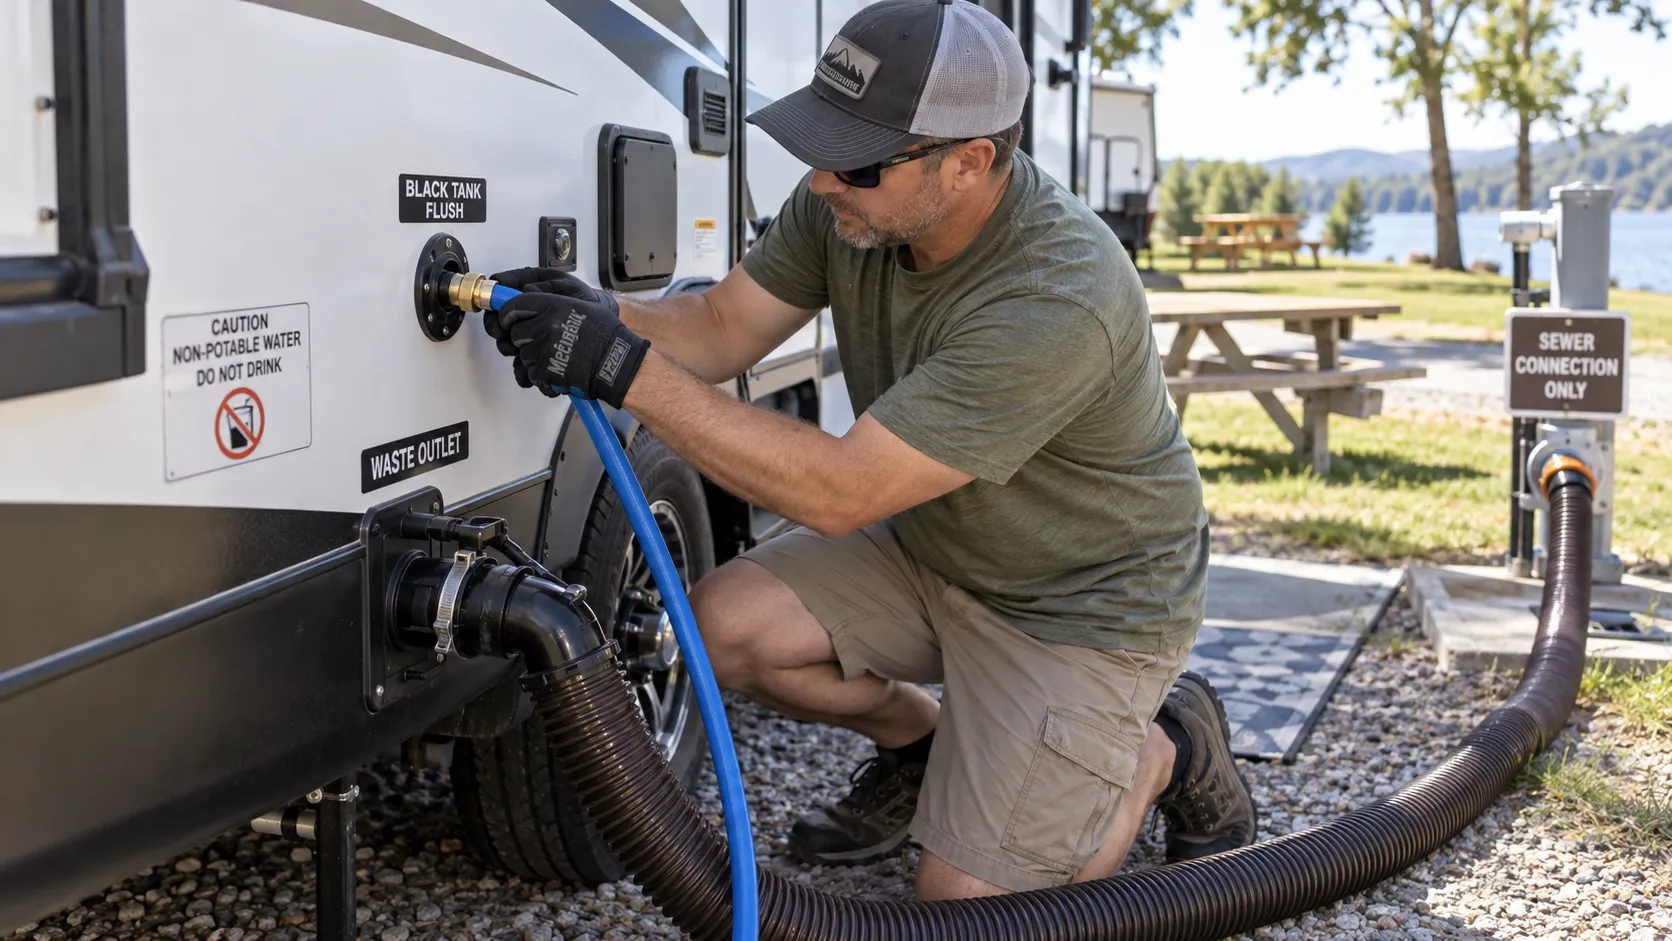
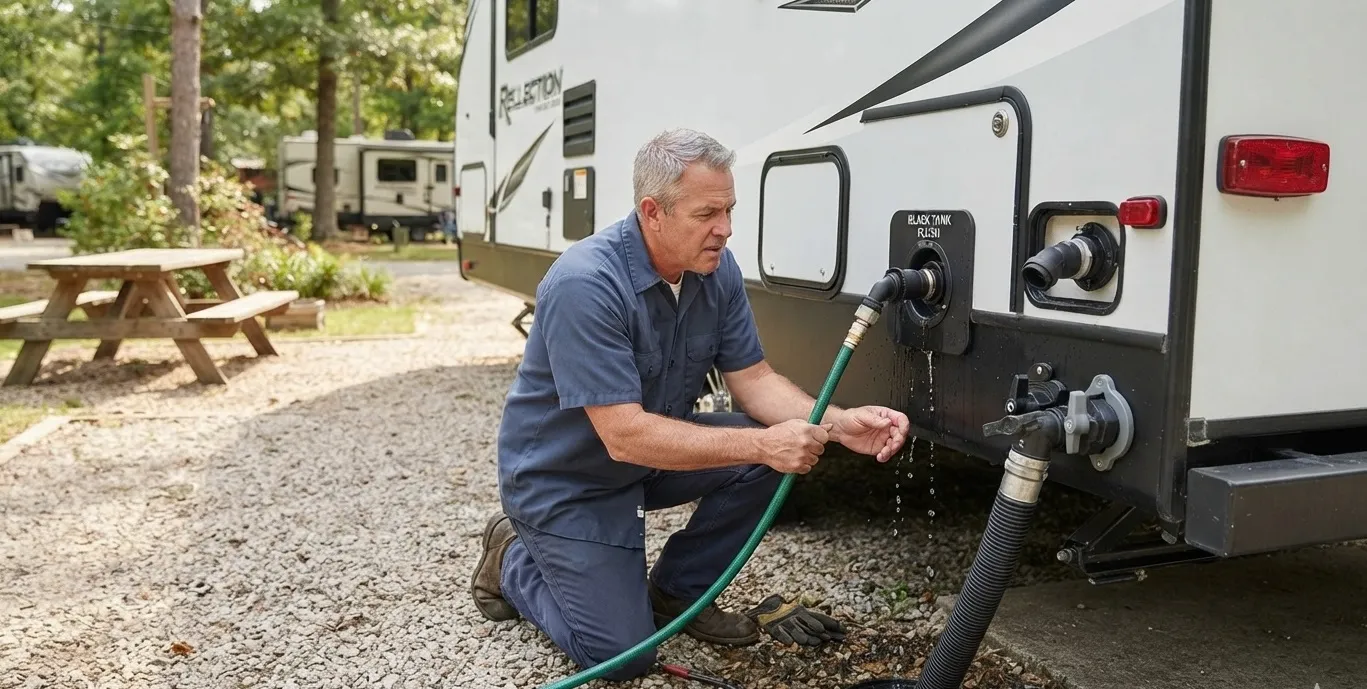
- Secure the sewer hose with the clear elbow at your RV outlet. Place the other end in the sewer inlet with a tight seal. Put on gloves.
Dump the black tank first
- Open the black valve. Let it drain fully. Watch the clear elbow. When flow slows to a trickle, close the black valve for a moment.
Rinse with the built-in flush (if equipped)
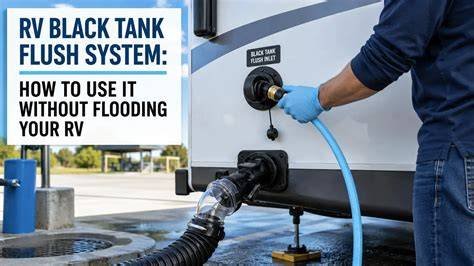
- Open the black valve. Turn on the fresh water to the flush port. Let it run for 2–5 minutes. Close the water. Wait for the tank to drain. Repeat 2–3 times until water in the clear elbow runs close to clear.
Rinse without a built-in flush
- Use a backflush adapter at the sewer outlet or insert a tank rinser wand through the toilet. Pulse water in short bursts. Let gravity work. Do 2–3 cycles.
Break up stubborn waste
- If you see paper chunks or slow flow, close the black valve. Run the flush for 30–60 seconds to add water. Open the valve again. Repeat. Short fill-and-dumps help lift paper from corners.
Finish with the gray tank
- Close the black valve. Open the gray valve to wash the hose with soapy water. This step is key in How to Flush an RV Black Tank without leaving a mess.
Add water and treatment
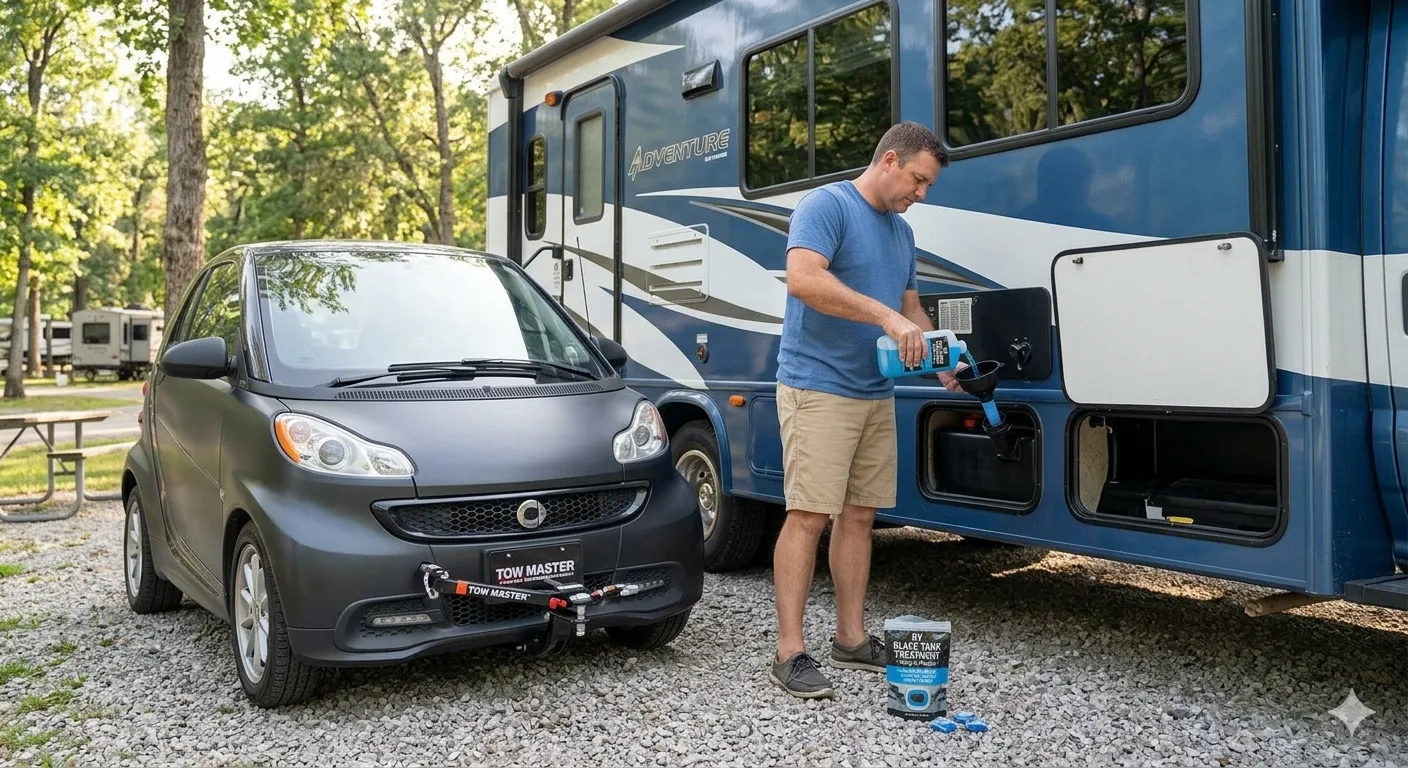
- Close all valves. Add 3–5 gallons of fresh water to the black tank by holding the flush pedal or pouring water down the toilet. Add an enzyme treatment. Water and enzymes prevent “pyramid plugs.”
Clean and store
- Rinse the sewer hose outside only. Spray fittings with a mild disinfectant. Cap your outlets. Wash hands well.
Tip from the road: When sensors act up, I do three short fill-and-dump cycles. Then I drive 10 miles with 5–8 gallons of water in the tank. The motion scrubs the walls.
This full method is How to Flush an RV Black Tank the safe and complete way.

Deep-Clean Methods for Stubborn Sensors and Odors
Sometimes you need more than a quick rinse. Build these into your routine when needed.
Enzyme soak
- After dumping, add 5–8 gallons of water and a double-dose enzyme. Let it sit overnight. Then drive a short distance and dump. This cleans sensors and corners.
Backflush cycles
- Use a clear elbow. Do 3–5 short cycles of close valve, add water for 30–60 seconds, open valve. Watch for paper clumps. Stop when water is near clear.
Wand scrub
- A rinser wand through the toilet can reach behind baffles. Aim at each wall in a slow sweep.
Mild detergent assist
- A small squirt of dish soap with warm water can help lift grease. Do not overdo it. You only need foam, not bubbles for days.
Myth check: Ice cubes in the tank do little. They melt fast and cannot scrub hard build-up. Water, time, and motion work better.
These steps support How to Flush an RV Black Tank when basic rinses are not enough.
Winterizing and Off-Season Storage
Cold temps can damage fittings. Prep the system before storage.
- Fully drain and flush the black and gray tanks
- Leave valves closed after dumping
- Add 1–2 gallons of water and a small amount of non-toxic RV antifreeze to the black tank to protect the gate valve and seals, if you face deep freezes
- Add RV antifreeze to the toilet bowl to protect the seal
- Never use automotive antifreeze
Always follow your RV maker’s winterize guide. Good storage habits make spring dewinterizing easy and keep odors low.
How to Flush an RV Black Tank for storage is simple: rinse well, drain, then protect the seals.
Common Mistakes to Avoid
These errors cause most clogs and smells.
Leaving the black valve open at a full-hookup site
- Solids pile up. This forms a “pyramid plug.” Always keep the valve closed until the tank is at least two-thirds full.
Using your fresh water hose for flushing
- Cross-contamination is a real risk. Keep a marked flush hose.
Over-pressurizing the flush port
- Use a regulator. High pressure can burst lines.
Too little water
- Dry tanks trap waste. Always start with several gallons of water after each dump.
Harsh chemicals
- Strong bleach or formaldehyde can harm seals and septic systems. Choose septic-safe enzyme products. If you must sanitize, use a mild, diluted solution, and rinse well.
Avoid these and you will master How to Flush an RV Black Tank with ease.
Maintenance Schedule and Record-Keeping
A simple plan keeps the system healthy.
Every dump
- Flush until water runs near clear. Add 3–5 gallons of water and treatment after.
Weekly on long stays
- Do an extra rinse cycle even if not full, but only if allowed at your site.
Monthly
- Do an enzyme soak and a short drive to scrub the tank.
Before and after storage
- Deep rinse, drain, and protect seals.
Keep a note on dump dates, sites, and any sensor issues. A log helps you spot patterns and refine How to Flush an RV Black Tank for your habits.
Troubleshooting: Clogs, Odors, and Sensor Issues
Use these quick fixes when things go wrong.
Slow or no flow (possible pyramid plug)
- Close the valve. Add warm water and enzyme through the toilet. Wait one hour. Backflush in short bursts. Repeat until flow returns.
Toilet burps or gurgles
- Check the roof vent for nests or debris. A blocked vent traps gas and slows drainage.
Macerator not moving waste
- Verify power and clear obstructions at the inlet. Do not run it dry. Flush with clean water after each use.
Persistent odor inside
- Confirm P-traps have water. Keep the toilet bowl seal wet. Vent fan backdraft can pull odors in; crack a window when using the bathroom fan.
Sensors stuck at full
- Do a deep rinse and enzyme soak. Drive to agitate, then dump. Repeat as needed.
These steps are part of real-world How to Flush an RV Black Tank care.
Eco-Friendly and Etiquette Tips
Good habits protect dump stations and the environment.
- Use septic-safe, enzyme-based treatments
- Do not rinse wipes or anything non-dissolving down the toilet
- Keep the station clean; a quick hose-down is good manners
- Do not hog the lane; prep before you pull up
- Follow posted rules and local laws
Practicing clean, fast, and respectful service is central to How to Flush an RV Black Tank the right way.
Frequently Asked Questions
How often should I dump the black tank?
Wait until it is at least two-thirds full. This gives strong flow that carries solids and paper out.
Can I leave the black tank valve open at a campsite?
No. Keep it closed so liquids do not drain away first. An open valve can cause a hard pyramid plug.
Do I need a clear elbow on the sewer hose?
Yes, it helps you see when water runs clear. It also shows paper clumps so you know when to keep flushing.
Is bleach safe for the black tank?
Use only a very mild, diluted solution if you must sanitize, and rinse well. Many RV makers prefer enzyme products to protect seals and septic systems.
Why do my tank sensors read wrong?
Waste can stick to the probes and walls. A deep rinse, enzyme soak, and a short drive with water in the tank usually fixes it.
What if my RV has no built-in flush port?
Use a tank rinser wand through the toilet or a backflush adapter. Do short fill-and-dump cycles until the water is clear.
How much water should I add after dumping?
Add 3–5 gallons, or enough to cover the bottom. Water helps start the next load and stops clumps from forming.
Conclusion
Flushing your RV black tank is a simple system: use water, rinse well, and repeat until clear. Keep the valve closed between dumps, add water and enzyme after, and deep clean when sensors act up. With a set routine, you protect your tank, your time, and your peace of mind.
Put this guide into action on your next stop. Master How to Flush an RV Black Tank once, and every trip gets easier. Want more practical RV care tips? Subscribe and share your questions in the comments.