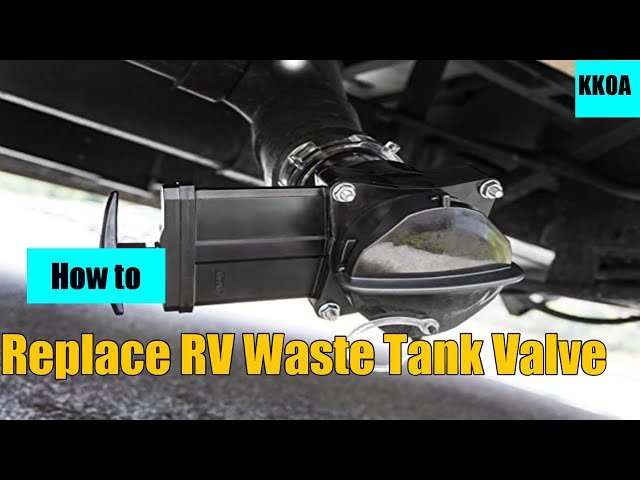
Shut, drain, unbolt, swap the valve and seals, retighten, then leak-test.
My black tank valve started leaking on a trip last summer. Not a flood — just a slow drip around the valve body that I noticed at the dump station. I tightened everything I could, lubricated it, and hoped for the best. By the next campsite it was worse. I had two choices — pay a technician to fix it or learn how to replace an RV black tank valve myself. I chose to do it myself and it turned out to be one of the most straightforward jobs I have done on my rig.
The whole process took less than an hour with basic tools and cost a fraction of what a service center would have charged. This guide on how to replace an RV black tank valve walks you through every step clearly — the right tools, the correct order, and the pro tips that keep the job clean, quick, and leak free. If your valve is stuck, leaking, or simply worn out, you are in the right place.

What Your Black Tank Valve Does (And Why It Fails)
The black tank valve is a 3-inch gate that holds back sewage. It opens to dump and closes to seal. Most RVs use a blade-style gate valve made by Valterra, Thetford, or LaSalle Bristol.
Common failure signs include slow leaks at the termination cap, a valve that is hard to pull, or a handle that will not close the last inch. Grit, mineral scale, dried seals, or bent blades cause these issues. Understanding how to replace an RV black tank valve starts with spotting these signs early, before a roadside mess.
Most valves last several seasons with good care. But if the valve sticks, drips, or the handle cable frays, it is time to swap it.

Tools, Parts, and Prep Checklist
To learn how to replace an RV black tank valve, gather these items first. A calm setup saves time and stress.
- Nitrile gloves and eye protection Keep you safe.
- Shop towels and a small bucket Catch drips.
- Socket or nut driver set For the valve flange bolts.
- Screwdriver Flat and Phillips, for clamps or trim.
- Silicone plumber’s grease For the new seals. Never use petroleum grease.
- Replacement 3-inch waste valve Valterra or Thetford fit most RVs. Match the style: pull-handle or cable.
- New valve seals Two round gaskets come with most kits.
- Stainless bolts, washers, and nuts If your old hardware is rusty.
- Sewer hose with clear elbow Lets you see flow and rinse clean.
- RV tank rinser or wand Helps flush debris before you swap.
- Disinfectant Safe for RV plumbing surfaces.
Tip: Confirm valve size. Black tanks are almost always 3 inches. Gray valves are often 1.5 inches and may sit beside the black valve.

Safety, Sanitation, and Setup
Before you start to learn how to replace an RV black tank valve, set the stage for a clean, safe swap.
- Park on level ground and chock the wheels Stability matters.
- Work at a dump station or over a lined work area Follow local rules.
- Wear gloves and eye protection Splash happens.
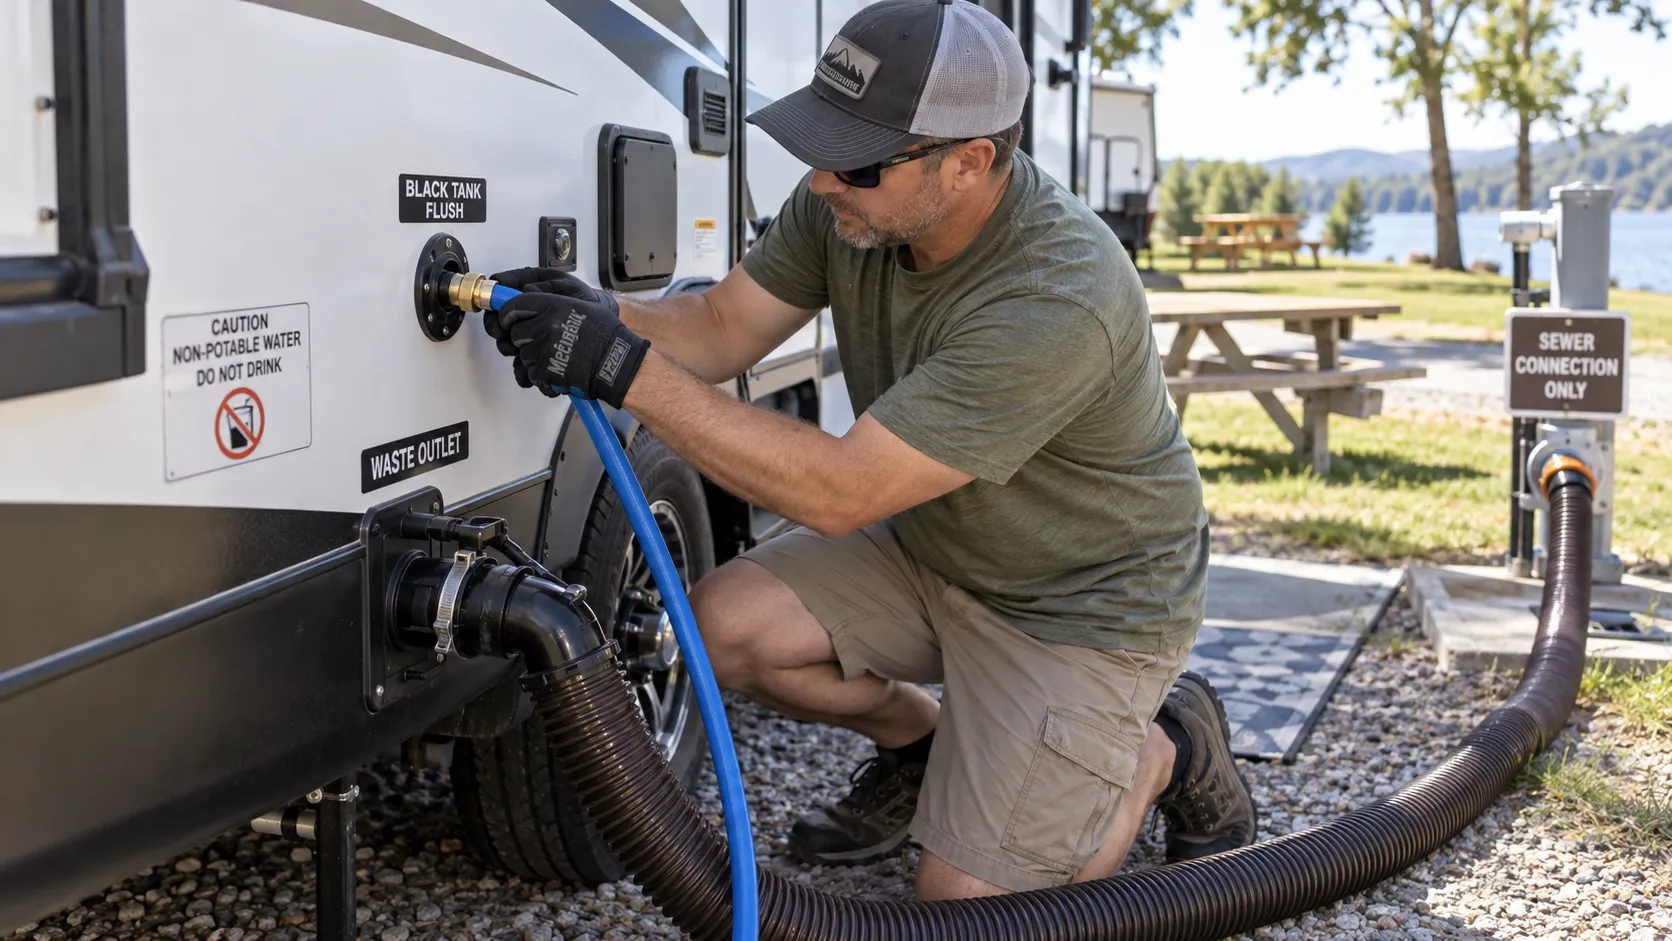
- Open the black valve and dump fully Then rinse with a tank sprayer or wand until the water runs clear.
- Close the valve and let it drip out for a few minutes Reduce leftover flow.
- Support the termination pipe with a block or strap Prevent strain when you unbolt the valve.
Personal note: I once rushed this step on a hot July day in Arizona. I skipped an extra rinse. The moment I pulled the valve body, a cup of “surprise” found my sleeve. Take the extra three minutes to rinse. You will thank yourself.

Step-by-Step: How to Replace an RV Black Tank Valve
This is the exact field process I use. It works on most Valterra, Thetford, and LaSalle Bristol gate valves.
- Confirm the tank is empty
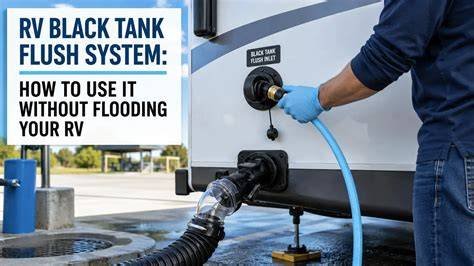
- Dump the black tank, rinse, and close the valve. Attach your sewer hose with a clear elbow. Keep a bucket under the work area.
- Expose the valve body
- The valve sits between two flanges at the termination. You will see four bolts and nuts. Some rigs have a small underbelly panel or trim. Remove only what you need.
- Support the pipes
- Place a wood block or strap under the termination pipe. Keep everything aligned when the valve comes out.
- Loosen the four bolts in a cross pattern
- Back each off a few turns, then remove all four. Keep a hand on the valve body. A tablespoon of water may spill.
- Slide out the old valve body
- Pull straight back. If it binds, wiggle gently. Do not pry hard on the flanges.
- Remove old seals and clean the grooves
- Each flange holds a round rubber seal. Pull them out. Wipe the grooves clean. Remove hairline grit. A clean seat is key.
- Dry-fit the new valve
- Make sure the blade is closed. Slide it in without seals to confirm bolt-hole alignment.
- Lube and place new seals
- Lightly coat both new seals with silicone plumber’s grease. Seat each seal in the flange groove, not on the valve body. The valve will slip between the greased seals.
- Insert the new valve body between the flanges
- Keep the blade handle pointing the same way as before. Align bolt holes. Push in until the body is flush with both seals.
- Reinstall bolts, washers, and nuts
- Hand-start all four. Tighten in a cross pattern, a few turns at a time. Snug is enough. Do not crush the seals.
- Reconnect or adjust the handle or cable
- For cable-actuated valves, set the cable so the blade closes fully with the knob seated. No slack. No pre-load.
- Test with water
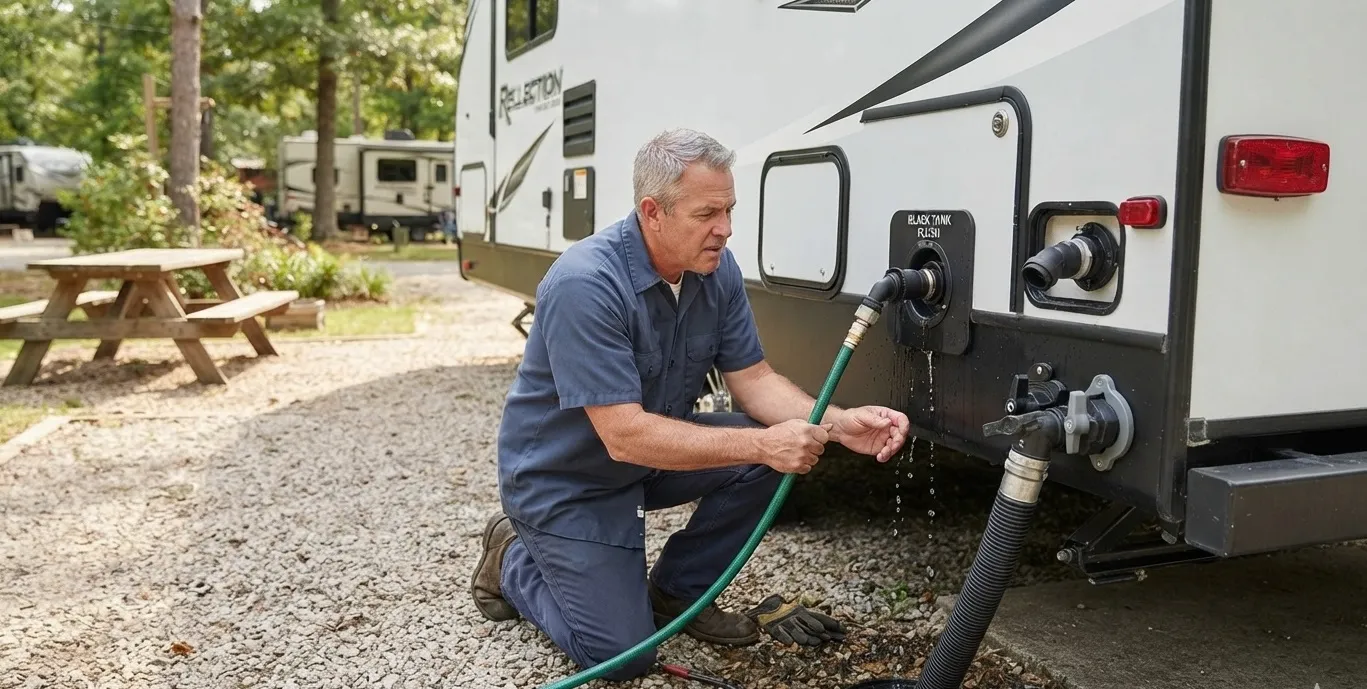
- Add 3 to 5 gallons of clean water to the black tank through the toilet. Wipe all joints and watch for weeps. Cycle the valve a few times. It should glide smoothly.
- Sanitize and stow
- Spray disinfectant on tools and the work area. Bag used towels and gloves. Wash your hands.
If your pipes are out of alignment, do not force the valve. Loosen a nearby clamp or use a no-hub rubber coupling to gain a little play, then realign. For many owners, this is the trick that makes the job easy.
Testing, Leak Checks, and Fine-Tuning
After you finish how to replace an RV black tank valve, do three quick checks.
- Water hold test Close the valve. Add 5 gallons to the black tank. Wait 10 minutes. No drips at the termination cap.
- Smooth travel test Open and close the handle several times. Feel for grit. It should not stick.
- Rinse test Open the gray valve for 10 seconds into the black drain path. This gives a mini flush around the new seals.
If you see a tiny weep, snug the bolts one quarter turn in a cross pattern. Still leaking? Pull the valve body, clean the grooves again, and reseat the seals with fresh silicone grease.
Common Mistakes and Pro Tips
When you attempt how to replace an RV black tank valve, these pitfalls cause most do-overs.
Mistakes to avoid
- Overtightening bolts Crushed seals leak later. Snug, not gorilla-tight.
- Skipping the rinse Debris scores a new blade and seal. Rinse until clear.
- Misaligned flanges A twisted fit binds the blade. Support the pipes.
- Using petroleum grease It swells rubber. Use silicone plumber’s grease only.
- Forgetting the blade position Install with the blade closed to protect the seals.
Pro tips from the road
- Clear elbow, always It shows when the line is clean.
- Spare valve on hand I keep a Valterra 3-inch body kit in my parts bin. Cheap insurance.
- Twist-on emergency valve If your main valve fails on a trip, a twist-on valve at the cap stops the drip until you can do a proper swap.
- Cable valves need love Once a year, add a drop of silicone lube to the cable at the handle end.
Upgrades and Options While You’re There
If you plan how to replace an RV black tank valve and want smoother pulls, consider these options.
- Cable-actuated valve Good for hard-to-reach bays. Route the cable in soft bends. Avoid tight turns.
- Electric valve Adds push-button ease. Needs 12V wiring and a clean mount.
- Double-seal premium valves Thicker blades and better seals last longer in sandy areas.
- Twist-on add-on Handy as a backup and for rigs with small residual drips. Not a full-time fix.
Match brands and sizes. Most 3-inch RV waste valves are cross-compatible, but handle and cable interfaces can differ by model.

Cost, Time, and Skill Level
Budget for how to replace an RV black tank valve before you start.
- Parts 3-inch valve body kit: 15 to 40 dollars. Cable models: 40 to 90 dollars. Stainless hardware: 5 to 10 dollars.
- Time First-time DIY: 60 to 120 minutes. With practice: 30 to 45 minutes.
- Skill Basic hand tools. Comfortable working under the rig. Light plumbing alignment.
Hire a pro if your underbelly is sealed foam, your pipes are cracked, or the bay layout is tight. A mobile tech can also adjust cables and replace sagging supports.
Maintenance After You Replace the Valve
After you learn how to replace an RV black tank valve, keep it smooth and sealed with simple care.
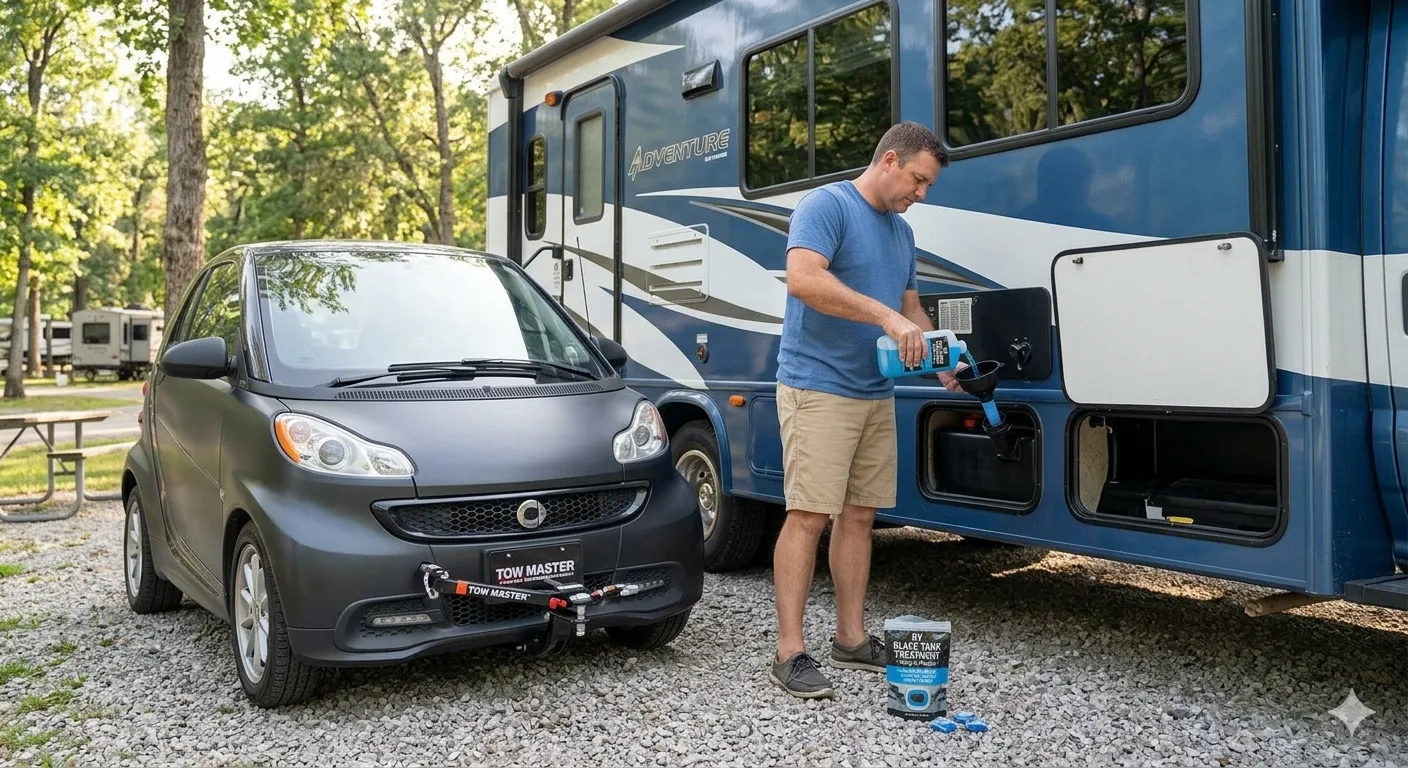
- Water pre-charge Start each trip with 3 to 5 gallons of water in the black tank. Dry tanks cake solids.
- Dump habits Dump only when at least half full for strong flow. Then rinse.
- Valve exercise Once a month, open and close the valve a few times with clean water in the tank.
- Lube the blade Once a season, add a valve-safe lubricant treatment to the tank and cycle the valve.
- Store with a wet seal After your last dump, close the valve with a bit of clean water in the tank. A damp seal stays healthy.
Frequently Asked Questions of How to Replace an RV Black Tank Valve
How often should I replace my RV black tank valve?
Most valves last 3 to 7 years with good care. Replace it sooner if it leaks, sticks, or the handle frays.
Can I replace the valve without removing the sewer hose?
Yes. Keep the hose attached to catch drips, but close the park-side cap. Always work at a dump station or lined area.
Do I need sealant on the flanges?
No. The rubber seals do the sealing. Use silicone plumber’s grease on the seals, not RTV or petroleum grease.
What size is a black tank valve?
Most black tank valves are 3 inches. Gray tank valves are often 1.5 inches, so do not mix them up.
My new valve is stiff. Is that normal?
A slight increase in pull force is normal at first. It will smooth out after a few open-close cycles with water and lube.
Can I upgrade to an electric valve during replacement?
Yes. Plan for 12V power, a switch location, and a clean cable or wire route. Follow the kit’s wiring diagram.
What if the bolts are rusted and snap?
Replace with stainless hardware. If a stud snaps in the flange, a mobile tech can drill it out and install a new bolt.
Conclusion
You now know how to replace an RV black tank valve the right way: rinse clean, support the pipes, swap the valve and seals, tighten evenly, and test. With a calm setup and a few smart habits, you can stop leaks, fix sticky pulls, and dump with confidence.
Set aside an hour this weekend and reclaim a key part of your rig’s reliability. If this guide helped, subscribe for more hands-on RV fixes, share it with a travel friend, or drop your questions in the comments.