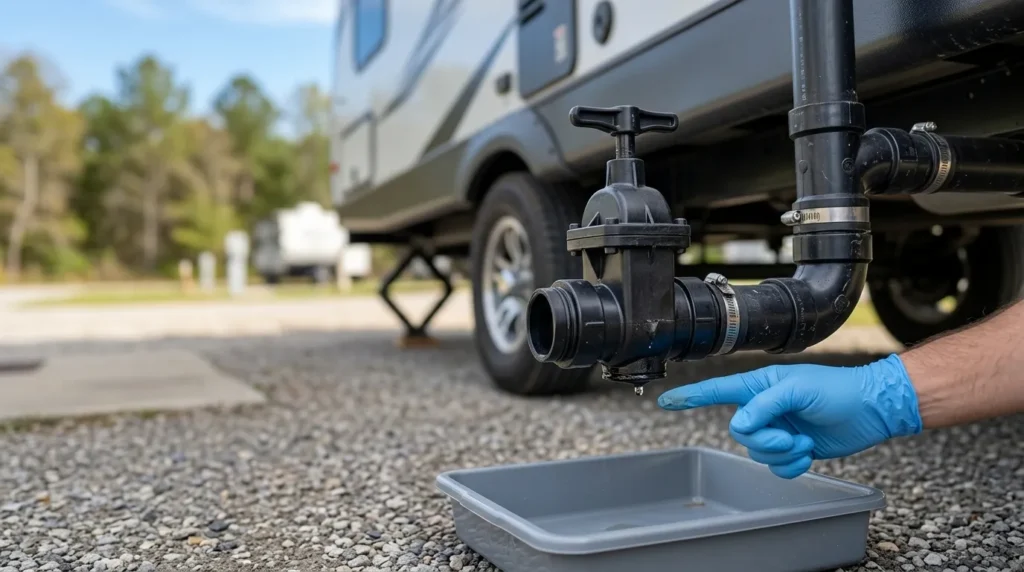
RV sewer valve leaking usually results from worn seals, trapped debris, poor alignment, or a damaged valve body.
Is your RV sewer valve leaking? A drip near the dump outlet can signal trapped debris, worn seals, a loose connection, or a damaged valve. Finding the source first helps you avoid unnecessary parts and a bigger wastewater mess. Before opening any connections, empty the affected tank at an approved dump station and wear protective gloves. This guide explains what to inspect, which repairs may solve the problem, and when replacing the valve makes more sense.
What an RV Sewer Valve Does
An RV sewer valve controls waste water from the holding tanks. Most RVs have two main valves:
• The gray tank valve releases water from sinks and showers.
• The black tank valve releases waste from the toilet tank.
• A termination valve at the outlet helps control discharge into the sewer hose.
• The valve handle connects to a sliding gate inside the valve body.
• Rubber seals around the gate help stop leaks when the valve is closed.
When the valve works well, the gate slides into place and blocks the tank outlet. When the seal wears out or debris prevents a full closure, an RV sewer valve leaking problem may appear.
The leak may be slow or sudden. You might see a few drops near the handle, liquid inside the sewer cap, or waste flowing before you open the valve. Each symptom points to a slightly different problem.
Signs of an RV Sewer Valve Leaking
Finding the exact leak location is the first step. Do not assume the valve itself is bad just because liquid appears near the sewer outlet.
Common signs include:
• Liquid drips from the sewer cap when the valve is closed.
• Water or waste appears around the valve handle.
• The valve handle feels loose, stiff, or uneven.
• The sewer hose fills even though the valve is closed.
• A bad odor comes from the termination outlet.
• Gray water leaks from the connection after washing dishes or showering.
• Black water leaks from the outlet, which requires immediate care.
• The valve does not stay fully open or fully closed.
A small amount of clear water may come from condensation or leftover rinse water. However, foul-smelling liquid or dark fluid usually indicates a true valve or tank outlet problem.
Place a container under the outlet before testing. This simple step prevents a small leak from spreading across the campsite.

Main Causes of an RV Sewer Valve Leaking
An RV sewer valve leaking issue can come from normal wear, poor care, or physical damage. The most common causes are below.
Worn or damaged valve seals
Rubber seals press against the sliding gate. Over time, these seals can harden, crack, swell, or lose their shape. Heat, cold, waste chemicals, and long periods without use can speed up this wear.
A worn seal often causes a slow leak from the valve outlet. The handle may still move normally, but the gate can no longer create a tight seal.
Debris stuck in the valve
Toilet paper, food particles, grease, and tank solids can block the gate. Even a small piece of debris may hold the gate open by a few millimeters.
This is one of the easiest causes to fix. flushing the tank and cleaning the valve may restore a proper seal. If the debris has scratched the gate or damaged the seal, replacement may still be needed.
A bent or misaligned valve gate
The sliding gate must move in a straight path. If the valve body shifts, the gate may bind or sit at an angle.
Misalignment can happen when:
• The sewer hose pulls down on the outlet.
• The valve receives impact from road debris.
• A mounting bracket becomes loose.
• The valve was installed under stress.
• The tank outlet or pipe moves during travel.
A misaligned gate may feel stiff and may leak even after cleaning.
Cracked valve body
Plastic valve bodies can crack from freezing water, impact, over-tightened fittings, or age. A crack usually leaks around the body rather than only at the gate.
A cracked valve cannot be repaired safely with tape or sealant. Replacement is the proper fix.
Loose or damaged mounting hardware
Some RV sewer valves attach to the tank outlet with bolts and a flange. If the bolts loosen, the seal may no longer sit flat.
A loose flange can create a leak between the tank outlet and the valve. Tightening the bolts may help, but damaged flange gaskets should be replaced.
Faulty cable-operated valve
Many modern RVs use a remote cable instead of a direct handle. A stretched, kinked, or broken cable may prevent the valve from fully closing.
In this case, the valve may be healthy. The problem is that the handle does not move the gate far enough.
Cold-weather damage
Water expands when it freezes. If water remains inside the valve during freezing weather, the valve body or seals may crack.
This is why proper winterizing matters. Drain the tanks, open the valves, and protect the sewer outlet before extended freezing conditions.
How to Find the Leak Safely
Sewer repairs require care. Black tank waste may contain harmful bacteria, viruses, and parasites. Wear disposable gloves, eye protection, and washable clothing.
Follow these steps:
- Park the RV on a level surface.
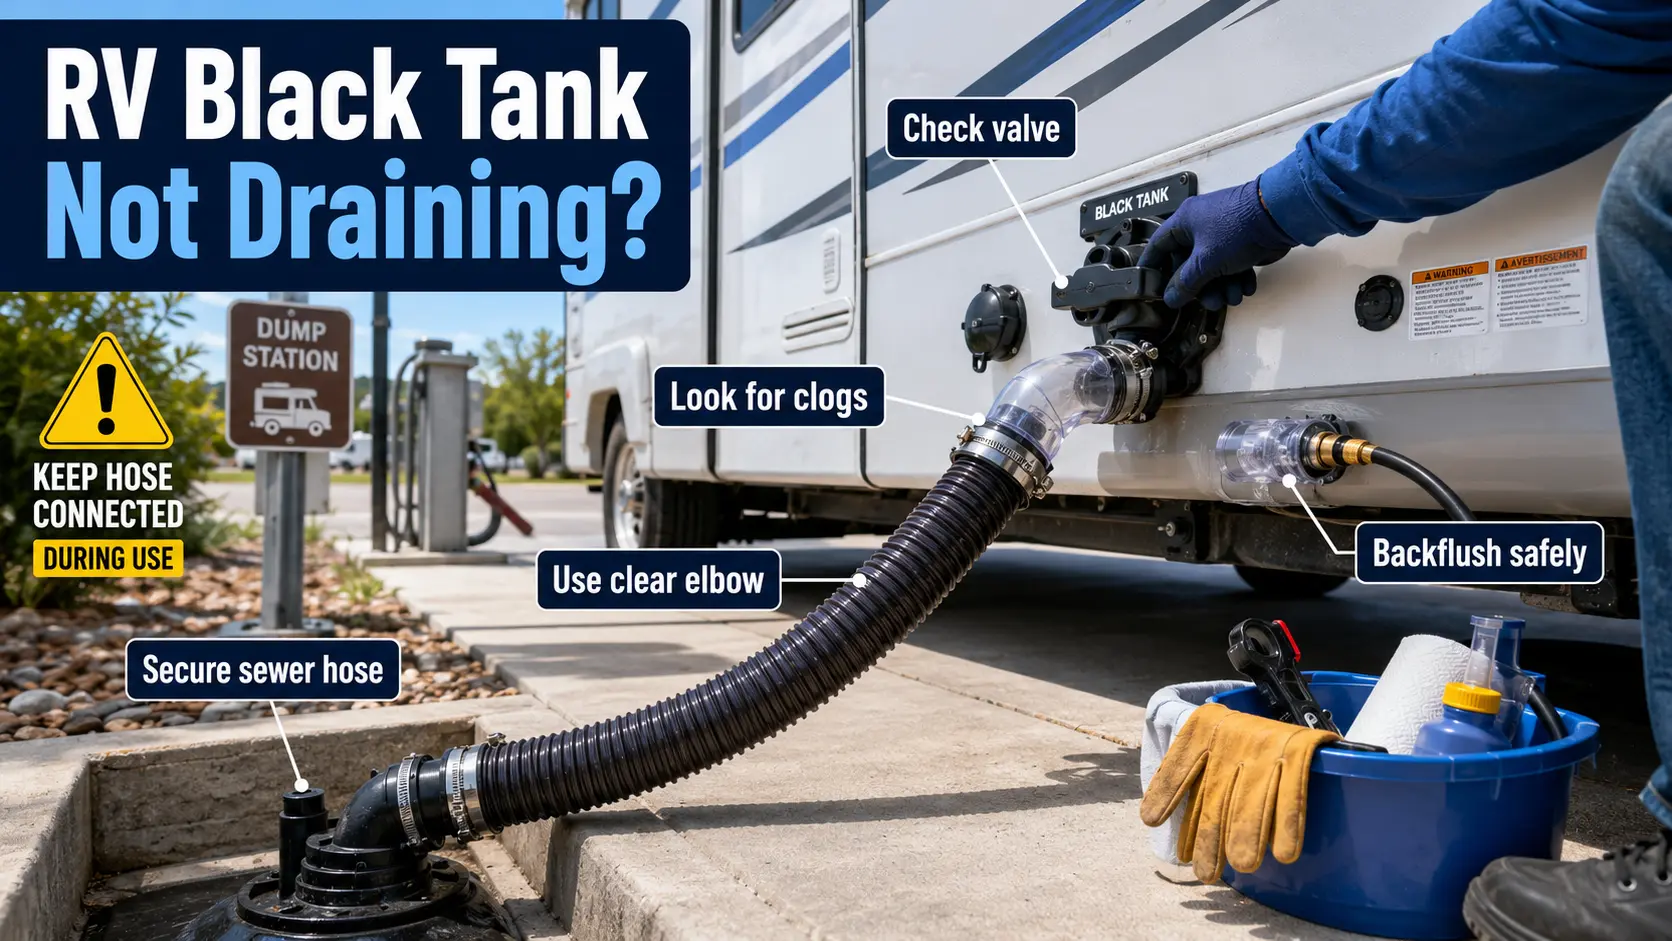
- Keep the sewer hose connected to an approved dump connection.
- Place a bucket or drain pan under the valve.
- Close both the black and gray tank valves.
- Clean the outside of the valve with a suitable disinfecting cleaner.
- Look for liquid at the outlet, handle, flange, and valve body.
- Check whether the liquid is clear, gray, or dark.
- Move the handle slowly and note any stiffness or unusual movement.
- Inspect the sewer cap and bayonet fitting for cracks.
- Wash your hands and disinfect tools after the inspection.
Never place your face near the outlet. Never test a black tank leak indoors. If waste has spilled, follow local rules for cleanup and disposal.
A useful test is to add clean water to the gray tank. Close the valve and wait several minutes. If clear water appears at the outlet, the gray valve or sewer cap may be leaking. Avoid adding water to the black tank just to test a leak unless you can manage the waste safely.
How to Fix an RV Sewer Valve Leaking
The correct repair depends on the leak location. Start with the least invasive solution.
Clean the valve and gate
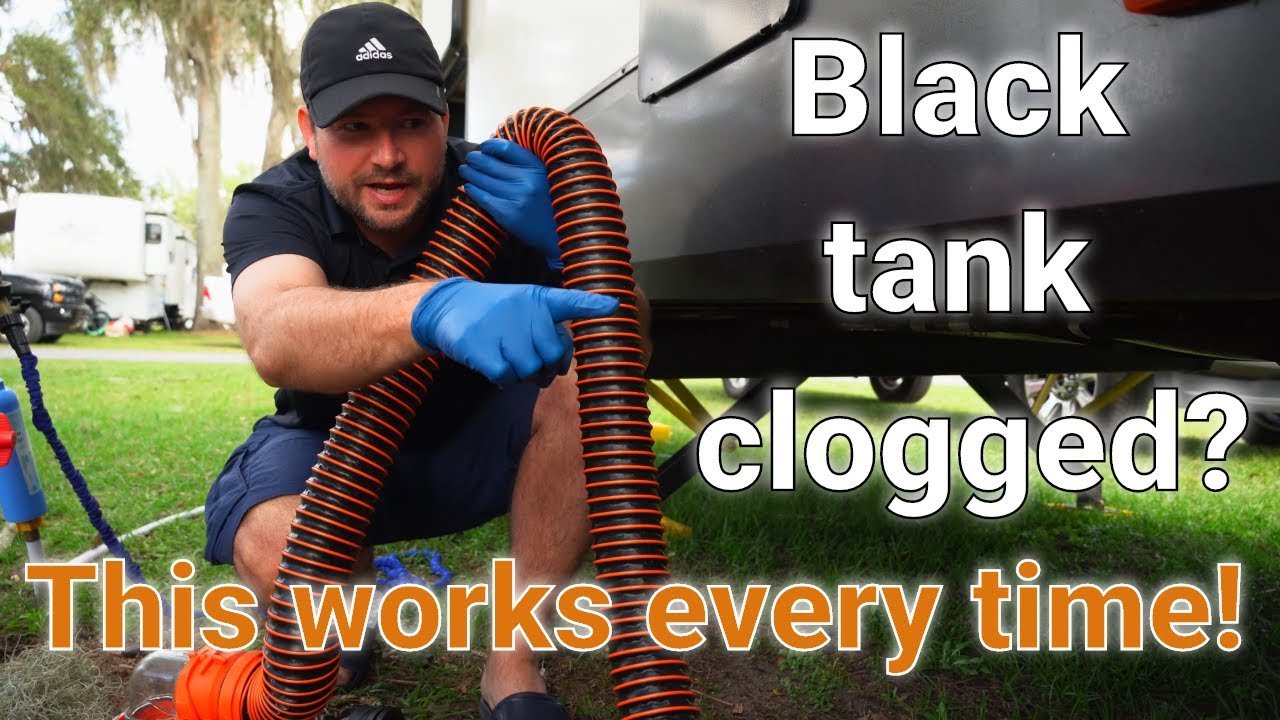
If debris is causing the RV sewer valve leaking problem, flush the affected tank with clean water. Open and close the valve several times while the sewer hose is attached.
For a gray tank, warm water may help loosen grease. Do not pour harsh drain chemicals into an RV tank. These chemicals can damage seals, pipes, and tank components.
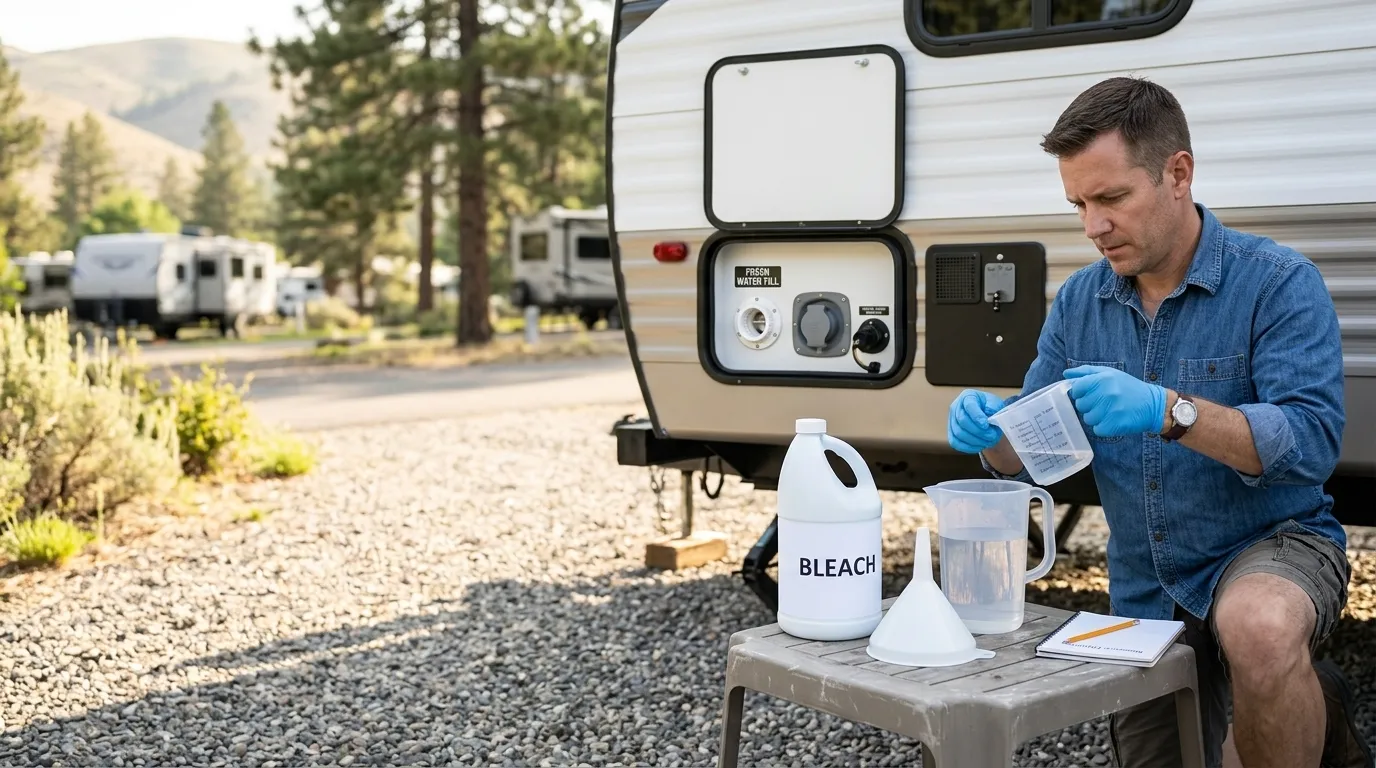
For a black tank, use a proper tank rinse system or a suitable RV tank treatment. Follow the product label and avoid mixing chemicals.
Lubricate the valve correctly
Some direct-pull valves benefit from a light coating of silicone-based lubricant. Use only a product labeled for rubber seals and wastewater systems.
Do not use petroleum jelly, motor oil, or general grease. These products may soften rubber or collect debris.
Cable-operated valves may need cable adjustment rather than added lubricant. Check the valve and cable instructions before spraying anything into the housing.
Replace the sewer cap
Sometimes the valve is fine, but the end cap leaks. A cracked cap, missing gasket, or damaged bayonet fitting can allow liquid to escape.
Remove the cap and inspect its gasket. Replace the cap if the gasket is flattened, brittle, or missing. This is an inexpensive repair and should be checked before replacing the full valve.
Adjust a cable-operated valve
If the handle stops before the valve fully closes, inspect the cable for kinks and sharp bends. Make sure the cable housing is secure and does not move when you pull the handle.
Some systems have an adjustment nut. Small adjustments may restore full travel. Do not force the handle, because excessive force can break the cable or valve gate.
Replace the valve seal
Many RV valves have replaceable seals. This repair requires removing the valve bolts, separating the valve body, cleaning the mating surfaces, and installing the new seals in the correct direction.
Use the same seal style and size specified for the valve. A seal that looks similar may not fit correctly. Replace both seals if the design uses one on each side of the gate.
Replace the entire valve
Replace the valve when the body is cracked, the gate is warped, or the valve has deep scratches. A complete replacement is often faster than trying to rebuild a badly damaged unit.
Before buying a new valve, measure:
• Pipe diameter
• Bolt spacing
• Valve body thickness
• Handle or cable type
• Flange style
• Tank outlet position
Common RV sewer valve sizes include 1.5 inches for some gray water systems and 3 inches for many black water and main outlet systems. Always confirm the measurement on your RV.
Step-by-Step RV Sewer Valve Replacement
Replacing a valve is a manageable repair for many owners, but access can be tight. If the tank is full or the valve serves the black tank, professional help may be the safer choice.
- Empty and rinse the tank completely.
- Close the valve and disconnect the sewer hose.
- Support the sewer outlet and nearby pipe.
- Remove the valve bolts or retaining hardware.
- Separate the old valve carefully.
- Clean the flange faces with a plastic scraper and mild cleaner.
- Inspect the pipe and tank outlet for cracks.
- Install new seals in the correct grooves.
- Fit the replacement valve without forcing the pipes.
- Tighten the bolts evenly in a crisscross pattern.
- Reconnect the handle or cable.
- Test the valve with clean water.
- Check every joint for leaks before normal use.
Do not over-tighten the bolts. Too much force can distort the valve body or squeeze the seal out of position.
A new valve should open and close smoothly. If it binds after installation, stop and inspect the alignment. A stiff valve often means the pipes are pushing against the valve.

Common Repair Mistakes to Avoid
Many RV sewer valve leaking repairs fail because the original cause was missed. Avoid these common mistakes.
• Replacing the valve without checking the sewer cap
• Using silicone or tape as a permanent repair on a cracked valve
• Tightening bolts until the plastic bends
• Pulling hard on a stuck handle
• Using petroleum grease on rubber seals
• Installing seals backward
• Reusing a flattened flange gasket
• Allowing the sewer hose to hang from the valve
• Testing a black tank leak without protective equipment
• Leaving the black tank valve open during normal camping
Leaving the black tank valve open allows liquid to drain while solids remain. This can create a mound of waste inside the tank, often called a waste pyramid. Keep the black valve closed until the tank is at least partly full, then dump it in one strong flow.
A field lesson worth remembering is this: pressure and alignment matter more than force. If a handle feels stuck, forcing it usually changes a small repair into a broken valve or cable.
How to Prevent Future RV Sewer Valve Leaks
Good tank care reduces stress on the valve and seals.
Use these habits:
• Keep the black tank valve closed until dumping.
• Add enough water to the black tank after each dump.
• Rinse the black tank on a regular schedule.
• Avoid flushing wipes, paper towels, diapers, or feminine products.
• Keep grease and food scraps out of the gray tank.
• Use RV-safe toilet paper in reasonable amounts.
• Support the sewer hose so it does not pull on the outlet.
• Lubricate compatible seals with the correct silicone product.
• Inspect the valve before long trips.
• Drain and winterize the system before freezing weather.
• Replace a cracked sewer cap as soon as you find it.
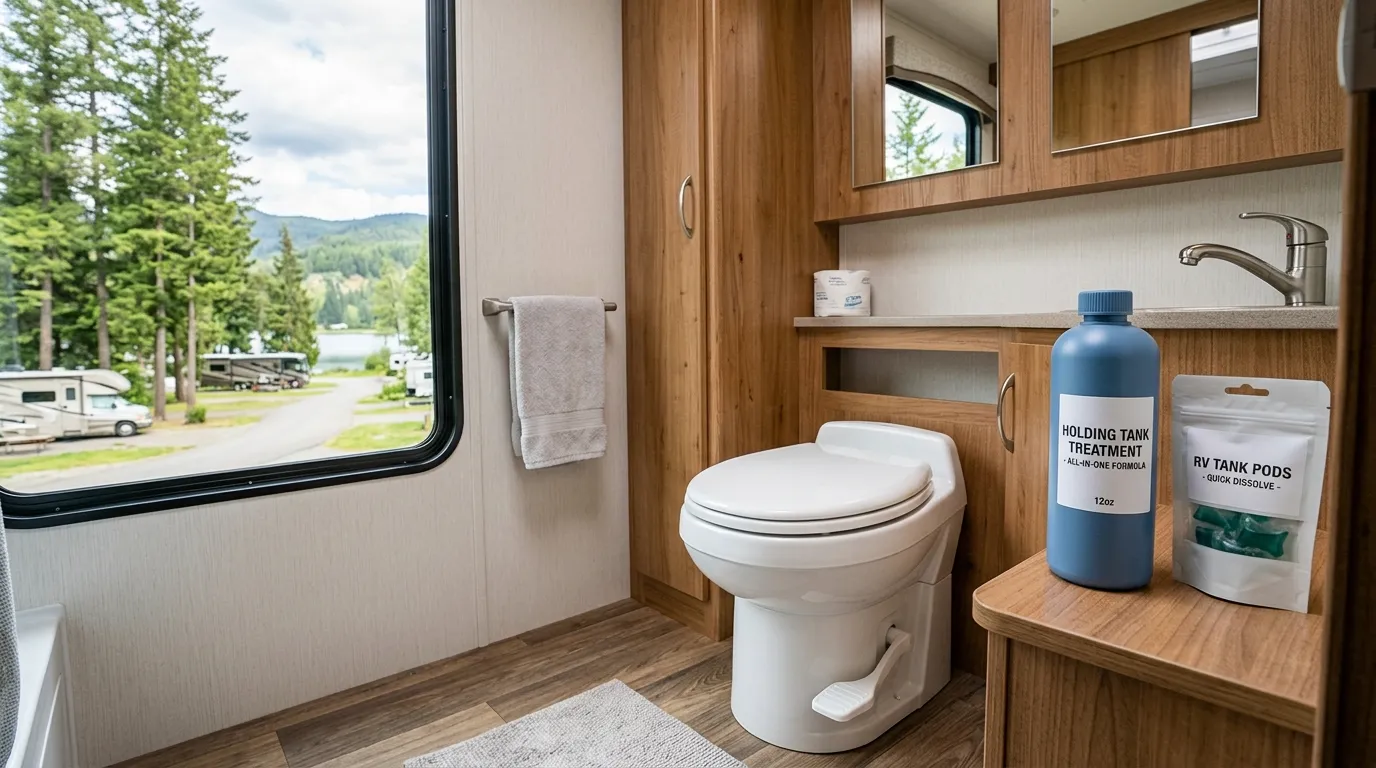
Tank treatments can reduce odors and help break down waste, but they cannot repair a damaged seal. Products also vary in quality. Use only treatments that are compatible with your RV plumbing and wastewater system.
In my experience, the most preventable leaks come from a sewer hose that hangs heavily from the outlet. A simple support strap or hose ramp can remove that strain and protect the valve during the entire trip.

When to Call an RV Repair Professional
A do-it-yourself repair makes sense when the valve is easy to reach and the tank is empty. Call a professional when the repair involves a full tank, a buried valve, or a damaged tank outlet.
Professional help is wise if:
• Black water has spilled inside the RV.
• The tank outlet is cracked.
• The valve cannot be removed without moving the tank.
• The sewer pipe has separated from the tank.
• A cable runs through an inaccessible wall or floor.
• The leak continues after a new valve is installed.
• You cannot identify whether the liquid is gray or black water.
• The RV has a complex macerator or electronic valve system.
A technician can also check for hidden pipe movement and confirm that the new valve is aligned. This can prevent repeat leaks and costly water damage.
Frequently Asked Questions About RV Sewer Valve Leaking
Why is my RV sewer valve leaking when it is closed?
The valve may have worn seals, trapped debris, a damaged gate, or poor alignment. Check the sewer cap first, then clean and rinse the tank before deciding to replace the valve.
Can I fix an RV sewer valve leaking problem without replacing the valve?
Sometimes. Flushing debris, replacing the cap gasket, lubricating a compatible seal, or adjusting a cable may solve the problem. A cracked body or damaged gate requires a new valve.
Is it safe to use an RV with a leaking sewer valve?
It is not safe to continue normal use if black water is leaking. Stop using the system, contain the waste, wear protective gear, and repair the valve before the next dump.
How often should RV sewer valves be replaced?
There is no fixed replacement schedule. A well-maintained valve may last for years, but heat, freezing, chemicals, and frequent use can shorten its life.
Can I use WD-40 on an RV sewer valve?
WD-40 and similar petroleum-based products are not the best choice for rubber valve seals. Use a silicone-based lubricant that is labeled as safe for rubber and RV wastewater components.
Why does my RV sewer valve leak only after driving?
Road vibration can shift a loose valve, pull on the sewer outlet, or move debris into the gate. Inspect the mounting bolts, pipe support, cable, and sewer hose setup.
Conclusion
An RV sewer valve leaking problem usually comes from worn seals, debris, misalignment, a damaged cap, or a cracked valve body. Start with a safe inspection, identify the exact leak point, and use the least invasive repair that fits the problem.
Clean tanks, careful dumping, proper lubrication, winter protection, and good hose support can extend valve life. If the leak involves black water, a hidden tank outlet, or difficult access, professional service is the safer choice.
Inspect your valve before your next trip, keep the right replacement parts on hand, and share your repair experience or questions in the comments.