RV Toilet Treatment: My Guide to Black Tank Care, Odor Control, and Cleaning
Choosing an RV toilet treatment can feel confusing when every bottle promises cleaner tanks, fewer odors, and easier dumping. I recommend starting with the basics: understand what your tank needs, follow your RV manufacturer’s instructions, and choose a product designed for that system.
A treatment can help manage odors and, depending on its formulation, assist with waste and toilet-paper breakdown. But it cannot replace adequate water, proper dumping, or mechanical repairs.
In this guide, I explain the main treatment types, how to use them, and what to check before buying. I also cover the difference between routine additives and tank cleaners—and when adding another dose is unlikely to solve your problem.
Quick answer: For routine use, choose an RV-compatible holding tank treatment that matches your maintenance needs and complies with local disposal rules. Follow the label for dosing, add sufficient water, and keep the black tank valve closed between dumps.
Quick Navigation
What Is RV Toilet Treatment?
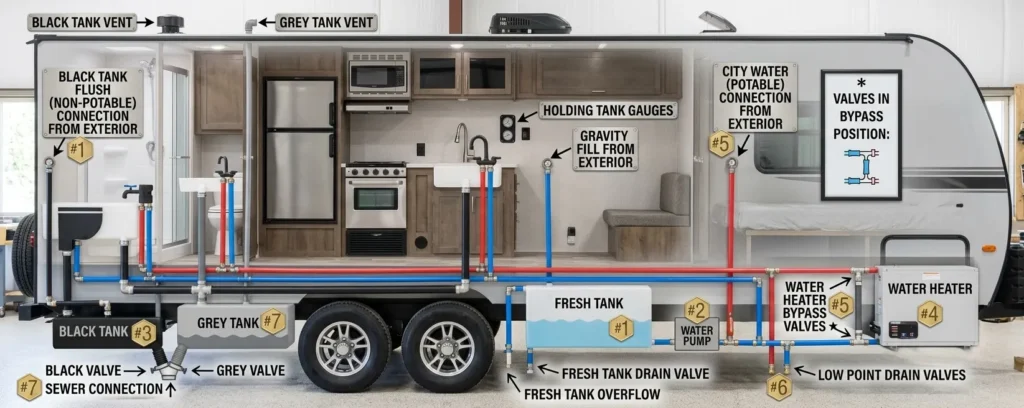
RV toilet treatment is an additive used in the black water holding tank—the tank that collects toilet waste and flush water.
Depending on the formula, an RV black tank treatment may help:
- Control or reduce odors.
- Support the breakdown of waste and toilet paper.
- Reduce certain types of buildup when used as directed.
- Make routine holding tank maintenance more manageable.
Products sold as camper toilet treatment, RV waste tank treatment, or camper black water treatment generally target the same type of system. However, formulas and instructions vary, so I check the actual product label rather than relying on the name.
Your RV Holding Tank Is Not a Household Septic Tank
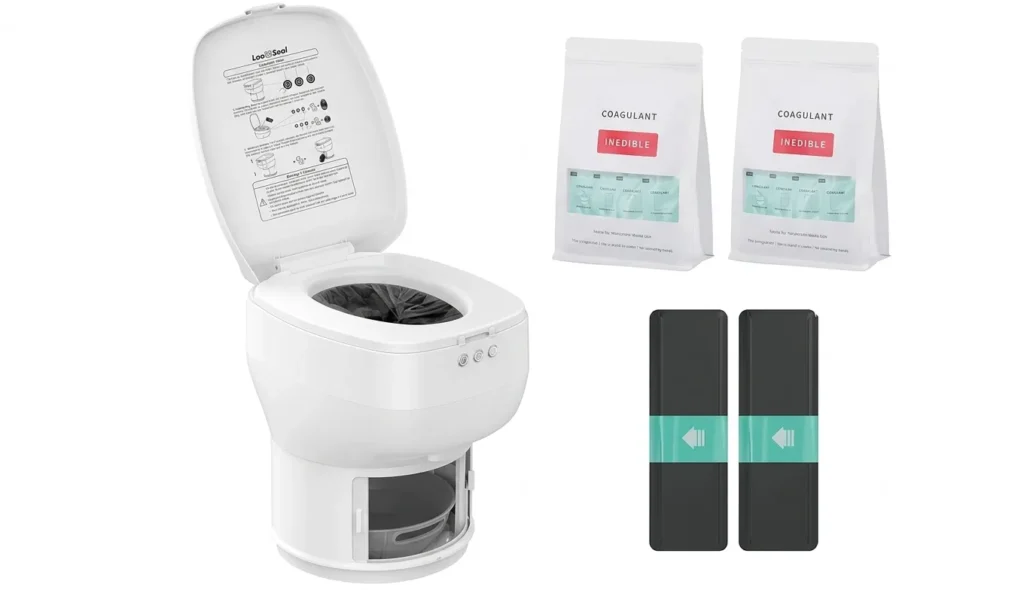
An RV black tank mainly stores waste until you empty it at an approved disposal point. A household septic system treats wastewater through a tank and a soil absorption system.
You may see products marketed as RV septic tank treatment, RV septic treatment, or camper septic treatment. These terms can be misleading if they suggest your RV operates like a residential septic system.
I would not substitute a household septic additive for an RV product unless the manufacturer explicitly approves that use.
Important: “Septic safe” on a label does not automatically mean a product is compatible with every RV component or permitted at every campground.
Types of RV Holding Tank Treatment
An RV holding tank treatment can use biological ingredients, chemical odor control, or a combination of approaches. Product categories sometimes overlap.
| Treatment type | Intended purpose | What I check before buying |
|---|---|---|
| Bacterial or biological | Support biological waste breakdown and odor management | Storage requirements, operating conditions, and compatibility with other products |
| Enzyme-based | Help break down particular organic materials | What the formula is designed to break down and its required contact time |
| Chemical odor-control | Suppress or neutralize odors through chemical action | Ingredients, handling precautions, disposal restrictions, and system compatibility |
| Fragrance-focused | Mask unpleasant smells | Whether it also addresses the source of odors |
| Dedicated cleaner | Loosen or remove certain deposits and residue | Tank compatibility, soaking instructions, and disposal directions |
Bacterial and Enzyme-Based Treatments
These formulas are often marketed for waste breakdown and odor management. Results depend on the product, temperature, contact time, tank conditions, and how the system is used.
I do not assume that “biological” means universally effective or harmless. I still follow handling instructions and avoid combining it with disinfectants or other additives unless the manufacturers explicitly permit that combination.
Chemical Odor-Control Treatments
Some RV black tank chemicals are designed primarily to manage odors rather than clean accumulated deposits.
When comparing camper black tank chemicals, I check:
- Whether the product is specifically labeled for RV waste systems.
- Whether my RV manufacturer permits it.
- Whether the disposal facility accepts waste containing it.
- Whether special handling or protective equipment is required.
Do not assume that “formaldehyde-free,” “natural,” or “biodegradable” means unrestricted use or disposal.
Liquid, Powder, or Drop-In Packets?
The format mainly affects convenience and dosing.
- Liquids: Useful when the label allows measured dosing for different tank sizes.
- Powders: Can offer flexible dosing but need careful handling and dry storage.
- Packets: Convenient, though the fixed dose may not suit every tank size or situation.
I choose the format after checking the formulation and instructions—not the other way around.
How I Choose the Best RV Toilet Treatment
There is no single best RV toilet treatment for every camper. The right choice depends on your equipment, usage pattern, and the problem you are trying to solve.
1. Identify the Actual Problem
Before buying anything, I ask:
- Am I preventing routine odors?
- Is the toilet bowl losing its water seal?
- Is the tank draining slowly?
- Are the sensors reading incorrectly?
- Has waste dried inside the tank?
- Is there a valve or plumbing problem?
A product that controls odors may do little for a physical blockage. Likewise, a cleaner will not repair a damaged toilet seal.
2. Confirm Equipment Compatibility
Check the RV, toilet, and tank-system manuals. This is especially important for macerating toilets, pumps, unusual plumbing configurations, and systems with specific chemical restrictions.
The best RV black tank treatment should fit your system—not simply have the strongest fragrance or the largest number of online reviews.
3. Check Dosing and Cost per Use
Compare the number of correctly sized treatments a container provides. A low purchase price does not always mean a lower cost per dump cycle.
Look for clear instructions covering:
- Tank capacity.
- Amount of product.
- Water requirements.
- Treatment timing.
- Any label-approved adjustments for operating conditions.
4. Consider Climate and Usage
Hot weather, frequent use, and extended storage create different conditions.
For weekend trips, convenience may matter most. For frequent travel, cost per treatment and consistent performance may matter more. In either case, I would not exceed the label dose unless the manufacturer specifically instructs it.
5. Check Disposal Rules
Some campgrounds and wastewater facilities restrict particular additives. Check before use, especially when traveling between regions.
Whether a product claims to be the best RV holding tank treatment, best RV tank treatment, or best RV waste tank treatment, I apply the same test: clear instructions, documented compatibility, an appropriate purpose, and acceptable disposal requirements.
How to Use RV Black Water Tank Treatment
The following is a general maintenance sequence. Your equipment manual and product label take priority.
Step 1: Empty the Tank at an Approved Location
Wear disposable gloves and secure the sewer hose before opening any valve. Inspect the hose and fittings for damage.
If both tanks share a sewer outlet and your RV’s instructions permit it, empty the black tank first, followed by the gray tank.
Never discharge waste onto the ground or into a storm drain.
Step 2: Rinse According to Your RV’s Instructions
Use the built-in flushing system or an approved cleaning method if needed.
If you use a tank-flush connection:
- Follow its valve-position instructions.
- Never leave the water running unattended.
- Use a dedicated non-potable hose.
- Keep the specified backflow protection in place.
Do not use your drinking-water hose for waste-system rinsing.
Step 3: Close the Black Tank Valve
For normal use, keep the black tank valve closed between dumps, even when connected to a campground sewer.
Leaving it open allows liquid to drain away while solids remain. Over time, this can contribute to hardened buildup beneath the toilet.
Step 4: Add Water
Add the starting amount of water recommended by your RV manufacturer and treatment label.
The goal is to avoid depositing waste into a dry tank. There is no universal starting quantity because tank shapes, capacities, and product instructions differ.
Step 5: Add the Correct Treatment Dose
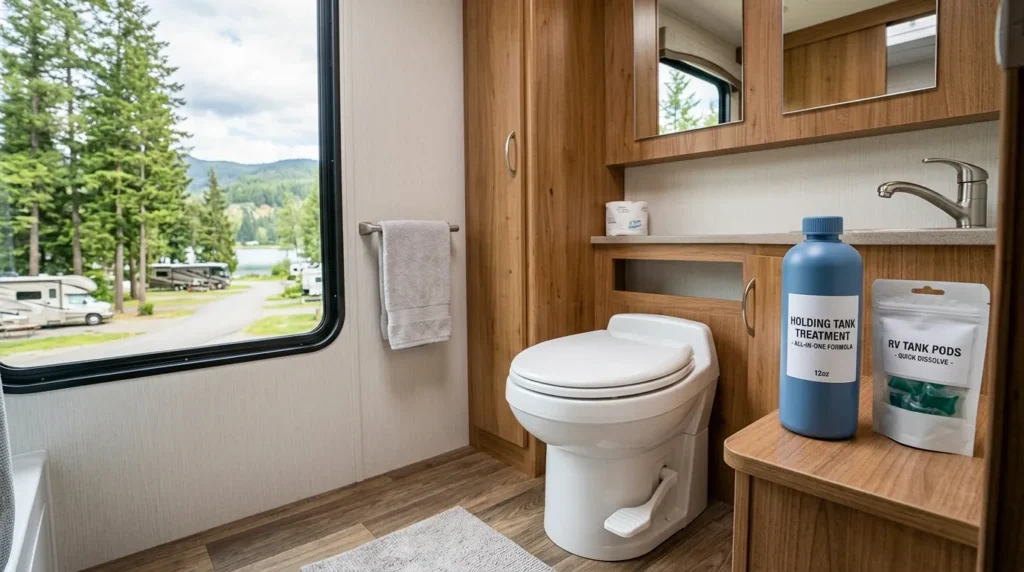
Add your RV black water tank treatment through the location specified on its label—commonly the toilet for black tank products.
Do not assume that more product means better results. Extra doses add cost and may not address the underlying problem.
Step 6: Use Adequate Flush Water
A black tank treatment works as part of a maintenance routine, not as a substitute for water.
Use enough flush water to help move waste into the tank. Avoid repeatedly making minimal-water flushes that leave solids concentrated in one area.
Safety note: Never mix holding tank products with household drain openers, bleach, acids, ammonia, or other chemicals unless the relevant manufacturers explicitly authorize the combination. Some mixtures can release hazardous gases.
RV Tank Treatment vs. RV Holding Tank Cleaner
An RV tank treatment is generally intended for routine use between dumps. An RV holding tank cleaner is typically intended for a specific cleaning task, such as loosening residue or deposits.
| Product | Typical use | Important limitation |
|---|---|---|
| Routine treatment | Ongoing odor management and waste-conditioning support | Does not replace proper water use |
| Dedicated cleaner | Periodic cleaning or targeted deposit removal | May require soaking and thorough rinsing |
| Sensor-focused cleaner | Addressing residue on certain tank sensors | Cannot repair electrical faults or failed sensors |
| Household drain opener | Household plumbing applications | Not a substitute for an RV-approved product |
The best RV black tank cleaner is the one suited to the deposit you need to remove and approved for your system. I would not choose solely on claims such as “industrial strength.”
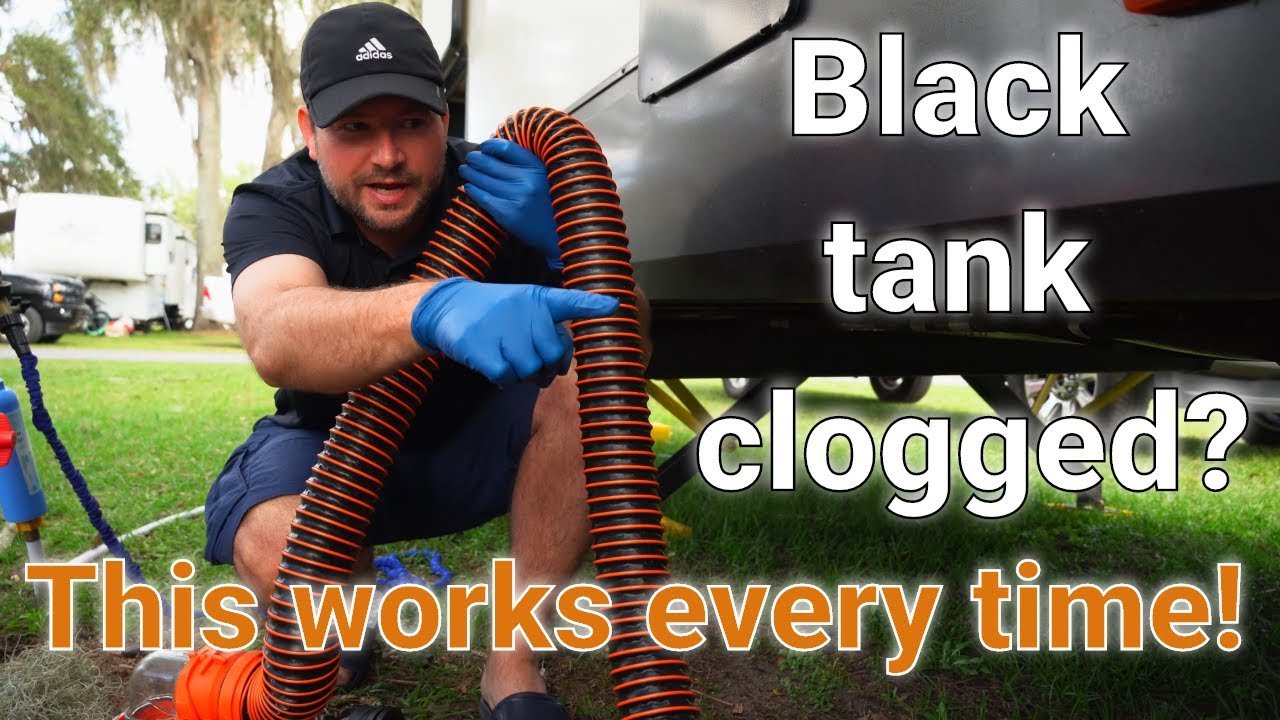
If drainage has stopped completely, identify the blockage before adding more liquid. A full or backed-up tank can overflow.
Can Treatment Fix a Clogged Black Tank?
Sometimes a suitable product, sufficient water, and the required contact time may help soften certain waste deposits. But a treatment cannot be relied on to clear every obstruction.
Clogs can involve:
- Hardened waste beneath the toilet.
- Excessive toilet paper.
- Wipes or other foreign objects.
- A blocked toilet drop pipe.
- A malfunctioning outlet valve.
- An obstruction in the discharge plumbing.
Even the best black tank treatment cannot reliably dissolve wipes, remove a foreign object, or repair a stuck valve.
If the tank is not draining, stop flushing until you understand the situation. Avoid forceful pressurization and improvised tools that could damage the plumbing.
Related guides: How To Unclog A Camper Black Tank; How To Clean Clogged RV Black Tank; RV Black Tank Valve Won’t Open.
Why Your RV Toilet Still Smells After Treatment
Persistent odor does not automatically mean you need a stronger additive.
Check the Toilet’s Water Seal
Many RV toilets use water in the bowl as part of the odor barrier. If that water disappears unexpectedly, inspect the toilet according to its manual.
The bowl seal may need cleaning, manufacturer-approved lubrication, adjustment, or replacement.
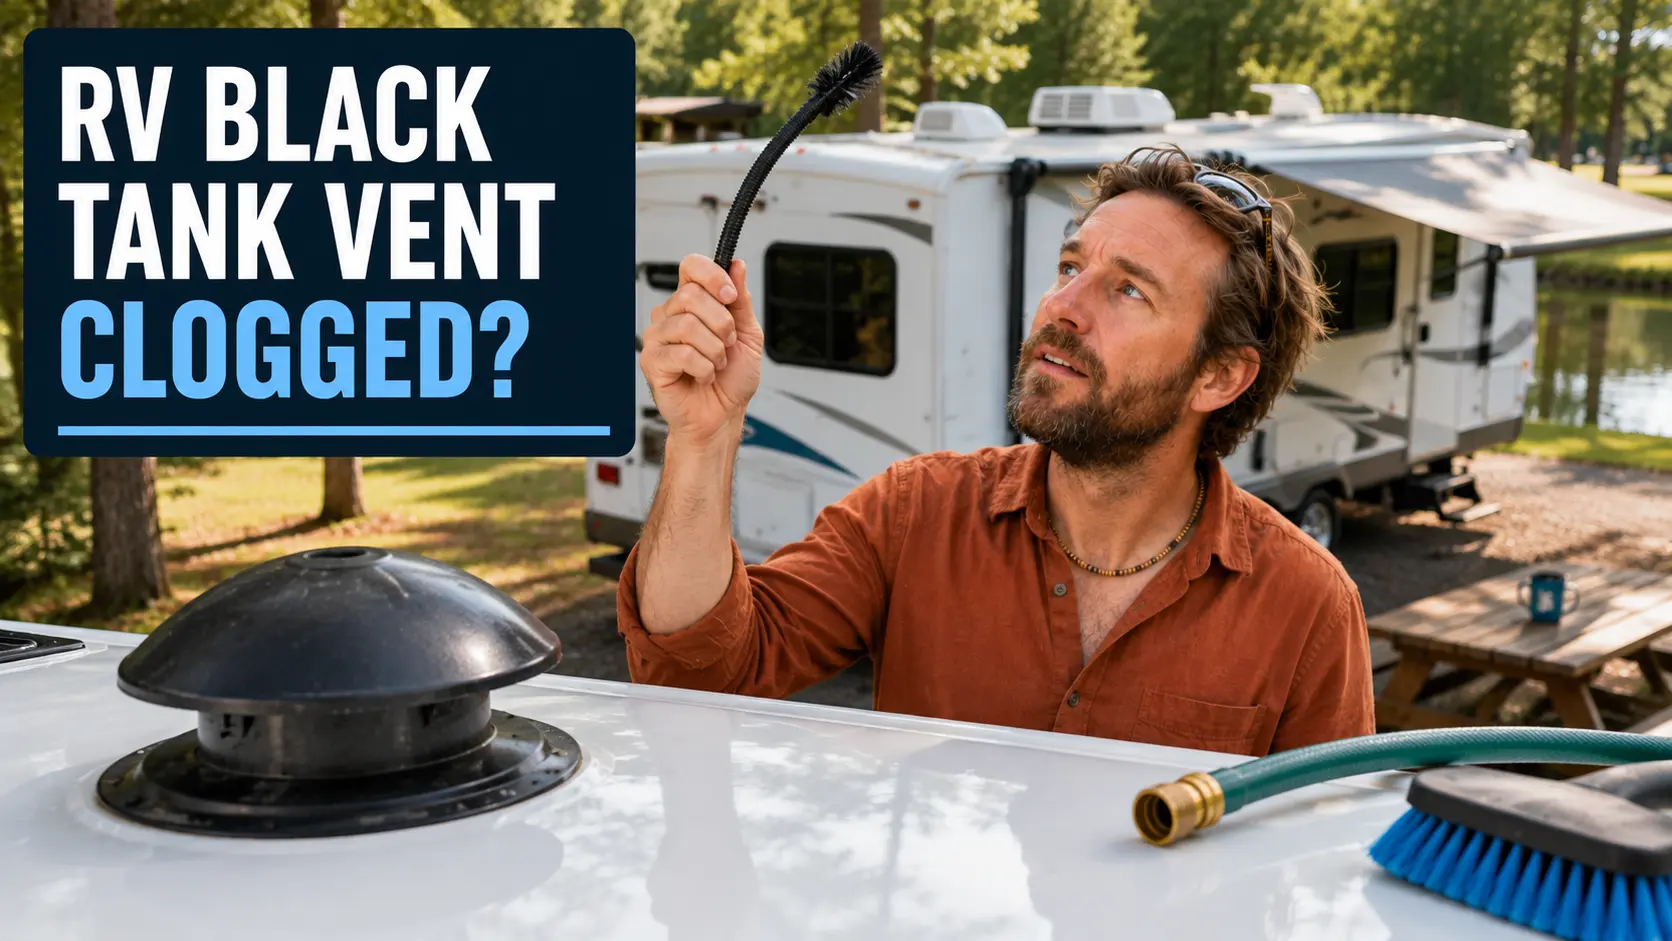
Check Tank Venting
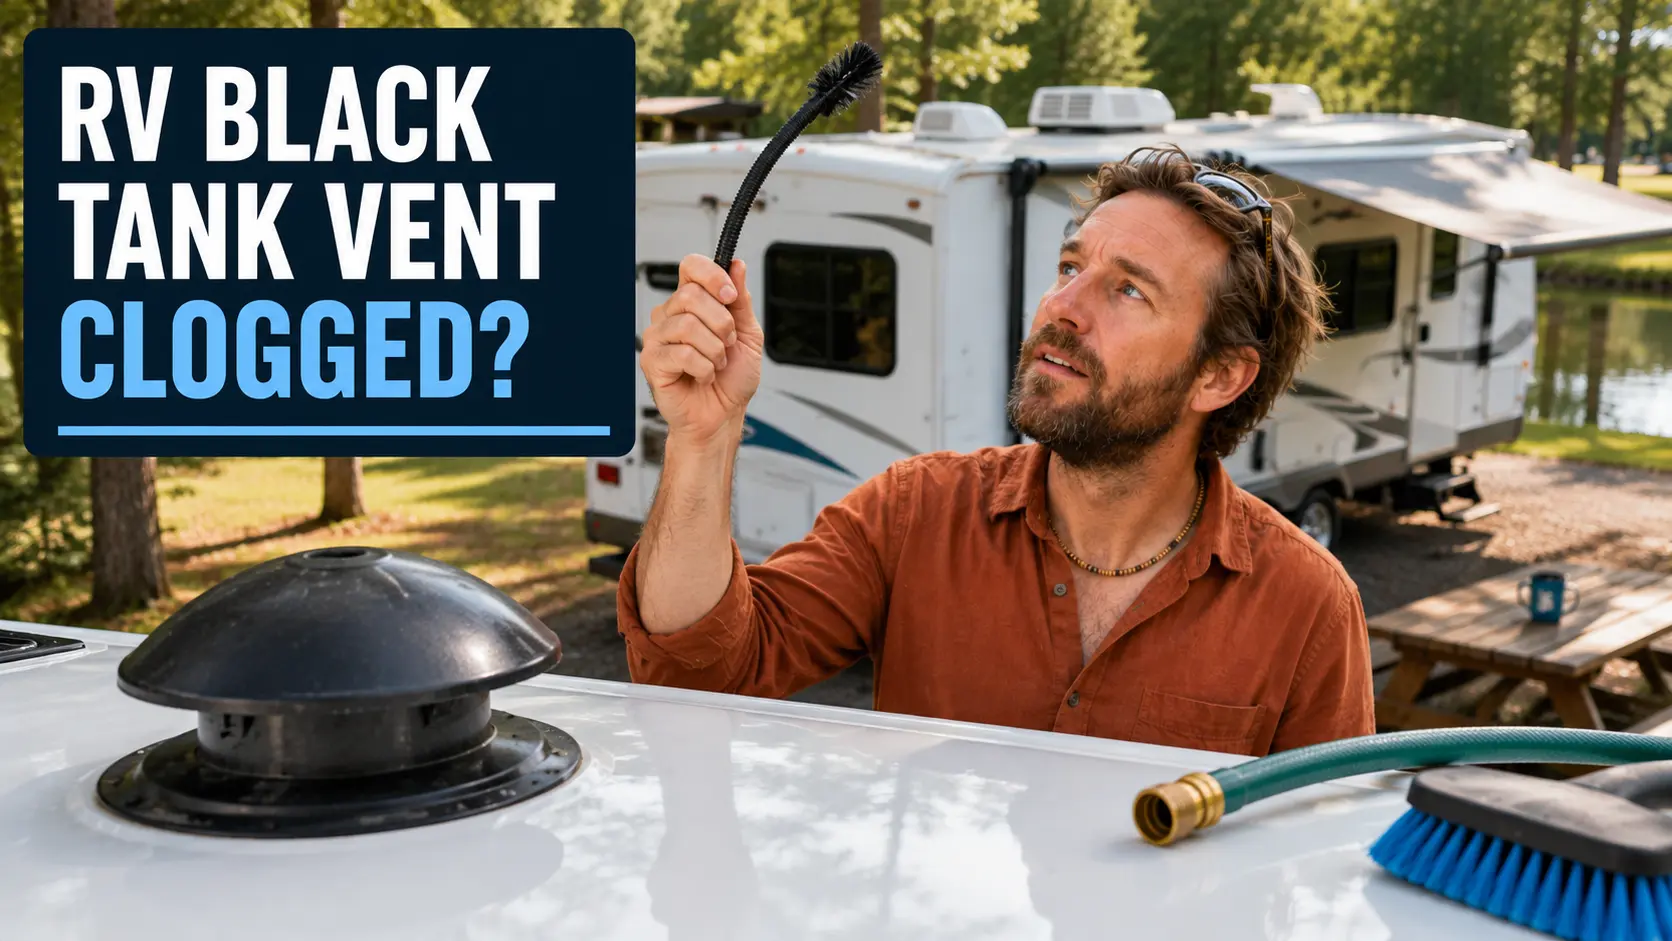
A blocked or damaged vent can interfere with normal ventilation. Have inaccessible vents inspected safely rather than climbing onto the roof without suitable equipment and conditions.
Look for Leaks or Connection Problems
Odors may come from seals, fittings, or plumbing connections rather than the contents of the tank alone.
Review Water Use and Dumping Habits
Too little water and an open black tank valve can contribute to concentrated waste and buildup.
Before switching camper holding tank treatment products repeatedly, I would check these fundamentals.
How Often Should You Add Treatment?
Follow the product’s instructions. Many routine additives are used after dumping and adding fresh water, but not every product follows the same schedule.
| Situation | Recommended approach |
|---|---|
| After dumping | Add water and treatment as directed |
| During normal use | Maintain adequate flush water; redose only as instructed |
| During hot weather | Follow any label-specific adjustments |
| Before storage | Empty, clean, and prepare the system according to the RV manual |
| During freezing conditions | Follow the manufacturer’s winterization procedure |
A routine holding tank treatment is not antifreeze. Do not rely on it for freeze protection.
My Black Tank Maintenance Checklist
During Every Trip
- Keep the black tank valve closed between dumps.
- Use adequate flush water.
- Put only human waste and suitable toilet paper into the toilet.
- Keep wipes, hygiene products, grease, and food scraps out.
- Monitor tank capacity and dump before overfilling.
After Dumping
- Rinse as directed by the RV manufacturer.
- Close valves and secure the outlet cap.
- Add water and the labeled treatment dose if returning the tank to service.
- Clean and store waste-handling equipment separately from drinking-water equipment.
- Remove gloves and wash your hands thoroughly.
Periodically
- Inspect accessible seals, fittings, hoses, and valves.
- Investigate persistent odors instead of masking them.
- Clean deposits when needed using an approved method.
- Check that tank sensors and valves operate correctly.
Frequently Asked Questions
Do I need treatment every time I use the toilet?
Usually not. Many products are dosed per tank or after dumping, rather than with every flush. Follow the instructions for your specific product.
Can I use a black tank treatment in the gray tank?
Only if the label approves gray tank use. Gray tanks collect different materials, including soap residue and food particles, so a product suitable for one tank may not be intended for the other.
Can I use bleach instead of camper toilet treatment?
I do not recommend substituting bleach for a routine tank additive. Compatibility depends on your equipment, and bleach can react dangerously with other chemicals. Use only manufacturer-approved cleaning procedures.
Does RV toilet treatment sanitize drinking water?
No. Waste-tank additives must never be used in the freshwater tank. Freshwater sanitation requires a separate, manufacturer-approved procedure.
Will treatment fix inaccurate tank sensors?
It may help if residue is responsible and the product is designed for that purpose. It will not repair damaged sensors, wiring problems, or other electrical faults.
Is homemade treatment better than a commercial product?
I would not assume so. Homemade mixtures can create compatibility, foaming, handling, or disposal problems. A clearly labeled, RV-compatible product is easier to evaluate and dose correctly.
Do I still need RV-compatible toilet paper?
Follow your toilet manufacturer’s recommendations. Paper that breaks apart readily can help, but treatment does not make wipes or other unsuitable materials safe to flush.
Final Thoughts
My approach to RV toilet treatment is straightforward: choose a compatible product for a specific purpose, use the correct dose, and support it with good water and dumping habits.
If odors, clogs, or sensor problems keep returning, investigate the cause rather than adding more chemicals. Proper maintenance—and timely repairs when needed—does more for dependable tank operation than any product claim.
References and Product-Checking Resources
For equipment-specific instructions and disposal guidance, consult:
- Your RV owner’s manual and toilet manufacturer’s manual.
- The treatment manufacturer’s label and Safety Data Sheet.
- Thetford and Dometic for applicable product manuals and care instructions.
- EPA: How Septic Systems Work for the distinction between septic systems and holding tanks.
- Your campground or dump station’s current chemical and disposal rules.