Fill, soak, and backflush with the right tools to clear RV black clogs.
I’ve cleared dozens of stubborn black tank clogs in my own RVs and out in the field. I know how frustrating a backed-up tank can be—and how the wrong approach can make matters worse.
In this How To Clean Clogged RV Black Tank guide, I share my hands-on troubleshooting process, explain which cleaning methods to use and when, and highlight mistakes that can damage your RV’s plumbing. I’ll also cover the maintenance habits I rely on to help prevent repeat blockages.

Understanding your RV black tank and why it clogs
A black tank holds toilet waste and water. It needs steady water flow to carry solids out. When water is low, solids settle. They harden and form a plug. Paper can also wad up and block the outlet or the pipe below the toilet.
Common clog types:
- Pyramid plug Under-toilet pile that forms when the valve stays open or you flush with little water.
- Outlet blockage Waste lodges at the tank gate valve or elbow.
- Tissue wad Paper clumps near the drop pipe or outlet.
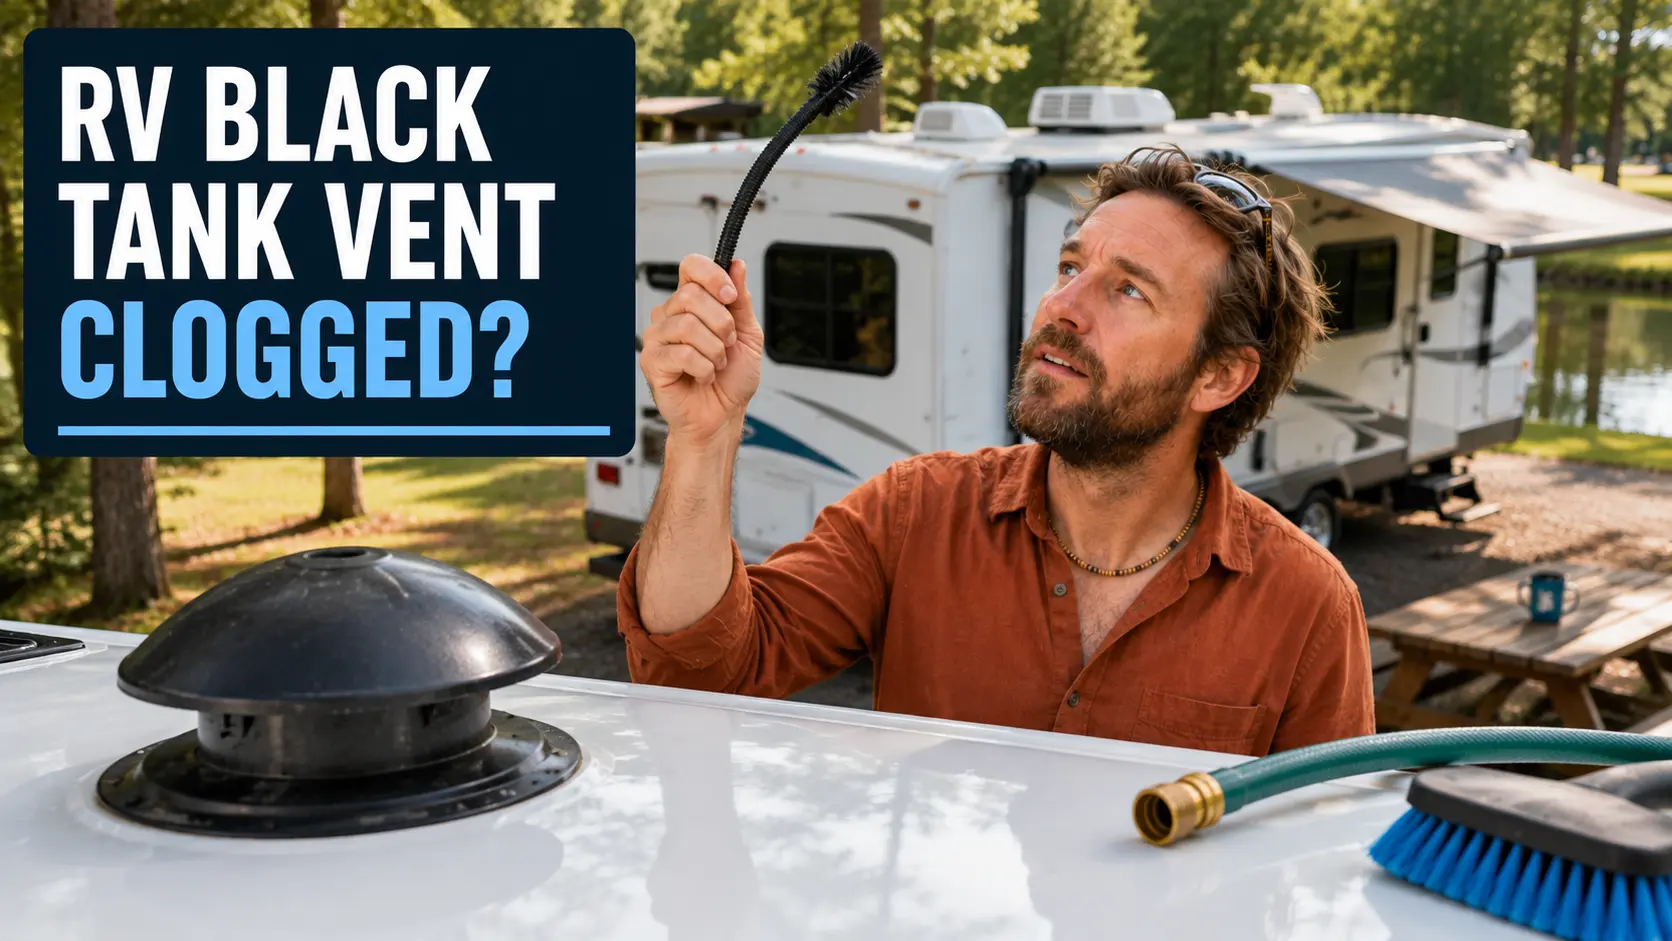
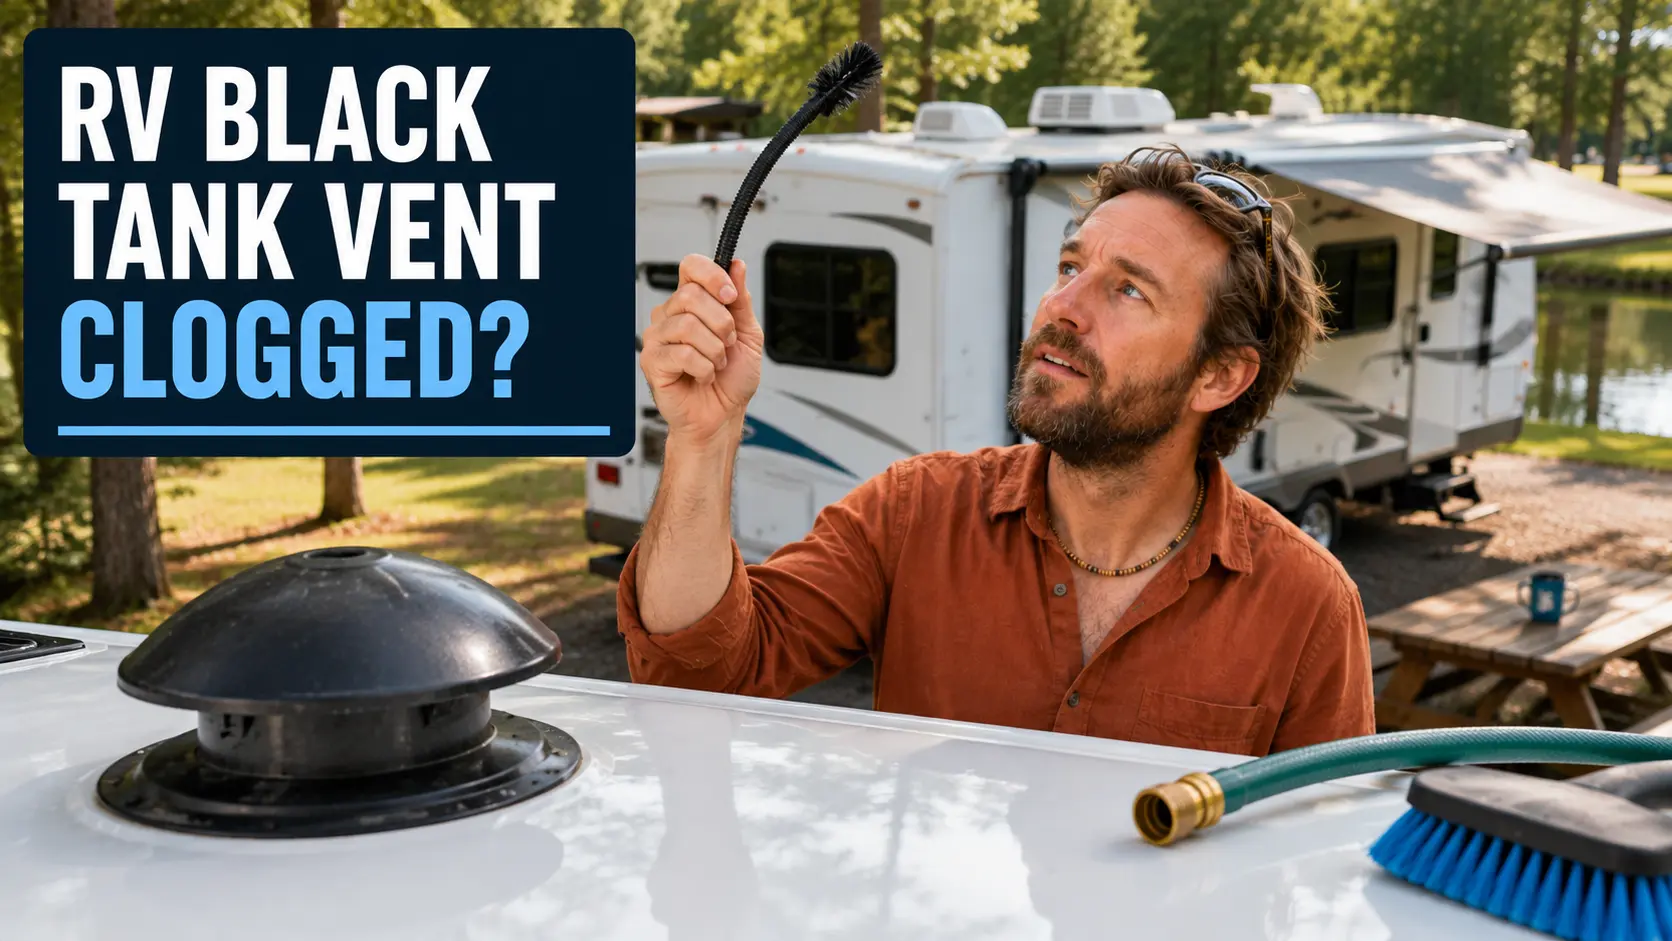
- Vent blockage Roof vent nests or debris slow drain and cause burps.
- Sensor sludge Layer of grime that fakes a “full” reading.
Before you try how to clean clogged rv black tank, learn what type you face. A clear sewer elbow helps you see flow. Burps, slow drains, or a toilet that won’t accept water are key signs.
Safety, tools, and prep checklist
You can do how to clean clogged rv black tank with basic gear. Protect yourself and the rig first.
What you need:
- Nitrile gloves and eye protection Keeps you safe.
- Clear sewer elbow Lets you see progress.
- Quality sewer hose with no leaks Avoids a mess.
- Garden hose with pressure regulator Keeps pressure at safe levels.
- Backflush adapter For reverse flushing through the outlet.
- Tank rinser or wand Directs water jets down the drop pipe.
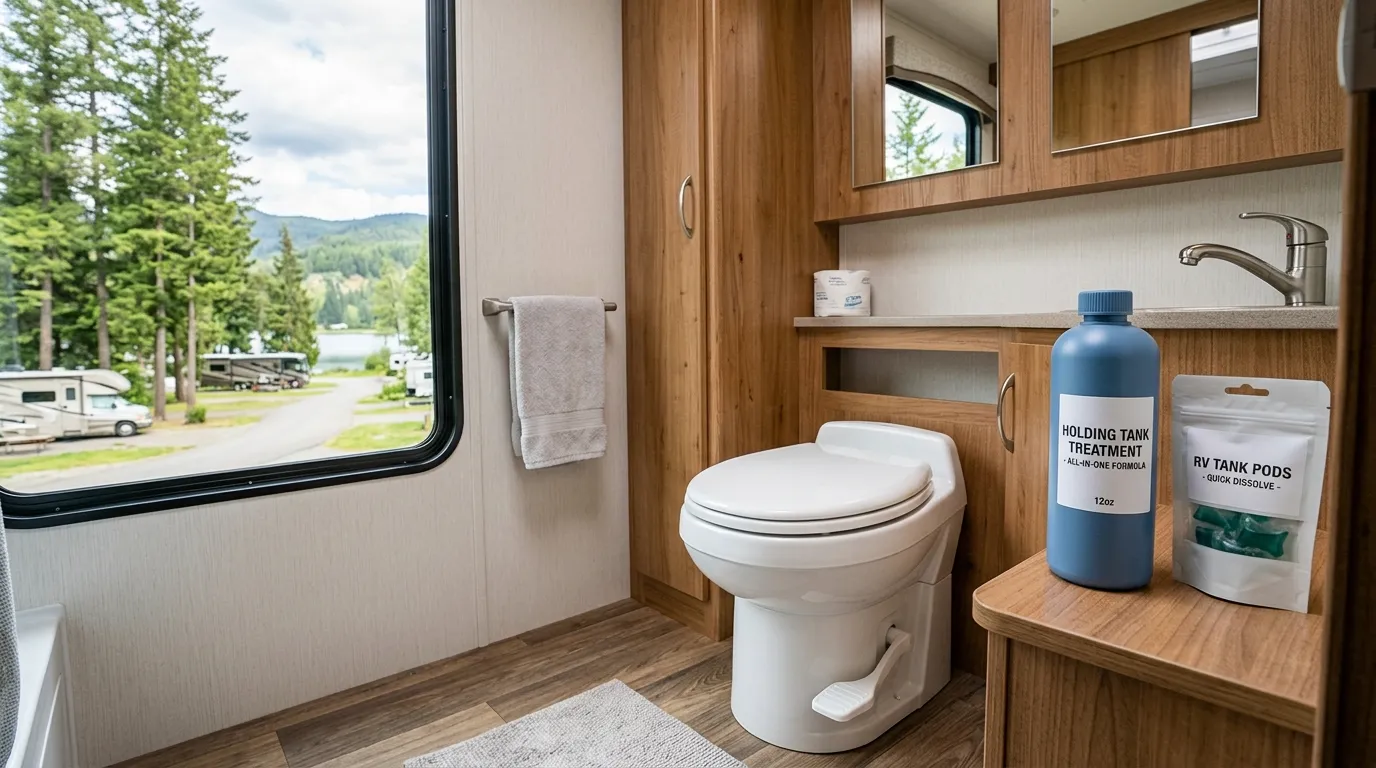
- Enzyme digester Breaks down waste without harsh chemicals.
- Mild surfactant A few ounces of dish soap help loosen grime.
- Valve lubricant Made for RV tanks to ease sticky gate valves.
Safety notes:
- Never mix chemicals. Bleach plus ammonia makes toxic gas. Harsh drain cleaners can ruin seals.
- Use warm, not hot, water. Too hot can warp plastic.
- Keep the black valve closed until you are ready to dump.
From my own rookie mistake: I once left a site with the black valve open for three days. I built a perfect pyramid plug. It took hours with a wand to break it. Learn from me—water first, valve closed.
Step-by-step: how to clean clogged rv black tank
If you are stuck at a dump station, stay calm. You can still fix it. If you are at a site, even better. Here is how to clean clogged rv black tank in a safe, clear order.
- Confirm the clog
- Attach the clear elbow and hose. Pull the black valve.
- No flow or just a dribble? You have a blockage.
- Close the valve again.
- Hydrate the tank
- Add warm water through the toilet. Aim for at least one third full.
- Add an enzyme digester per label. Add 2–4 ounces of dish soap.
- Let it soak for 2–12 hours. Overnight is great.
- Gentle backflush cycles
- Hook up the backflush adapter at the sewer outlet. Use a regulator.
- Open the black valve. Pulse water in for 30–60 seconds, then stop.
- Let it drain. Repeat 4–6 times. Watch the clear elbow for chunks.
- Attack a pyramid plug
- Use a tank wand down the toilet. Hold the flush pedal open.
- Work in small circles. Keep the wand tip below the waterline to reduce splash.
- Alternate wand work with backflush cycles.
- Use motion to help
- If safe, drive 15–30 minutes with the warm water mix in the tank.
- The rig’s motion breaks up waste. Then dump and backflush again.
- Check the roof vent
- A blocked vent stalls flow and causes burps.
- Clear leaves, nests, or wasp debris. Then test the dump again.
- Finish and lube
- When flow runs clear, close the valve. Add 3–5 gallons of clean water to the black tank.
- Add enzyme treatment. Dose per label.
- Drip in a liquid valve lube to protect the gate.
If you searched how to clean clogged rv black tank because nothing will drain, repeat soak and backflush cycles. Be patient. Most clogs break with water, time, and a wand. Avoid caustic cleaners. They can damage seals and void warranties.
Advanced methods and when to call a pro
Sometimes DIY how to clean clogged rv black tank efforts fail. Try these advanced steps before you phone a tech.
- Reverse flush from the outlet Use a purpose-built backflush adapter. Pulse water. Do not exceed safe pressure.
- Flexible toilet auger If a wand cannot break a tight cone, a short, flexible auger may help. Go slow to avoid scratching the bowl or pipe.
- Wet-dry vacuum with care Some owners pull from the sewer outlet with a sealed setup. This is risky and messy. Use only if you know how to keep vapors and waste contained.
- Professional hydro-jet A mobile RV tech or dealer can jet the tank with controlled pressure and angle. This is often the fastest fix for a long-standing sludge bed.
When DIY how to clean clogged rv black tank fails after several cycles and a soak, call a pro. A good tech saves your seals and your weekend.
Preventive care to avoid the next clog
The best way for how to clean clogged rv black tank is to not need it again. Build these habits into every trip.
- Water before solids Start with a bowl of water before each use.
- Hold the valve closed Always dump only when the tank is at least two thirds full.
- Use RV-rated toilet paper It breaks down faster. Or use any septic-safe paper and test it at home.
- Double flush Big job? Do two full bowl flushes.
- Treat and hydrate Add enzyme after each dump. Leave 3–5 gallons of water in the tank for the road.
- Rinse each time Backflush or wand rinse until you see clear flow.
- Drive and slosh A short drive with a soapy water mix helps clean walls and sensors.
- Vent check Make vent checks part of your monthly routine.
- Winterize right Empty, rinse, and leave valves dry and closed. Use RV antifreeze per your manual in freezing areas.
If you need a refresher on how to clean clogged rv black tank later, bookmark this guide. Small habits beat big clogs.
Troubleshooting quick wins
If you must do how to clean clogged rv black tank at a busy dump station, work fast and safe.
- Toilet burps when you flush Add water, then open a roof vent or window. Check the roof vent for a nest.
- Nothing drains at all Soak with enzyme and warm water, then backflush in short pulses.
- Strong odor in the rig Confirm the P-trap under the sink has water. Check the air admittance valve. Then treat the black tank and vent.
- Stuck gate valve Gently work it in small moves. Add liquid valve lube. Do not force it wide open.
- Sensors read full after dumping Fill to one third with warm water plus dish soap. Drive, then dump and rinse.
This section is your on-the-spot playbook. It shortens the time from panic to fix. It also helps you repeat how to clean clogged rv black tank without guesswork.
Frequently Asked Questions of how to clean clogged rv black tank
What is the fastest safe way to clear a clog?
Hydrate with warm water and enzyme, then backflush in cycles. If blocked under the toilet, use a tank wand to break the cone.
Can I pour bleach into my black tank?
I do not recommend it. Bleach can harm seals and kill helpful bacteria. Use enzyme digesters and soap instead.
How much water should I keep in the tank after dumping?
Leave 3–5 gallons in the black tank. This keeps waste from sticking and speeds the next dump.
Does “ice in the tank” really work?
Ice melts fast and has little scrubbing power. Warm water, enzyme, and motion clean far better.
How often should I deep clean the black tank?
Do a rinse every dump, and a deep clean every few trips. If you full-time, deep clean monthly or when sensors read wrong.
What pressure is safe for backflushing?
Use a regulator and stay in the 30–50 psi range. Higher pressure risks damage to fittings or the tank.
What if my valve is stuck closed?
Soak the tank, then add liquid valve lube and work it gently. If it will not budge, call a pro to avoid breaking the handle or gate.
Conclusion
You now have a clear, proven plan for how to clean clogged rv black tank without drama. Start with water and time, then rinse and repeat with a wand and backflush. Check the vent, lube the valve, and leave water in the tank.
Make these steps your new routine. You will prevent clogs, protect seals, and get accurate sensor readings. If this helped, share it with a fellow RVer, subscribe for more RV care tips, or drop your toughest tank question in the comments.