Installing an RV black tank flush system is straightforward: follow these steps for effective waste management efficiency.
RV black tank flush system maintenance is one of those things that separates stress free camping from a weekend you would rather forget. I learned that early on after my first season without one — stubborn buildup, sensors that would not read correctly, and a smell that lingered no matter how many times I dumped. Installing a proper flush system was the single best upgrade I made to my rig and I have not looked back since.
After installing and using black tank flush systems across multiple rigs and real camping conditions over the years, I know exactly what works and what does not. This guide walks you through everything clearly — why a flush system matters, how to install one properly, and the habits that keep your tank clean and odor free trip after trip. Whether you are new to RV life or just tired of dealing with a dirty tank, this guide gets you sorted fast.
Understanding the RV Black Tank Flush System
Most RV owners do not think about their black tank until something goes wrong. But understanding how your flush system actually works makes every clean faster, easier, and more effective. Here is what you need to know:
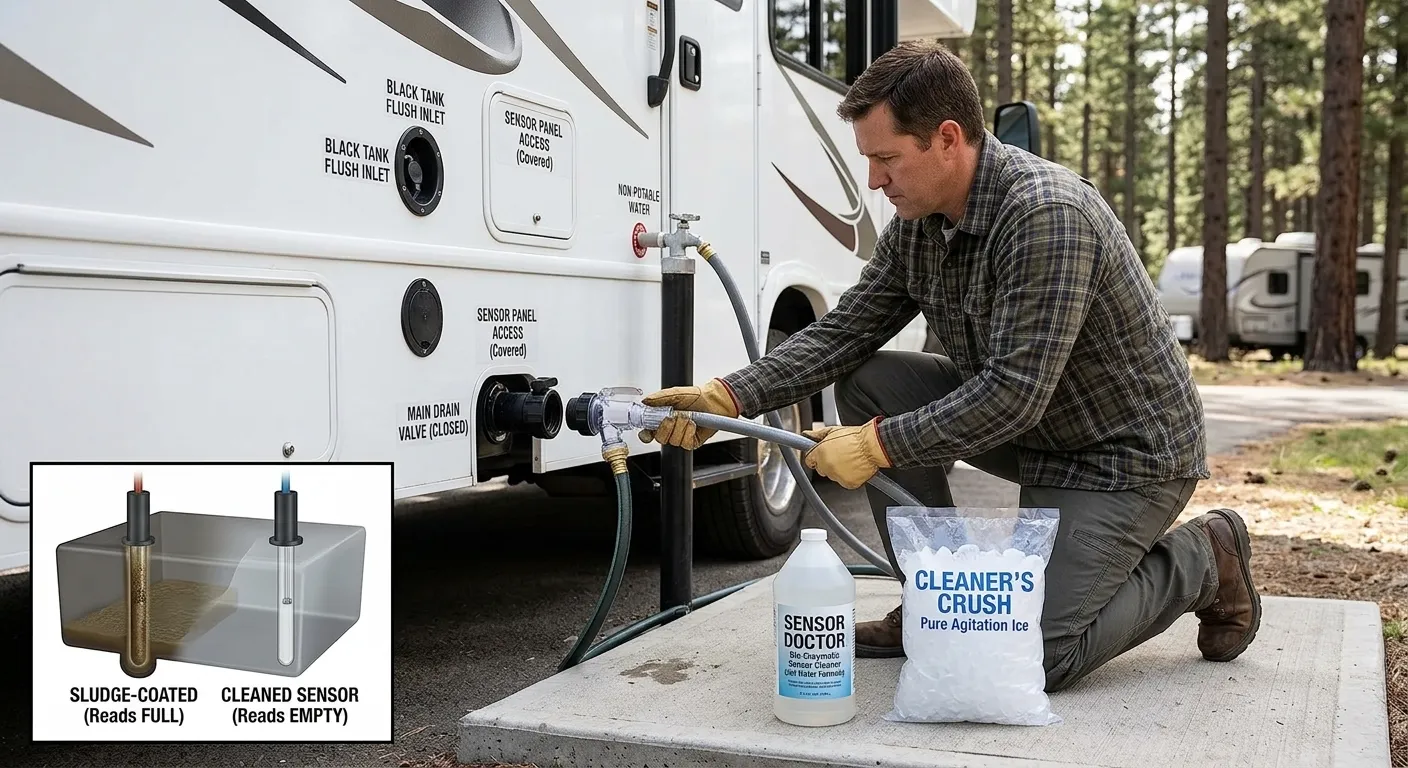
Your black tank holds all the waste from your RV toilet. Over time solid waste and toilet paper build up on the walls and bottom of the tank. Without a flush system that buildup hardens, causes clogs, coats your sensors, and creates odors that treatments alone cannot fix. A black tank flush system solves all of that by pushing clean water through the tank and flushing everything out properly after every dump.
Components of the System
There are three main parts that make the whole thing work:
Flush Valve
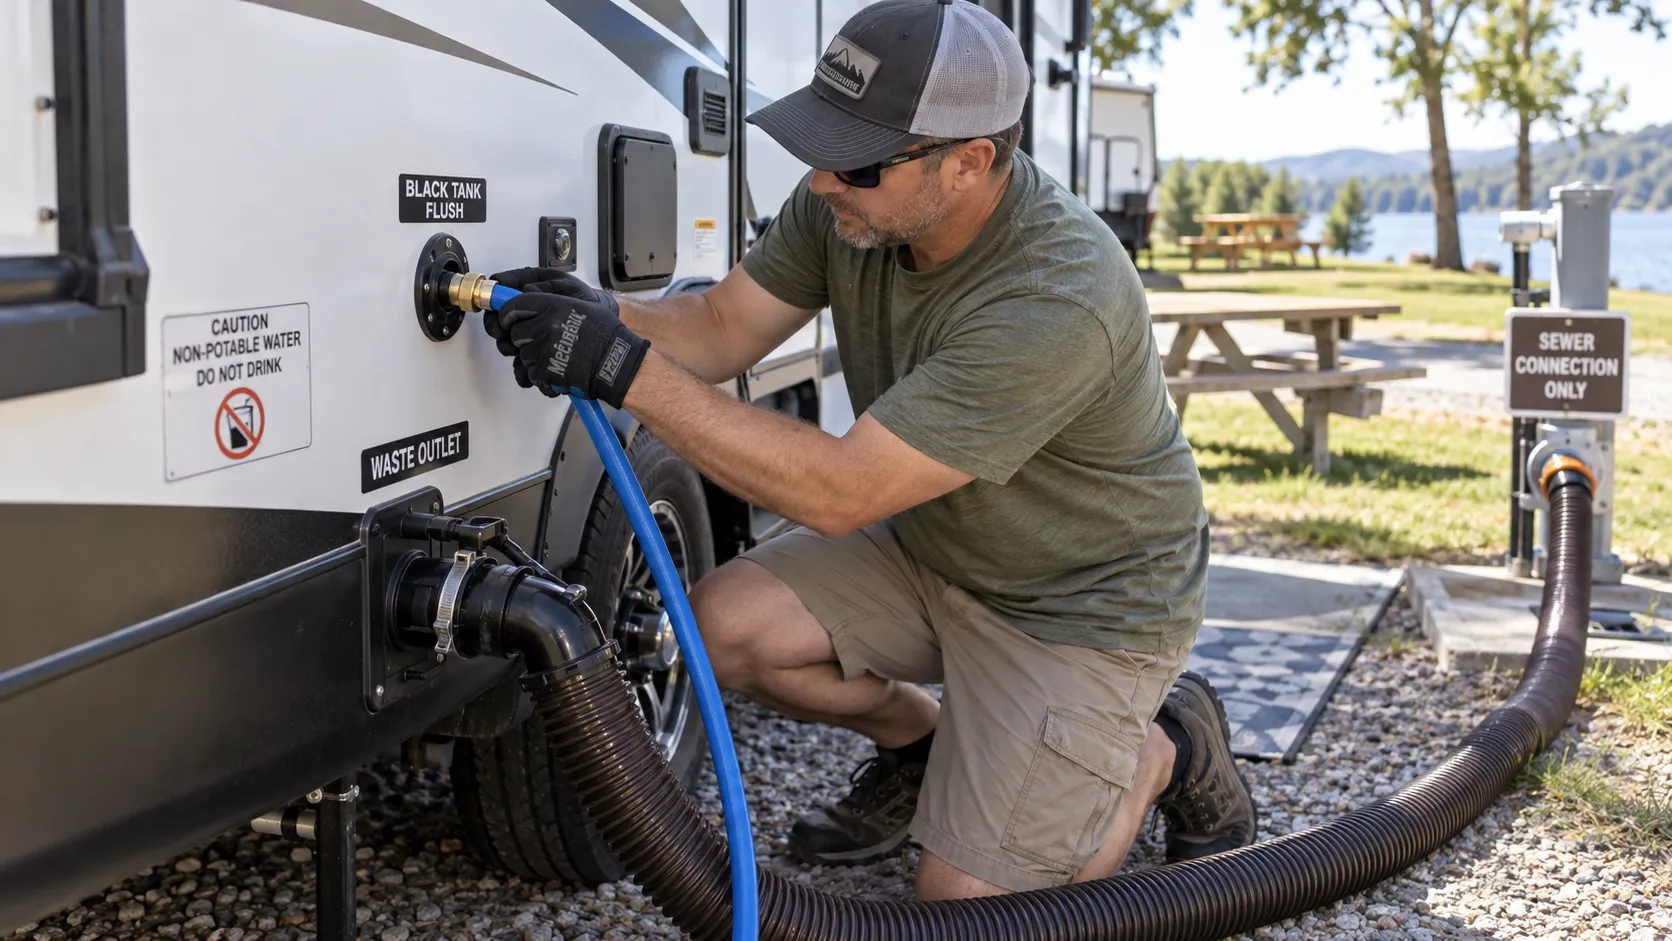
This is the inlet on the outside of your RV where you connect a garden hose. When you open it water flows directly into the black tank. Simple, quick, and the starting point for every flush.
Spray Nozzle
Inside the tank a spray nozzle distributes the incoming water in all directions — hitting the walls, the bottom, and around the sensors. This is what actually dislodges waste and residue that sitting water alone would never reach.
Backflow Preventer
This small but important component stops wastewater from flowing back toward your fresh water supply. Never connect a flush system without one. It is a basic safety measure that protects your drinking water on every trip.
Benefits of Installing a Flush System
I noticed the difference within the first trip after installing mine. Here is what actually changed:
Odor Control
The number one reason most RV owners look into a flush system is smell. Buildup on the tank walls and bottom is the real source of persistent odors — not the waste itself. A flush system rinses that buildup away after every dump so odors never get a chance to develop. My rig smelled noticeably fresher within the first week of using it consistently.
Improved Hygiene
A tank that gets properly flushed after every dump is a cleaner, healthier system overall. Less residue means less bacteria growth, cleaner sensors, and a toilet that feels genuinely sanitary rather than just emptied. For anyone full timing or camping with family this makes a real quality of life difference.
Extended Tank Life
This one surprised me when I first learned about it. Dried waste and buildup are corrosive over time. They wear down tank walls, damage seals, and put extra stress on your valve and plumbing connections. Regular flushing removes that buildup before it causes damage and extends the life of your entire waste system significantly.
Tools and Materials Required
Before you start, gather the necessary tools and materials:
- Drill with hole saw attachment
- Screwdriver set
- Teflon tape
- Adjustable wrench
- Hose clamps
- Pliers
- Flush valve kit (including hose and fittings)
- Safety gloves
Step-by-Step Guide to Install the System
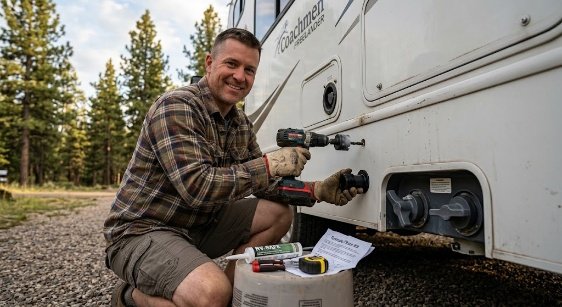
I installed mine in a driveway on a Saturday morning with basic tools and no professional help. Here is exactly how I did it:
Step 1: Preparation
Before you touch anything make sure your black tank is completely empty and clean. Connect to a dump station or use a portable tank to empty it fully. Then disconnect your RV from all water sources. You do not want water or waste moving through the system while you are working on it.
Step 2: Determine Placement
Get under your RV and locate the black tank. You are looking for a flat section of the tank wall that gives you enough room to work comfortably. Avoid areas near existing fittings, ribs, or support brackets. Take your time here — placement matters and you only get one shot at drilling.
Step 3: Drilling the Tank
Mark your spot clearly with a permanent marker. Double check the position before you drill — measure twice, drill once. Use a hole saw sized to match your flush valve kit and drill slowly and steadily. Clean up any plastic shavings before moving to the next step.
Step 4: Install the Flush Valve
Insert the flush valve into the drilled hole and secure it firmly with the screws included in your kit. Wrap Teflon tape around all threaded fittings before tightening. This is the step most people rush — take your time and get a clean seal. A loose valve here means leaks every time you flush.
Step 5: Connect the Hose
Attach the hose from the flush valve to the spray nozzle inside the tank. Run it carefully so it sits in the right position to distribute water across the full tank interior. Secure every connection with hose clamps and tighten them firmly. Give each one a second check before moving on.
Step 6: Ensure Backflow Prevention
Attach the backflow preventer to the outside inlet of your flush valve. This is not optional. It stops wastewater from ever reaching your fresh water supply. Most quality flush valve kits include one — if yours did not, buy one separately before you use the system.
Step 7: Test the System
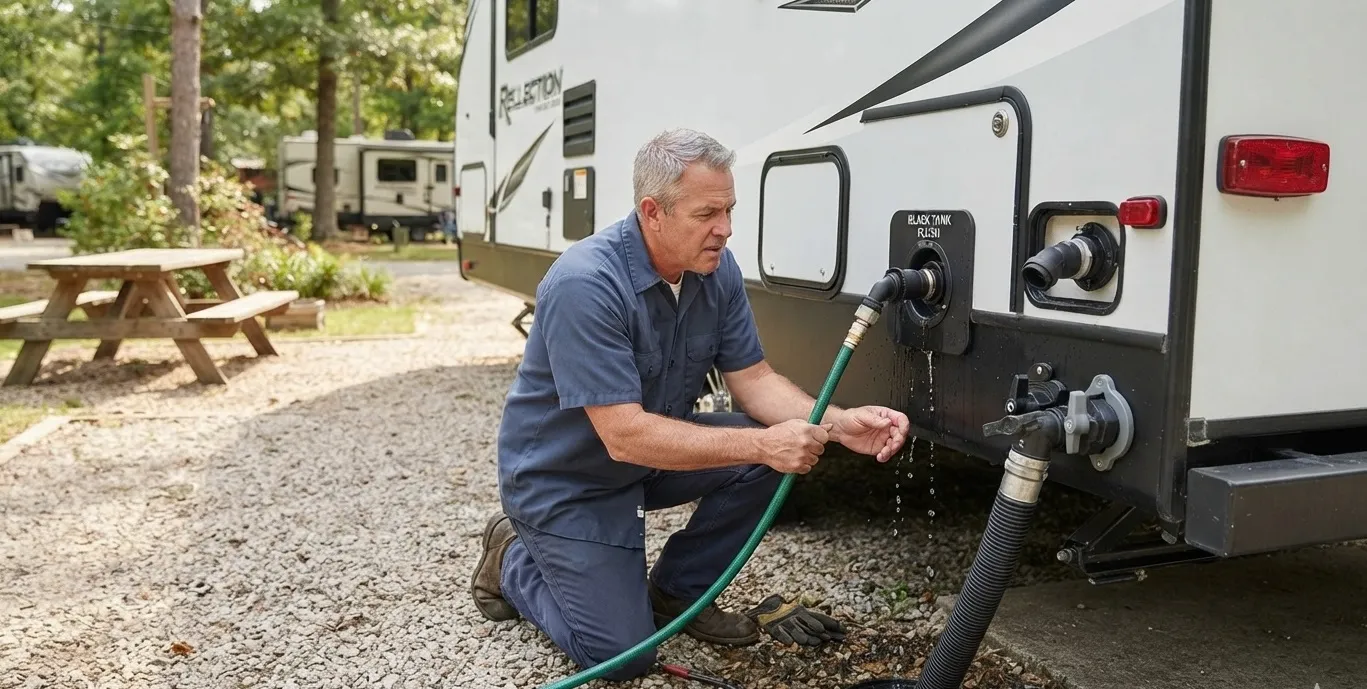
Reconnect your water supply and turn it on slowly. Activate the flush system and watch every connection point carefully for drips or seeping. Let it run for two to three minutes and check again. If everything looks dry and the water is flowing properly inside the tank your installation is complete.

Maintenance Tips
Installing a flush system is only half the job. Using it consistently and keeping it in good shape is what actually makes the difference long term. Here is what I do after every trip:
Use It Every Single Time You Dump
This is the most important habit you can build. Flushing after every dump takes five to ten minutes and prevents the buildup that causes every major black tank problem — odors, clogged sensors, slow draining, and stuck valves. Skip it once and it is fine. Skip it regularly and the problems stack up fast.
Check For Leaks After Every Use
After flushing take thirty seconds to check the flush valve inlet, the connections, and around the spray nozzle for any drips or seeping. A small leak caught early is a five minute fix. A small leak ignored for a season can damage your tank wall or subfloor and become a very expensive repair.
Inspect Hoses and Connections Regularly
At the start of every camping season give your flush system hoses and fittings a proper look. Check for cracks, soft spots, or fittings that have worked themselves loose over winter storage. Replace anything that looks worn before it fails on the road — hoses and fittings are cheap and widely available at any RV supply store.
Frequently Asked Questions of How to Install an RV Black Tank Flush System
What is the purpose of a black tank flush system?
A black tank flush system cleans the waste buildup inside your RV’s black tank, preventing clogs and odors.
Can I install a flush system myself?
Yes, with the right tools and instructions, most RV owners can install a flush system on their own.
How often should I use the flush system?
Use it every few trips or when you notice any odors to maintain cleanliness and prevent buildup.
What if I see leaks during installation?
Check connections and seals. Ensure Teflon tape is used properly, and tighten all fittings securely.
Is professional installation recommended?
While DIY installation is possible, seek professional help if you’re unsure about any step to avoid damage.
Conclusion
Mastering the installation of an RV black tank flush system can significantly improve your waste management and overall RVing experience. By following the guide carefully, you’ll achieve a cleaner, odor-free environment in your RV. Now that you’ve equipped yourself with this knowledge, you’re ready to hit the road with confidence. For more tips and insights, feel free to subscribe to our newsletter or leave a comment with your questions. Safe travels!