Rinse, soak, and flush. Use safe cleaners. Let water do the work.
I pulled up to a campsite once with a tank that had been reading full for three straight days. I had dumped it, flushed it twice, and added fresh water and treatment. Still full according to the monitor. I knew the tank was empty but the sensors had no idea. That is when I started figuring out how to clean RV black tank sensors without removing them — because pulling sensors out of a tank on the road is not a realistic option for most RV owners.
After maintaining my own rigs and helping other RV owners fix stubborn sensor problems across real camping conditions over the years, I have a clear simple process that works without removing a single component. This guide on how to clean RV black tank sensors without removing them covers every safe product, every effective technique, and every mistake to avoid so your readings go back to accurate and stay that way trip after trip.

How RV Black Tank Sensors Work (And Why They Lie)
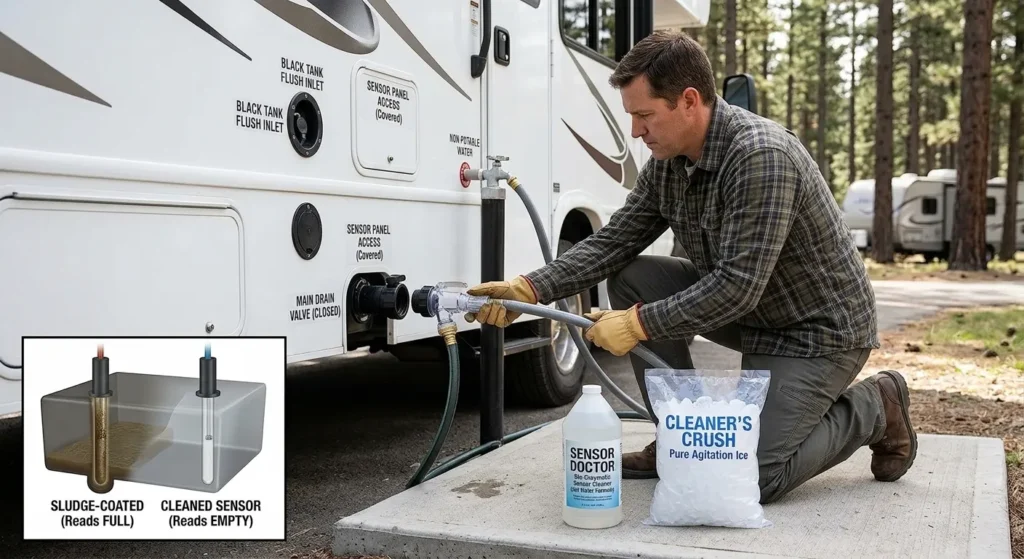
Most RV black tanks use metal probe sensors inside the tank. Waste can coat these probes. That fouls the circuit. Your panel then shows 2/3 or full, even after a dump.
Common causes include paper pyramids, dried sludge, and soap scum. Low water use makes it worse. Bad wiring or loose grounds can add false readings. Some rigs use external strip sensors. Those sit outside the tank and rarely need cleaning.
Keeping water in the tank is the first fix. Water is the tool that moves waste off the probes. It also cushions the tank and valves.
How to Clean RV Black Tank Sensors Without Removing Them is a simple process. You only need time, water, and the right cleaner.
Tools And Supplies You Will Need
You can handle this job with gear you likely own. Keep it simple and safe.
- Fresh water source with a hose and a black tank flush port or a flushing wand
- Non-foaming holding tank treatment or enzyme cleaner
- Liquid dish soap that rinses clean
- Water softener pellets or liquid (sodium hexametaphosphate or similar)
- White vinegar for mineral film
- Nitrile gloves and eye protection
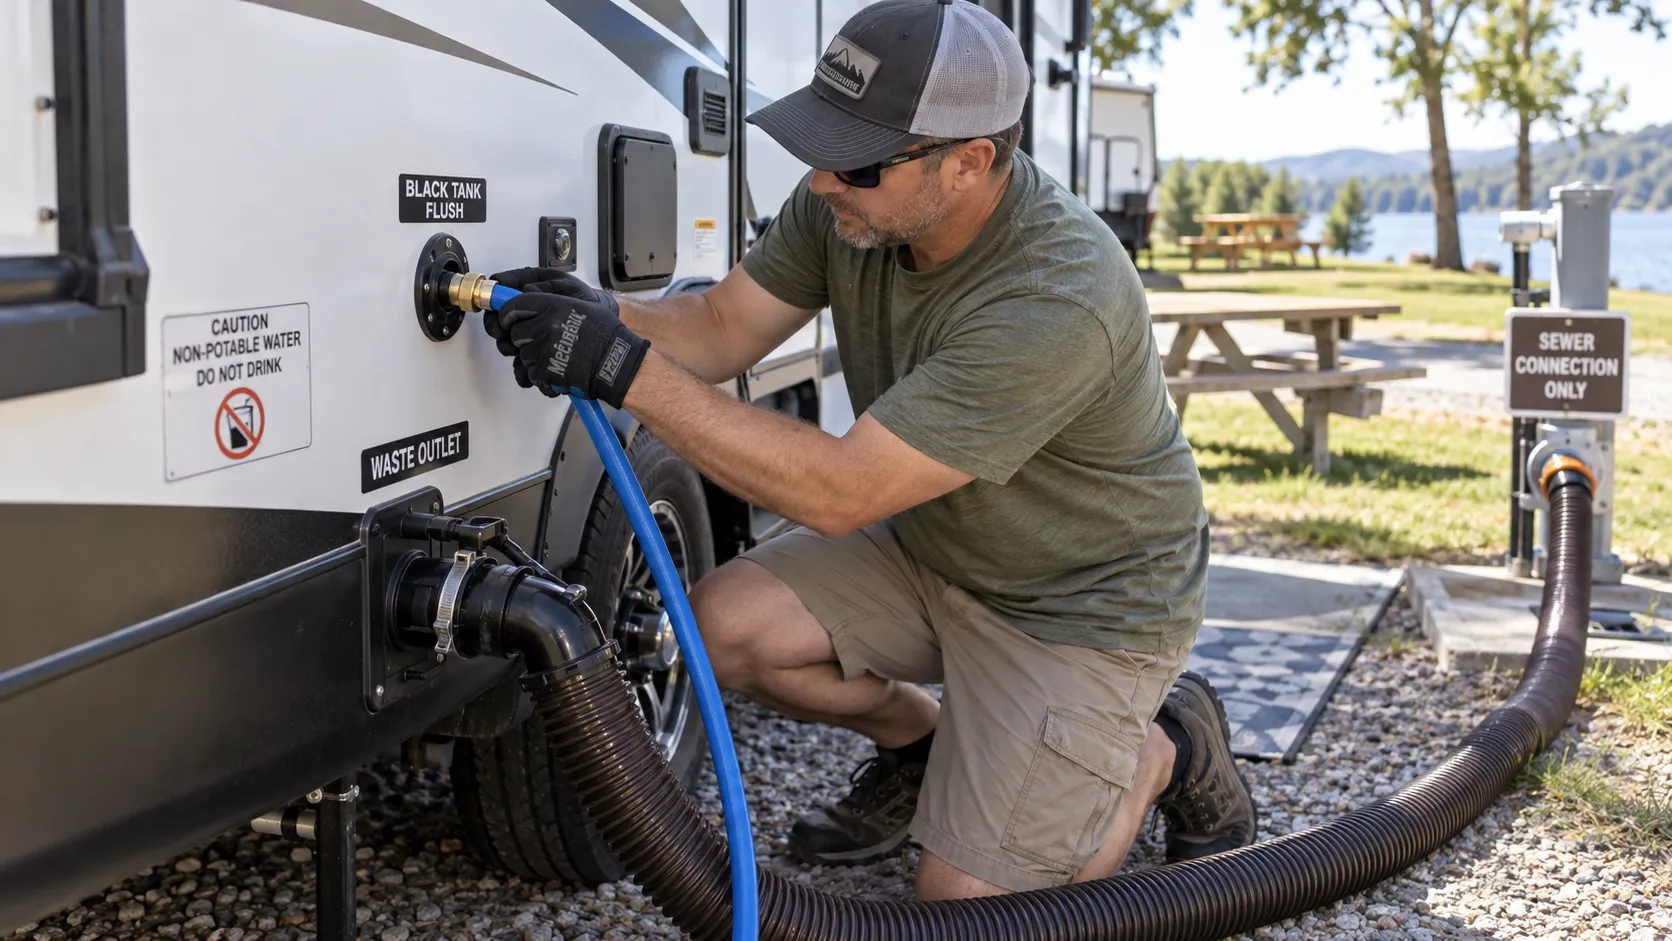
- Clear sewer elbow so you can see what comes out
- Optional backflush adapter for the sewer line
I use a softener plus a little dish soap for most cleanings. It breaks surface tension. It helps waste slide away from the probes. How to Clean RV Black Tank Sensors Without Removing Them works best when you let the soak do the heavy lift.

Step-By-Step: How to Clean RV Black Tank Sensors Without Removing Them
Follow this flow. It is safe for most rigs. It matches how service bays clear fouled probes.
- Start with an empty tank
- Dump the black tank fully.
- Close the valve.
- Rinse with the built-in flush for 2 to 3 minutes if you have it.
- Mix a cleaning soak
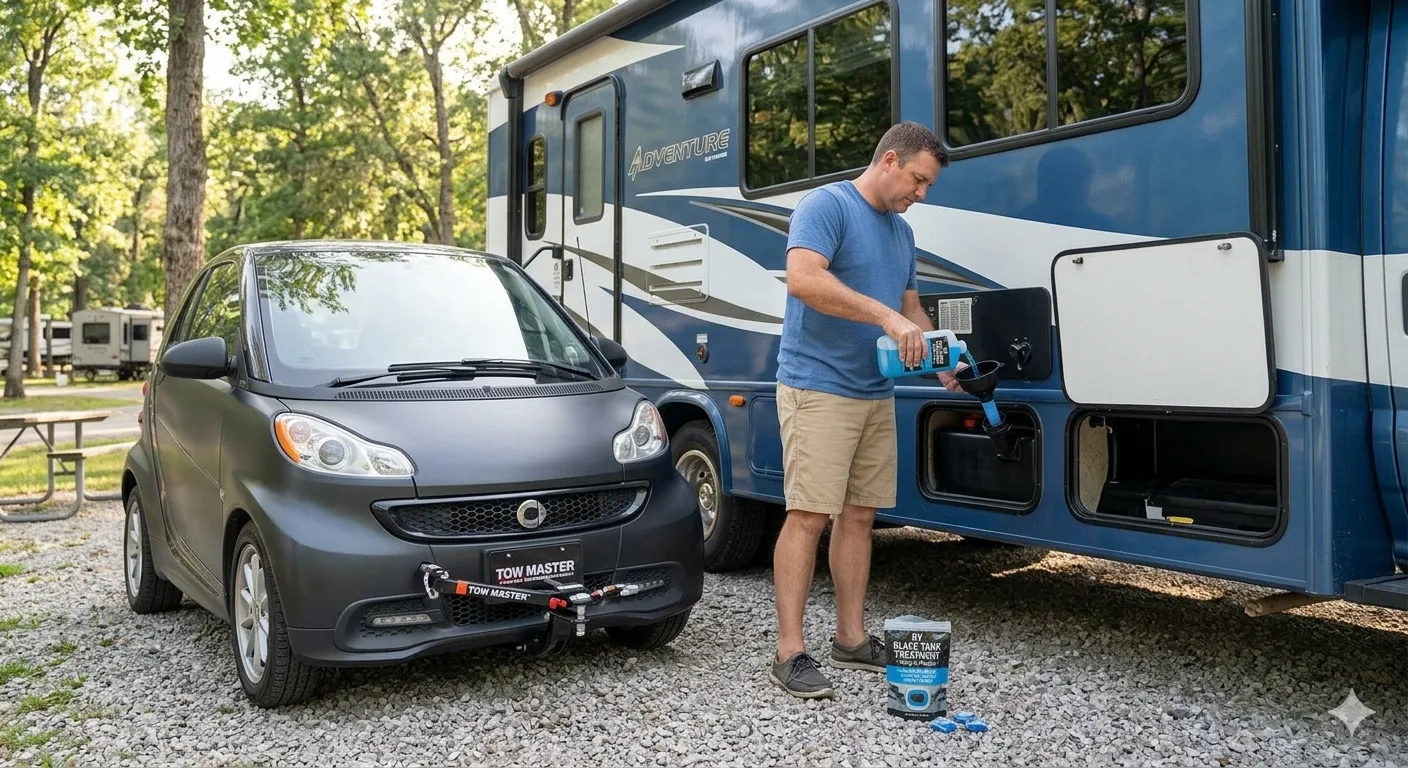
- Add 3 to 5 gallons of warm water to the black tank.
- Add 1 cup liquid dish soap. Use a brand that rinses clean.
- Add 1 to 2 cups liquid water softener or 1/4 cup pellets.
- Optional: Add 2 cups white vinegar for hard water film.
- Let it work
- Leave the mix in the tank for at least 6 hours. Overnight is better.
- If you can, take a short drive. Gentle slosh scrubs the probes.
- Rinse and flush
- At a dump station, open the black valve.
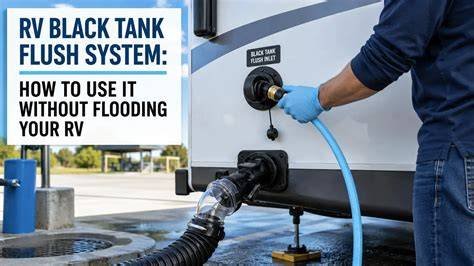
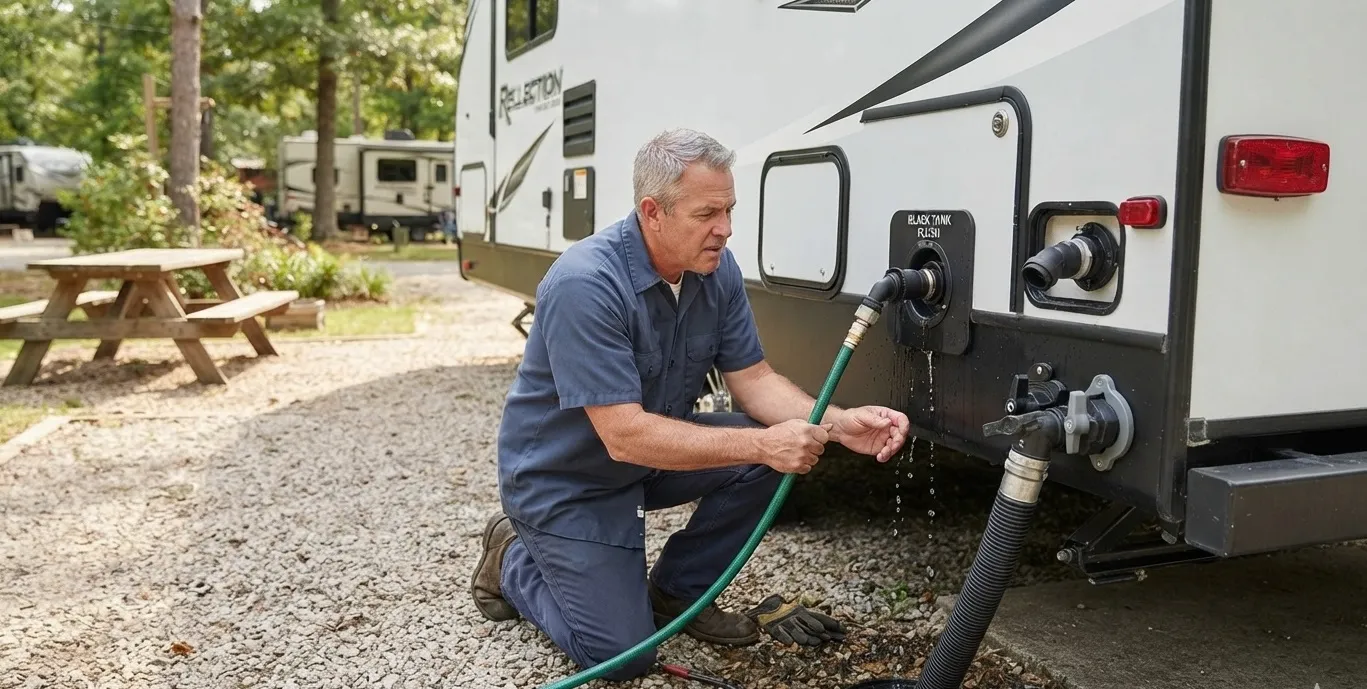
- Use the flush port for 5 to 10 minutes. Watch the clear elbow.
- Close the valve. Fill the tank with fresh water to 1/2 full.
- Open and drain again. Repeat until water runs clear.
- Check the panel
- With the tank empty, the panel should read empty.
- If it still shows 1/3 or more, repeat the soak once.
This is the core of How to Clean RV Black Tank Sensors Without Removing Them. It is low risk and low cost. It fixes most false reads in one or two cycles.
Pro tip from the road: After a tough desert trip, I needed two soaks. The second soak used warmer water and a longer drive. The panel went from 2/3 to empty and stayed true for weeks.
Alternative Methods And When To Use Them
You may face heavy build-up or odd tank shapes. These tools add a boost when the basic soak is not enough.
Flushing wand through the toilet
Great for rigs without a built-in flush. Insert the wand, spray in short bursts, and move it in slow arcs. Keep the bowl seal wet and protected.Backflush adapter at the sewer outlet
This forces water back into the tank. It breaks up paper dam clogs. Open and close the valve in pulses as you flush.Enzyme and bio cleaners
Use on a travel day. Fill to 1/3 with water. Dose per label. Drive for an hour. These help digest toilet paper and solids.Detergent plus softener “geo” mix
Works well for grease film and soap scum. Always rinse well to avoid suds.Vinegar soak for scale
Fill to 1/3 with water and add vinegar. Let sit 12 hours. Flush well. Do not mix vinegar with bleach.
Each of these fits inside the plan for How to Clean RV Black Tank Sensors Without Removing Them. Pick one that matches the mess you face.

Safety, Septic‑Safe Chemistry, And What To Avoid
Your tank has seals and a vent. Treat them with care. Use safer cleaners that rinse clean.
Avoid long bleach soaks
Bleach can harm seals, valves, and metals. If you must use it, keep it mild and short, and never mix it with vinegar or ammonia.Skip harsh drain openers
These can warp plastic tanks. They can also create fumes.Go easy with pressure
High-pressure wands can splash and send waste into the vent line. Use moderate flow and steady sweeps.Vent well and wear PPE
Open roof vents and windows. Wear gloves and eye gear. Keep kids and pets away.Follow your manual
Many makers list safe products. When in doubt, test with small doses and rinse well.
This care-first approach is part of How to Clean RV Black Tank Sensors Without Removing Them. It protects your tank while you clean the probes.
Troubleshooting False Readings After Cleaning
If readings stay off, look at easy fixes first. Problems are not always inside the tank.
Check wiring and grounds
Loose spade connectors at the panel or on the tank can cause bad reads. Tighten and clean them.Test with water only
Add 5 gallons of water. The panel should show 1/3. Drain it. It should return to empty. This confirms the circuit.Inspect for paper pyramids
Slow drains hint at a cone of paper. Use a backflush adapter to break it up. Then flush and test again.Consider sensor type
External strip systems read level outside the tank. If you have those, the fix is different. Clean the tank anyway and check the strip alignment.Replace worn probes if needed
If probes are corroded or broken, cleaning will not fix it. At that point, a service visit may be best.
These checks round out How to Clean RV Black Tank Sensors Without Removing Them. You rule out simple faults before you buy parts.
Preventive Habits To Keep Sensors Accurate
Good habits stop buildup. They also keep valves and seals happy.
Use more water with every flush
Count to five while holding the pedal. Water carries waste to the tank bottom.Keep water in the tank
After every dump, add 3 to 5 gallons back. A wet tank resists odor and fouling.Use septic-safe paper
Pick paper that breaks down fast. Test a sheet in a jar of water. If it clumps, skip it.Dose a small cleaner on travel days
Add softener and a bit of soap before you drive. Let the coach do the scrubbing.Deep clean monthly in peak season
Run the soak and flush once a month. It takes little time and saves headaches.
These habits are the backbone of How to Clean RV Black Tank Sensors Without Removing Them. Simple steps keep sensors true for the long haul.
Frequently Asked Questions of How to Clean RV Black Tank Sensors Without Removing Them
How often should I clean the sensors?
Do a light clean every month when you camp often. If you travel less, clean at the start and end of each season.
Will ice cubes clean my tank sensors?
Ice melts too fast to scrub much. Water, time, and a cleaner do a better job.
Can I use bleach to clean the black tank?
A mild bleach rinse can help with odor, but it can harm seals over time. Safer options like soap, softener, and enzymes work well.
Why does my sensor read full right after I dump?
Waste can coat the probes, and wiring can be loose. A soak and a careful rinse fix most false reads.
Do I need a backflush adapter if I have a flush port?
Not always. A flush port works for most rigs. A backflush adapter helps break clogs and paper cones when flow is poor.
What toilet paper should I use for better readings?
Use septic-safe paper that breaks down fast. Do a jar test and choose the one that dissolves within minutes.
Will enzyme treatments replace regular cleaning?
No. They help reduce buildup but do not replace water and a good rinse. Use them as part of a routine.
Conclusion
You can restore honest tank readings with water, time, and smart chemistry. Start with a soap and softener soak, add a drive to slosh, then flush clear. Check wiring and keep a few gallons in the tank after each dump. How to Clean RV Black Tank Sensors Without Removing Them is a repeatable plan you can trust on the road.
Put this guide to work on your next camp day. Share your results, ask questions, and subscribe for more hands-on RV care guides.