An RV black tank valve controls sewage flow; correct use prevents clogs, leaks, and odors.
The first time my black tank valve failed I was parked at a campsite on a long weekend. Full tank, nowhere to dump until Monday, and a valve that would not budge no matter what I tried. I stood there in the heat, sewer hose in hand, feeling completely helpless. It was not a good afternoon.
That weekend taught me more about RV black tank valves than any guide ever could. How they fail, why they fail, and what you can do to stop it happening in the first place. Since then I have serviced dozens of valves across different rigs and helped other RV owners fix the same problems I went through. This guide puts everything I learned in one place — how the valve works, how to keep it healthy, and exactly what to do when it gives you trouble.
How the RV black tank valve works
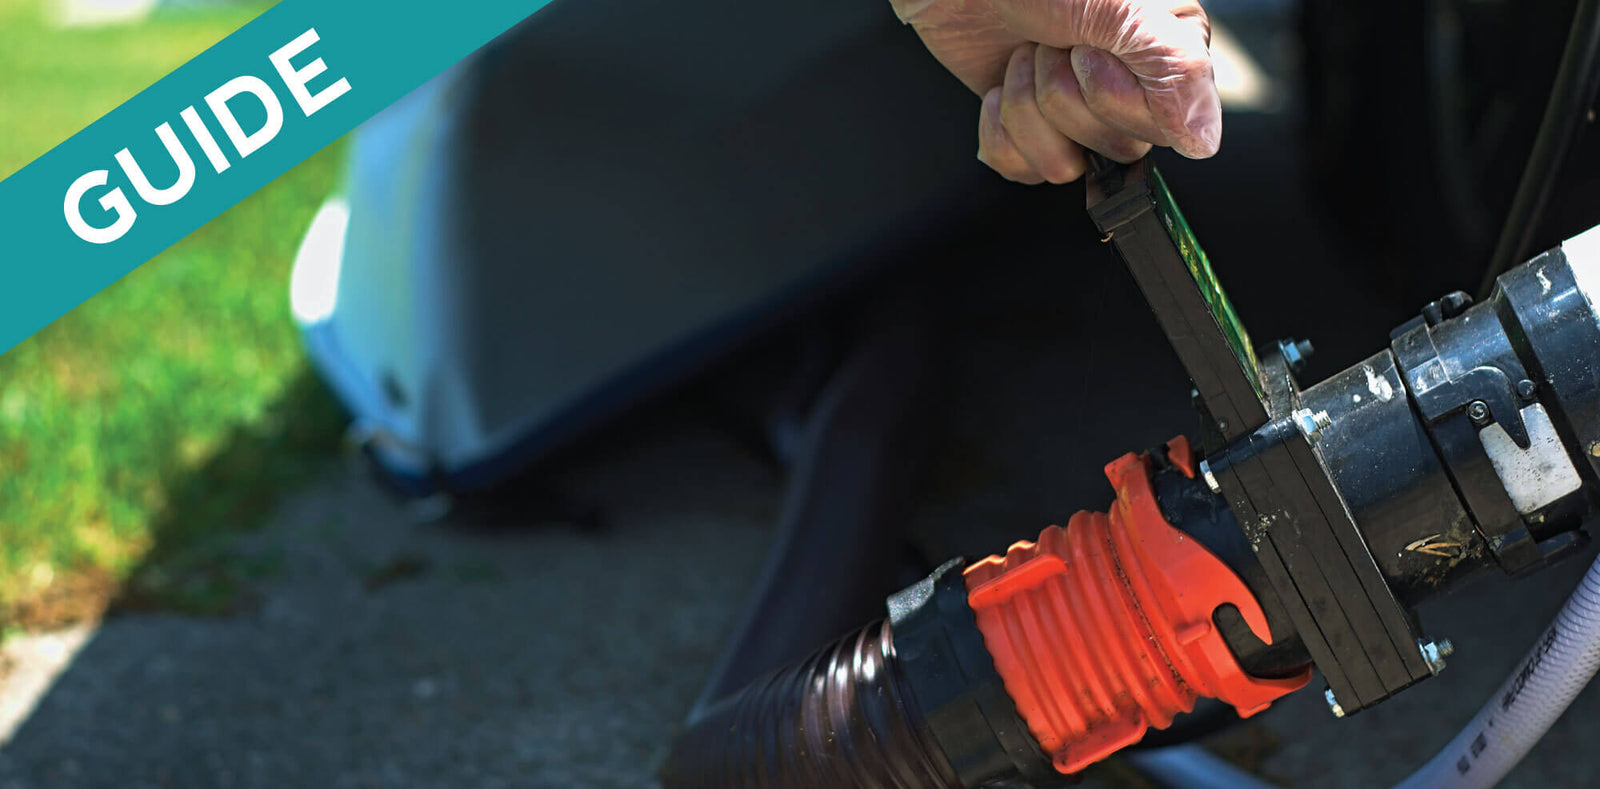
The RV black tank valve is a gate valve that holds waste in the black tank until you are ready to dump. A flat blade slides between two seals. When you pull the handle, the blade lifts, and waste flows. When you push it closed, the blade seats into the seals to stop flow.
Most RVs use a 3-inch black tank valve at the outlet. Some rigs use a cable from the handle to the valve. Others use a direct pull rod or an electric motor. The valve body is usually ABS or PVC. The seals are rubber or TPE and need to stay clean and lubricated.
If the blade or seals get dry, fouled, or warped, the RV black tank valve will stick or leak. Good use and simple upkeep prevent most problems.

Types and sizes of RV black tank valves
Most units use a 3-inch valve for the black tank and a 1.5-inch valve for gray. The RV black tank valve can be:
- Termination valve Mounted at the sewer outlet where you attach the hose.
- In-line valve Mounted between tank and outlet, often behind panels.
- Direct-pull valve The handle attaches right to the blade.
- Cable-actuated valve A flexible cable connects the handle to a hidden valve.
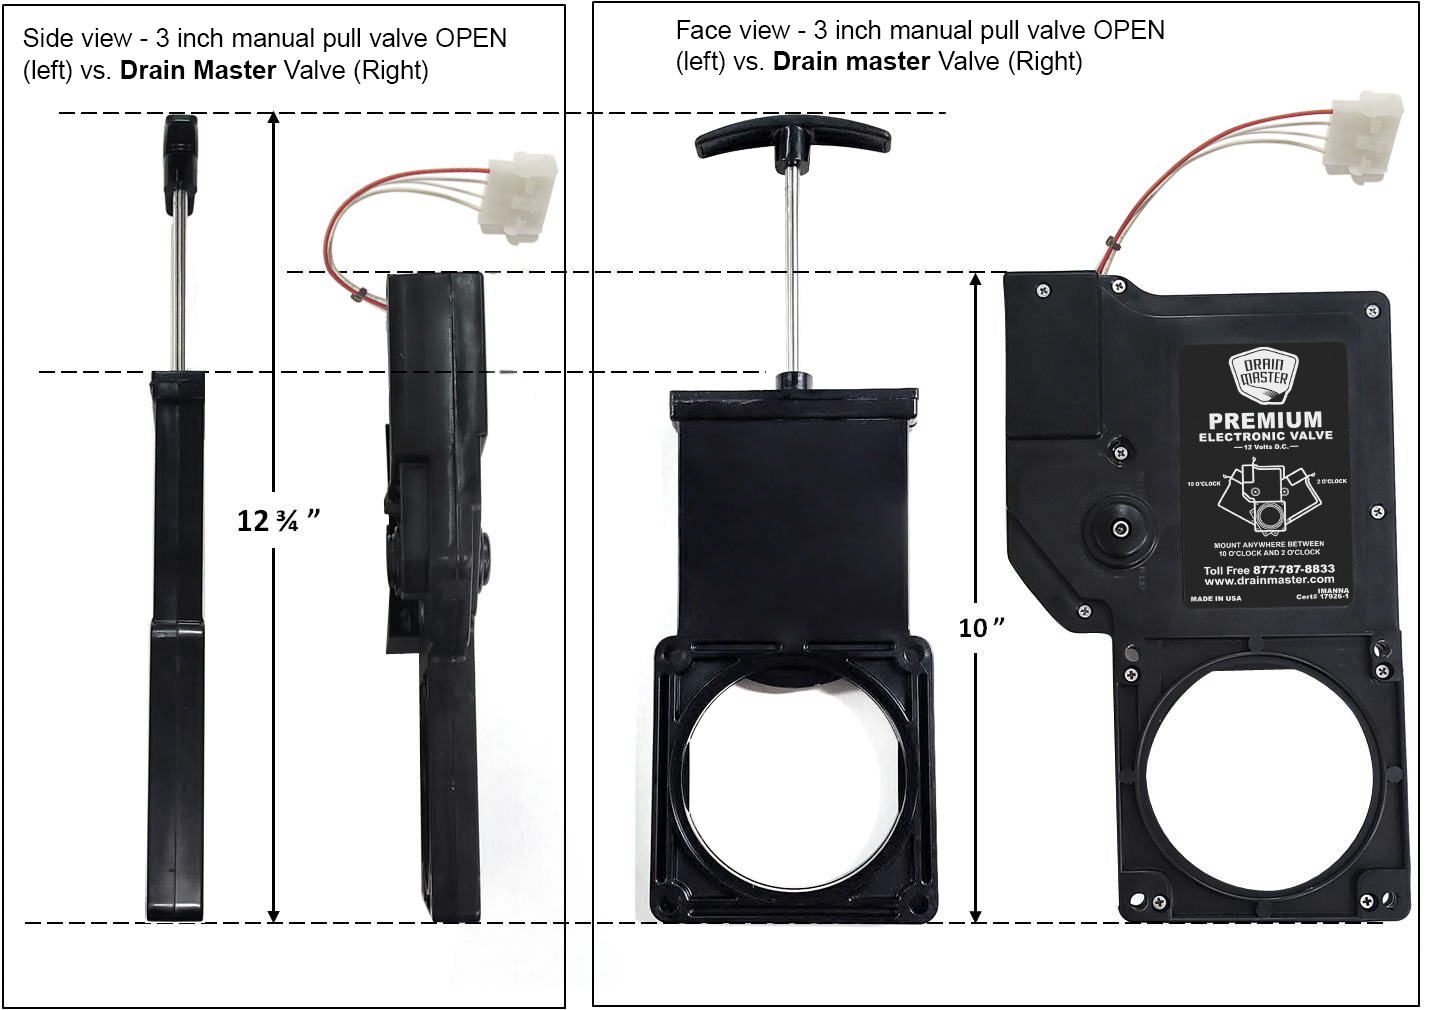
- Electric valve A switch opens and closes the gate with a motor.
Common brands include Valterra and LaSalle Bristol. Fittings can be slip, spigot, or bayonet. Match size and fitting type when you replace a valve. If you run a macerator, you still keep the RV black tank valve to control flow.

Operating basics and best practices
Use a simple routine to protect your RV black tank valve and avoid clogs:
- Keep the black tank valve closed at the campsite. Let the tank fill to at least half. A good surge helps carry solids out.
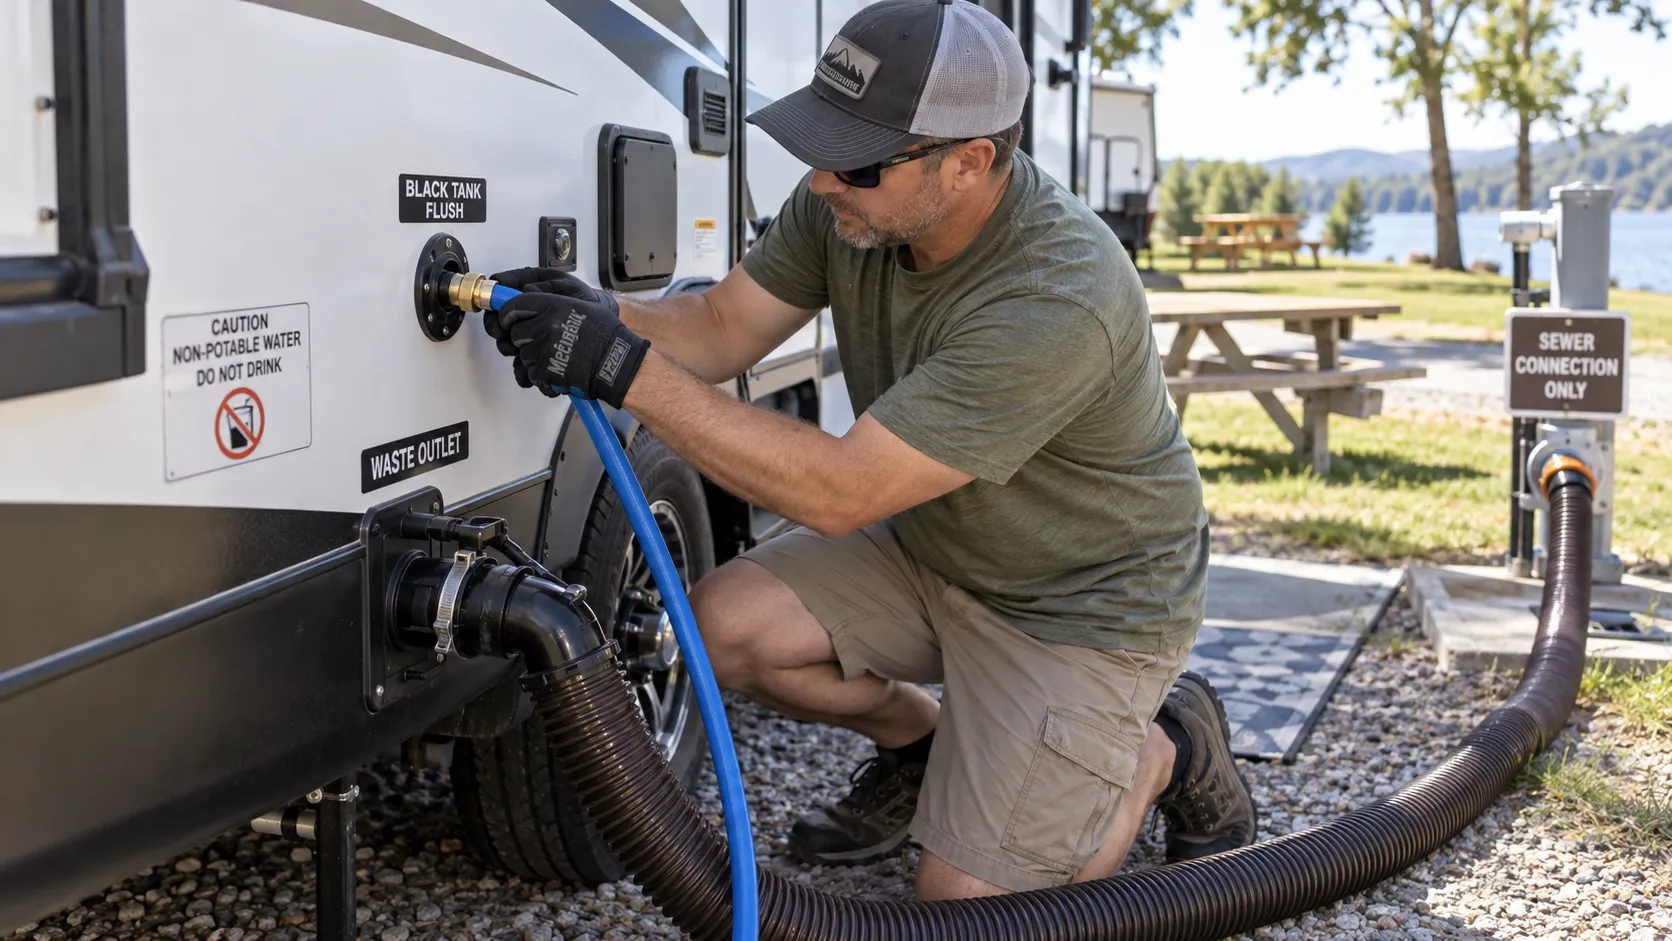
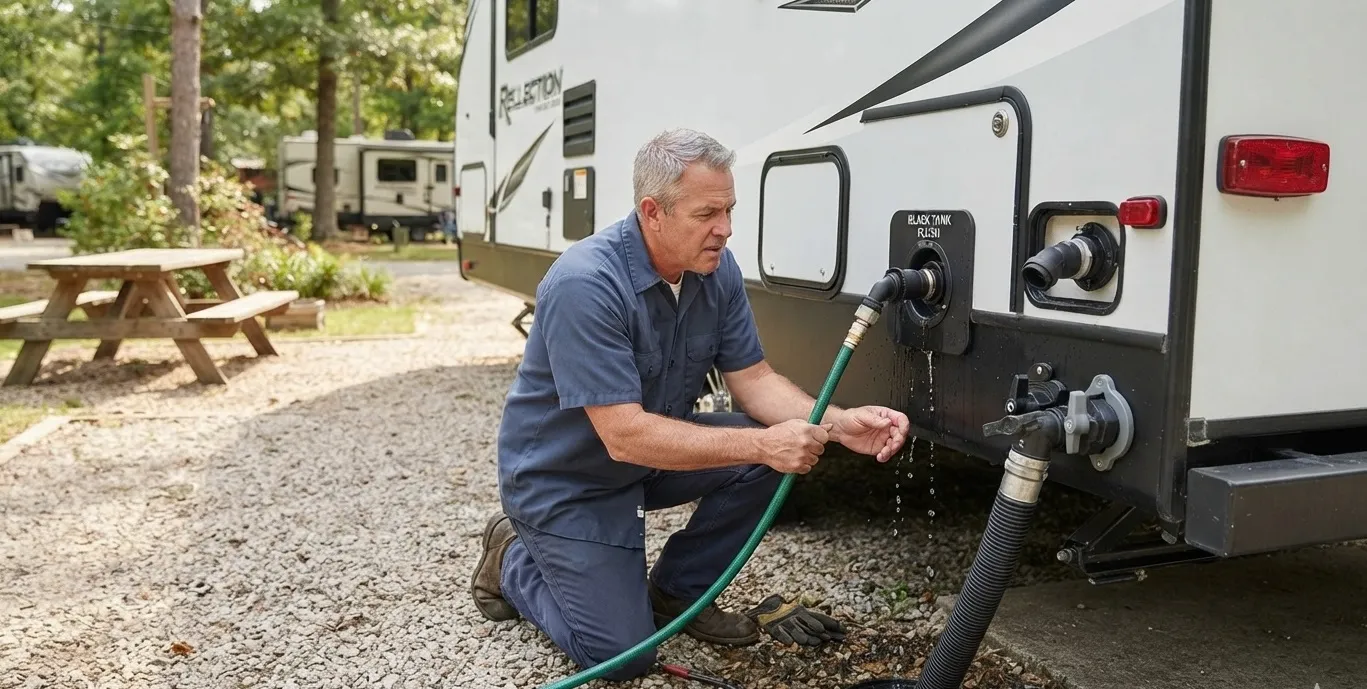
- When ready, hook up the hose and secure the elbow at the sewer. Open the RV black tank valve first. Let it drain fully.
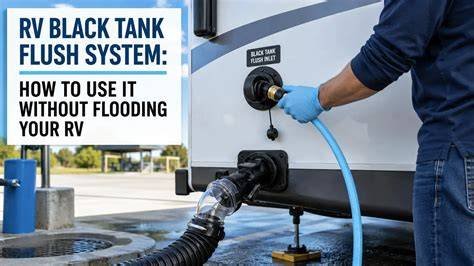
- Rinse the tank. Use a built-in rinser, backflush device, or run fresh water for a minute. Then close the valve.
- Open the gray valve next to flush the hose. This helps rinse waste from the hose.
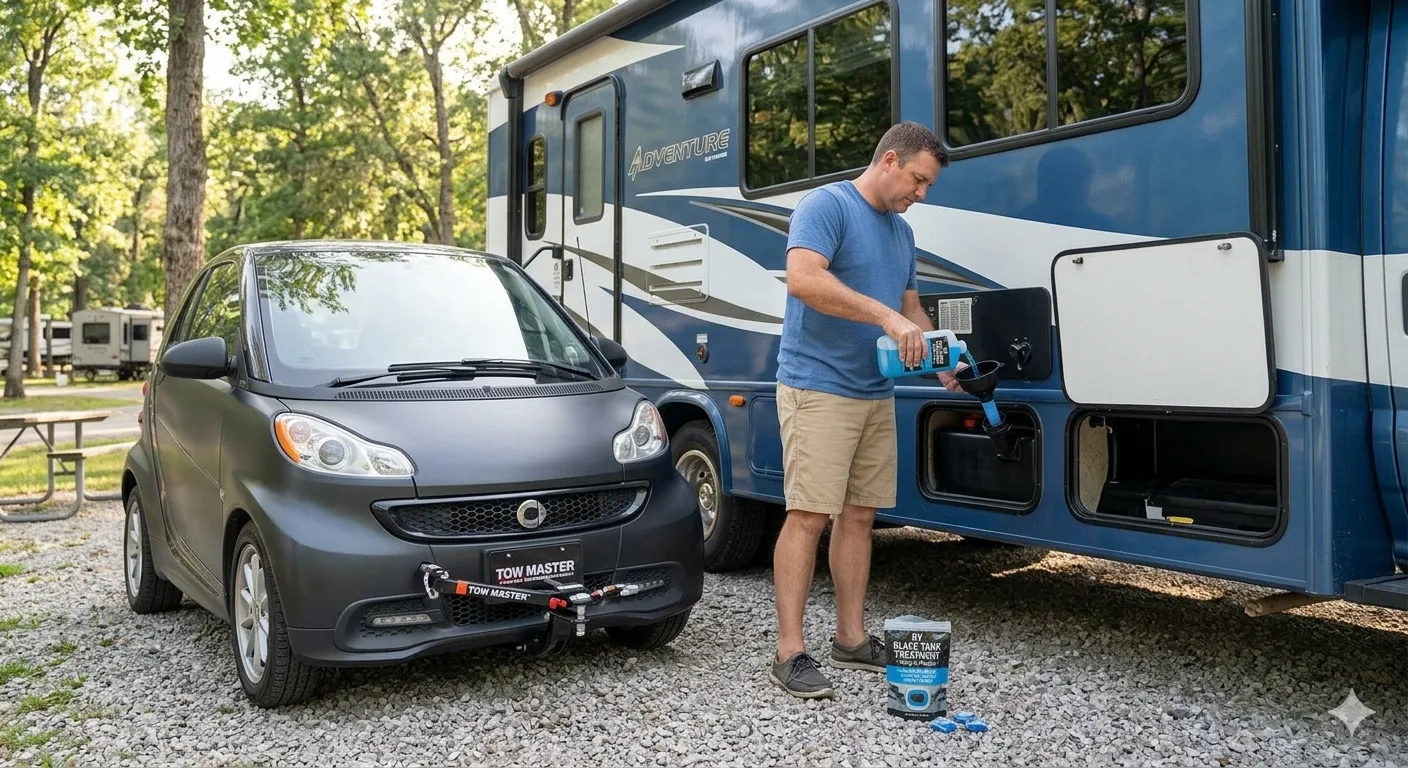
- After dumping, close both valves. Add a few gallons of water and treatment to the black tank.
Extra tips from the road: Never walk away with the valve open. Use a clear elbow so you can see when the water runs clean. Always wear gloves and wash hands after you stow the hose.

Maintenance schedule and lubrication
A little care goes far with an RV black tank valve. Here is a simple plan:
- Every dump Check for smooth pull and full close. Look for drips.
- Monthly Rinse the tank well. Add two gallons of water and a bit of dish soap for a slosh as you drive.
- Quarterly Lube the valve. Use a valve-safe lubricant or a silicone-based lube. Avoid petroleum grease on rubber seals.
- Annually Inspect bolts, seals, and the handle. Check cable routing for sharp bends. Tighten loose hardware.
Keep paper and solids moving with water. Use plenty of water with every flush. Use RV-safe paper or any septic-safe paper that breaks down fast. This helps the RV black tank valve seat clean and tight.
Troubleshooting common RV black tank valve problems
A sticky or leaking RV black tank valve is common. Most issues have simple fixes.
Stuck or hard-to-pull handle:
- Backflush from the outlet to push debris off the blade.
- Add warm water to the tank and let it soak for 30 minutes.
- Gently work the handle in short strokes. Do not force it.
- Lube the valve with a valve-safe product. If cable-actuated, lube or replace the cable.
Slow drain or clog:
- Close the valve. Fill the tank halfway with water and a tank cleaner. Drive a few miles to agitate.
- Use a backflush tool or a wand from the toilet to break the clog.
- Avoid leaving the valve open at campsites, which causes “pyramiding.”
Leak past a closed valve:
- Debris on the blade or worn seals are the usual cause.
- Flush and lube first. If it still leaks, plan a seal or full valve replacement.
Broken handle or cable:
- Replace the handle if it stripped or cracked.
- If the cable is kinked or frozen, replace it with the same length and route it with wide bends.
Frozen valve in winter:
- Thaw the area with gentle heat. Do not use open flame.
- Keep the blade closed and drain only when thawed.
How to replace an RV black tank valve (step-by-step)
If lube and cleaning do not fix the issue, replace the valve. It is a simple job on most rigs.
- Gather parts and tools New 3-inch valve kit, new seals, gloves, bucket, paper towels, screwdriver, socket set, and silicone spray.
- Empty and rinse both tanks Rinse well so the area is clean.
- Support the sewer pipe Use a stand or wood block to reduce strain.
- Remove the old valve Loosen the four bolts or clamps. Ease the valve out. Catch any drips.
- Clean the flanges Wipe seats clean. Inspect pipes and fittings for cracks.
- Install new seals Place new seals in the grooves on each side.
- Insert the new valve Slide it between flanges, align holes, and insert bolts.
- Tighten evenly Snug bolts in a cross pattern. Do not overtighten.
- Test Fill the black tank with a few gallons of water. Open and close the RV black tank valve. Check for leaks.
Time needed is about 30 to 90 minutes for an exposed termination valve. Hidden in-line valves take longer. If the layout is tight or glued, call a mobile RV tech.
Upgrades and helpful accessories
You can make your RV sewer setup safer and easier with a few upgrades:
- Secondary gate valve at the outlet Adds a backup RV black tank valve to catch drips while traveling.
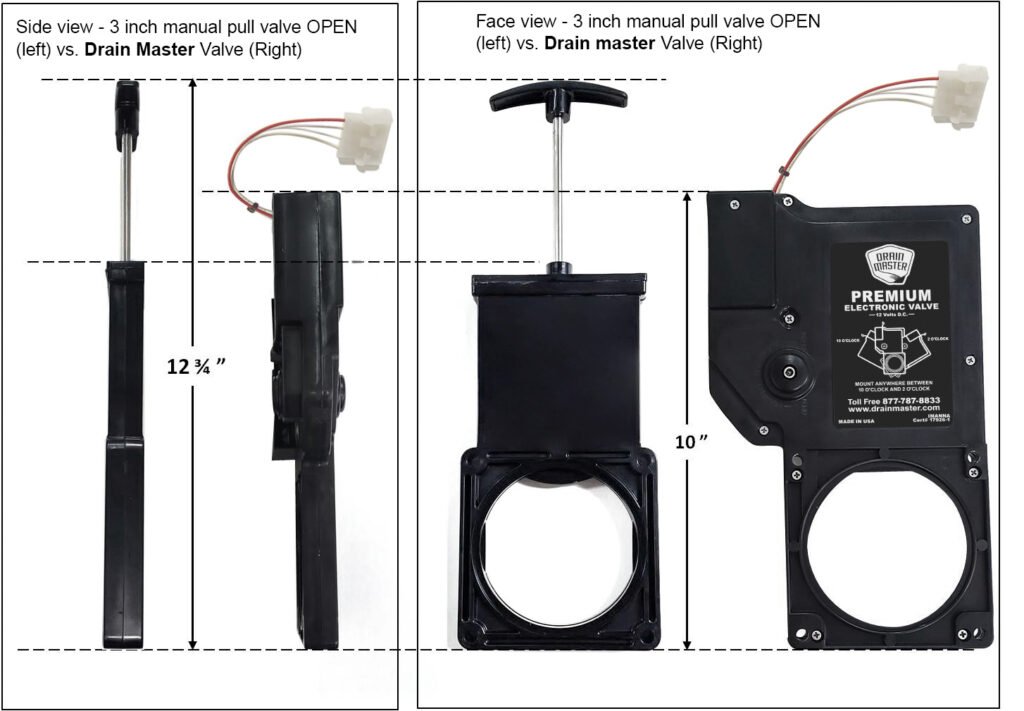
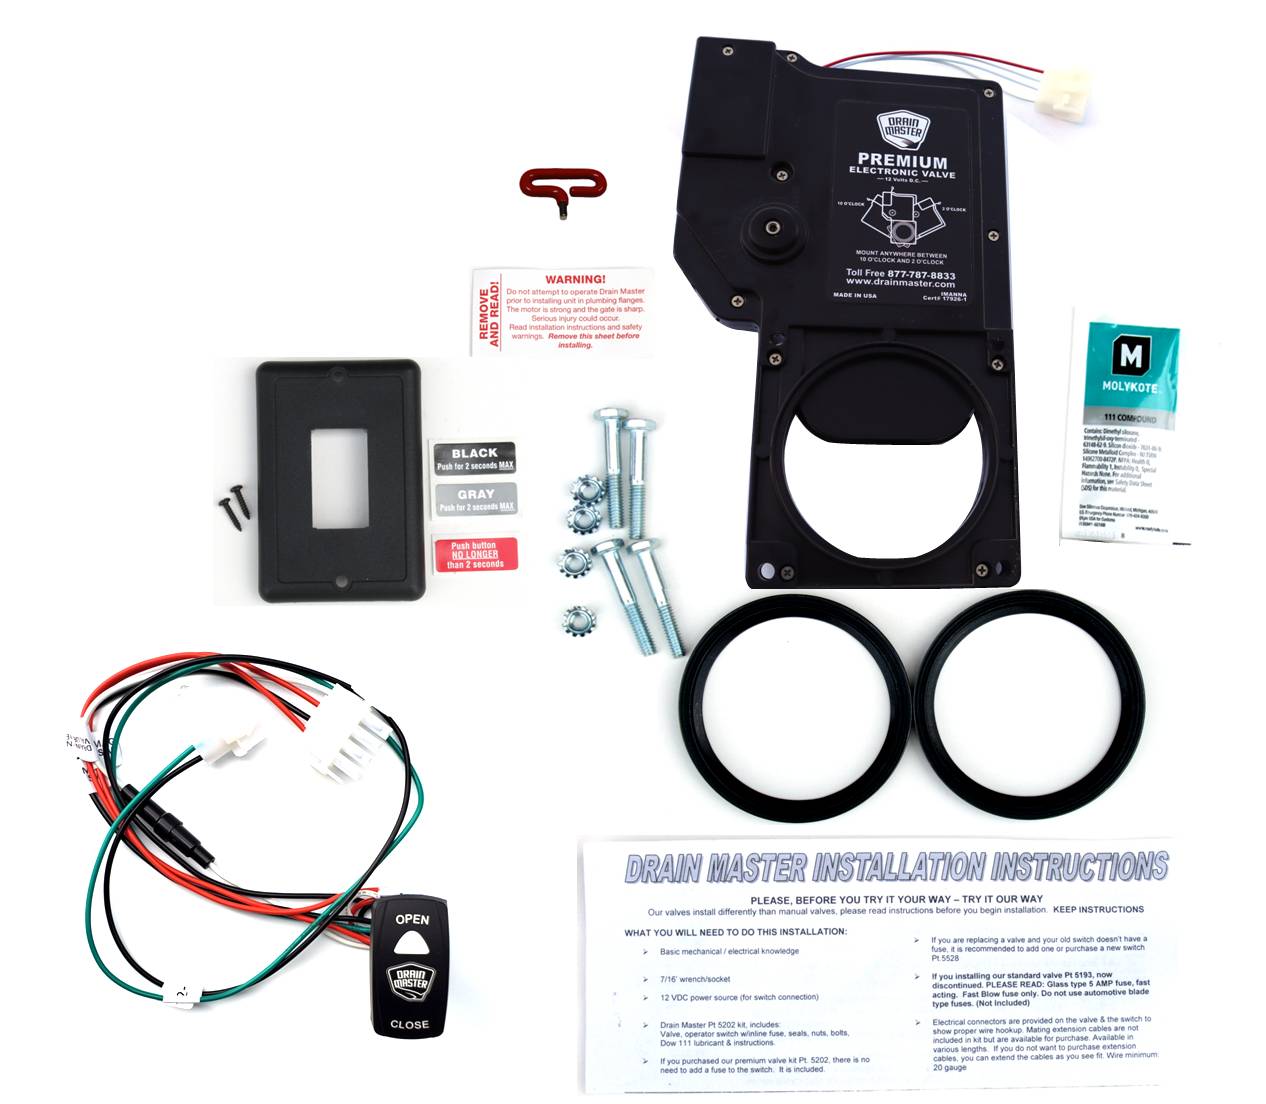
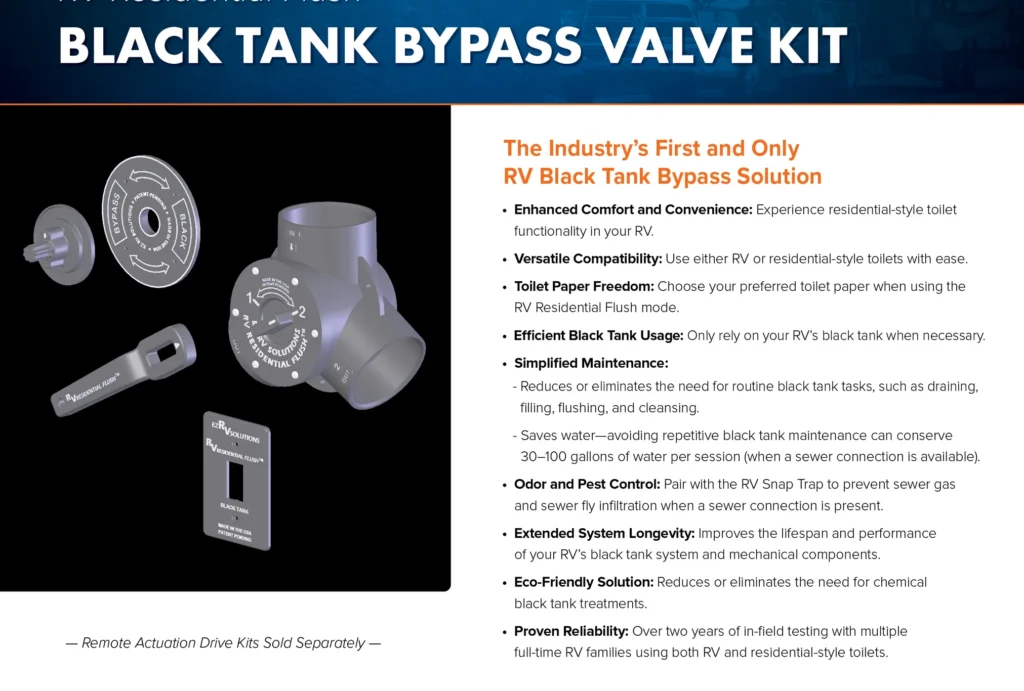
- Electric valve kit Lets you open and close with a switch. Good for hard-to-reach bays.
- Clear elbow Shows flow, helps avoid early disconnects.
- Backflush device or built-in rinser Helps clean the tank and seals, which protects the RV black tank valve.
- Macerator pump Useful for uphill runs or home cleanouts. Still keep the manual valve as primary control.
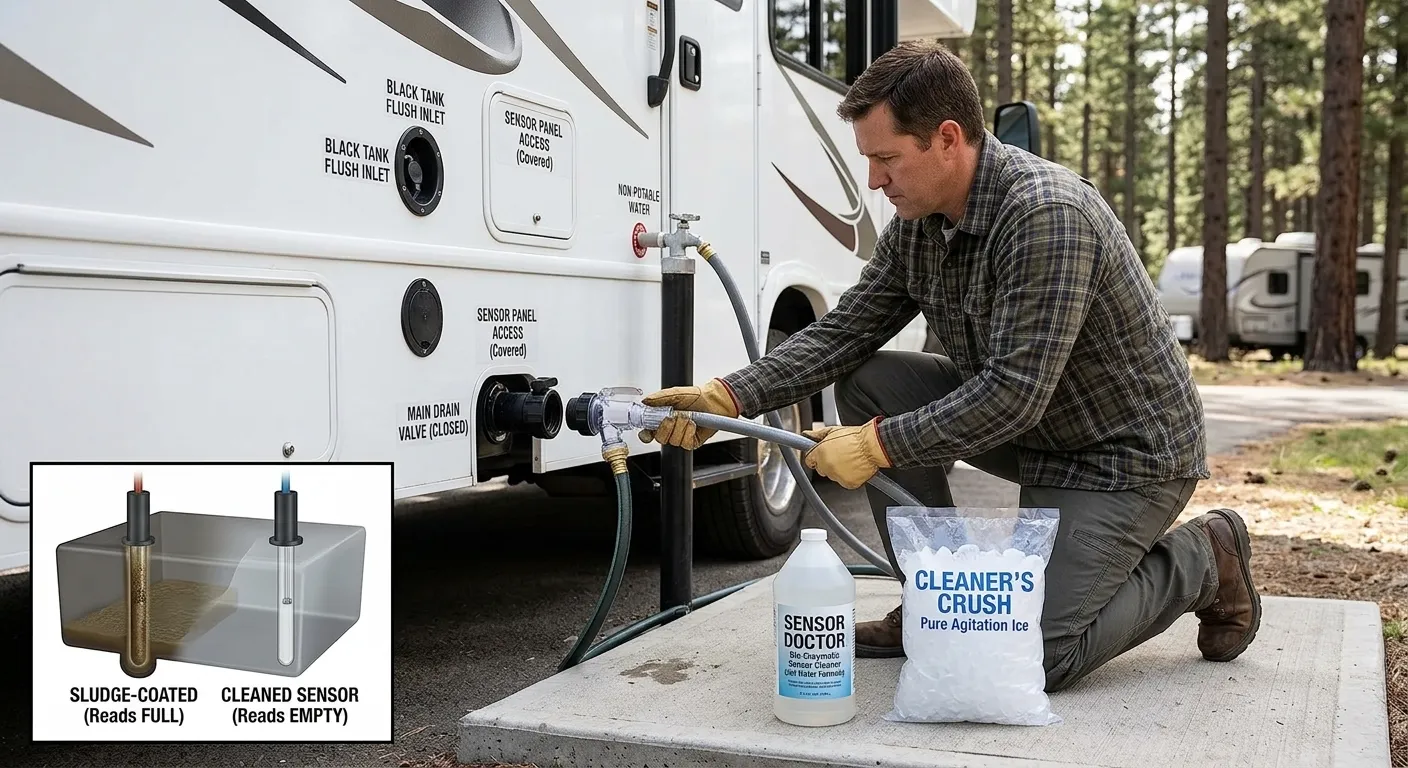
- Tank sensors and cleaners Better sensor health reduces guesswork and overfilling.
Choose accessories that match your fittings and space. Keep spare seals and a spare 3-inch valve in your parts bin for long trips.
Winterization and storage
Winter care protects your RV black tank valve from freeze damage and dry seals.
- Drain and rinse both tanks well.
- Close the valves. Add a quart of RV antifreeze to the black tank to wet the blade and seals.
- Lube the blade with a valve-safe lube before storage.
- In deep cold, insulate or heat-trace exposed valves and pipes.
During storage, cycle the RV black tank valve every month if you can. A quick open and close helps keep the blade free.
Safety, sanitation, and environmental tips
A clean workflow keeps you and the site safe.
- Wear nitrile gloves and eye protection.
- Keep a small spray bottle with disinfectant for fittings and hands.
- Never dump on the ground. Use proper sewer hookups or a dump station.
- Use enzyme or bacteria-based tank treatments. Avoid harsh chemicals that can harm seals and septic systems.
- Rinse the pad if you spill. Leave the site cleaner than you found it.
These habits also extend the life of your RV black tank valve and hose.
Tools, parts, and go-bag checklist
A small kit solves most issues at the campground.
- Nitrile gloves, paper towels, hand soap
- 3-inch spare RV black tank valve and seals
- Screwdrivers, sockets, adjustable wrench
- Silicone spray or valve lube
- Clear sewer elbow and 4-in-1 adapter
- Backflush device and hose bib splitter
- Spare bayonet caps and gaskets
- Headlamp and knee pads
I keep this kit in a tote near the sewer bay. It has saved more than one trip.
Costs and time estimates
Here are typical costs for parts and service:
- Standard 3-inch RV black tank valve 15 to 40 dollars
- Premium or electric valve 80 to 300 dollars
- Seals and hardware 5 to 15 dollars
- Mobile tech labor 150 to 250 dollars per visit, plus parts
Most swaps take under an hour when the valve is at the outlet. Hidden valves can take two to four hours. Budget a bit more for seized bolts or brittle fittings.
Buying guide: choosing the right RV black tank valve
Match the new valve to your rig to avoid returns.
- Confirm size Most black tank valves are 3-inch. Measure to be sure.
- Match fittings Slip, spigot, or hub. Check whether you need a termination valve with bayonet lugs.
- Check brand fit Valterra and LaSalle Bristol parts often mix, but confirm bolt patterns and seal style.
- Measure cable length For cable valves, length must match or the handle travel will be off.
- Think access If space is tight, a compact or electric RV black tank valve may be easier to use.
Read the parts diagram for your RV if you have one. A quick photo of your current valve helps you order the right replacement.
Lessons learned and mistakes to avoid
These are the habits that have kept my rigs clean and odor-free:
- Do not leave the RV black tank valve open at the campsite. It causes solids to pile up.
- Use lots of water. A wet tank flushes better and protects the blade and seals.
- Rinse after every dump. A one-minute rinse now beats a one-hour repair later.
- Lube the valve quarterly. A two-dollar squirt can save a two-hundred-dollar service call.
- Carry a spare RV black tank valve. Replacing it on your schedule beats waiting days for a part.
The biggest lesson I learned came at a crowded dump station. A sticky valve cost me time and pride. A clear elbow and routine lube would have saved me both.
Frequently Asked Questions of RV Black Tank Valve: Complete Guide
How often should I lubricate my RV black tank valve?
Quarterly is a good rule for most campers. If you dump often, add a light lube monthly or any time the pull feels stiff.
Can I use household grease on the valve seals?
Avoid petroleum grease. Use silicone-based valve lube or an RV-safe product so seals do not swell or degrade.
Why does my valve leak even when it is closed?
Debris on the blade or worn seals are common causes. Rinse, backflush, and lube first; if it still drips, replace seals or the valve.
Is an electric RV black tank valve worth it?
It helps when access is tight or you have mobility limits. Pick a trusted brand and keep a manual backup in case of power issues.
Should I open gray and black valves while hooked up long-term?
Keep the black closed and dump in batches. You can leave gray open, but close it a day before departure to collect water for a hose rinse.
Conclusion
A smooth, clean dump routine starts with a healthy RV black tank valve. Know how it works, keep it lubricated, and use plenty of water. Replace worn parts before they fail, and carry a small kit so you are ready for surprises.
Put this guide to work on your next trip. Update your checklist, add a valve-safe lube to your tote, and practice a clean, fast dump routine. Want more RV care tips? Subscribe, share your questions, or leave a comment with your own lessons learned.