

When I choose a Camper Toilet Treatment, I prioritize compatibility over chemical strength. For RV black tanks, cassette toilets, and portable toilets, that means checking the manufacturer’s recommendations, adding the recommended amount of water, following the product label, and emptying waste only at approved disposal facilities. A suitable, correctly dosed product can help control odors and waste buildup, but it doesn’t replace proper cleaning and maintenance. Composting toilets require a different approach based on their design and operating instructions.
In this guide, I explain how to care for each toilet system, compare treatment types, and address dosing, cleaning, persistent odors, winter storage, and common safety mistakes—with attention to U.S. campground and disposal requirements.
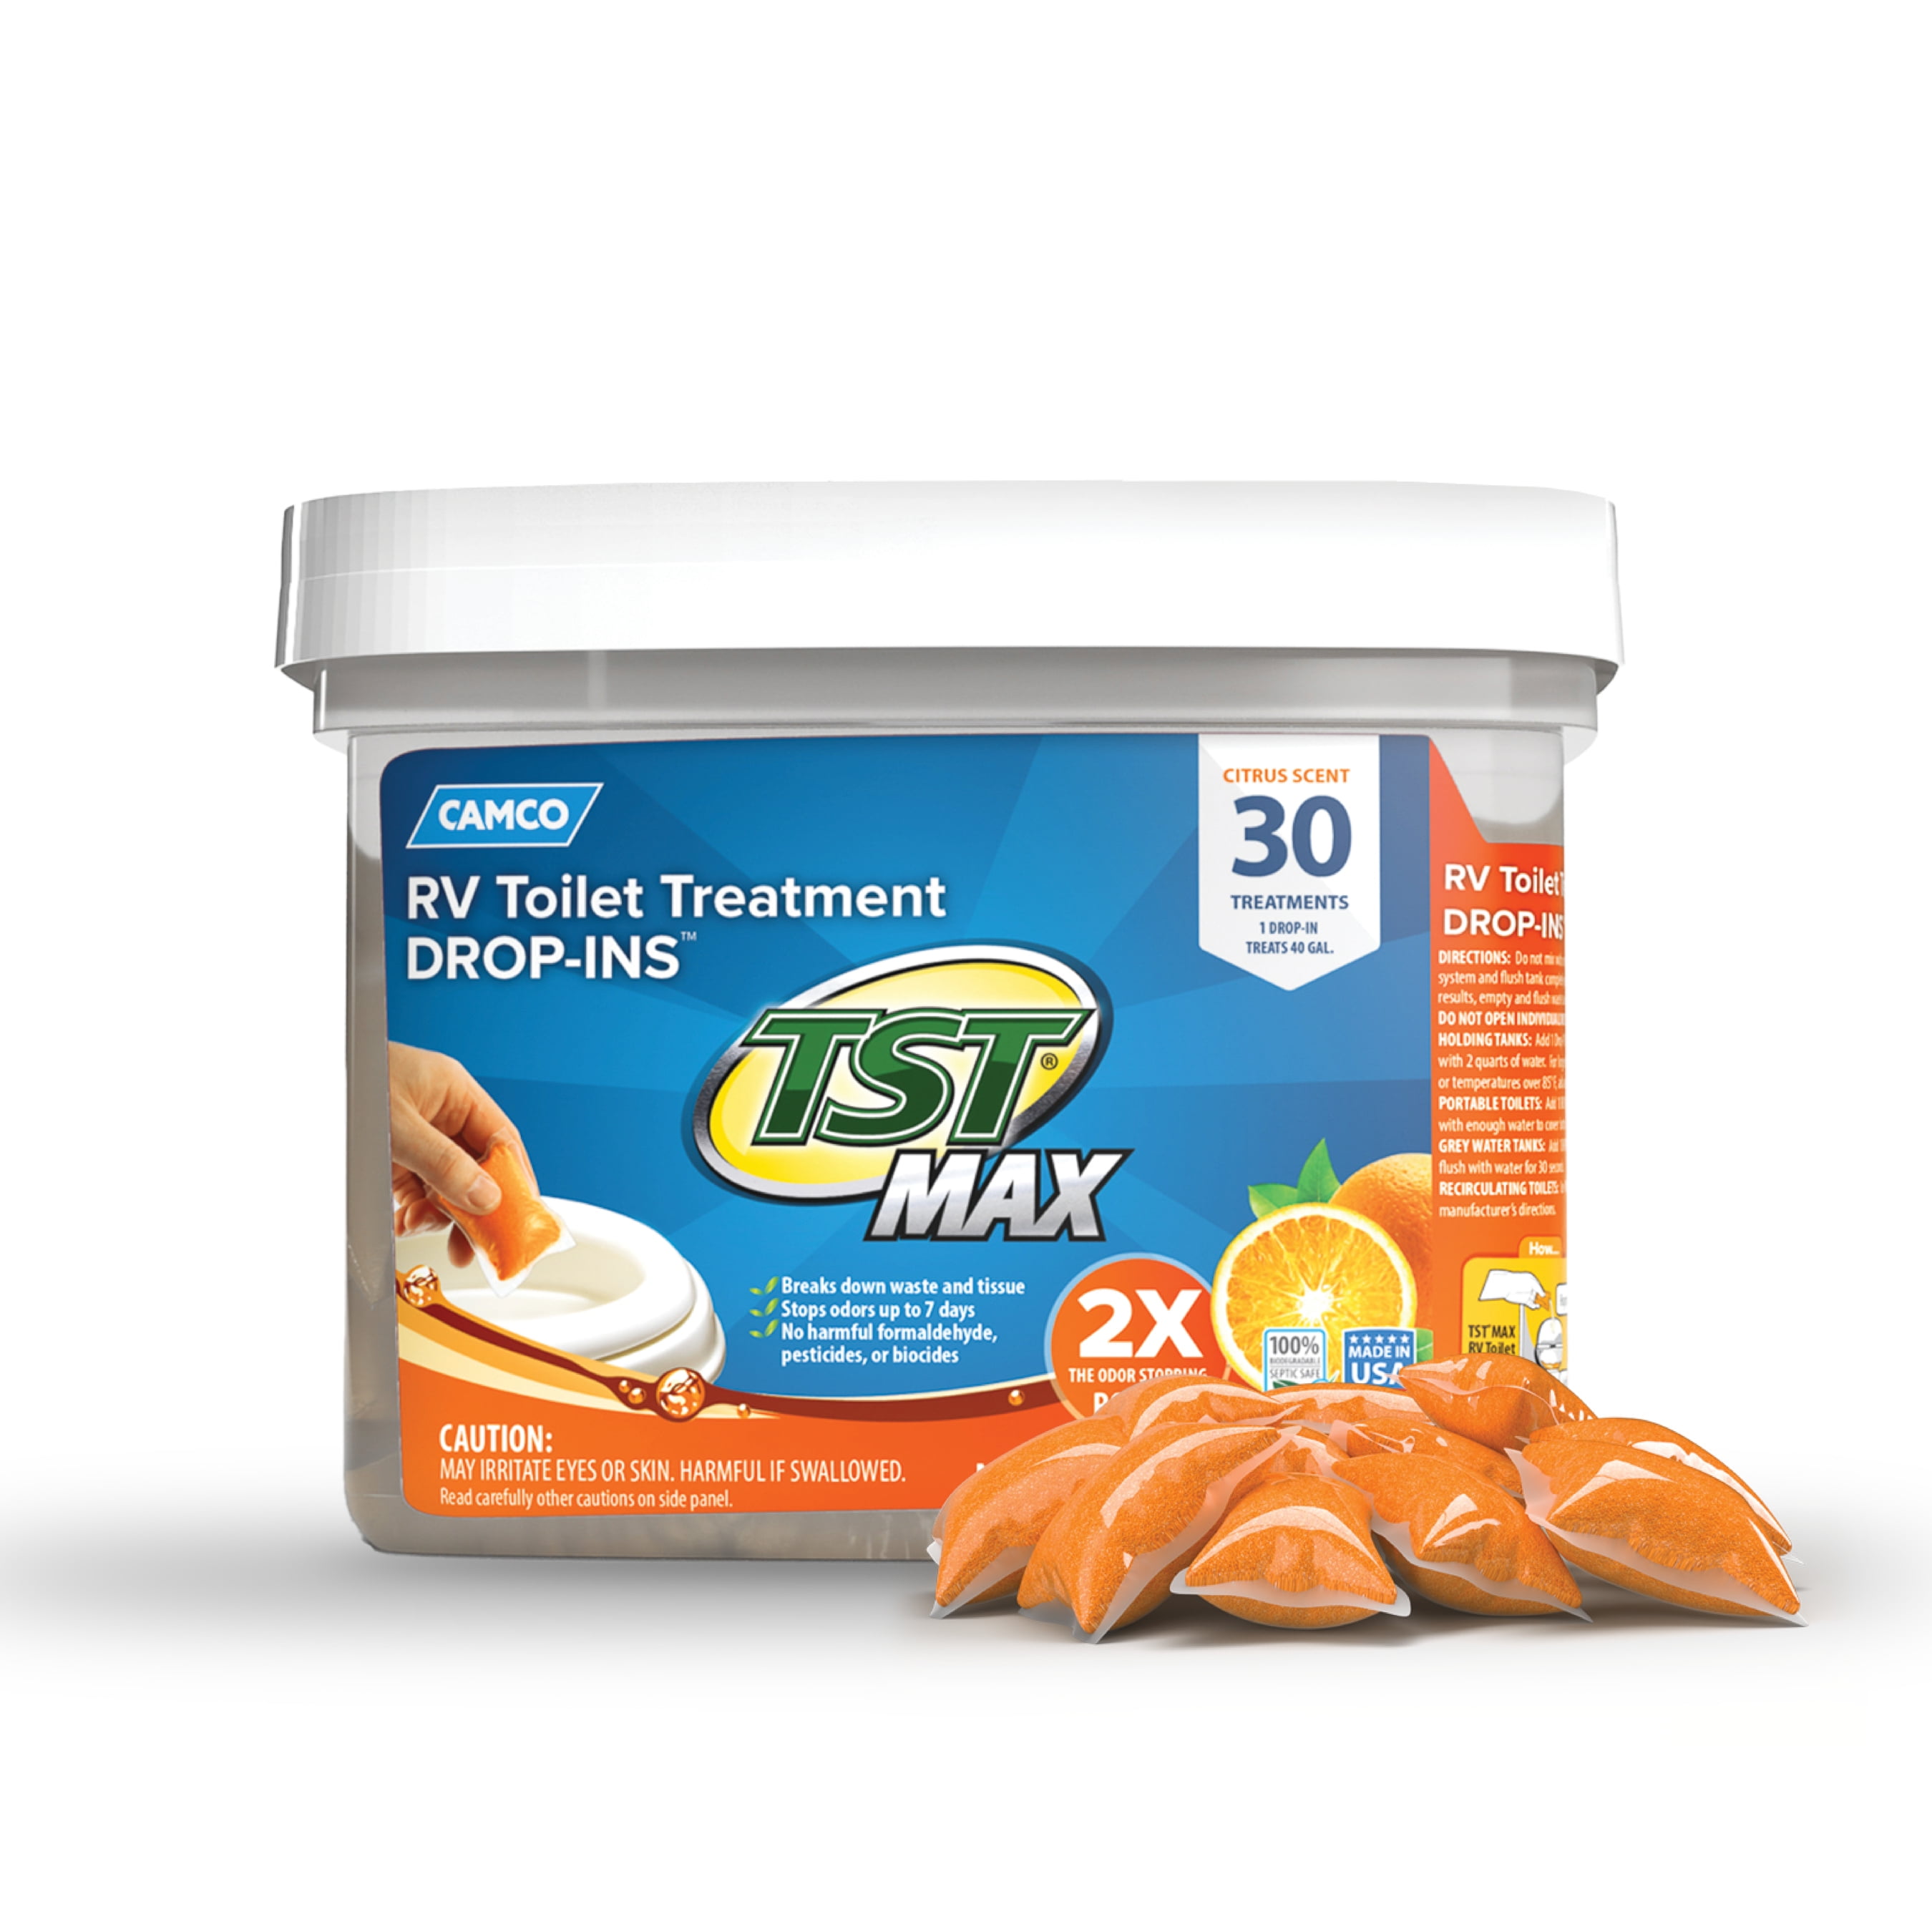
Identify Your Camper Toilet System First
Camper toilet treatment depends on where waste is stored. Most recreational vehicles in the United States use one of four toilet systems:
| Toilet system | Waste destination | Treatment approach |
|---|---|---|
| RV gravity-flush toilet | Separate black holding tank | Use an RV-compatible black-tank treatment and adequate water |
| Cassette toilet | Removable sealed waste cassette | Use cassette-toilet chemical at the labeled dilution |
| Portable chemical toilet | Removable lower waste tank | Use portable-toilet treatment and follow the manufacturer’s capacity instructions |
| Composting or separating toilet | Solids container and urine bottle | Usually requires a dry bulking medium for solids and separate urine management |
A black tank is the RV holding tank that stores toilet waste and flush water. A gray tank stores wastewater from sinks and showers. Gray-tank treatment is different from black-tank treatment because it contains food residue, soap, grease, and shower waste rather than concentrated toilet waste.
Do not assume a product labeled for a portable toilet is suitable for every RV black tank. Before using a treatment, confirm that it is compatible with:
- The toilet and tank material
- Tank sensors and seals
- Macerator pumps, if installed
- A composting or separating toilet design
- The disposal method required by the product label
- Any restrictions in your RV owner’s manual
The main purpose of camper toilet treatment
A properly selected treatment may help:
- Reduce unpleasant odors
- Keep waste more evenly suspended in the tank
- Reduce the risk of hardened waste and toilet paper buildup
- Improve tank rinsing and flushing
- Limit residue on some tank components
- Make storage and transport more manageable
Treatment does not replace proper water use, tank maintenance, or legal disposal. It also cannot reliably repair a blocked valve, failed vent, damaged sensor, or tank that has already dried out with waste inside.

How to Treat an RV Black Tank
The standard method is to add water first, add the treatment according to its label, and maintain enough liquid in the tank to cover the waste. Avoid storing an RV with a completely dry black tank unless the RV manufacturer specifically directs that procedure.
Step-by-step black-tank treatment
Confirm the product is made for RV black tanks.
Read the label for tank compatibility, dosage, dilution, and disposal instructions. Do not select a product solely because it has a strong fragrance.Close the black-tank valve.
Keeping the valve closed allows liquid to remain in the tank. Leaving the valve open continuously can allow liquid to drain while solids remain behind, contributing to a hardened waste pile.Add the label-specified amount of water.
Many RV treatments require a minimum amount of water, but the exact quantity varies by product and tank size. Use the label rather than a generic online recommendation.Add the treatment.
For a liquid, pour the measured amount into the toilet bowl and flush it into the tank. For a dissolvable packet, follow the package directions. Do not cut open a packet unless the manufacturer specifically says to do so.Use adequate flush water after each use.
A small amount of water may be convenient, but it can allow waste and toilet paper to accumulate at the bottom of the tank. Use the toilet’s normal flush cycle or add additional water when practical.Monitor the tank level.
Dump the black tank when it is sufficiently full for a strong flow, while staying within the RV manufacturer’s instructions. Do not wait until the tank is completely full if doing so creates a risk of overflow.Rinse the tank when appropriate.
Use the built-in rinse system, a flush connection, or a manufacturer-approved cleaning method. Never open a tank-rinse connection without first confirming that the dump hose is securely attached and the termination valve is closed or open as required by the system.Close and cap the valves after dumping.
Inspect the termination cap, sewer hose, and valve area for leaks. Wash your hands after handling any wastewater equipment.
How much treatment should you use?
There is no universal dose for camper toilet treatment. The correct amount depends on:
- Product concentration
- Tank capacity
- Amount of water already in the tank
- Whether the product is a liquid, tablet, packet, or powder
- The treatment’s intended use, such as routine odor control or deep cleaning
For example, if a label specifies one ounce for every 40 gallons of tank capacity, a 20-gallon tank would require half that amount only if the label permits proportional dosing. Some products specify a fixed dose per tank rather than a gallons-based dose. Never increase the dose to compensate for a strong odor; excess chemical can create unnecessary residue or interfere with the disposal system.
Signs the treatment routine is working
A functional routine generally produces:
- Less odor when the toilet is flushed
- Waste that remains sufficiently liquid for dumping
- A tank that rinses without repeated blockage
- Fewer false “full” or “empty” sensor readings caused by residue
- No unusual swelling, cracking, leakage, or chemical damage
A treatment cannot guarantee accurate tank sensors. Sensors often become unreliable because waste or mineral deposits coat the probes.

Choose the Right Type of Camper Toilet Treatment
Camper toilet treatments fall into several broad categories. The right choice depends more on the toilet system and disposal environment than on marketing claims.
Biological or enzyme-based treatments
Biological treatments typically use microorganisms or enzymes intended to break down organic waste and reduce odor. Their performance depends on moisture, temperature, concentration, and the specific formulation.
They may be appropriate when:
- The manufacturer confirms black-tank compatibility
- You prefer a lower-odor product
- You use normal amounts of water
- You are not relying on the product to clear a mechanical blockage
Do not assume that every “natural” or enzyme-based product is harmless to every septic system or wastewater facility. Disposal instructions still apply.
Chemical treatments
Chemical formulations may use odor-control agents, surfactants, dyes, or other ingredients. Some are designed to help keep solids dispersed, while others primarily mask odor.
When evaluating a chemical treatment, check:
- Whether it contains formaldehyde or formaldehyde-releasing ingredients
- Whether the label permits use with septic systems or campground dump stations
- Compatibility with seals, sensors, and tank materials
- Required ventilation and handling precautions
- Whether it is intended for routine use or occasional cleaning
The U.S. Environmental Protection Agency has warned that certain chemicals used in wastewater systems can interfere with biological treatment processes. A product’s odor-control performance does not establish that it is environmentally preferable.
Formaldehyde-containing products
Formaldehyde has historically been used in some portable and RV toilet treatments. However, it is a hazardous substance, and it can interfere with biological wastewater treatment. Avoid using a formaldehyde-containing treatment unless the product label, disposal facility, and applicable local requirements clearly allow it.
Never pour concentrated toilet chemicals onto soil, into storm drains, or into waterways.
Odor-control products
Some products primarily reduce odor rather than break down waste. They can be useful when the tank is otherwise functioning properly, but fragrance does not solve:
- A blocked roof vent
- A leaking toilet seal
- A dried-out bowl seal
- A cracked sewer hose
- A stuck dump valve
- A full or improperly vented tank
If odor enters the living area, diagnose the ventilation and plumbing system before simply adding more chemical.
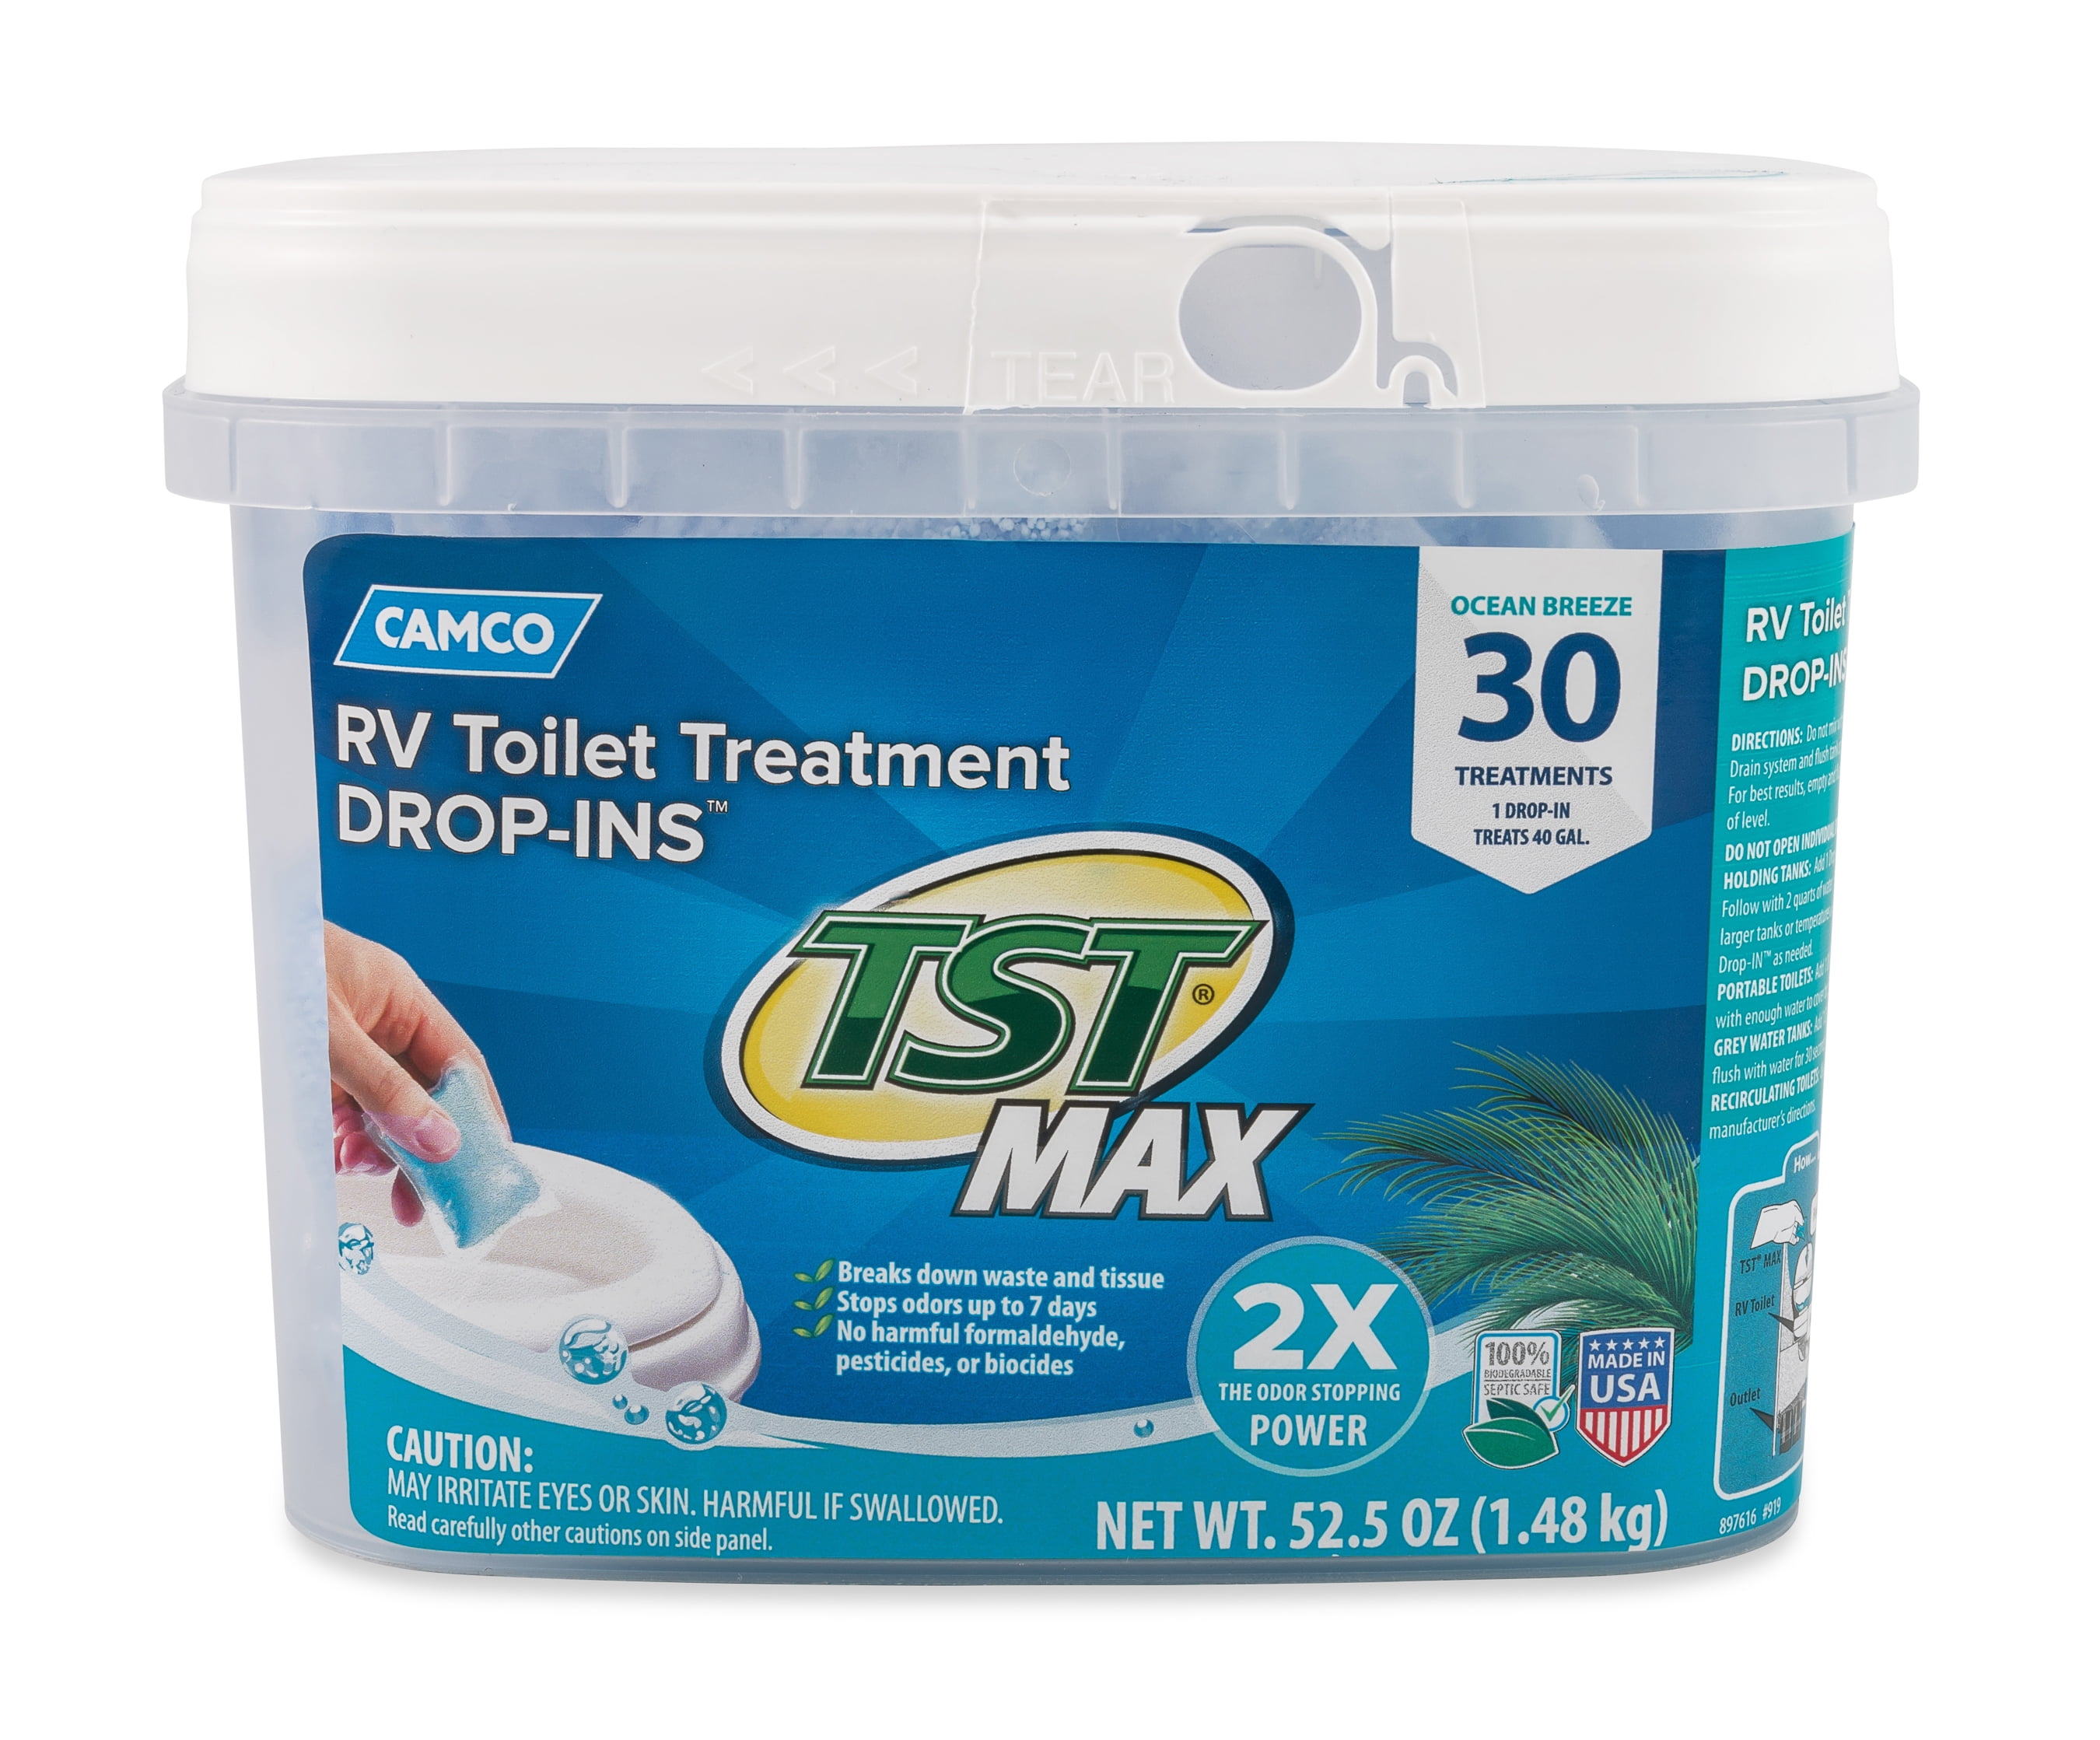
Water Matters More Than Many Campers Expect
Adequate water is one of the most important parts of black-tank maintenance. A concentrated mixture of waste, paper, and treatment can become difficult to rinse when the tank receives very little flush water.
Use enough water to:
- Cover the tank bottom
- Keep waste from drying onto surfaces
- Support the treatment’s labeled function
- Produce a reasonable flow during dumping
Water conservation is still possible. Repair leaking faucets, avoid unnecessary long flushes, and use the tank’s capacity efficiently. However, extremely short flushes every time can create more maintenance problems than they prevent.
Should the black-tank valve stay open at a campsite?
Usually, the black-tank valve should remain closed while connected to a sewer hookup. With the valve open, liquid can drain continuously while heavier solids remain in the tank. This can lead to buildup often described as a “poop pyramid.”
A common operating pattern is:
- Keep the black valve closed.
- Allow the tank to fill to an appropriate level.
- Dump through a secure sewer connection.
- Rinse the tank when practical.
- Close the valve again.
Gray-tank practices can differ because gray water is less likely to contain settled solids, but local campground rules and the RV manufacturer’s instructions still control.

How to Dump and Rinse a Camper Toilet Tank Safely
Dumping is safer and more effective when the sewer hose, termination fittings, and dump-station connection are secure before any valve is opened.
Recommended dumping sequence
- Park so the sewer hose can reach the dump inlet without sharp bends.
- Put on disposable gloves.
- Connect the sewer hose firmly to the RV outlet and dump-station inlet.
- Secure the campground or dump-station connection with an approved adapter or weight if required.
- Open the black-tank valve slowly.
- Allow the tank to drain completely or until the flow becomes minimal.
- Use the built-in flush or rinse system if equipped.
- Close the black-tank valve.
- Dump the gray tank if appropriate; gray water can help rinse the sewer hose after the black tank.
- Close all valves, disconnect carefully, and cap the RV outlet.
- Clean and store the equipment according to the hose and treatment manufacturer’s instructions.
Never rely on a friction-fit sewer hose connection when the system could separate under flow. Do not leave the dump-station hose unattended while a valve is open.
When not to use a tank rinser
Do not operate a flush system if:
- The sewer hose is not securely connected
- The dump-station inlet is blocked
- The tank valve is closed when the system requires it to be open
- The tank or plumbing shows signs of excessive pressure
- The RV manual prohibits that procedure
A pressurized rinse can create a messy or hazardous failure if the outlet path is obstructed.

Treating Cassette and Portable Toilets
Cassette and portable toilets use a removable waste tank rather than a large fixed black tank. They usually require more precise attention to chemical concentration because the waste volume is smaller.
Cassette-toilet procedure
For a cassette toilet:
- Verify the treatment is labeled for cassette toilets.
- Add the specified amount of water to the cassette.
- Add the exact dose of treatment.
- Keep the cassette vent or sliding mechanism in the position specified by the toilet manufacturer.
- Empty the cassette at an approved sanitation point.
- Rinse the cassette with clean water.
- Inspect the blade seal, vent, and carrying handle for leaks.
- Store the cassette according to the manufacturer’s instructions.
Do not use household drain cleaner, concentrated bleach, or abrasive powders in a cassette toilet. These products may damage seals and can create dangerous chemical reactions.
Portable chemical toilets
Portable toilets generally use a lower tank and a separate flush-water reservoir. Treatment goes into the waste tank, not necessarily the flush-water tank. Some products are specifically designed for flush-water reservoirs, so read the instructions carefully.
A portable toilet should be emptied before the tank becomes difficult to carry. A full tank can be heavy and may create a higher risk of spills during transport.

Composting and Separating Toilets Need a Different Approach
A composting or separating toilet is not treated like a conventional RV black tank. It separates urine from solid waste and typically uses a dry carbon-based bulking material in the solids container.
Do not pour standard black-tank chemicals into a composting toilet unless the toilet manufacturer expressly approves them. Chemicals and excess liquid can interfere with the intended drying or composting process and may damage fans, seals, or containers.
Follow the toilet manufacturer’s instructions for:
- Approved bulking material
- Urine-bottle cleaning
- Solids-container emptying
- Vent-fan operation
- Moisture control
- Storage and transport
- Disposal of the separated waste
A composting toilet does not make human waste automatically safe for unrestricted disposal. Disposal must follow local health rules, campground policies, and the manufacturer’s directions.
Troubleshoot Camper Toilet Odors and Tank Problems
Additive alone is rarely the best first response to a persistent problem. Use the symptom to narrow the likely cause.
| Symptom | Possible cause | First check |
|---|---|---|
| Odor enters the RV after flushing | Failed bowl seal, blocked vent, or tank odor pulled into the cabin | Add water to the bowl and inspect the seal and roof vent |
| Strong odor outside near the tank | Full tank, vent obstruction, leak, or inadequate treatment | Check tank level, vent termination, and fittings |
| Tank reads full after dumping | Waste or mineral deposits on sensors | Rinse the tank and inspect sensor-cleaning options |
| Toilet burps or bubbles | Restricted vent or tank pressure problem | Stop flushing and inspect the vent and plumbing |
| Tank will not drain | Blocked valve, hardened waste, kinked hose, or clogged outlet | Check the hose and valve without applying unsafe pressure |
| Treatment has little effect | Wrong product, insufficient water, or mechanical problem | Verify product compatibility and water level |
A safe troubleshooting order
- Stop adding extra chemicals.
- Check whether the odor or blockage creates an immediate spill risk.
- Confirm the tank valve and sewer hose position.
- Inspect the toilet bowl seal and vent outlet.
- Add water only if the tank can safely receive it.
- Use the manufacturer’s approved rinse or cleaning process.
- Seek RV service if the valve, tank, vent, or plumbing appears damaged.
Do not use compressed air or high-pressure water to force a blockage through an unknown section of RV plumbing. Pressure can damage tanks, seals, and fittings.
Common Camper Toilet Treatment Mistakes
Several practices create more problems than they solve:
- Leaving the black valve open continuously: This can allow liquid to drain while solids remain.
- Using too little water: Dry waste and paper are more difficult to rinse.
- Overdosing treatment: More chemical does not necessarily mean better odor control.
- Mixing products: Combining bleach, ammonia, acids, formaldehyde products, or other cleaners can release harmful vapors or create damaging reactions.
- Using household cleaners: Toilet bowls, seals, and RV tanks may not tolerate abrasive or highly corrosive cleaners.
- Ignoring the vent: A blocked roof vent can make a correctly treated tank smell.
- Dumping illegally: Wastewater belongs at an approved dump station or sanitation facility.
- Relying on fragrance: Masking odor does not correct a leak, blockage, or failed seal.
- Storing the RV with untreated waste: Waste can dry and harden during long storage.
- Failing to read the RV manual: Tank construction, sensor systems, and rinse connections differ among vehicles.
Storage and Winterization Considerations
Before storing an RV, empty and rinse the black tank as thoroughly as the system allows. Leave the tank in the condition specified by the RV manufacturer. Some manufacturers recommend a small amount of water in the tank to protect seals; others provide different storage instructions.
For cold-weather storage:
- Follow the RV manufacturer’s winterization procedure.
- Do not assume standard antifreeze is safe for the toilet or black tank.
- Use only potable-water-system antifreeze where the manufacturer permits it.
- Keep chemical products from freezing if their labels prohibit freezing.
- Inspect the toilet seal and valve after storage.
- Confirm that the roof vent is unobstructed before returning the RV to service.
Never use automotive antifreeze in an RV toilet or potable-water system unless the product and RV manufacturer specifically identify it as appropriate. Automotive antifreeze may be toxic and is not interchangeable with RV plumbing antifreeze.
How to Select a Camper Toilet Treatment
Use this decision framework rather than choosing by scent or package claims:
Match the treatment to the toilet type.
Black tank, cassette, portable, and composting systems are not interchangeable.Check the ingredients and disposal guidance.
Pay particular attention to formaldehyde, strong oxidizers, and restrictions involving septic or biological wastewater treatment.Confirm compatibility.
Look for directions covering tank materials, seals, sensors, and pumps.Compare the dosing method.
A concentrated product may use less storage space, but it still must be measured accurately.Consider your use pattern.
Weekend campers may prioritize simple dosing and storage. Full-time RV users may care more about routine tank rinsing, long-term sensor performance, and wastewater compatibility.Treat odor as a diagnostic clue.
If the smell persists after correct use, investigate ventilation, seals, tank level, and leaks.
A treatment is a supporting part of RV sanitation—not a substitute for water, ventilation, correct dumping, and routine inspection.
Key Takeaways
- Use only a treatment designed for your specific camper toilet system.
- Follow the product label and RV owner’s manual for dosage and water requirements.
- Keep the black-tank valve closed until the tank has enough liquid for an effective dump.
- Use adequate flush water to reduce dried waste and toilet-paper buildup.
- Avoid formaldehyde-containing products unless their use and disposal are clearly permitted.
- Never mix bleach, ammonia, acids, or other toilet chemicals.
- Persistent odor usually requires plumbing or ventilation troubleshooting.
- Dump wastewater only at an approved sanitation facility.
FAQs
What is the best treatment for an RV black tank?
The best treatment is one labeled for RV black tanks that is compatible with your tank materials, seals, sensors, and disposal method. Biological, enzyme-based, and chemical products can all differ in formulation and performance. Choose based on compatibility and instructions rather than fragrance or the strongest marketing claim.
Can I use bleach in my camper toilet?
Do not use bleach routinely in an RV black tank unless the RV or toilet manufacturer specifically permits it. Bleach can damage some seals and components, disrupt biological wastewater treatment, and create hazardous reactions when mixed with other products. Never mix bleach with ammonia, acids, or unknown tank chemicals.
Should I leave my RV black-tank valve open?
In most situations, no. Keep the black-tank valve closed while connected to a sewer hookup, then dump when the tank has accumulated enough liquid for a strong flow. This helps prevent liquid from draining away while solids remain in the tank.
Why does my camper toilet still smell after treatment?
Possible causes include a blocked roof vent, failed toilet bowl seal, leaking termination valve, insufficient water, a full tank, or odor entering through the plumbing system. Check these conditions before increasing the treatment dose.
Can I use regular household toilet cleaner in an RV toilet?
Avoid regular household toilet cleaners unless the product is specifically approved for RV toilets. Some household cleaners contain abrasives, solvents, acids, or disinfectants that may damage plastic bowls, rubber seals, tank components, or wastewater-treatment systems.
How often should I treat my RV black tank?
Add treatment according to the product label whenever the tank is used or serviced as directed. Frequency varies by product and camping pattern. Proper water use and periodic rinsing are at least as important as treatment frequency.
Conclusion
Effective camper toilet treatment starts with identifying the toilet system and following its documented requirements. For a conventional RV black tank, use a compatible treatment, add the label-specified water, keep the valve closed between dumps, rinse the tank safely, and investigate persistent odor instead of continuously adding more chemical.
Before your next trip, check the RV owner’s manual, inspect the toilet seal and vent, confirm your treatment’s dosage and disposal instructions, and verify the location of an approved dump station.