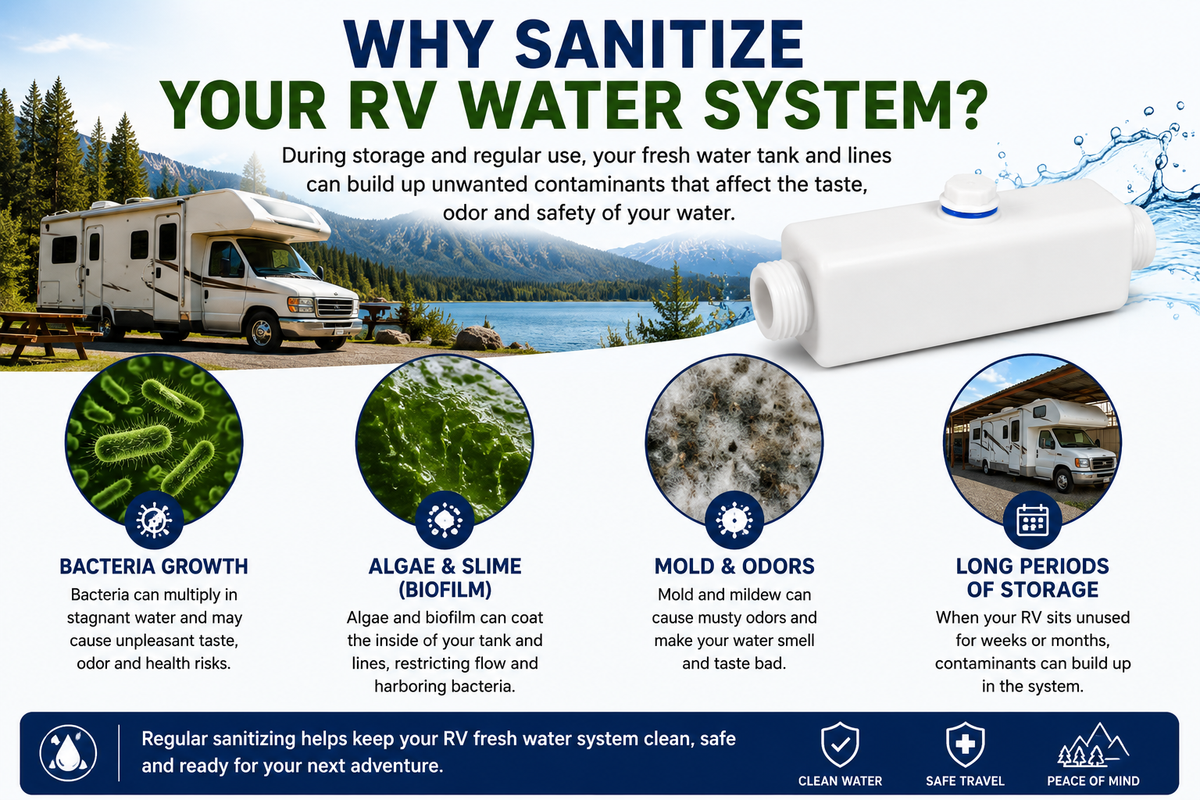
Before setting off on a trip, I make sure my RV’s freshwater system is ready to use—especially after storage. In this Disinfect RV Water Tank guide, I explain how I approach sanitizing both the tank and the pipes that supply the taps and shower.
My first step is checking the RV owner’s manual. It tells me which sanitizer to use, how much to add, how long to leave it, and how to handle filters and the water heater. Some manuals recommend ¼ cup of household bleach per 15 US gallons of freshwater capacity and at least four hours of contact time. However, bleach strength and RV components vary, so I never assume that formula suits every system.
I’ll cover the routine process: adding the approved diluted solution, filling with drinking-quality water, circulating, waiting, draining, and flushing. This guide does not cover sewage contamination or cleaning gray- and black-water tanks.
What Does Sanitizing an RV Freshwater Tank Actually Do?
Sanitizing reduces microbial contamination in the freshwater tank and the plumbing exposed to the sanitizing solution. Simply draining old water or rinsing the tank does not accomplish the same task.
Three terms help clarify the process:
- Cleaning removes sediment, slime, and other material that can interfere with disinfectant.
- Sanitizing or disinfecting uses an approved chemical treatment at a specified concentration and contact time.
- Flushing removes the sanitizing solution after treatment.
RV manuals commonly call the procedure “sanitizing the freshwater system.” That is the relevant task when you search for how to disinfect an RV water tank.
The freshwater tank supplies water for drinking, cooking, washing, and showering. Gray-water tanks collect wastewater from fixtures, while black-water tanks collect toilet waste. Their treatments are not interchangeable.
Sanitizing does not make chemically contaminated water safe. If fuel, pesticides, sewage, or an unknown chemical entered the tank, stop using the system and seek qualified help rather than relying on a routine bleach treatment.
When Should You Sanitize the Freshwater System?
Sanitize at the intervals and events specified in your RV’s manual, particularly when returning the system to service after storage or winterization.
Other reasons to consider sanitation include:
- The RV is newly purchased, especially if its maintenance history is unknown.
- The freshwater system has been opened for repairs.
- Water has remained stagnant during extended nonuse.
- A fill hose or connection may have introduced contamination.
- Unexplained odors or visible deposits remain after draining and refilling.
Do not assume every unpleasant smell comes from the tank. A hot-water-only odor, for example, can point to the water heater rather than the entire freshwater system.
A boil-water advisory also requires more than an automatic tank treatment. Follow the issuing U.S. water utility’s instructions, use an appropriate alternative water supply, and determine whether affected water entered your RV before deciding what needs sanitation.
There is no single calendar schedule that fits every RV and usage pattern. The manufacturer’s schedule, storage conditions, water source, and contamination history should determine the timing.
What You Need Before Starting
Before adding bleach, confirm the tank capacity, sanitation procedure, and compatibility of every component the solution could reach.
Gather:
- The RV owner’s manual and relevant appliance manuals.
- Fresh, regular, unscented household bleach of the strength specified by the procedure.
- A measuring cup reserved for maintenance—not food preparation.
- A clean container for diluting the bleach.
- A potable-water hose and a potable water source.
- Protective gloves and eye protection.
- An approved way to introduce diluted sanitizer into the tank.
- Access to an authorized wastewater-disposal location.
Use plain bleach without fragrance, cleaners, or splashless additives unless the manufacturer explicitly approves the formulation. Check the sodium hypochlorite percentage on the label; “household bleach” does not describe one fixed concentration.
Check filters, water heaters, and treatment equipment
Follow each component’s instructions before exposing it to sanitizer.
- Carbon filters: Remove or bypass them as directed. Carbon can remove chlorine and reduce the sanitizer reaching downstream plumbing.
- Reverse-osmosis equipment: Protect membranes and other components from incompatible chlorine exposure.
- Water heaters: Follow the RV and heater manuals. Some sanitation procedures include the heater; others require bypassing it.
- Specialty equipment: Check instructions for ice makers, washing machines, UV units, and other connected appliances.
If an appliance is isolated during treatment, it has not been sanitized by the tank procedure. It may need a separate approved cleaning or sanitizing process.
Establish these safety boundaries
Never mix bleach with vinegar, acids, ammonia, toilet chemicals, or other cleaners. Dangerous gases can result.
Turn off electric and propane water heating before working on the system. Allow hot water to cool and follow the manufacturer’s depressurization instructions before opening drains or removing plugs.

Keep the RV stationary throughout filling, treatment, and draining. Do not drive with the tank partly filled unless your RV manufacturer permits that operating condition.
How Much Bleach Should You Use?
Use the dose in your RV’s manual for the specified bleach strength and system volume. Do not assume that a stronger bleach product can be substituted at the same volume.
The table below illustrates the common reference recipe of 1/4 U.S. cup per 15 U.S. gallons. It applies only when your manufacturer approves that recipe and the bleach concentration you are using.
| Freshwater capacity used by the procedure | Bleach at the reference dose |
|---|---|
| 15 gallons | 1/4 cup |
| 30 gallons | 1/2 cup |
| 45 gallons | 3/4 cup |
| 60 gallons | 1 cup |
| 75 gallons | 1 1/4 cups |
| 90 gallons | 1 1/2 cups |
One U.S. cup equals 8 fluid ounces. Fluid ounces measure volume; they are not ounces by weight.
Example: a 60-gallon tank
If your manual specifies 1/4 cup per 15 gallons:
60 gallons ÷ 15 gallons × 1/4 cup = 1 cup of bleach
Dilute that measured bleach in clean water before introducing it into the tank. Then fill the system as the manual directs.
Why bleach concentration matters
Bleach labeled 8.25% contains more sodium hypochlorite per comparable volume than bleach labeled 5.25%. Applying the same measuring-cup recipe delivers a different chemical dose.
Mathematically, adjusting a dose between concentrations uses:
New bleach volume = reference volume × reference concentration ÷ new concentration
That calculation does not establish that the substituted product is suitable for your RV. Formulation, component compatibility, and manufacturer approval still matter.
If the manual specifies a bleach strength you cannot find, ask the RV manufacturer for an updated procedure rather than guessing. Do not compensate for weak or old bleach by adding an arbitrary extra amount.
How to Disinfect an RV Water Tank Step by Step
Complete the entire manufacturer-approved treatment, including contact time and flushing. Adding bleach and immediately draining it is not an adequate substitute.
1. Prepare the RV and water system
Park securely, turn off the water heater, and allow the system to cool.
Disconnect the outside water supply when required by the procedure. Set valves to the correct sanitation configuration, and remove or bypass filters and sensitive equipment according to their manuals.
Identify all freshwater outlets you need to treat, including the kitchen faucet, bathroom faucet, shower, and outside shower.
2. Drain the old freshwater
Drain the tank and plumbing through the designated drains. Follow the manual for water-heater draining or bypassing.
Do not run the pump dry for extended periods to force out the last water. Stop when the prescribed draining procedure is complete.
If you find substantial sediment, slime, or foreign material, address that before routine sanitation. Disinfectant works less reliably when contamination is protected by deposits.
3. Measure and dilute the sanitizer
Measure the amount required by your approved procedure. Mix it with clean water in a clean container, using the dilution volume specified by the manual.
Do not pour undiluted bleach directly onto tank fittings, seals, or plumbing components.
4. Introduce the solution through the approved fill route
Use the gravity-fill opening, sanitation port, or other method specified for your RV.
Do not assume the city-water connection fills the tank. Many RVs require a particular valve position, and some city-water connections supply the plumbing without filling the freshwater tank.
If the RV has no obvious way to introduce sanitizer, consult its water-management instructions rather than improvising a connection.
5. Fill with potable water
Fill to the level required by the sanitation procedure. A small amount of treated water in the bottom of a large tank does not treat all interior surfaces.
Use a potable-water hose, and keep the hose end and fill opening away from the ground and wastewater equipment.
6. Circulate the solution through the plumbing
Use the onboard pump as directed to move tank water through each approved outlet.
Run each relevant cold-water line and each hot-water line included in the procedure until sanitizing solution reaches the outlet. Operate outside showers and other seldom-used fixtures too.
A chlorine smell can help indicate that the solution has arrived, but smell does not measure disinfectant concentration or prove successful sanitation.
After filling the plumbing, top off the freshwater tank if the manual requires it. If you bypassed the water heater, follow the prescribed method for treating the remaining plumbing; do not assume that every hot-side component received sanitizer.
7. Allow the full contact time
Leave the solution in the system for the manufacturer’s specified time.
A common RV procedure specifies at least four hours, but that instruction must be paired with its stated dose and conditions. Do not combine a dose from one procedure with the contact time from another.
Keep the treated water out of use during this period. Do not drink it, cook with it, or use it for normal bathing.
8. Drain at an approved location
Drain the tank and treated plumbing as instructed.
Ask the campground, local wastewater authority, or facility operator where chlorinated sanitation water may be discharged. Permission to dump ordinary RV wastewater does not necessarily establish permission for a concentrated chlorine treatment.
Do not discharge into storm drains, streams, lakes, or other surface waters. Do not assume a septic system can accept the treatment volume and chlorine concentration.
9. Refill and flush
Refill with potable water, then run fresh water through every outlet treated during sanitation.
Drain and repeat as needed to remove the sanitation solution. One refill is not always enough because plumbing branches, appliances, and tanks retain water.
Do not add vinegar or another chemical to “neutralize” bleach in the system.
10. Restore normal operation
Return valves to their operating positions and reinstall or replace filters as their manufacturers direct.
Before turning on the water heater, confirm it is full using the heater’s instructions. Energizing an empty electric water heater can damage its heating element.
Check for leaks and verify that the pump, faucets, and connected equipment work normally.

How Can You Tell Whether the Process Worked?
Successful routine sanitation means completing the specified concentration, coverage, contact time, and flushing—not simply producing a clean smell.
Before returning the system to service, verify that:
- The correct bleach product and dose were used.
- The solution reached all components included in the procedure.
- The required contact time elapsed.
- All treated branches were flushed.
- No unexplained deposits, discoloration, or objectionable odors remain.
- The system operates without leaks or abnormal pump behavior.
A properly flushed system may still have the mild chlorine character of its municipal source water. Conversely, water with no chlorine smell is not automatically microbiologically safe.
For a practical comparison, check the source water and RV water under similar conditions. A suitable free-chlorine test can help identify residual sanitizer, but an ordinary chlorine test does not establish that the water is free of pathogens.
If contamination is suspected, consult a qualified RV service technician and, when appropriate, a certified drinking-water laboratory. Tell the laboratory what happened so it can recommend relevant sampling and tests.
Troubleshooting Odors, Residue, and Failed Sanitation
If problems remain after treatment, identify their likely source before adding more bleach.
| Symptom | Possible causes | Useful next check |
|---|---|---|
| Strong chlorine odor after flushing | Sanitizer retained in plumbing, tank, or appliances | Flush every treated branch; verify valve positions and follow appliance instructions |
| Sulfur or “rotten egg” odor only in hot water | Water-heater condition, water chemistry, or source-water issue | Check the heater manual and seek model-specific service advice |
| Musty odor throughout the system | Stagnation, untreated plumbing, dirty filter housing, or deposits | Check missed outlets, filter housings, fill hose, and tank condition |
| Visible slime or recurring discoloration | Deposits or contamination not removed by routine treatment | Stop drinking the water and arrange inspection or cleaning |
| Pump runs but little water reaches faucets | Incorrect valves, air leak, blocked strainer, or empty tank | Check the plumbing configuration and pump instructions |
| Sanitizer does not reach an outlet | Isolated branch, incorrect routing, or treatment equipment removing chlorine | Verify the route and approved bypass arrangement |
Common mistakes to avoid
The most consequential errors are using the wrong bleach strength, skipping the contact time, and leaving part of the system untreated.
Other mistakes include:
- Treating the tank but overlooking showers or secondary fixtures.
- Leaving a carbon cartridge installed when it should be bypassed.
- Using a dirty fill hose immediately after sanitation.
- Assuming a bleach treatment removes fuel or chemical contamination.
- Repeatedly increasing the dose instead of investigating persistent problems.
If odor or deposits return quickly, repeated sanitation alone may not solve the cause. An inaccessible dirty tank, contaminated hose, neglected filter housing, or appliance-specific problem may require cleaning, repair, or replacement.
Keep the Freshwater System Clean After Sanitizing
Use potable water, maintain clean connections, and follow the RV’s storage instructions to reduce recontamination.
Keep freshwater hoses separate from sewer equipment. Protect hose ends from contact with the ground, use clean caps where appropriate, and store the hose according to its manufacturer’s instructions.
Replace filter cartridges on their specified schedule. A filter is not a substitute for freshwater-system maintenance, and not every filter removes microorganisms.
For storage, follow the RV manual’s draining or winterization procedure rather than leaving water indefinitely in a warm, unused system. Sanitize again when returning the RV to service if the manual calls for it.
Do not treat uncertain campground water as safe merely because the tank was recently sanitized. Source-water quality and freshwater-system maintenance are separate safeguards.
Frequently Asked Questions
Can I use vinegar instead of bleach?
Do not substitute vinegar unless your RV manufacturer provides a validated procedure for that purpose. Vinegar used for descaling is not interchangeable with an approved freshwater-system disinfectant. Never combine it with bleach.
Can I use pool chlorine or household disinfecting cleaner?
Not as an improvised substitute. Pool chemicals and household cleaners can have different concentrations, additives, and permitted uses. Use only a product and procedure approved for your freshwater system.
Should I disinfect the freshwater hose too?
Maintain the hose as a separate part of the potable-water system. Follow its manufacturer’s cleaning and sanitizing instructions. A hose contaminated by sewage or an unknown chemical should not automatically be considered recoverable through routine bleach treatment.
Can I sanitize only a partially filled tank to save water?
Only if the manufacturer provides a procedure that achieves the required surface coverage and concentration. A partial fill may leave tank surfaces untreated, and adding the full-tank bleach dose to a smaller water volume creates a stronger solution.
Does an EPA emergency drinking-water bleach recipe work for RV tank sanitation?
Not as a replacement for the RV procedure. Emergency drinking-water disinfection treats water intended for consumption under specific conditions. RV-system sanitation treats tank and plumbing surfaces and generally requires draining and flushing afterward. The doses and purposes are different.
Sources, Research Scope, and Next-Question Gaps
The controlling sources for this task are the exact RV owner’s manual, component manuals, and sanitizer label. General public-health guidance supports the safety distinctions but does not establish a universal RV sanitation recipe.
Relevant U.S. reference starting points include:
- Winnebago operator manuals — locate instructions for the correct model and model year.
- Forest River owner resources — locate brand-specific manuals and support.
- EPA emergency disinfection of drinking water — guidance for emergency water treatment, not a substitute for RV-system sanitation.
- CDC guidance on making water safe in an emergency — public-health guidance on treatment limitations and emergency water safety.
Research limitation: Live browsing and current competitor-page inspection were unavailable for this article. No current search rankings, competitor omissions, hands-on testing, or model-specific manual revisions are claimed. Verify the latest instructions for your RV before acting.
The following compact gap map records useful inferred next needs, not observed search demand. Competitor coverage is not checked.
| Next question | Reader stage and basis | Reader benefit | Evidence needed or controlling source | Priority and placement |
|---|---|---|---|---|
| What if my bleach is a different strength? | Before treatment; inferred from variable product concentrations | Prevents dosing errors | Bleach label and exact RV procedure | High; dosage section |
| What about filters and the water heater? | Before and during treatment; inferred from system configuration | Avoids component damage and untreated branches | RV and component manuals | High; preparation and steps |
| Where can I drain the solution? | After contact time; inferred from the disposal requirement | Prevents inappropriate discharge | Local wastewater authority or facility rules | High; draining step |
| What if odors return after treatment? | After sanitation; inferred from persistent symptoms | Helps distinguish sanitation failure from a separate fault | Appliance manuals, inspection, and relevant testing | High; troubleshooting |

Conclusion
To disinfect an RV water tank correctly, treat the approved freshwater system—not just the tank—with the manufacturer-specified sanitizer dose and contact time. Then drain responsibly, flush every treated outlet, and restore filters, valves, and appliances according to their instructions.
Your next step is to find the freshwater-sanitation section in your RV’s exact owner’s manual. Confirm tank capacity, bleach strength, appliance bypass requirements, and contact time before measuring the sanitizer.