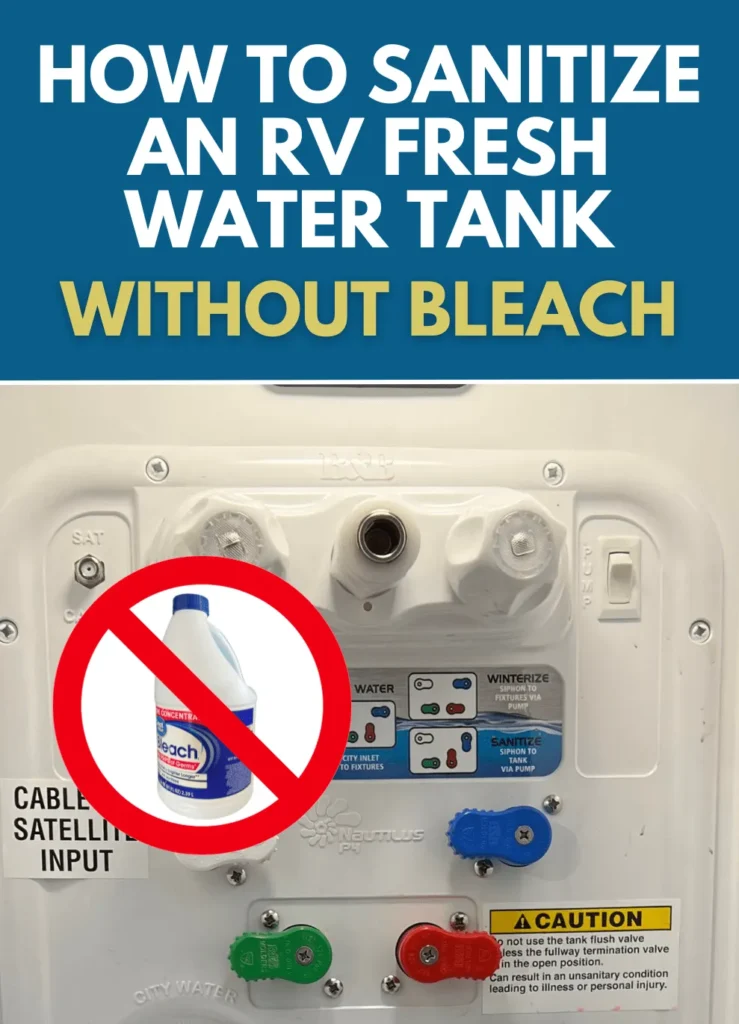
When I prepare an RV for camping, de-winterize a travel trailer, or bring a motorhome out of storage, I put fresh-water sanitation on the checklist. Disinfecting means treating the tank and the plumbing that supplies the faucets, not simply adding bleach and draining the tank.
In my Disinfecting RV Water System: Easy Step-By-Step Guide, I explain how to check your manufacturer’s instructions, calculate the approved disinfectant dose, circulate the solution, allow the required contact time, and flush with potable water. I start with the RV owner’s manual because bleach strength, system components, and water-heater procedures vary—one sanitation recipe won’t suit every setup. I also explain when routine disinfection may not be enough, so you know when to investigate contamination or seek qualified help before using the water.
What Does Disinfecting an RV Water System Involve?
Disinfecting an RV water system treats the fresh-water tank and connected plumbing to reduce microbial contamination. RV manuals often call this procedure sanitizing the fresh-water system.
The components that may need treatment include:
- The fresh-water tank.
- The onboard water pump and its connected plumbing.
- Cold-water lines.
- Hot-water lines and, when the manufacturer permits it, the water heater.
- Kitchen and bathroom faucets.
- Indoor and outdoor showers.
- Other potable-water branches, such as a drinking-water dispenser.
The gray-water and black-water tanks are separate waste systems. Cleaning them does not sanitize the drinking-water supply.
Cleaning, sanitizing, and flushing are different
Cleaning removes deposits and debris. Sanitizing reduces microorganisms. Flushing removes the treatment solution. A system with sediment, slime, or persistent contamination may need cleaning or professional service before a normal sanitizing cycle can work reliably.
Chlorine also does not remove fuel, pesticides, metals, or other chemical contaminants. If an unsafe chemical entered the tank, do not assume that adding bleach will make the water safe.
When should you sanitize the system?
Use the maintenance schedule in your RV manual. Common reasons to sanitize include:
- Returning the RV to service after storage.
- De-winterizing, after removing RV antifreeze according to the manual.
- Repairing or replacing potable-water plumbing.
- Discovering contamination in the tank, hose, or fill connection.
- Developing an unexplained musty odor or recurring unpleasant taste.
There is no single sanitation interval that fits every RV, climate, and storage pattern. Follow the manufacturer’s schedule rather than treating an internet recommendation as universal.

What You Need Before You Start
Before adding any disinfectant, confirm your system’s capacity, plumbing layout, and approved treatment procedure.
Have these supplies ready:
- Your RV’s owner’s manual and water-heater instructions.
- Regular, unscented household bleach with its sodium hypochlorite percentage visible.
- A measuring cup reserved for maintenance chemicals.
- A clean container for diluting the bleach.
- A potable-water hose and a known-safe water source.
- Gloves and eye protection appropriate to the product label.
- Access to an approved drainage or disposal location.
Use fresh bleach within its labeled storage guidance. Bleach loses strength over time, particularly when stored in heat.
Choose the right bleach
Use only the formulation permitted by the RV manufacturer. Avoid scented, splashless, thickened, detergent-containing, or other specialty bleach products unless the equipment manufacturer explicitly approves them.
Bleach concentrations vary. A dose intended for approximately 5%–6% sodium hypochlorite should not automatically be used with an 8.25% product.
The EPA’s emergency drinking-water disinfection guidance illustrates why bleach strength matters. However, its emergency drinking-water doses are not instructions for sanitizing an RV tank and plumbing.
Identify equipment that needs separate handling
Check the instructions for:
- Carbon filters and cartridge housings.
- Reverse-osmosis systems.
- Water softeners.
- Refrigerator dispensers and ice makers.
- Tankless water heaters.
- Water-heater bypass valves.
- Pump strainers and other serviceable components.
Carbon filtration can remove chlorine before it reaches downstream plumbing. Some treatment equipment can also be damaged by an incompatible sanitizing solution.
Remove or bypass filter cartridges as directed, and sanitize compatible housings separately if required. Do not assume that bypassing a filter automatically treats the plumbing inside the bypassed assembly.
Apply these safety boundaries
Never mix bleach with vinegar, acids, ammonia, toilet chemicals, or other cleaners. Dangerous gases can result.
Turn off electric and propane water-heater operation before draining or changing its configuration. Allow the heater to cool, relieve pressure as instructed, and follow its service procedure. Never energize a storage-type water heater until it is completely filled.
Do not drink, cook with, or bathe in the concentrated sanitizing solution.

How Much Bleach Do You Need to Sanitize an RV Water Tank?
Calculate the dose from the sanitation recipe in your owner’s manual and the water volume that recipe specifies.
Some manuals express the dose using fresh-water tank capacity. Others provide a different procedure or specify a particular bleach strength. Do not substitute the RV’s combined fresh, gray, and black tank capacities.
Example: the common ¼-cup-per-15-gallons recipe
The following table applies only when your manual authorizes ¼ cup of the specified household bleach per 15 US gallons.
| Fresh-water capacity | Bleach required |
|---|---|
| 15 gallons | ¼ cup |
| 30 gallons | ½ cup |
| 40 gallons | ⅔ cup |
| 45 gallons | ¾ cup |
| 60 gallons | 1 cup |
| 75 gallons | 1¼ cups |
| 90 gallons | 1½ cups |
The calculation is:
Bleach in cups = tank capacity in US gallons ÷ 15 × ¼
For a hypothetical 40-gallon tank:
40 ÷ 15 × ¼ = ⅔ cup of bleach
These are US customary measurements: 1 cup equals 8 US fluid ounces, and ¼ cup equals 2 US fluid ounces.
Why the bleach percentage changes the answer
A stronger bleach product supplies more active disinfectant in the same measured volume. Using the same cup measurement with a stronger product increases the treatment concentration.
Conversely, weak or degraded bleach may not deliver the intended concentration. Follow a manufacturer-approved adjustment rather than improvising a stronger mixture or a shorter soak.
More bleach is not a substitute for the correct concentration and contact time. Excessive concentration can increase flushing requirements and may damage incompatible components.
How to Disinfect an RV Water System Step by Step
Treat the tank and each approved plumbing branch, then allow the full contact time before draining and flushing.
The sequence below describes a conventional tank-and-pump procedure. Your RV’s valve settings, fill arrangement, and water-heater instructions take priority.
1. Prepare the RV and disconnect the city-water supply
Park where you can work safely and dispose of water legally. Disconnect city water so the pump can circulate treated water from the fresh-water tank.
Turn off the water heater and let it cool. Set any sanitation valves according to the manual.
If you are de-winterizing, remove RV antifreeze first using the manufacturer’s procedure. Do not add bleach to a system still filled with antifreeze or other treatment chemicals.
2. Drain the existing fresh water
Drain the fresh-water tank and any components specified in the sanitation instructions.
Use the approved tank drains and low-point drains rather than making the pump run dry. Close drains and reinstall service plugs correctly before filling.
If you find substantial sediment, slime, or foreign material, stop and address the contamination. A routine bleach soak is not a dependable substitute for removing deposits.
3. Configure filters and the water heater
Remove or bypass carbon cartridges and other treatment devices as instructed.
For the water heater:
- Include it only when its manufacturer permits the sanitation method.
- If it must remain bypassed, follow its separate cleaning or sanitation procedure.
- Check the bypass arrangement so hot-water branches receive treatment as intended.
A bypassed water heater has not been sanitized simply because treated water came out of a hot-water faucet.
4. Dilute the measured bleach
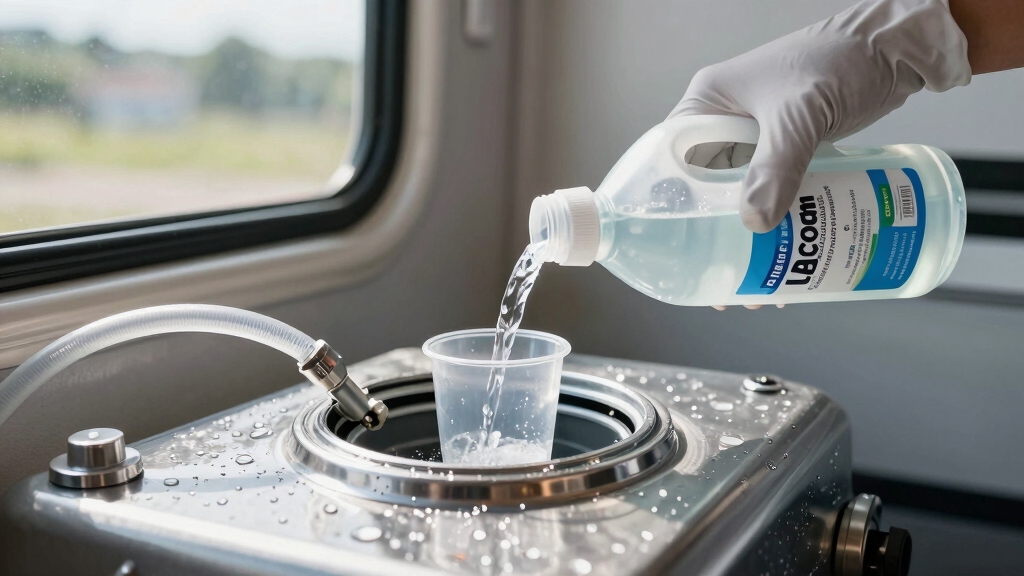
Put water into a clean container, then add the measured bleach. Use the dilution volume specified in your manual.
Introduce the diluted solution through the approved fresh-water fill or sanitation port. Do not pour concentrated bleach directly onto seals, fittings, or tank surfaces.
If your RV uses a pressurized fill connection rather than a gravity-fill opening, follow its documented chemical-introduction procedure.
5. Fill with potable water
Fill the fresh-water tank to the level required by the sanitation procedure. This distributes the solution and exposes the tank surfaces intended for treatment.
Use a potable-water hose supplied from a known-safe source. Keep hose ends and fill fittings away from the ground and wastewater equipment.
6. Circulate treated water through each approved outlet
Turn on the water pump and open outlets one at a time:
- Kitchen cold and hot faucets.
- Bathroom cold and hot faucets.
- Indoor shower.
- Outdoor shower.
- Other potable-water outlets permitted by their manufacturers.
Run each branch until treated water reaches it, then close the outlet. Operate single-lever faucets in both hot and cold positions.
A chlorine odor can indicate that solution has reached an outlet, but odor does not measure disinfectant concentration or prove successful sanitation.
Avoid sending the solution into appliances that require a different procedure.
7. Allow the full contact time
Leave the treated water in the tank and plumbing for the period specified in the manual.
A common RV procedure uses a contact time of at least four hours, but some manufacturers specify a longer period or a different concentration-and-time combination. Do not shorten the required soak because the bleach smell seems strong.
Start timing after the tank is prepared and all intended branches contain the solution. Do not assume overnight soaking is automatically better if the manufacturer limits chemical exposure.
8. Drain through an approved route
Drain the sanitizing solution using the outlets and drains specified for your system.
Follow campground rules and local wastewater requirements. Do not discharge into storm drains, onto landscaping, or near streams. The permitted disposal route may differ for tank drains and water that passes through sinks into the gray-water tank.
9. Refill and flush every treated branch
Fill with potable water, then run fresh water through each branch that received disinfectant. Drain and repeat as necessary to complete the manufacturer’s flushing instructions.
Persistent chlorine odor may indicate that solution remains in a tank, water heater, filter housing, or plumbing branch. Check those areas rather than flushing only the kitchen faucet.
Do not add vinegar to neutralize bleach inside the system.
10. Restore normal operation
Reinstall or replace filter cartridges as directed. Return valves to their normal positions, refill the system, and inspect for leaks.
Before turning on a storage-type water heater, confirm it is full according to its instructions—typically by obtaining a steady flow from a hot-water faucet without trapped air.
How to Tell Whether the Process Worked
A completed sanitation procedure should leave the system correctly flushed, operating normally, and free of the original unexplained odor or visible contamination.
Check that:
- Every intended plumbing branch received the solution.
- The full specified contact time elapsed.
- Flushing reached all treated components.
- Filters and bypass valves are restored correctly.
- Water flows normally without leaks.
- The original odor or visible contamination has not returned.
These are process checks, not proof that the water is microbiologically safe.
What chlorine test strips can—and cannot—show
A suitable chlorine test can help determine whether chlorine reached an outlet or remains after flushing. Choose a test range appropriate to the concentration being checked; many pool or drinking-water tests cannot accurately measure a stronger sanitation solution.
Interpret readings against the RV manufacturer’s procedure. A chlorine result does not rule out chemical contamination or establish that every surface was successfully treated.
Clear water and a normal smell do not prove potability. If the source was unsafe, sewage entered the system, or people became ill after drinking the water, use a known-safe alternative and seek professional guidance. A qualified water-testing laboratory or local health department can advise on suitable testing.
Troubleshooting Persistent Odors, Taste, or Poor Flow
If the problem remains after sanitation, first check whether the procedure reached the entire system. Then investigate the symptom rather than repeatedly adding more bleach.
| Symptom | Possible causes | First useful checks |
|---|---|---|
| Chlorine odor persists | Incomplete flushing; solution retained in a heater or branch | Review valve positions and flush all treated components |
| Musty odor returns | Untreated branch; contaminated cartridge; deposits; contaminated refill source | Check filters, bypassed components, tank condition, and source water |
| Rotten-egg odor occurs mainly in hot water | Water-heater conditions, source-water chemistry, or sulfur-related activity | Compare hot and cold water; consult the heater’s service instructions |
| Flow drops after service | Mispositioned valve; restricted cartridge; blocked strainer or aerator | Check valve settings and service accessible restrictions |
| Pump cycles with faucets closed | Leak, incomplete valve closure, or pump/check-valve problem | Inspect for leaks and follow pump troubleshooting guidance |
| Tank still contains slime or debris | Deposits not removed by routine sanitation | Seek an approved cleaning method or professional service |
Hot-water odor is not automatically evidence that the fresh-water tank needs a stronger bleach dose. Repeatedly increasing chlorine without identifying the cause can damage equipment and leave the underlying problem unresolved.
Get qualified help for suspected sewage contamination, inaccessible deposits, recurring contamination, damaged tank fittings, or a system that cannot be treated according to its instructions.
Common Mistakes That Make Sanitation Less Reliable
The most consequential errors are using the wrong disinfectant, missing plumbing branches, and shortening contact time.
Avoid these mistakes:
- Using a drinking-water emergency dose to sanitize the RV. Treating water for immediate consumption and treating tank surfaces are different procedures.
- Ignoring bleach strength. Cup measurements are meaningful only with the intended product concentration.
- Leaving carbon filters in place without checking instructions. They can reduce chlorine delivery downstream.
- Treating only the tank. Faucets, showers, and other branches also need attention.
- Assuming the water heater was included. Bypass settings can leave it untreated.
- Mixing cleaners. Bleach must not be combined with vinegar, ammonia, or other chemicals.
- Skipping the full soak. Contact time is part of the treatment, not an optional waiting period.
- Using smell as a safety test. Odor cannot establish concentration or potability.
- Refilling through a contaminated hose. Poor handling can reintroduce contamination immediately.
The practical principle is simple: use the approved solution, deliver it everywhere required, maintain contact time, and refill without recontaminating the system.
Frequently Asked Questions
Can I use vinegar instead of bleach?
Do not substitute vinegar for the disinfectant specified by your RV manufacturer. Vinegar may be used for certain approved descaling tasks, but removing mineral deposits is not the same as sanitizing a potable-water system.
Never add vinegar to water that contains bleach.
Can I sanitize the system without bleach?
Possibly, if your RV and component manufacturers approve an alternative product and procedure. Check its intended application, material compatibility, dose, contact time, and rinsing requirements.
A product described as a tank cleaner is not necessarily an approved disinfectant.
Does filling the RV with chlorinated city water sanitize it?
Not by itself. Municipal drinking water is treated for distribution and consumption, but its residual disinfectant is not equivalent to a documented RV sanitation cycle.
City-water pressure may also supply faucets without filling or treating the onboard tank.
Should I store the RV with the fresh-water tank full or empty?
Follow the storage instructions for your RV and the conditions where it will be stored. Freezing conditions require the appropriate winterization procedure.
Neither leaving water in the tank nor draining it replaces sanitation when the RV returns to service.
What if someone got sick after drinking the RV’s water?
Stop using the RV water for drinking, cooking, brushing teeth, or making ice until the cause is assessed. Use a known-safe alternative, seek medical advice as appropriate, and contact the local health department or a qualified water-testing professional.
Do not assume a routine sanitation cycle alone resolves a suspected illness-related contamination event.
Conclusion
Disinfecting an RV water system requires more than adding bleach to the tank. The correct procedure must account for bleach strength, tank capacity, filters, water-heater compatibility, every potable-water branch, and the full contact time.
Your next step is to locate the sanitation instructions for your exact RV and water heater. Confirm the permitted disinfectant and dose, then complete the treatment and flushing sequence before returning the system to normal use.
Evidence and Editorial Scope
This guide is a practical synthesis, not a report of hands-on testing. Live webpages, current model manuals, and competing search results were not inspected for this article; therefore, no current rankings, competitor omissions, or model-specific compatibility findings are claimed.
Useful primary-source starting points include:
- Winnebago operator manuals: locate instructions for the exact model and model year.
- Jayco owner resources: locate applicable owner and component documentation.
- EPA emergency disinfection of drinking water: understand bleach-strength distinctions and the separate scope of emergency drinking-water treatment.
- CDC guidance on creating and storing an emergency water supply: understand potable-water storage and container-handling principles, not an RV-specific sanitation recipe.
The common bleach-dose example is conditional, not a verified instruction for every RV. Exact equipment instructions control where procedures differ.
Next-question gap map
These are inferred reader needs based on the task, not verified search-demand findings. Competitor coverage is not checked.
| Question | Reader stage and basis | Reader benefit | Evidence needed or used | Priority and placement |
|---|---|---|---|---|
| Does my bleach strength match the recipe? | Before; inferred from product variability | Avoids an incorrect dose | Product label and exact RV manual | High; dosage section |
| Should the water heater be included? | Before/during; inferred from plumbing differences | Prevents missed treatment or damage | Exact heater and RV instructions | High; preparation and steps |
| Did every branch receive disinfectant? | During; inferred from multi-branch plumbing | Reduces incomplete treatment | Plumbing layout and valve instructions | High; circulation step |
| Does normal smell prove safe water? | After; inferred from limits of sensory checks | Prevents false reassurance | Water-testing guidance and contamination history | High; success checks |
| Why does odor return after treatment? | After; inferred from unresolved symptoms | Directs investigation instead of repeated dosing | Component service guidance and, when needed, testing | High; troubleshooting |
This page functions as a central how-to guide. No parent or neighboring pages are identified because no site map was supplied.