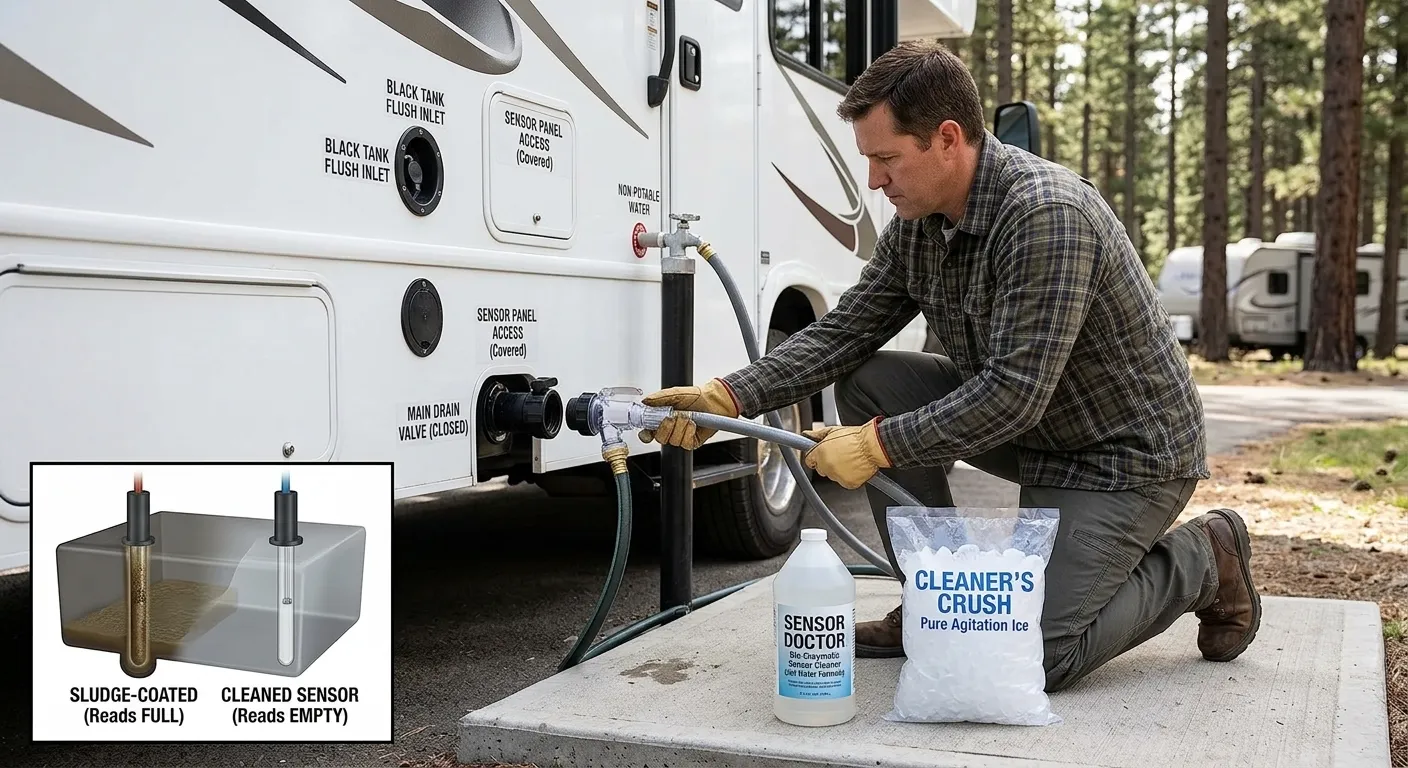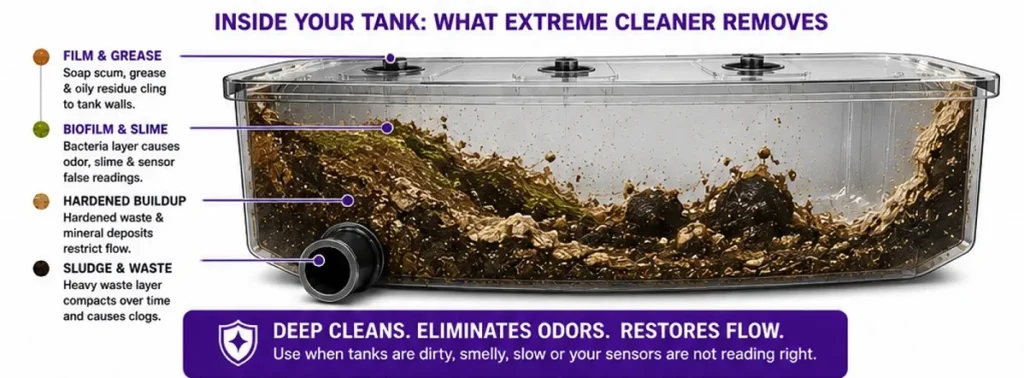
Fill, soak, backflush, and treat. Use water, enzymes, and proper flushing.
I opened my black tank valve at a dump station once and almost nothing came out. The tank was reading full but barely draining. I had a buildup problem that had been developing for months without me realizing it — dried waste stuck to the walls, toilet paper that never broke down properly, and a bottom layer that had hardened into something that plain water was not going to shift. Learning how to remove RV black tank buildup properly became a priority that same afternoon.
After years of cleaning, unclogging, and maintaining RV waste systems across different rigs and camping conditions, I have a clear simple process that works even on seriously neglected tanks. This guide on how to remove RV black tank buildup covers every step, every product worth using, and every mistake to avoid so you can get your tank back to clean and keep it that way for the long haul.
What RV Black Tank Buildup Is And Why It Happens
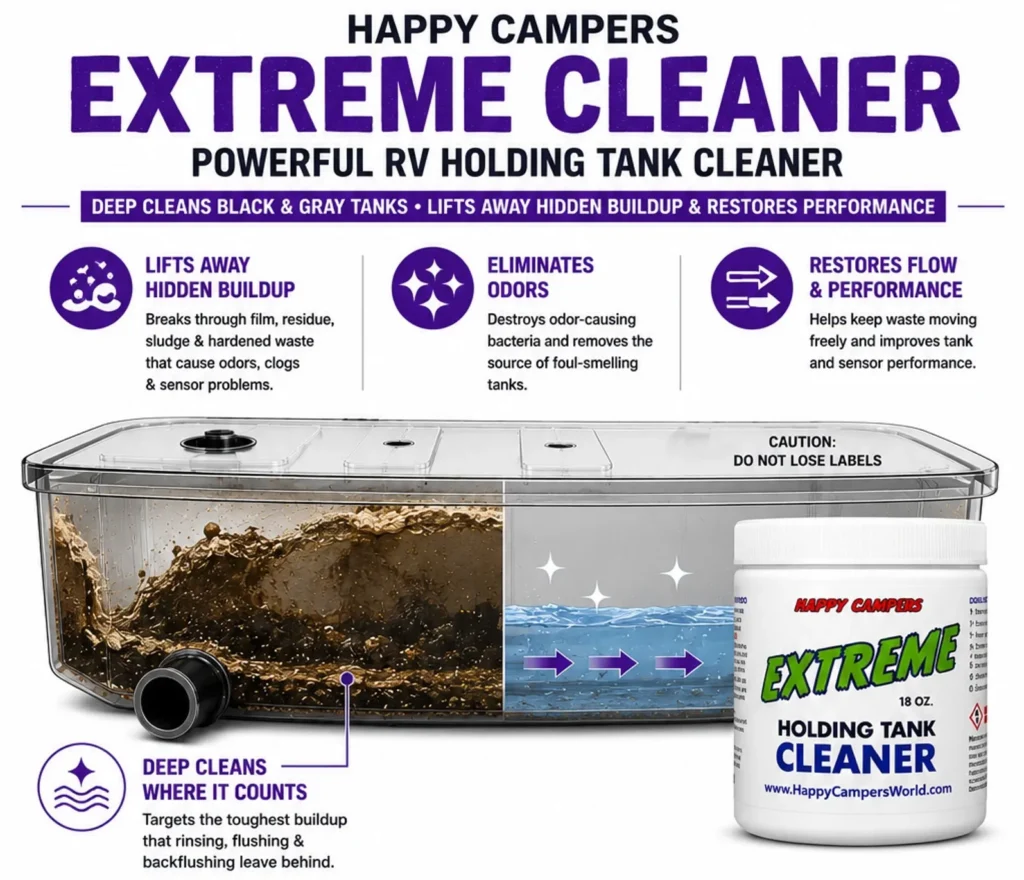
Your black tank holds toilet waste and water. Buildup is the thick layer of paper, solids, and scale that sticks to the tank walls and bottom. It can form a pyramid plug under the toilet, a paper dam by the outlet, or a film that makes sensors read full.
Common causes include not using enough water per flush, leaving the black valve open at a campsite, using non-RV paper, and short driving days. Hot weather thickens waste. Minerals like calcium and struvite can form scale. All this makes How to Remove RV Black Tank Buildup a real maintenance task, not a one-time fix.
Tools And Supplies You Need To Remove Buildup
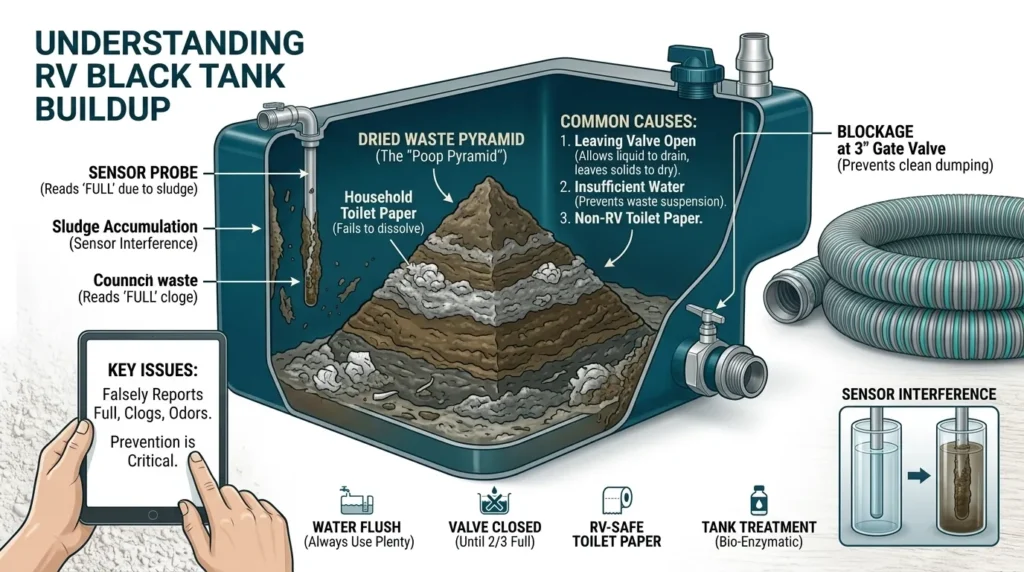
Set up your gear before you start. A clean space and the right tools make the job fast and safe.
- Nitrile gloves and eye protection Keep waste and splash off skin and eyes.
- Sewer hose, clear elbow, and sewer donut Seal well and watch flow at a glance.
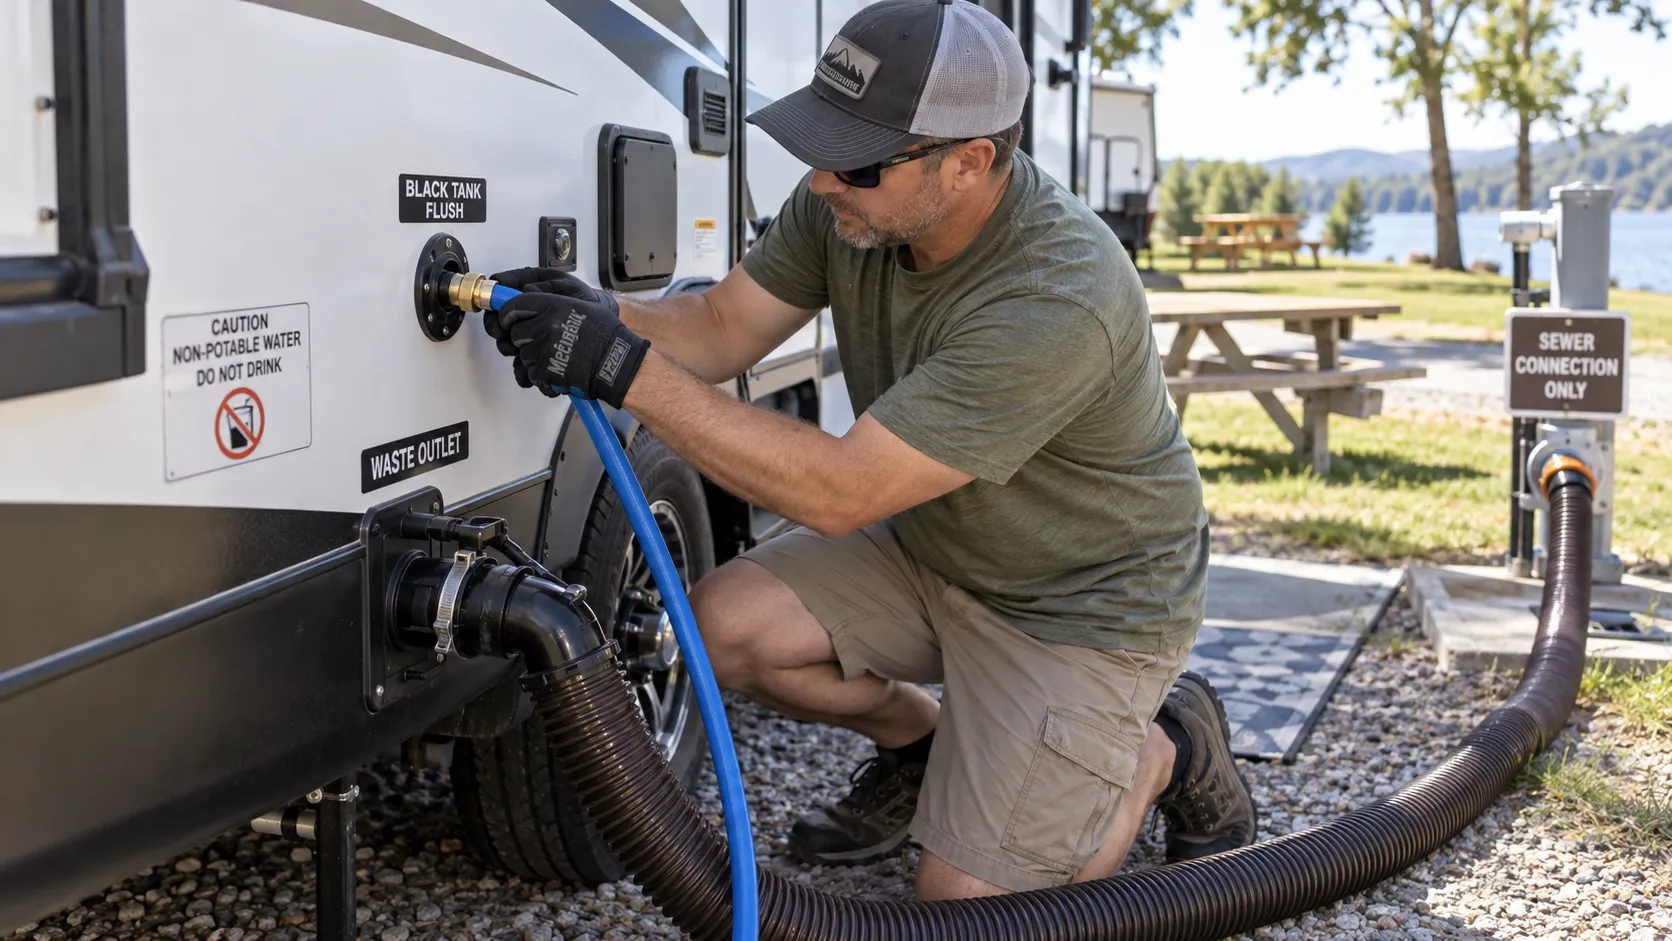
- Built-in tank rinser or flush wand Spray the inside walls and break soft clogs.
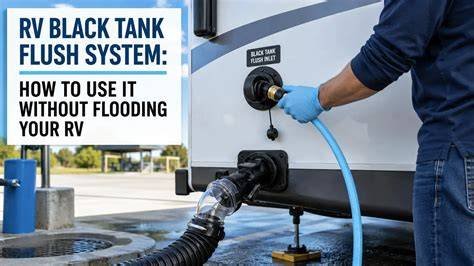
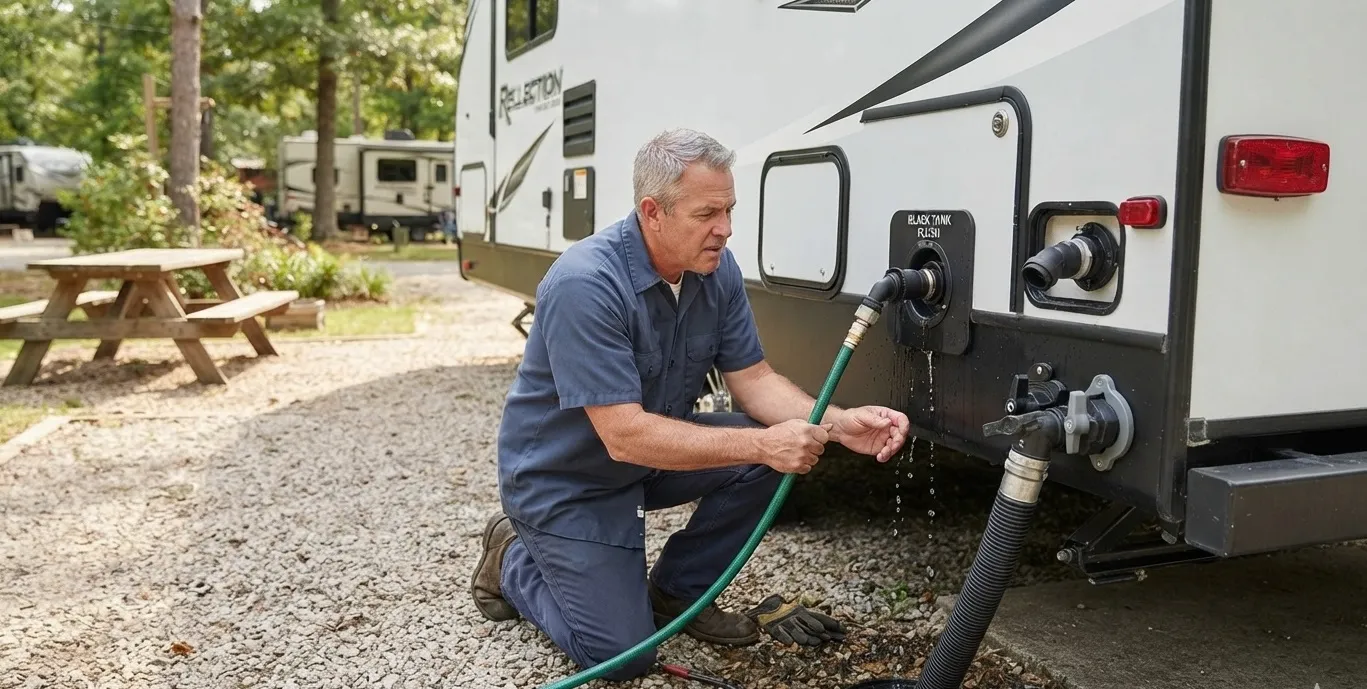
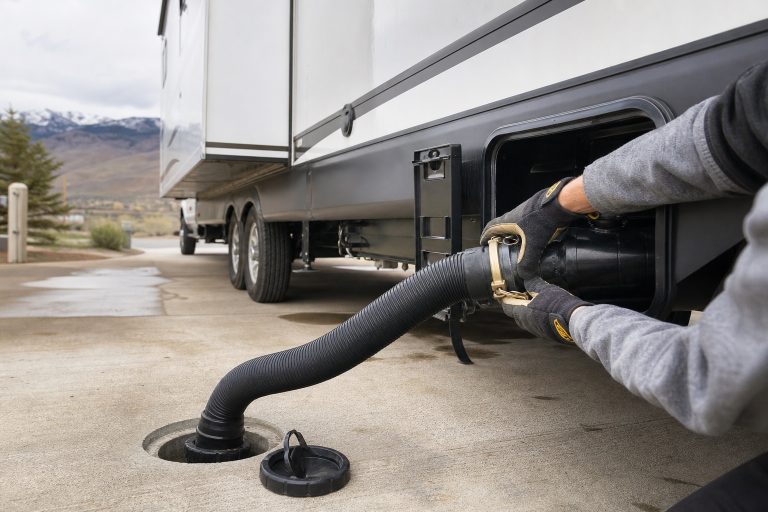
- Backflush adapter for the sewer line Push water backward to clear outlet dams.
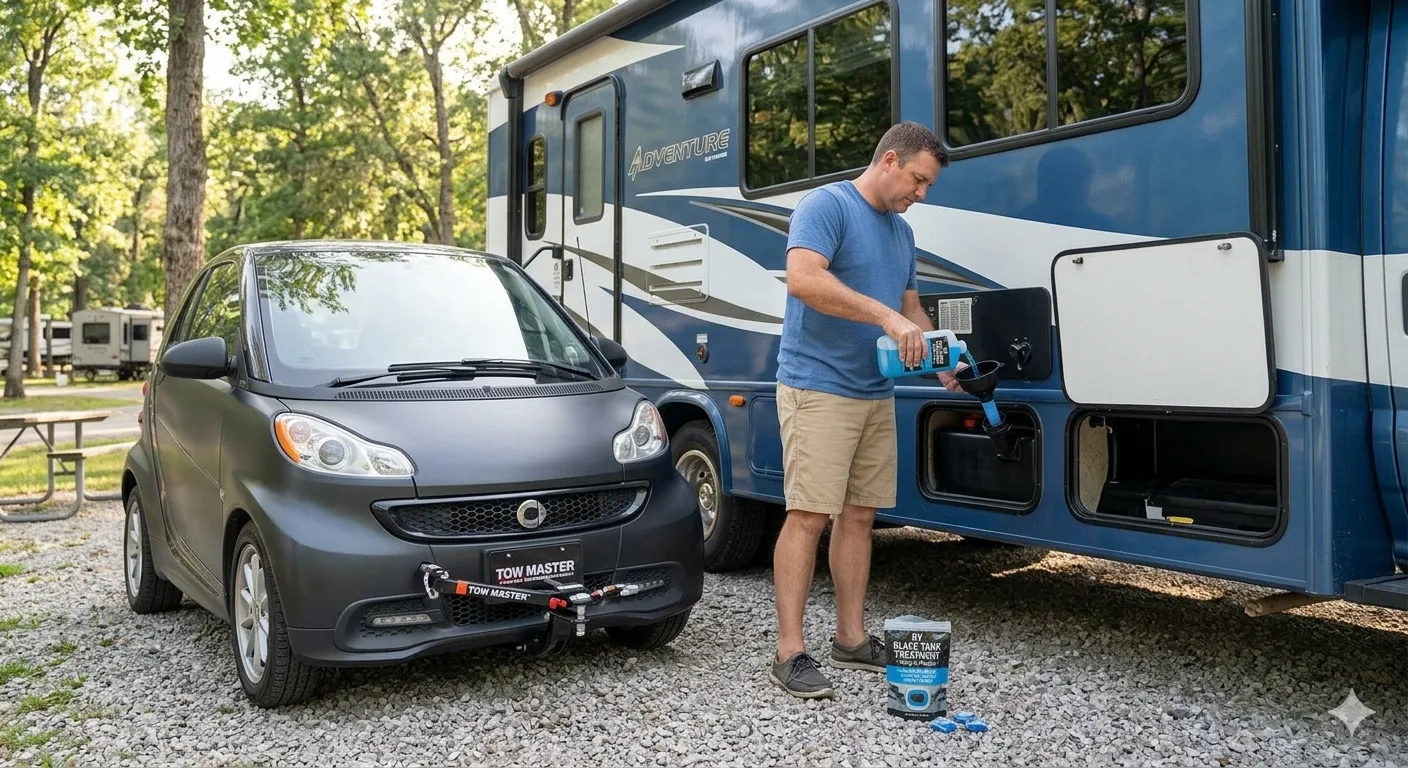
- Enzyme or bacterial tank treatment Digest solids over hours while you soak.
- Water softener treatment or mild descaler Help loosen scale on walls and sensors.
- RV-safe toilet paper Breaks down fast and reduces paper clumps.
- Non-foaming dish soap A small amount helps lube and lift residue.
- Measuring jug and a dedicated bucket Keep mix ratios right and avoid cross-use.
- Garden hose labeled non-potable Never mix with drinking hoses.
Have fresh water ready. Park on level ground. Confirm your gray and black valves work. This prep supports every step in How to Remove RV Black Tank Buildup.
Step-By-Step: How To Remove RV Black Tank Buildup
Follow these steps in order. Move slow. Let the soaks do the heavy lifting.
Step 1: Pre-flush and assess
- Empty the black tank.
- Close the valve and add 5–10 gallons of fresh water.
- Look through a clear elbow on your hose as you flush. Note heavy solids.
Step 2: Soak the tank
- Add a measured enzyme treatment. Follow the label dose.
- For extra slip, add a small splash of non-foaming dish soap.
- Fill the tank with water until at least half full. Let it soak 8–12 hours. Overnight is great.
Step 3: Rinse with volume and motion
- Drain the tank.
- Use the built-in rinser or a wand to spray walls and corners.
- Pulse water in short bursts to knock loose sheets of paper and sludge.
Step 4: Backflush the outlet
- Attach a backflush adapter at the sewer line.
- With the black valve closed, send water backward for 20–30 seconds.
- Open the black valve. Watch for paper clumps rushing out. Repeat 2–3 times.
Step 5: Drive and slosh (optional but great)
- Add 5–10 gallons of water and a dose of enzyme.
- Take a short drive with some turns. This scrubs the tank by motion.
- Return and drain, then rinse again.
Step 6: Verify sensors and flow
- Run the rinser until water is clear.
- Fill the tank to one third. Check the monitor. If sensors still read full, repeat a mild descaler soak.
These steps cover How to Remove RV Black Tank Buildup in most cases. If you feel strong resistance at the toilet or no flow at the outlet, use the deep-clean methods below.
Deep-Clean Methods For Tough Buildup
Some tanks need more than a rinse. Use these methods when a pyramid plug or scale is stubborn.
Method A: Focused wand work
- Remove the toilet and use a flexible tank wand if the plug is under the bowl.
- Spray downward and sweep the area. Wear eye protection.
- Keep the tank partly full so debris floats and exits fast.
Method B: Acidic soak for mineral scale
- Use a tank-safe, mild descaler or diluted white vinegar.
- Fill to half. Soak for 4–6 hours. Do not mix with bleach or other chemicals.
- Rinse well. Follow with an enzyme dose to restore digestion.
Method C: Professional hydrojet
- Mobile RV services can hydrojet through the sewer line.
- This clears thick paper dams and sensor crust in minutes.
- Use if home steps fail, or if you lack access to a wand.
Avoid the ice cube myth. Ice melts fast and does not scrub much. A long soak plus directed rinsing works better. These are proven paths for How to Remove RV Black Tank Buildup when the usual steps fall short.

Safety, Hygiene, And Mistakes To Avoid
Work clean. Protect seals and your health.
- Do not leave the black valve open at a site Liquids leave, solids stay, and a pyramid grows.
- Never mix chemicals Bleach and acids can make toxic gas. Stick to one product at a time.
- Keep lots of water in the bowl before solids Dry drops make instant clogs.
- Do not blast seals with high pressure Aim the wand away from gasket seams.
- Label hoses Never connect the sewer rinse to your fresh water fill.
- Ventilate Open windows or roof vents to cut odor and fumes.
These rules lower risk while you focus on How to Remove RV Black Tank Buildup.
A Simple Prevention Routine After Cleaning
Prevention is the quiet hero. A small habit saves hours later.
- Water with every flush Hold the pedal longer. Think liquid first, solids second.
- Start wet After each dump, add 3–5 gallons of water and a measured treatment.
- Keep the valve closed Wait until the tank is two thirds full to dump.
- Rinse every dump Use your rinser or wand for 2–3 minutes until clear.
- Monthly deep soak Do an enzyme soak on travel days. Let motion help.
- Use RV-friendly paper It breaks down faster and lowers paper dams.
Follow this plan and you will ask How to Remove RV Black Tank Buildup far less often.
Troubleshooting During The Cleanup
Sometimes things do not go to plan. Here is how to respond.
- Slow or no flow at drain Close valve. Backflush in short pulses. Add water and repeat.
- Sensor reads full after cleaning Do a descaler or vinegar soak. Rinse well. Sensors often clear last.
- Strong odor Use more water, confirm the roof vent is open, and add a fresh treatment.
- Toilet burps when flushing Check the vent line for a block. Clear it before more rinsing.
- Leak at hose or elbow Stop, reseat, and tighten. Do not continue with a bad seal.
These tips keep How to Remove RV Black Tank Buildup on track when issues pop up.
Real-World Example And Lessons Learned
On a summer trip through the desert, my tank showed full after a fresh dump. The toilet gurgled and drained slow. I found a paper dam near the outlet. I closed the valve, added an enzyme soak overnight, then backflushed in pulses. Big clumps came out. I finished with a wand rinse, then a short drive with 8 gallons in the tank. The sensor read true after a mild descaler soak.
My key lessons were simple. Water is king. Backflushing beats pushing harder from the top. Do not mix products. Take your time. These habits make How to Remove RV Black Tank Buildup reliable and repeatable.
Cost, Time, And Environmental Notes
Most DIY cleanups cost little. Enzyme treatments and a backflush adapter are modest buys. A pro hydrojet service costs more but can save a trip if you are stuck.
Plan for a half day with an overnight soak. The soak does the work while you relax. Always dump and rinse at approved stations. Do not discharge on the ground. Respect local rules. This protects water and keeps sites open for all. With care, you can handle How to Remove RV Black Tank Buildup without waste or harm.
Frequently Asked Questions of How to Remove RV Black Tank Buildup
How do I know I have buildup and not a sensor fault?
If water drains slow or burps, you have buildup. If it drains fine but reads full, sensors are likely dirty.
Can I use bleach to clean the black tank?
Avoid bleach for routine use. It can harm seals and kill helpful bacteria, and it may not remove scale or paper.
How long should I soak the tank to loosen sludge?
Most enzyme soaks need 8–12 hours. For mineral scale, a tank-safe descaler needs 4–6 hours.
Will driving with water in the tank help clean it?
Yes. Five to ten gallons plus a treatment lets motion scrub walls. Drain and rinse after the drive.
What if my tank has a hard pyramid plug under the toilet?
Use a wand to target the plug and add a long soak. If that fails, hire a pro to hydrojet.
Do I need special RV toilet paper?
RV paper breaks down faster and lowers clogs. If using household paper, test it in water first.
How often should I deep clean the black tank?
Do a light rinse every dump and a deeper soak monthly during heavy use. Seasonal rigs can deep clean at open and close.
Conclusion
A clean black tank is not luck. It is a short list of steady habits. Use more water, soak with the right treatment, rinse with power, and backflush when needed. Do not mix harsh chemicals, and keep the valve closed until you dump.
Start your next trip with a wet tank and a simple plan. You now know How to Remove RV Black Tank Buildup with steps that work on the road and at home. Want more RV care guides and checklists? Subscribe, share your wins, or drop a question in the comments.