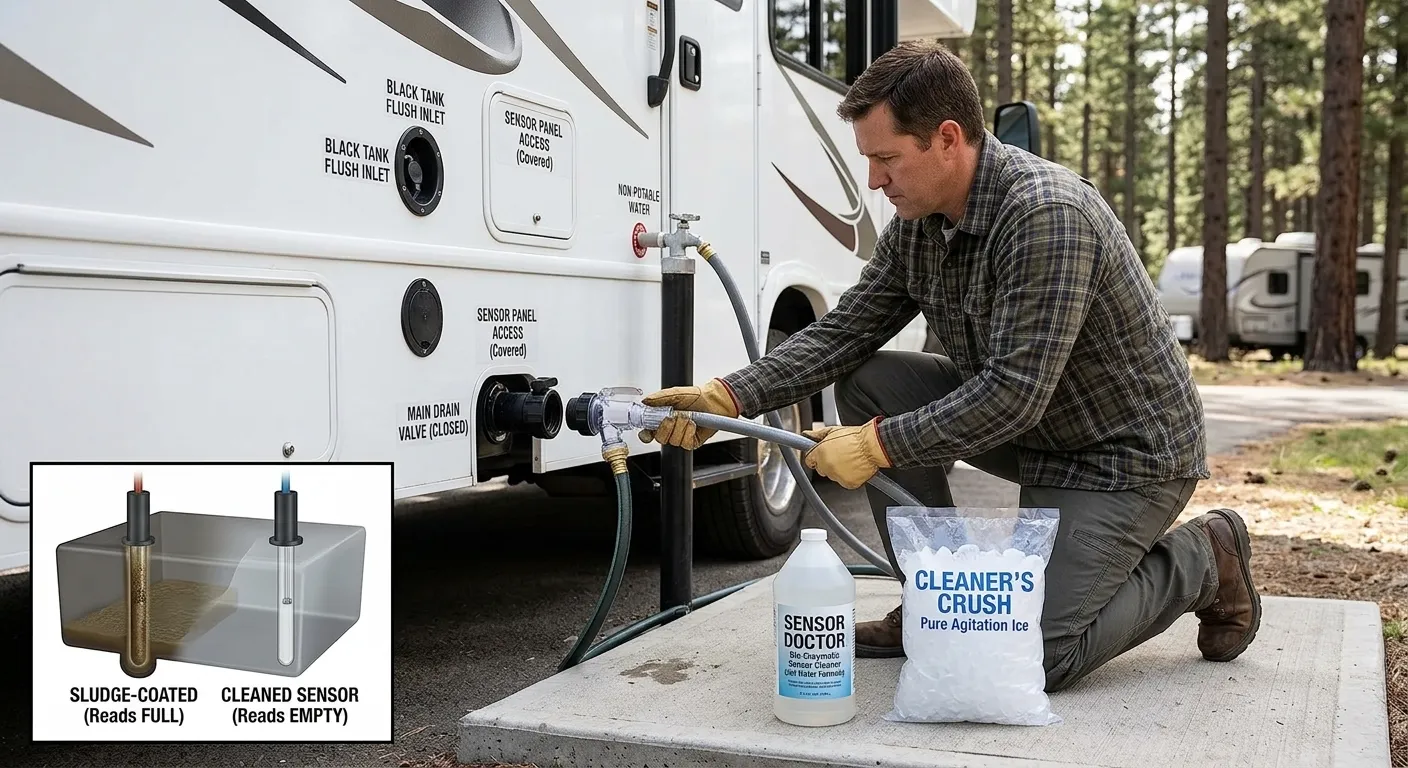
Use a dedicated wand to blast residue, clear clogs, and restore sensors.
I was parked at a campsite with a tank that would not drain properly and sensors that had not read correctly in weeks. I had tried treatments, extra water, and longer soaks. Nothing fully worked until I picked up an RV black tank cleaning wand and used it properly for the first time. The difference was immediate — water ran clear faster, the sensors reset after one good clean, and the smell that had been lingering finally disappeared.
After using a cleaning wand across multiple rigs and real camping conditions over the years, I know exactly how to get the most out of it. This guide covers everything you need to know about using an RV black tank cleaning wand the right way — the correct technique, the best habits to build around it, and how to use it to fix stubborn clogs and buildup that treatments alone cannot clear. Simple, honest, and field tested.

What Is a Black Tank Cleaning Wand and How It Works
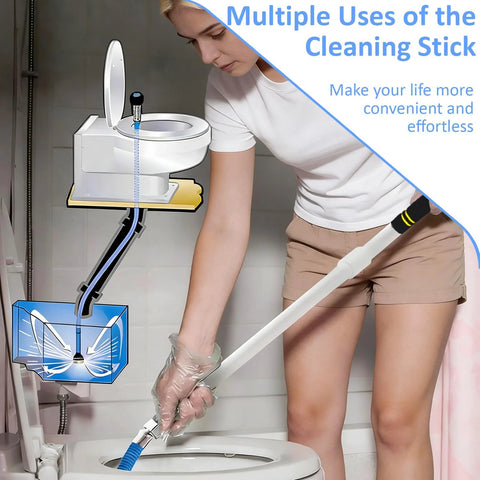
A black tank cleaning wand is a slim tool that connects to a hose. It sprays water through your RV toilet into the black tank. The jet breaks up waste and wipes the walls and sensors.
There are two main types. Rigid wands are straight and simple. Flexible or rotary-head wands bend and spin for wider coverage. If your rig lacks a built-in flusher, a wand is the fastest upgrade.
You will see fast gains in odor control and sensor accuracy. This sets the stage for RV Black Tank Cleaning Wand: How to Use One with confidence. It is safe, cheap, and easy to store.
Why Use a Wand Instead of Only a Tank Flush
Built-in tank flush systems are handy. But they often miss dead zones. A wand lets you target buildup, especially under the toilet drop and corners.
Key benefits:
- Removes the pyramid plug at the drop zone.
- Restores misreading sensors by washing residue off the probes.
- Reduces odors by clearing old sludge and paper.
- Saves water by focusing spray where it matters.
Know the limits too. You must work through the toilet, which can be messy if rushed. Some toilets have tight bends. In those cases, a flexible head helps. This is why guides like RV Black Tank Cleaning Wand: How to Use One stress prep and safety.
Tools and Supplies You Need
These items make the job clean and safe:
- Black tank cleaning wand, rigid or flexible.
- Dedicated non-drinking hose, ideally bright-colored to avoid mix-ups.
- Backflow preventer and a shutoff valve at the wand handle.
- Pressure regulator to keep water at a safe PSI.
- Nitrile gloves, paper towels, and disinfectant spray.
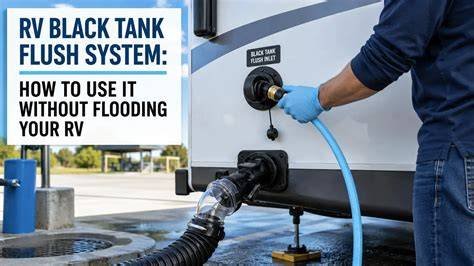
- Clear sewer elbow to watch the rinse.
- Enzyme or probiotic tank treatment for after the clean.
I also keep a small bucket and old microfiber towels. They catch drips and spare the floor. This prep matters in RV Black Tank Cleaning Wand: How to Use One because control and hygiene are key.

Step-by-Step: RV Black Tank Cleaning Wand: How to Use One
Follow this simple process for a deep clean. I use this exact flow after long travel days.
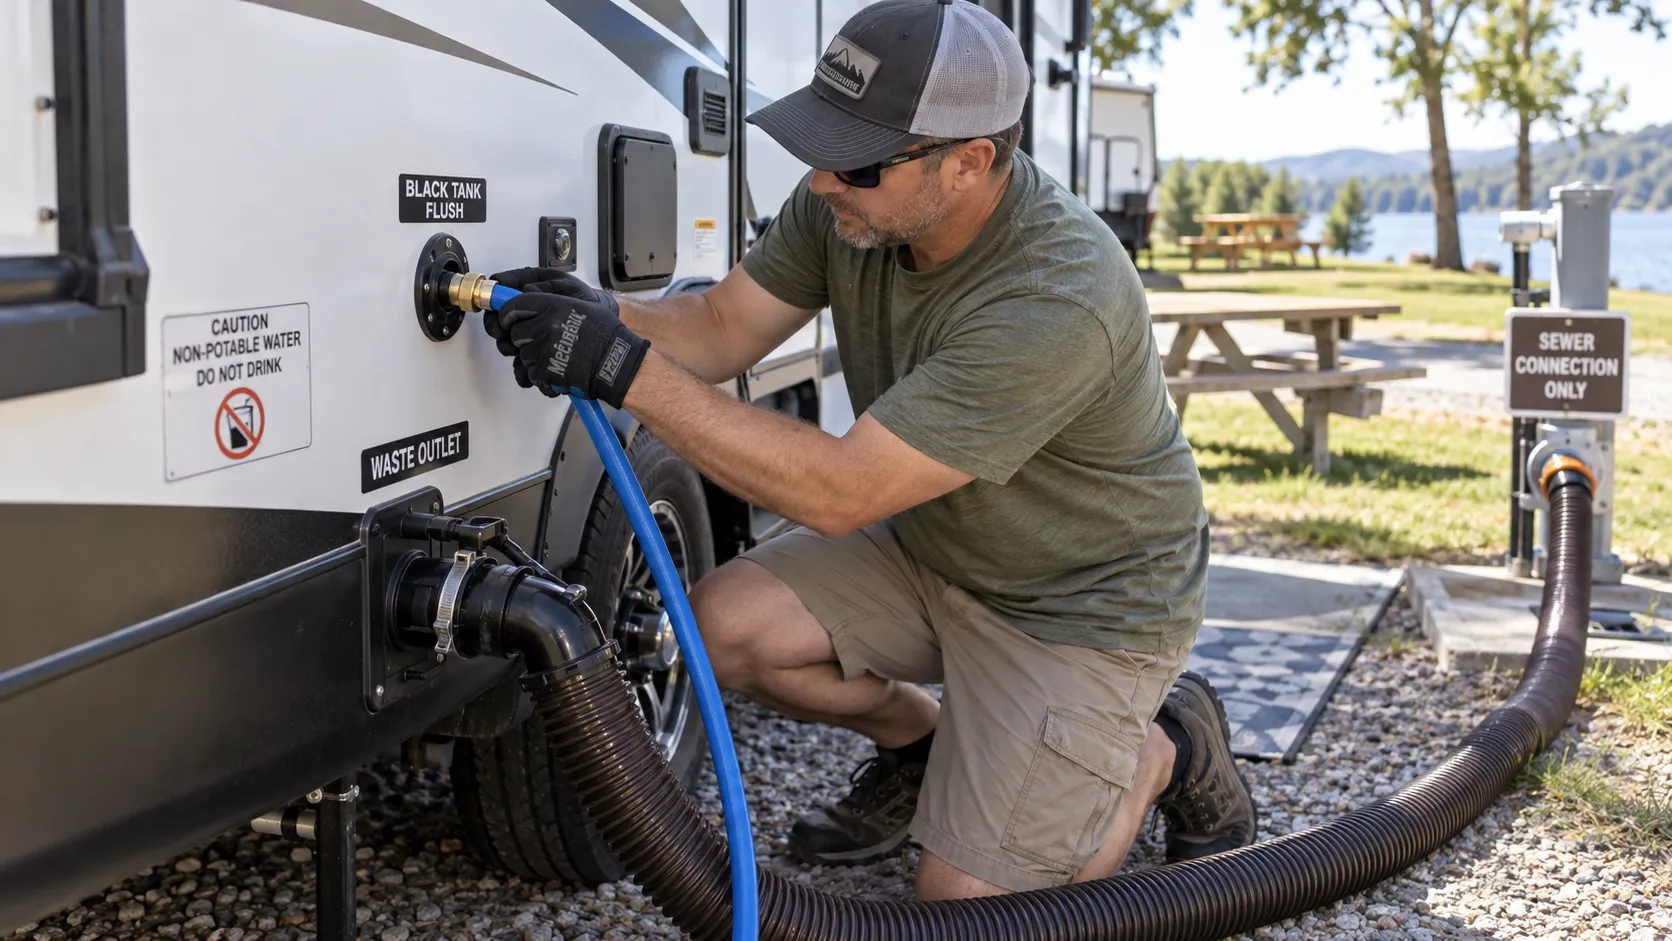
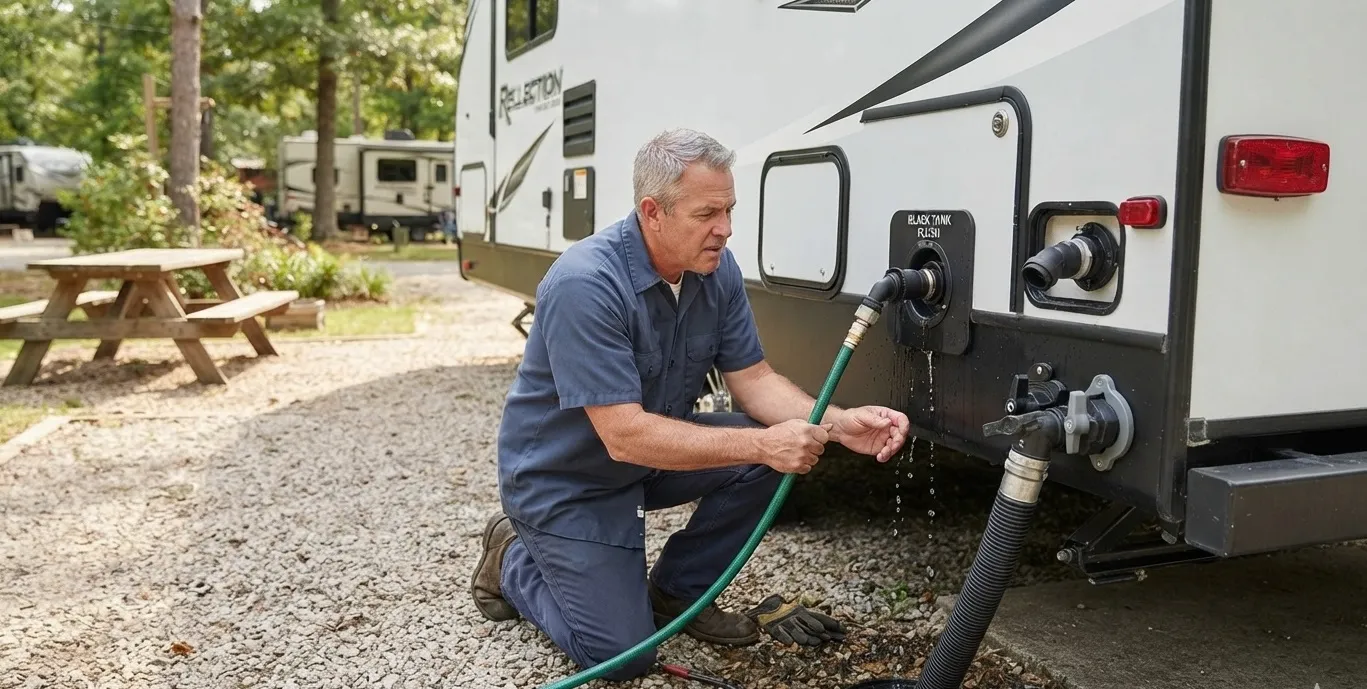
- Stage your dump setup. Connect the sewer hose with a clear elbow. Close the black and gray valves.
- Prep the toilet path. Raise the seat and hold the flush pedal open to remove water in the bowl.
- Connect gear. Attach the regulator, backflow preventer, and dedicated hose to a water source. Add a shutoff valve near the wand handle.
- Insert the wand. Gently feed it through the toilet into the tank. If you feel a bend, rotate and apply light pressure.
- Start with a rinse. Open the water at low flow, then increase. Keep the black valve closed for 2–3 minutes to let water swirl and break waste.
- Scrub the walls. Sweep the wand around the tank edges, under the drop, and across where sensors sit. Use slow, overlapping passes.
- Drain the tank. Open the black valve and watch the clear elbow. Repeat fill-and-rinse cycles until water runs mostly clear.
- Attack a pyramid plug. Angle the spray at the base of the drop. Use short bursts and a gentle jab. Avoid forcing the wand into hard blockages.
- Final polish rinse. One last fill to one-third full, then a strong rinse and drain. Close the black valve.
- Follow with the gray tank. Flush the sewer hose with gray water to clean the line.
- Finish the toilet. Remove the wand, disinfect the bowl, and sanitize the wand and hose with a mild bleach solution. Rinse well.
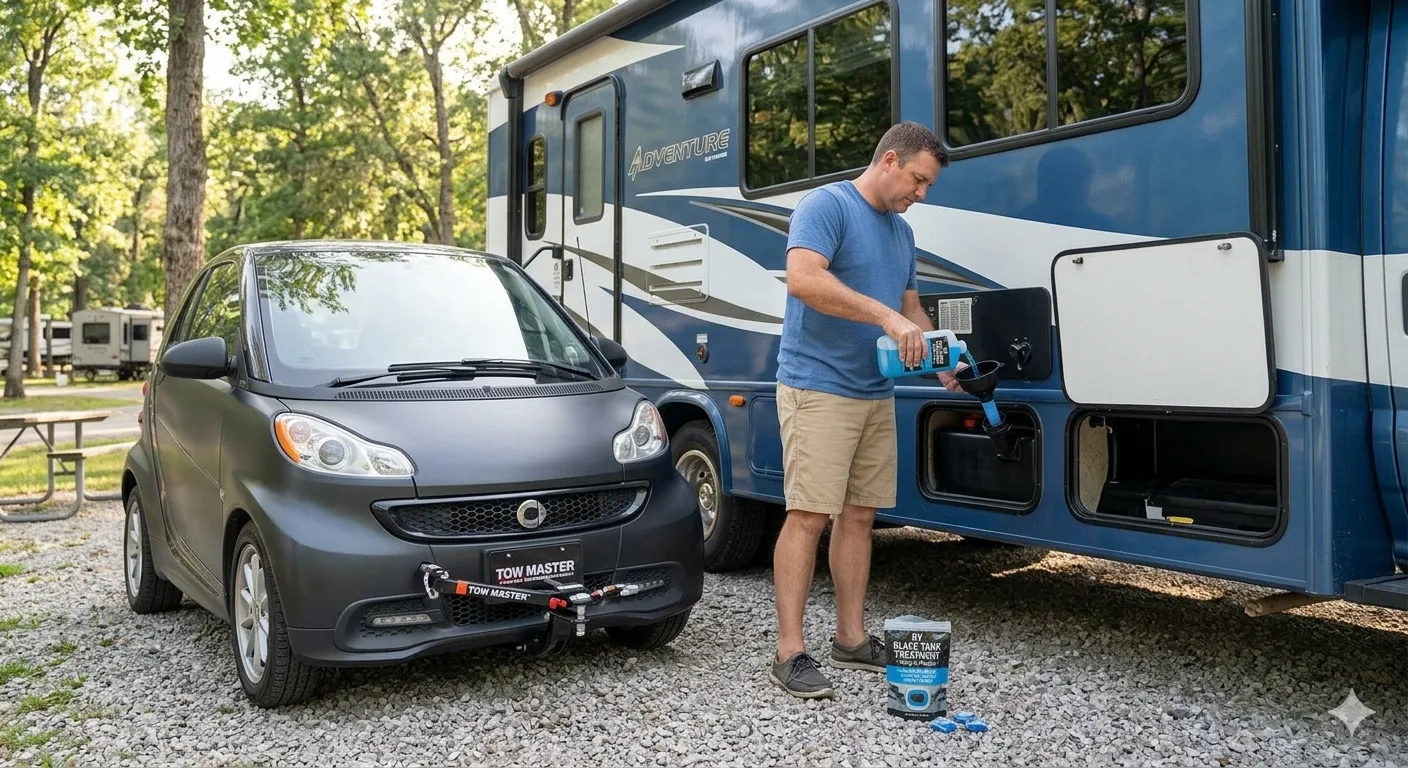
- Recharge the tank. Add 3–5 gallons of fresh water and your preferred treatment for odor control on the next drive.
Time guide: A light rinse takes 10–15 minutes. A full deep clean can take 25–40 minutes. This is the core of RV Black Tank Cleaning Wand: How to Use One and will keep your system healthy.

Pro Tips From the Road
These are lessons I learned the hard way, so you do not have to.
- Keep the valve closed during spray cycles. This builds a wash action and lifts gunk.
- Use a clear elbow. It is the only honest way to know when you are done.
- Label your hose. Never use your drinking water hose for the wand.
- Protect your floor. Place a towel at the toilet base to catch stray drips.
- Go easy on pressure. Most wands work well at 40–60 PSI. More is not better.
- After cleaning, always pre-charge the tank with water and treatment. A dry tank will smell.
When readers ask about RV Black Tank Cleaning Wand: How to Use One, these small habits make the biggest difference.

Troubleshooting and Safety
If you hit snags, try these fixes.
- Splash-back at the bowl. Reduce flow and get a better wand angle. Use the shutoff at the handle for quick control.
- Slow or no drain. Close the valve, run another 2–3 minute rinse, then open. Repeat until flow improves.
- Misreading sensors. Target the sensor wall with slow, close passes. A second rinse cycle often fixes it.
- Wand will not pass the bend. Try a flexible or rotary-head wand. Gently twist while feeding.
- Odor after cleaning. You may have a dry P-trap or a vent issue. Refill the bowl seal and add 3–5 gallons to the tank.
Safety matters in RV Black Tank Cleaning Wand: How to Use One. Wear gloves, use a backflow preventer, and sanitize tools after use.
Maintenance Routine and Schedule
A simple routine keeps problems away.
- Every dump: Quick wand rinse until water runs light.
- Monthly or after heavy use: Deep clean with two or three fill-and-rinse cycles.
- After storage: Full clean, then add treatment and water before travel.
- Water quality: If you camp with hard water, consider a softener or a gentle descaler to prevent scale on sensors.
Document your steps. A log helps you dial in timing and spot changes. This habit supports long-term success with RV Black Tank Cleaning Wand: How to Use One.
Alternatives and Complements
You have options if a wand is not ideal.
- Built-in tank flush. Great for set-and-forget rinsing. Pair with a wand for targeted cleaning.
- Reverse flush adapter at the sewer connection. Useful for clearing lines and improving drain speed.
- Macerator pump. Helps with small hoses and uphill runs, but does not clean tank walls.
- Enzyme or probiotic treatments. Break down waste between cleanings.
- Professional hydro-jet service. A good fix for severe buildup if DIY fails.
Use these as needed, but keep learning RV Black Tank Cleaning Wand: How to Use One for the best manual control and results.
Buying Guide Highlights
Look for features that fit your rig and style.
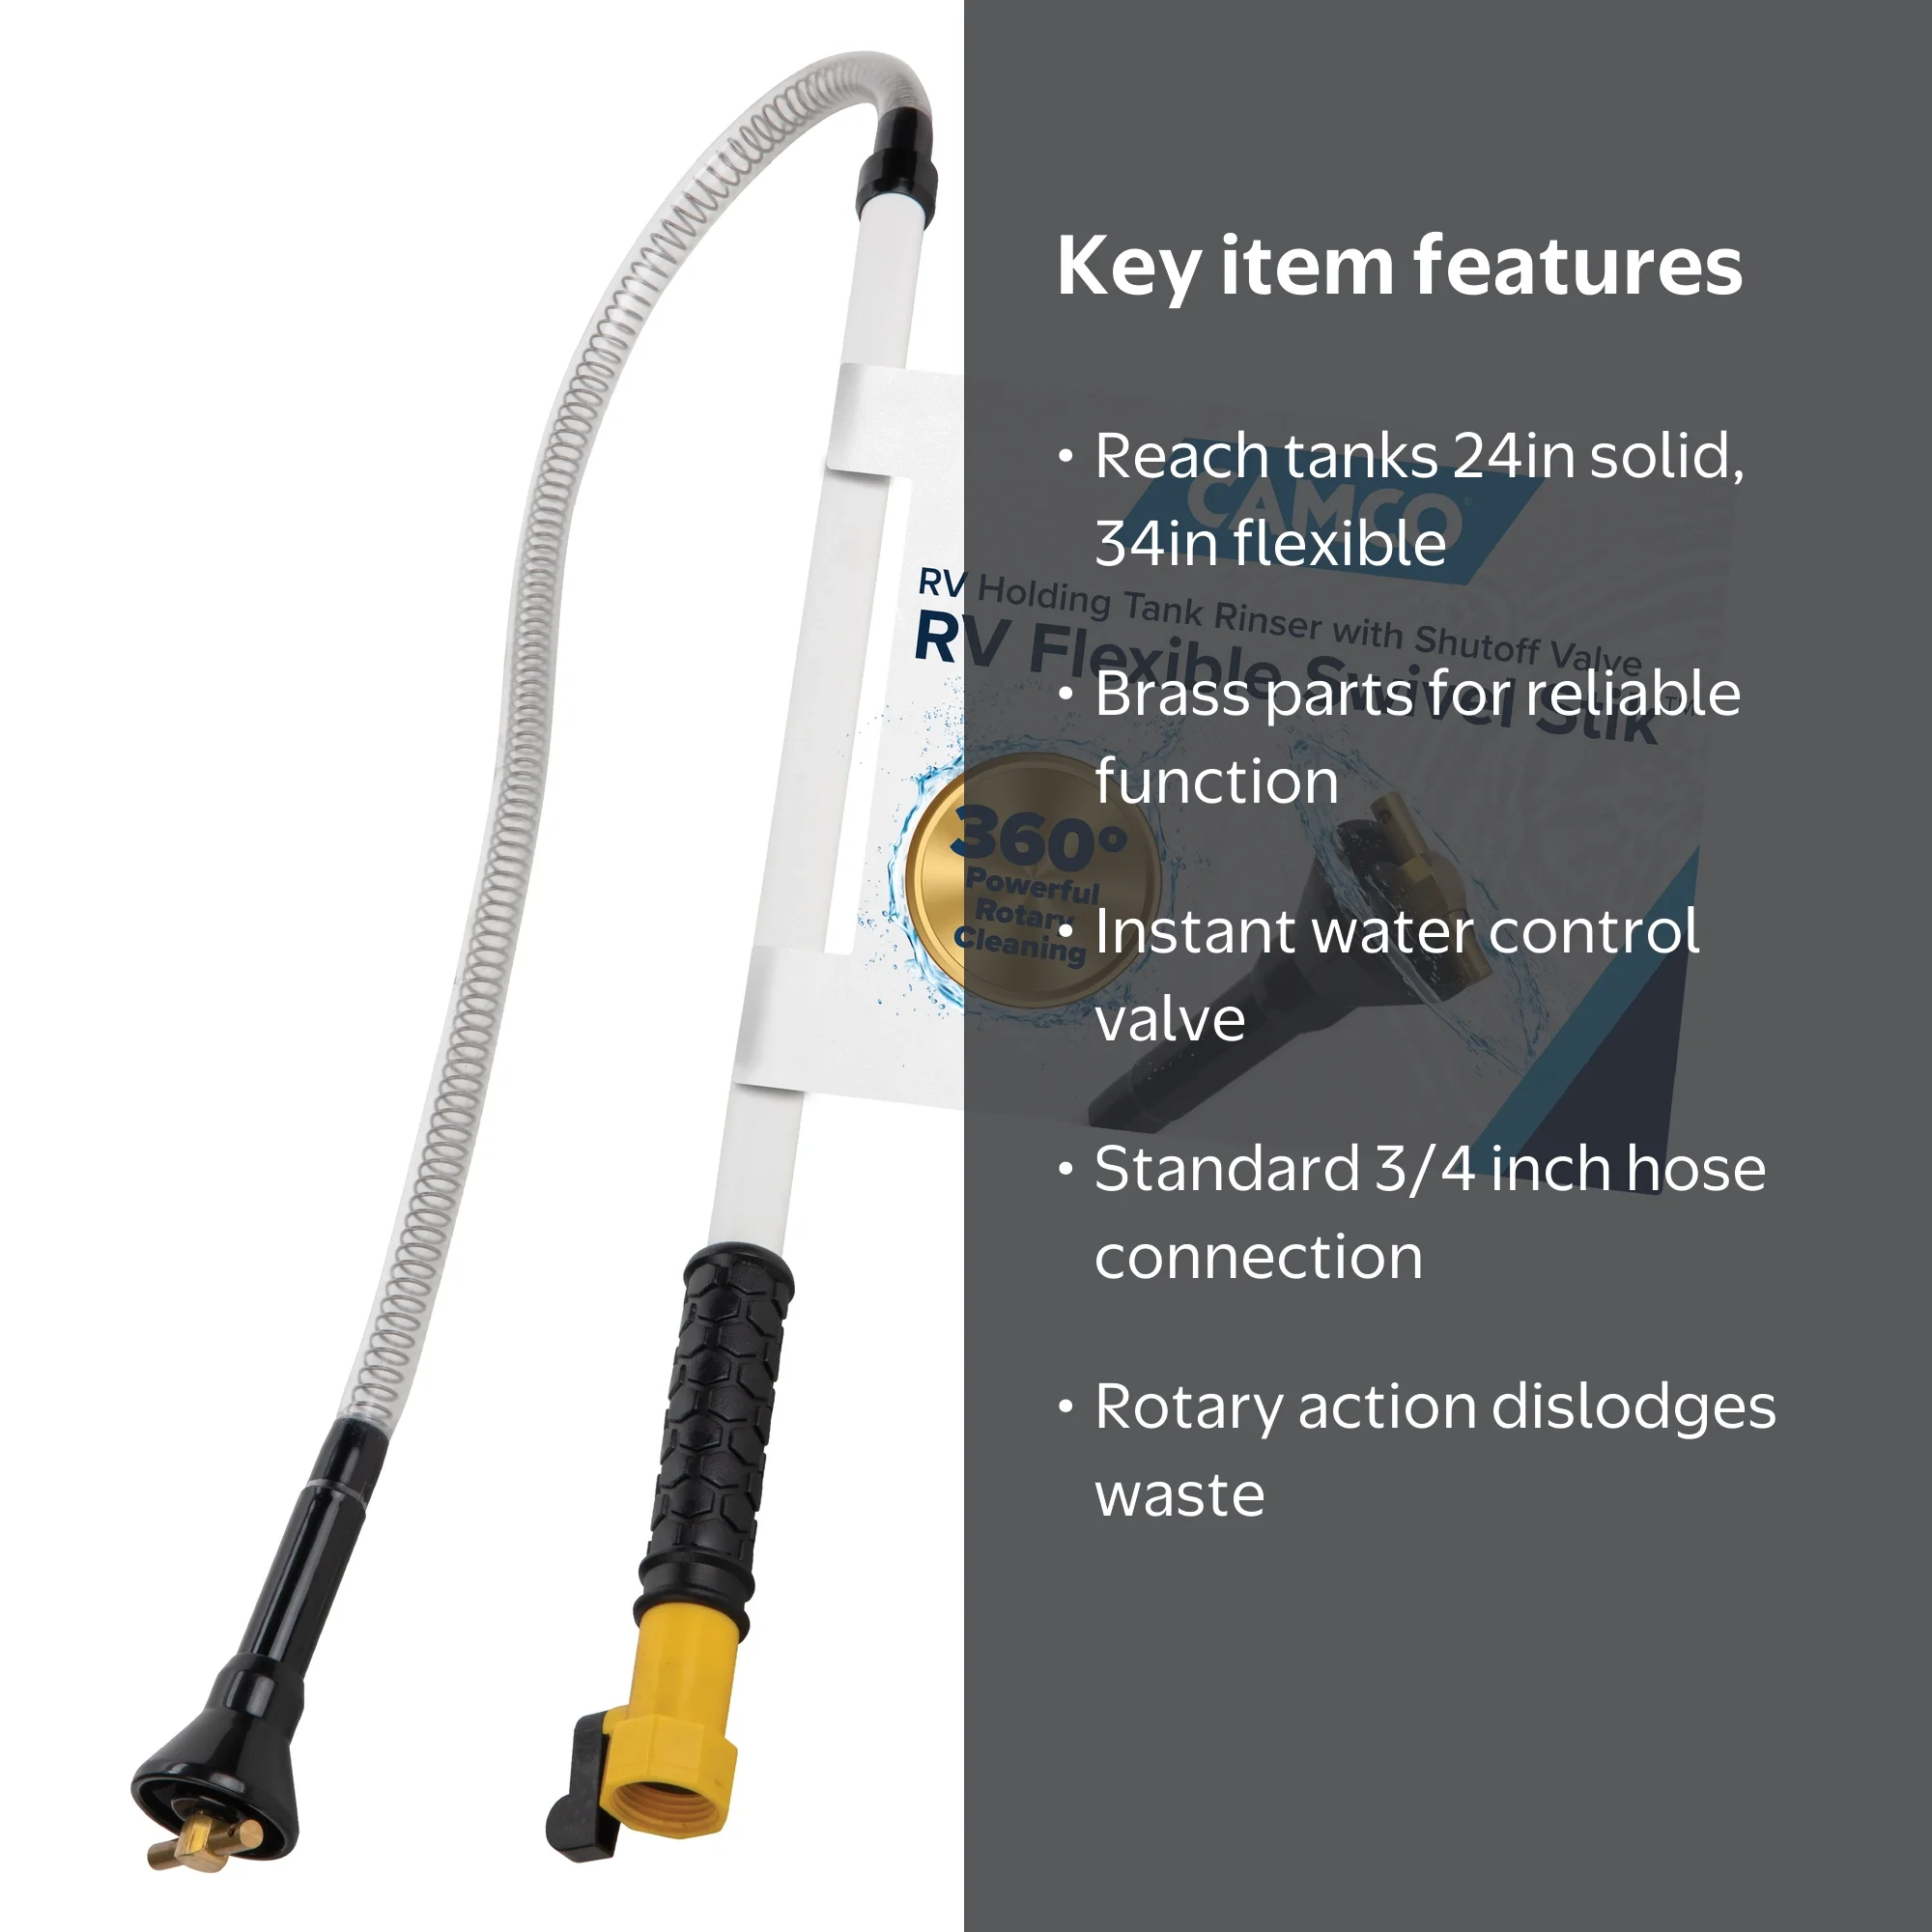
- Length and flexibility. Make sure it can pass your toilet bend and reach corners.
- Spray pattern. Rotary heads give wider coverage. Straight jets hit hard spots.
- Materials. Brass fittings and a sturdy shaft last longer.
- Control. A thumb shutoff valve and swivel connector help adjust flow and angle.
- Compatibility. Check fitting sizes, regulator range, and storage length.
- Value. You do not need the priciest model. A simple, well-built wand is enough.
Compare specs and reviews. Then practice RV Black Tank Cleaning Wand: How to Use One with your setup so it becomes second nature.
Frequently Asked Questions of RV Black Tank Cleaning Wand: How to Use One
How often should I use a cleaning wand?
Do a quick rinse at every dump. Do a deep clean once a month or when sensors act up.
What water pressure is safe for a wand?
Aim for 40–60 PSI with a regulator. High pressure can cause splash-back or damage fittings.
Will a wand fix faulty tank sensors?
Often yes, because residue causes bad readings. Target the sensor wall with slow passes and repeat rinse cycles.
Can I use my drinking water hose with the wand?
Do not. Use a dedicated non-potable hose to avoid cross-contamination.
Is it safe for porcelain or plastic toilets?
Yes, when used with care and proper pressure. Avoid hard jabs and keep the tip centered.
What if my toilet has a sharp bend?
Use a flexible or rotary-head wand. Twist gently while feeding to clear the bend.
Should the black valve be open or closed while spraying?
Keep it closed during rinse cycles to stir and lift waste. Open it to drain between cycles.
Conclusion
A wand gives you control, speed, and a deeper clean than most built-in sprays. With the right setup, a simple routine, and a few smart habits, you will enjoy a fresher RV, fewer clogs, and sensors that tell the truth.
Put this guide on RV Black Tank Cleaning Wand: How to Use One into action at your next dump. Start with a careful setup, rinse in cycles, and finish with a clean, charged tank. Ready for more road-proven RV tips? Subscribe, share your questions in the comments, and keep your rig road-ready.