Drain, rinse, flush, and sanitize on a schedule to prevent clogs and odors.
My neighbor at the campsite knocked on my door one evening looking embarrassed. He had just bought his first RV and his black tank was already causing problems. Bad smell, sensors reading wrong, and draining so slowly he had started avoiding the dump station altogether. Sound familiar?
I walked him through exactly how to clean an RV black tank from start to finish. Two hours later his tank was draining cleanly, the smell was gone, and his sensors were reading correctly for the first time in weeks. That conversation is basically what this guide is. Simple, honest, step by step instructions that actually work in the real world — no complicated equipment, no expensive products, just a clear process anyone can follow.

What Your RV Black Tank Does and Why Cleaning Matters
Your black tank holds toilet waste and water. It is not the same as the gray tank, which holds sink and shower water. The black tank feeds through the toilet. It drains through a 3-inch valve to your sewer hose or macerator.
If you skip cleaning, you get clogs, bad odors, and sensors that always read full. Bacteria grow. Solids harden. Seals can dry out. A clean tank flows well, smells less, and the sensors work right.
Key parts to know:
- Tank, toilet drop, and 3-inch exit valve
- Roof vent stack that lets gases out
- Sewer hose and fittings
- Backflush inlet or built-in rinser on many rigs
- Tank sensors that read levels
As a rule, water is your best friend. More water in the bowl and tank stops the dreaded “pyramid plug.” I learned this the hard way on a long boondock stint. I now use extra water on every flush. It keeps the tank slick and the valve happy.

Tools and Supplies You Need
Gather the right gear before you start. It saves time and mess.
Must-haves:
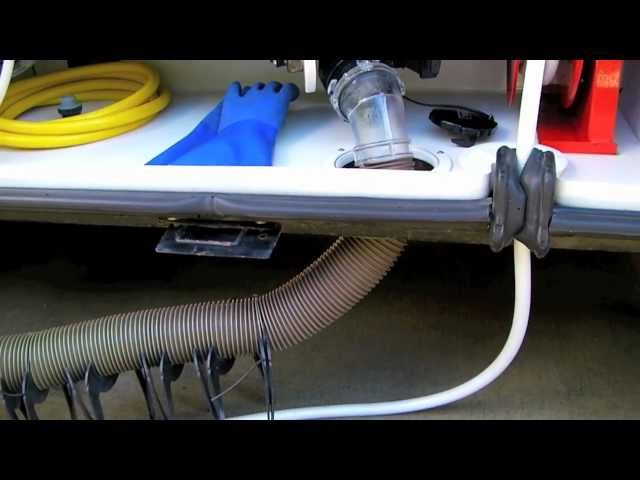
- Heavy-duty sewer hose with tight fittings
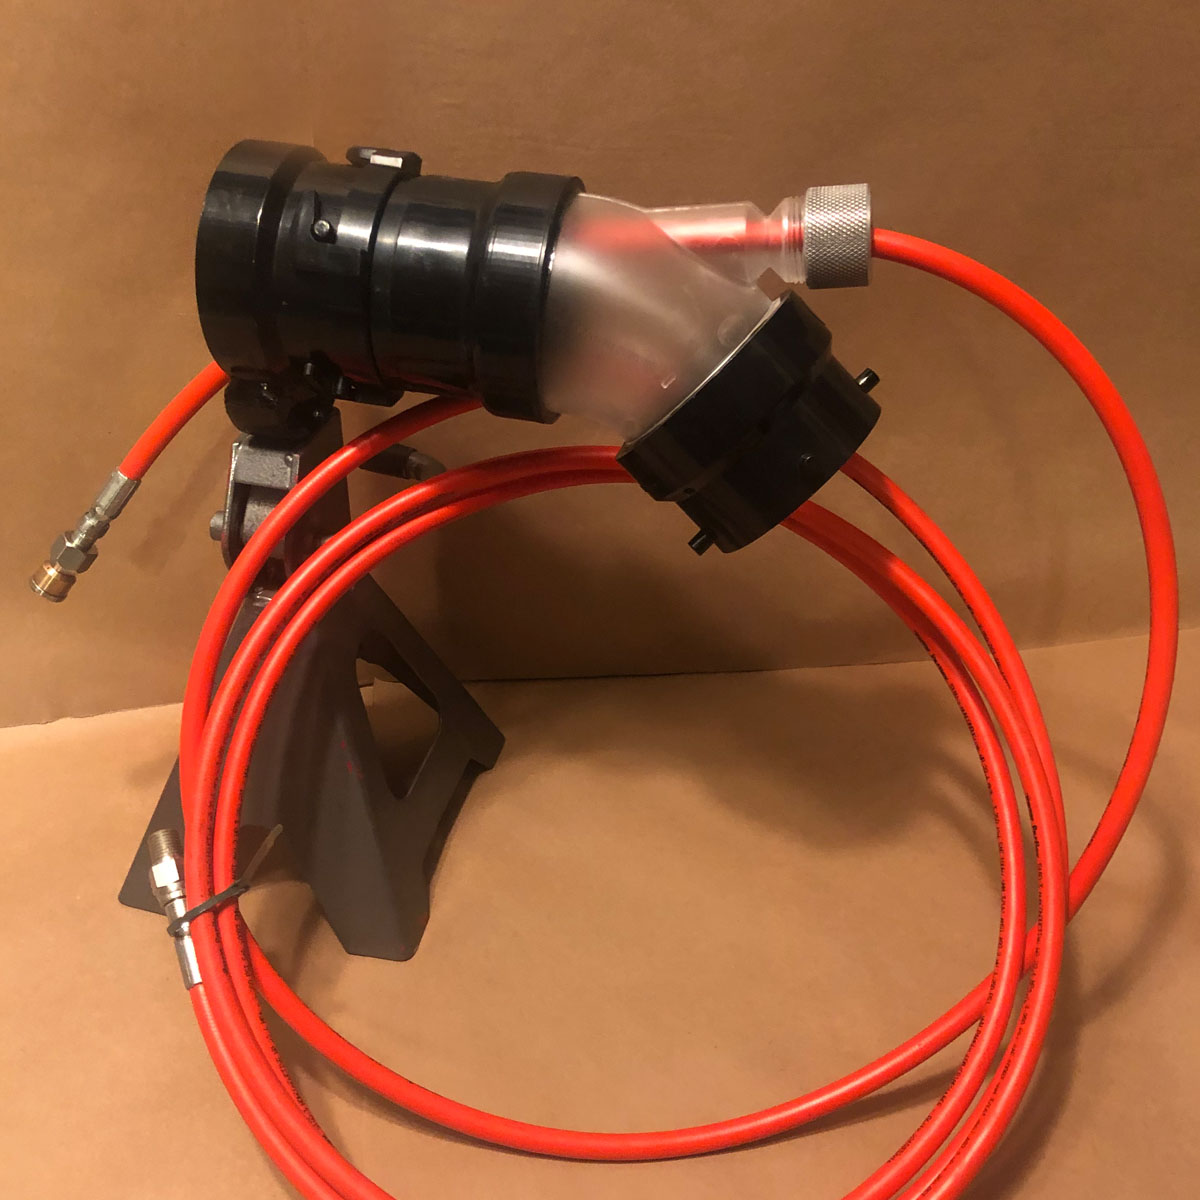
- Clear elbow or adapter to see flow
- Nitrile gloves and eye protection
- Dedicated black-tank hose for rinsing
- Rubber wheel chocks for safety
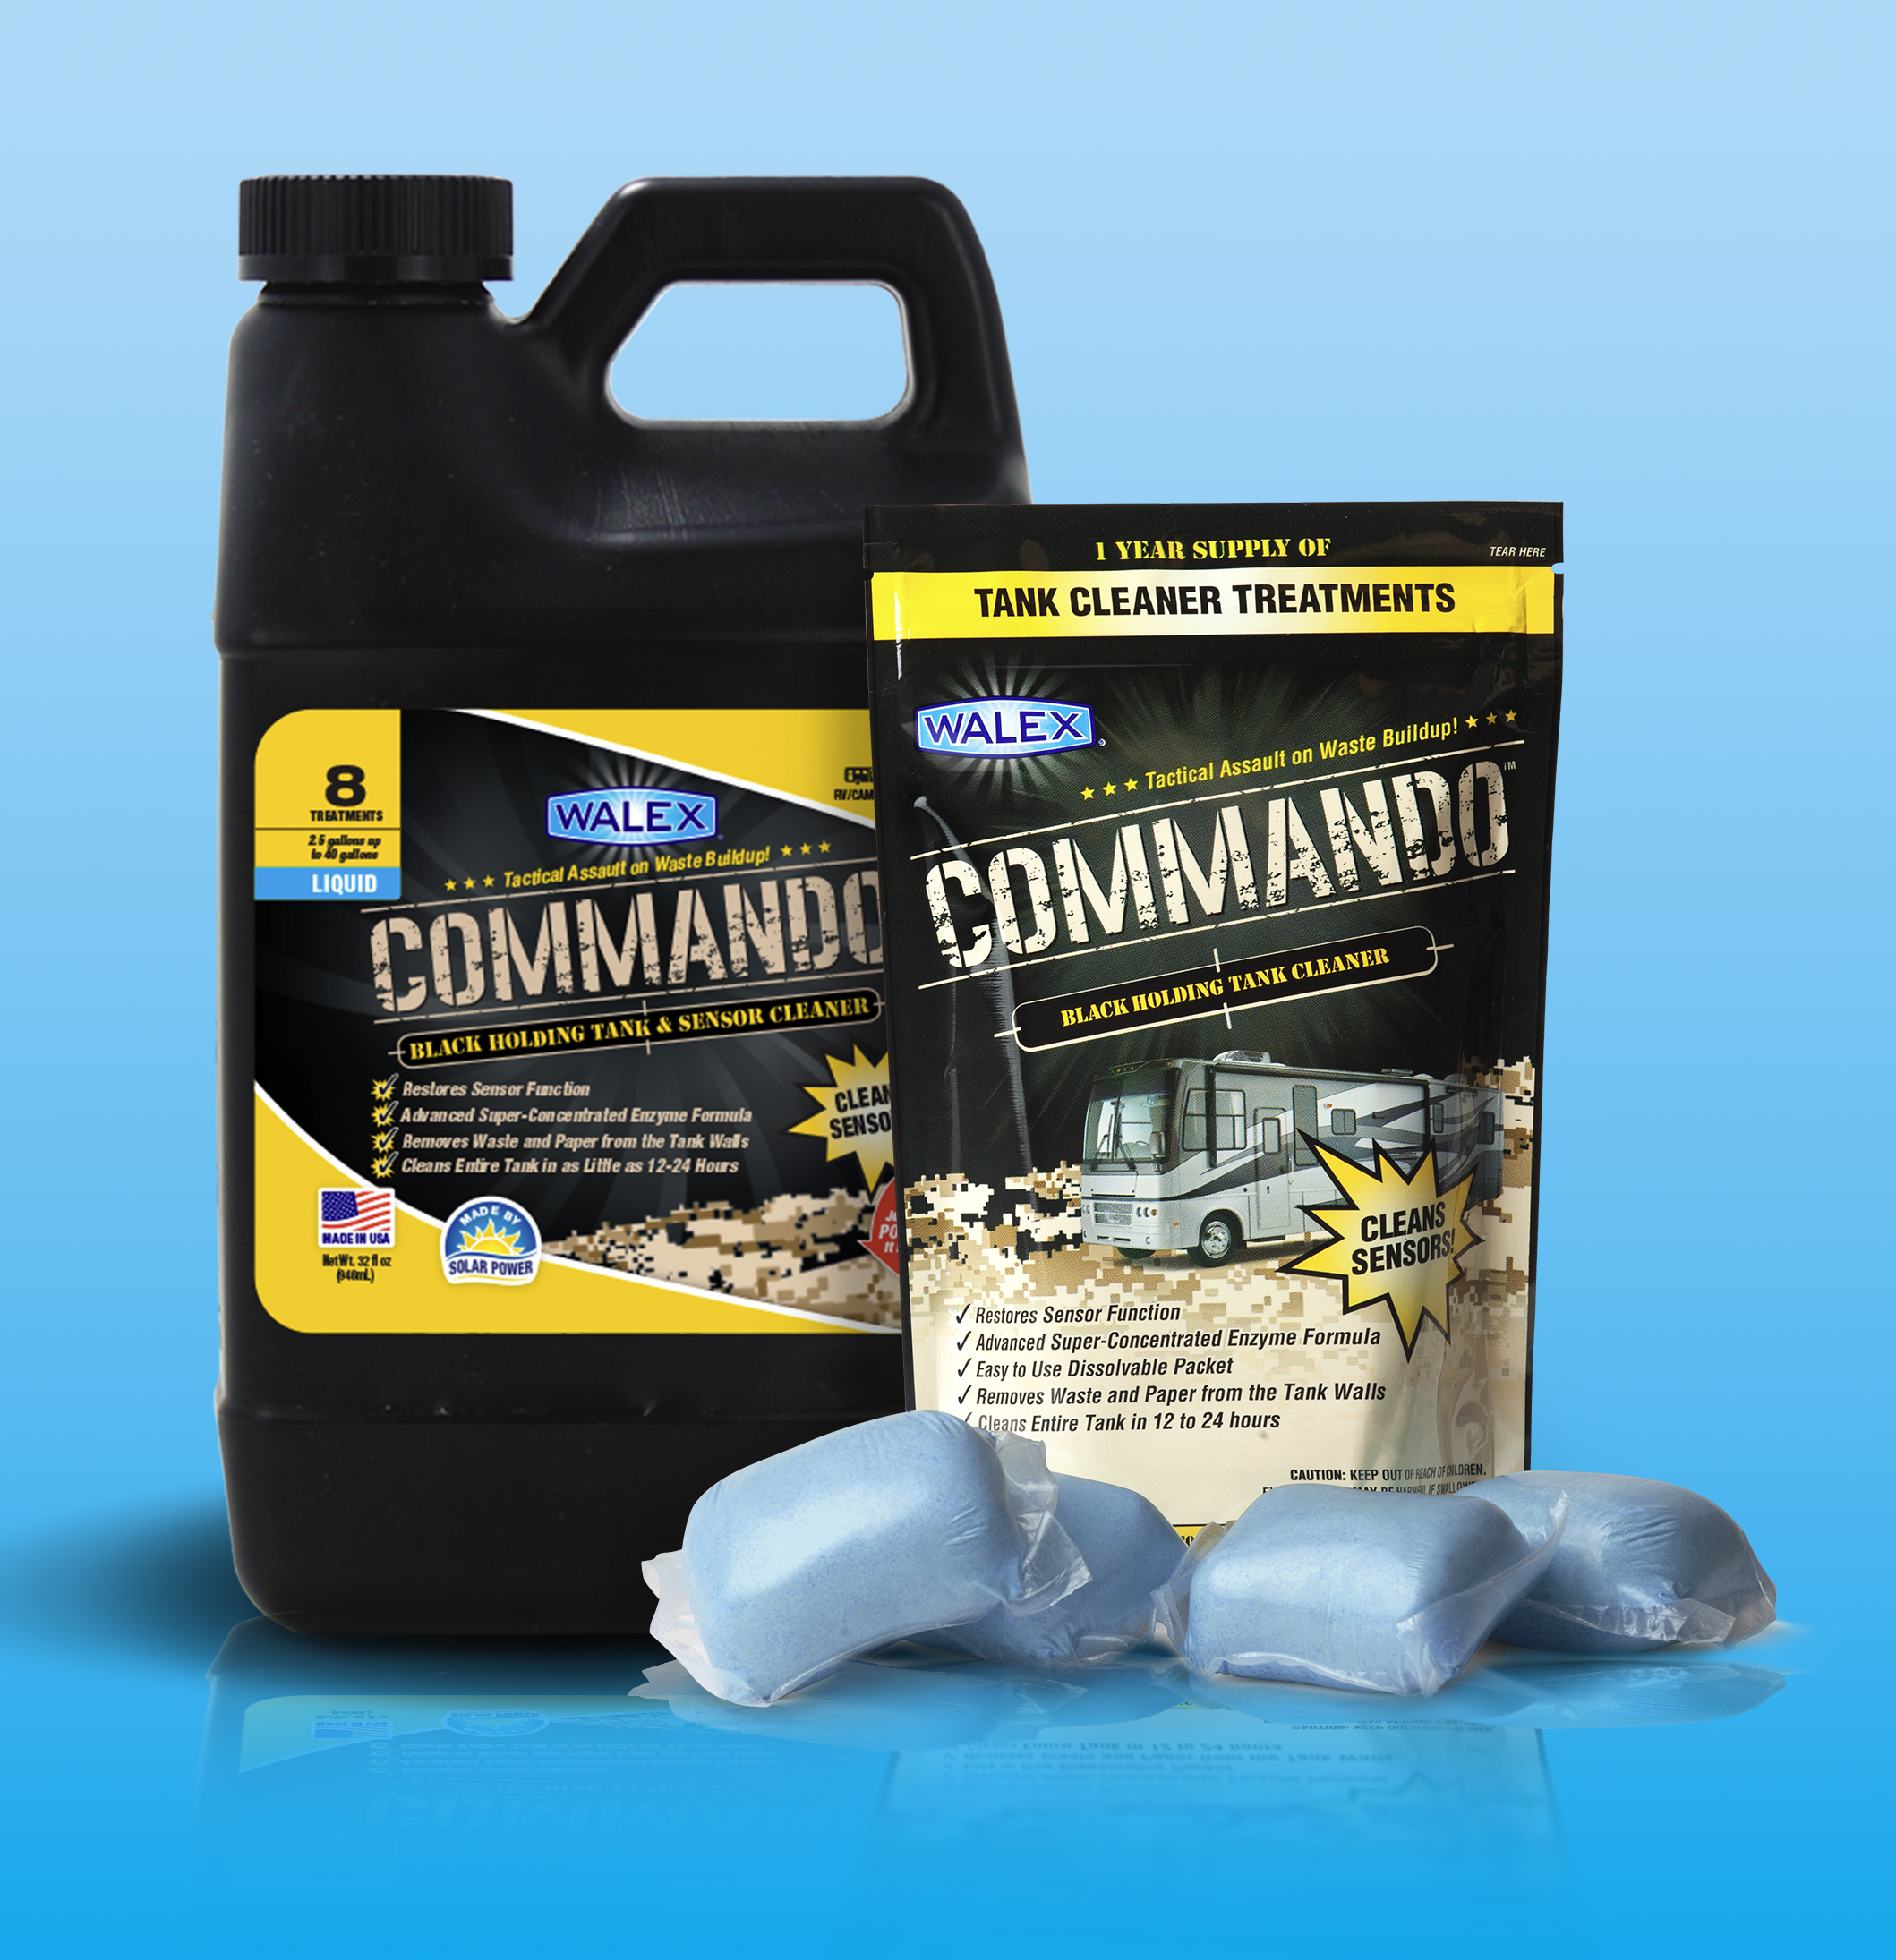
- Non-formaldehyde tank treatment, enzyme or probiotic based
- Tank rinser or backflush fitting
- Toilet wand for rigs without a built-in rinser
- Bio enzymes or rapid dissolve packets for deep soaks
- Paper safe for RV use or fast-dissolve paper
Nice-to-haves:
- Odor-neutral tank drop-ins for hot weather
- Water softener solution for a soak
- Small amount of unscented dish soap for lube and cleaning
- Bucket and spray bottle for cleanup
- Disposable rags
Safety:
- Turn off the water if you must leave a pressurized flush
- Never mix bleach with other chemicals
- Use RV-safe products only
How I Clean an RV Black Tank: Step-by-Step Routine at the Dump Station
This is how to clean an RV black tank at a dump station with less stress. It is fast and clean when you follow each step.
- Park and set up
- Park with the outlet near the sewer port.
- Chock the wheels. Wear gloves.
- Connect your gear
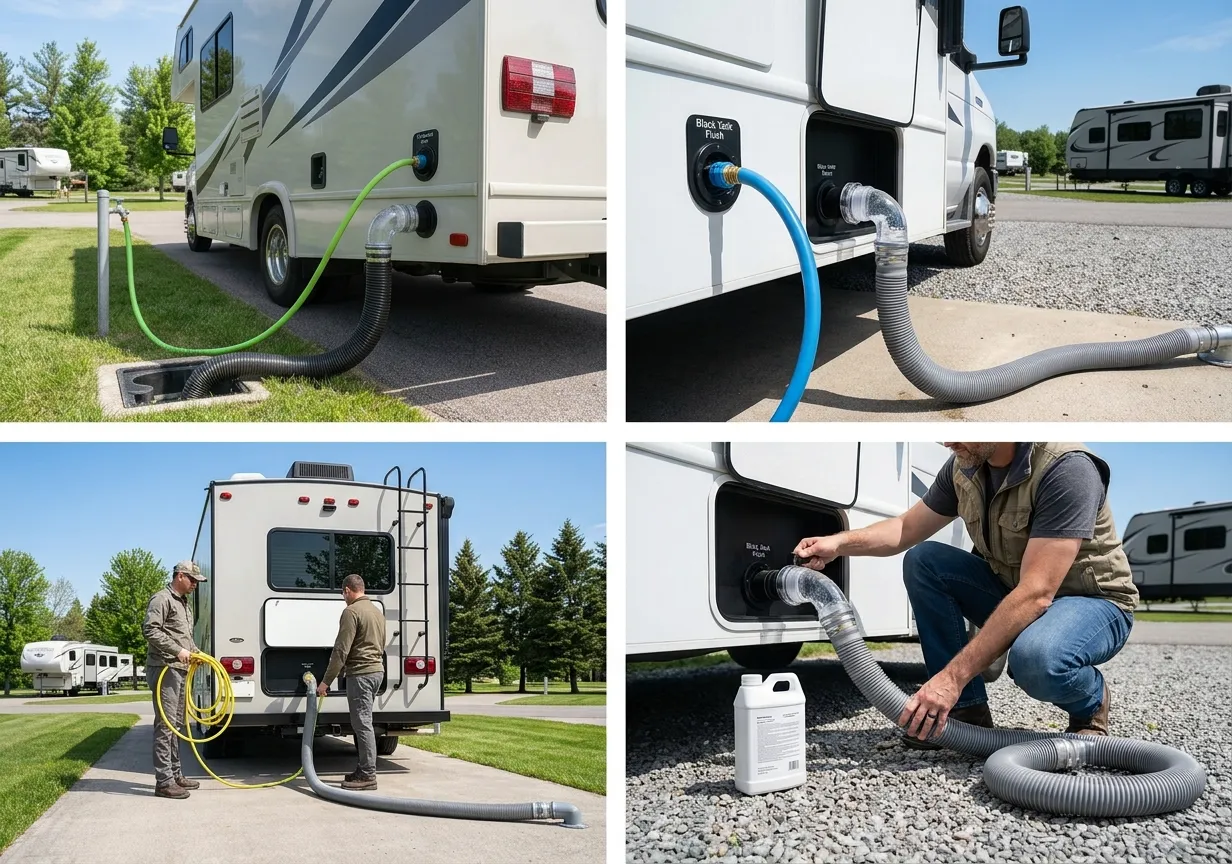
- Attach the sewer hose to the RV outlet.
- Place the other end tight in the dump port.
- Add the clear elbow so you can see when the water turns clear.
- Dump the black tank first
- Pull the black valve all the way.
- Let it drain until the flow slows to drips.
- Close the black valve.
- Backflush or rinse the black tank
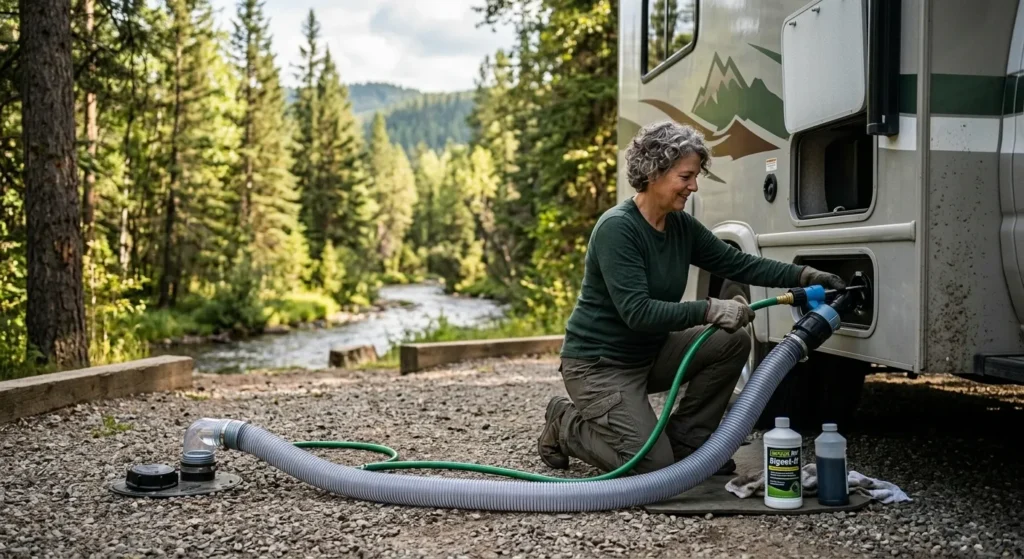
- Connect the dedicated rinse hose to the black flush inlet.
- Open the black valve.
- Turn on water. Rinse for 2–5 minutes.
- Watch the clear elbow. When it runs clear, turn off water.
- Close the black valve.
- Pulse rinse for stubborn debris
- Close valve. Run water for 30–60 seconds.
- Open valve. Drain. Repeat 2–3 times.
- Keep the rinse hose separate from drinking water hoses.
- Dump the gray tank second
- Pull the gray valve.
- This rinses the hose with soapy water.
- Close gray valve when done.
- Recharge the black tank
- Add 3–5 gallons of water into the tank through the toilet.
- Add your preferred tank treatment.
- Keep a small pool of water in the toilet bowl to seal odors.
- Clean up
- Disconnect the hose. Rinse it with the gray or a rinse spigot.
- Cap the RV outlet.
- Wash hands and wipe gear.
Pro notes:
- Do not leave the black valve open at a full-hookup site. Solids will pile up.
- Use plenty of water every time you flush.
- If you ask me how to clean an RV black tank in a rush, this setup is it: dump, rinse, pulse, gray, recharge.
Read My RV Black Tank Cleaning & Maintenance: Complete Guide
Deep-Clean Methods for Stubborn Odors, Clogs, and Misreading Sensors
When regular rinsing fails, use a deeper method. This is where many owners learn how to clean an RV black tank the smart way.
For pyramid plugs:
- Close the valve.
- Add 5–10 gallons of water, a cup of enzyme treatment, and a bit of dish soap.
- Let it soak for several hours.
- Drive a few miles to slosh, if safe.
- Return to a dump station. Backflush until clear.
For compacted waste:
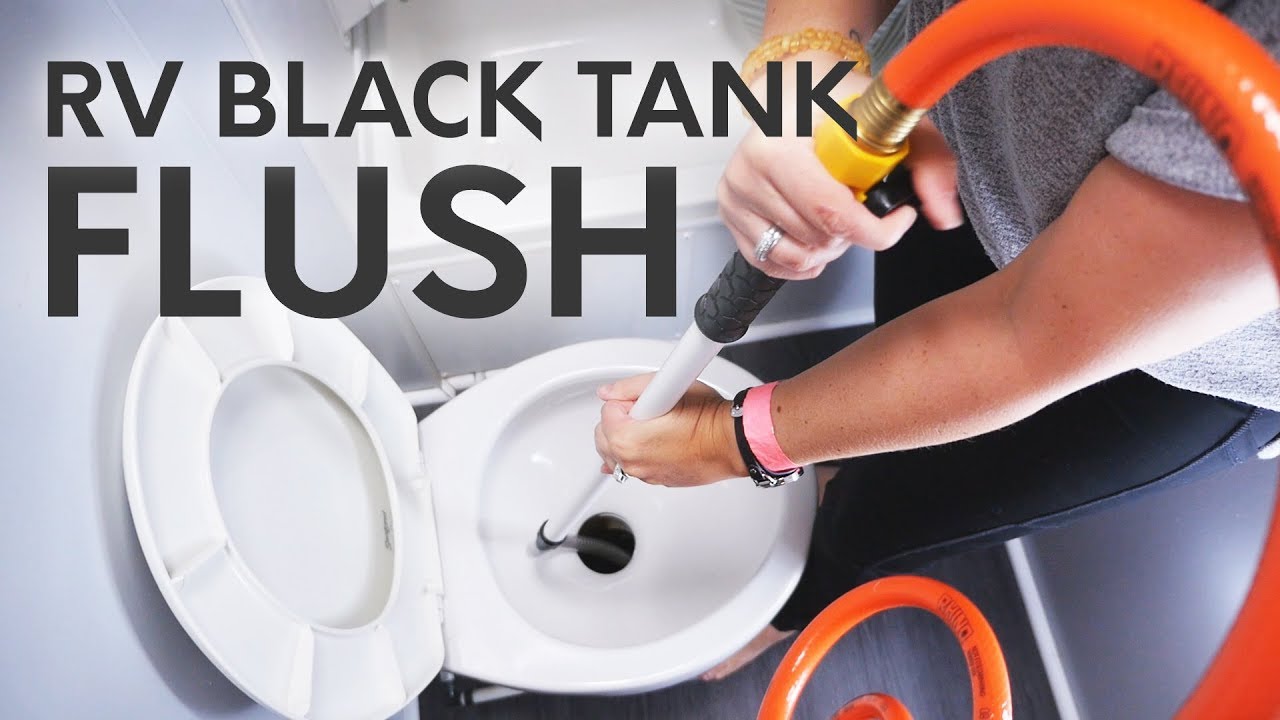
- Use a toilet wand if you do not have a built-in rinser.
- Spray in a circular motion while the valve is open.
- Alternate soak and rinse cycles.
For sensor issues:
- Do a 12–24 hour enzyme soak with warm water.
- Add a half cup of dish soap. No foam bombs needed.
- Rinse until the elbow shows clear water.
For odors:
- Check the roof vent cap. Make sure it is not blocked.
- Keep a water seal in the bowl.
- Ventilate the bath area.
About bleach:
- Use only as a last resort and very dilute, like 1/4 cup in a full tank of water.
- Never mix with other chemicals.
- Rinse well. Many makers advise enzyme methods first.
My field lesson:
- Ice cubes in the toilet do not scrub the tank. They melt fast and do little. A directed rinse and enzyme soak work better and are safer.
Odor Control, Prevention, and Routine Maintenance Schedule
The best plan for how to clean an RV black tank is simple. Do small things each trip so deep fixes are rare.
On every camping day:
- Use more water with each flush.
- Keep a few inches of water in the bowl.
On every dump:
- Rinse or backflush until clear.
- Recharge with water and treatment.
Weekly or after long boondocking:
- Do a longer pulse rinse.
- Add an overnight enzyme soak if sensors read wrong.
Monthly or every 4–6 dumps:
- Do a warm water and enzyme deep clean.
- Inspect the vent and valve handles.
Product tips:
- Enzyme or probiotic treatments help break down solids.
- Avoid formaldehyde products. Many parks ban them.
- Use rapid-dissolve paper. Test a small wad in a jar of water first.
I keep a simple log on my phone. It tracks dumps, rinses, soaks, and sensor results. It has saved me from surprise smells more than once.
Winterizing and Storage Tips for the Black Tank
Cold storage needs care. Learn how to clean an RV black tank before winter, then protect seals.
- Dump and rinse the black tank until water runs clear.
- Leave the valve closed. Add 1–2 gallons of RV antifreeze to the tank only if advised by your maker. Many owners skip this and only protect traps and the bowl.
- Add RV antifreeze to P-traps and the toilet bowl to protect the seal. Use only RV antifreeze, not automotive.
- Lube the toilet seal with a maker-approved product.
- Store with the roof vent clear. A blocked vent can hold odors.
In spring, do a thorough flush and an enzyme soak. This wakes the system up and clears any film.
Troubleshooting Common Issues
Learning how to clean an RV black tank also means knowing how to fix problems fast.
Pyramid plug at the toilet:
- Close the valve. Add water, enzyme, and dish soap.
- Soak for hours. Pulse rinse and use a wand if needed.
Toilet burps or slow drops:
- Vent may be blocked. Check the roof vent cap.
- Add more water during use.
Stuck valve:
- Do not force it. Lube handle rails if exposed.
- Backflush to relieve pressure. Seek service if it stays stuck.
Sewer smell inside:
- Bowl water seal is low. Add water.
- Check the vent and seals. Replace weak gaskets.
Leaks at fittings:
- Replace worn seals and tighten clamps.
- Do a water-only test before the next trip.
If a clog will not clear, call a mobile RV tech. They have jetters and safe methods to protect your tank.
Frequently Asked Questions of How to Clean an RV Black Tank
How often should I dump and rinse my black tank?
Dump when the tank is at least two-thirds full. Rinse every time you dump, and do a longer backflush every few dumps.
What is the best product to use in the black tank?
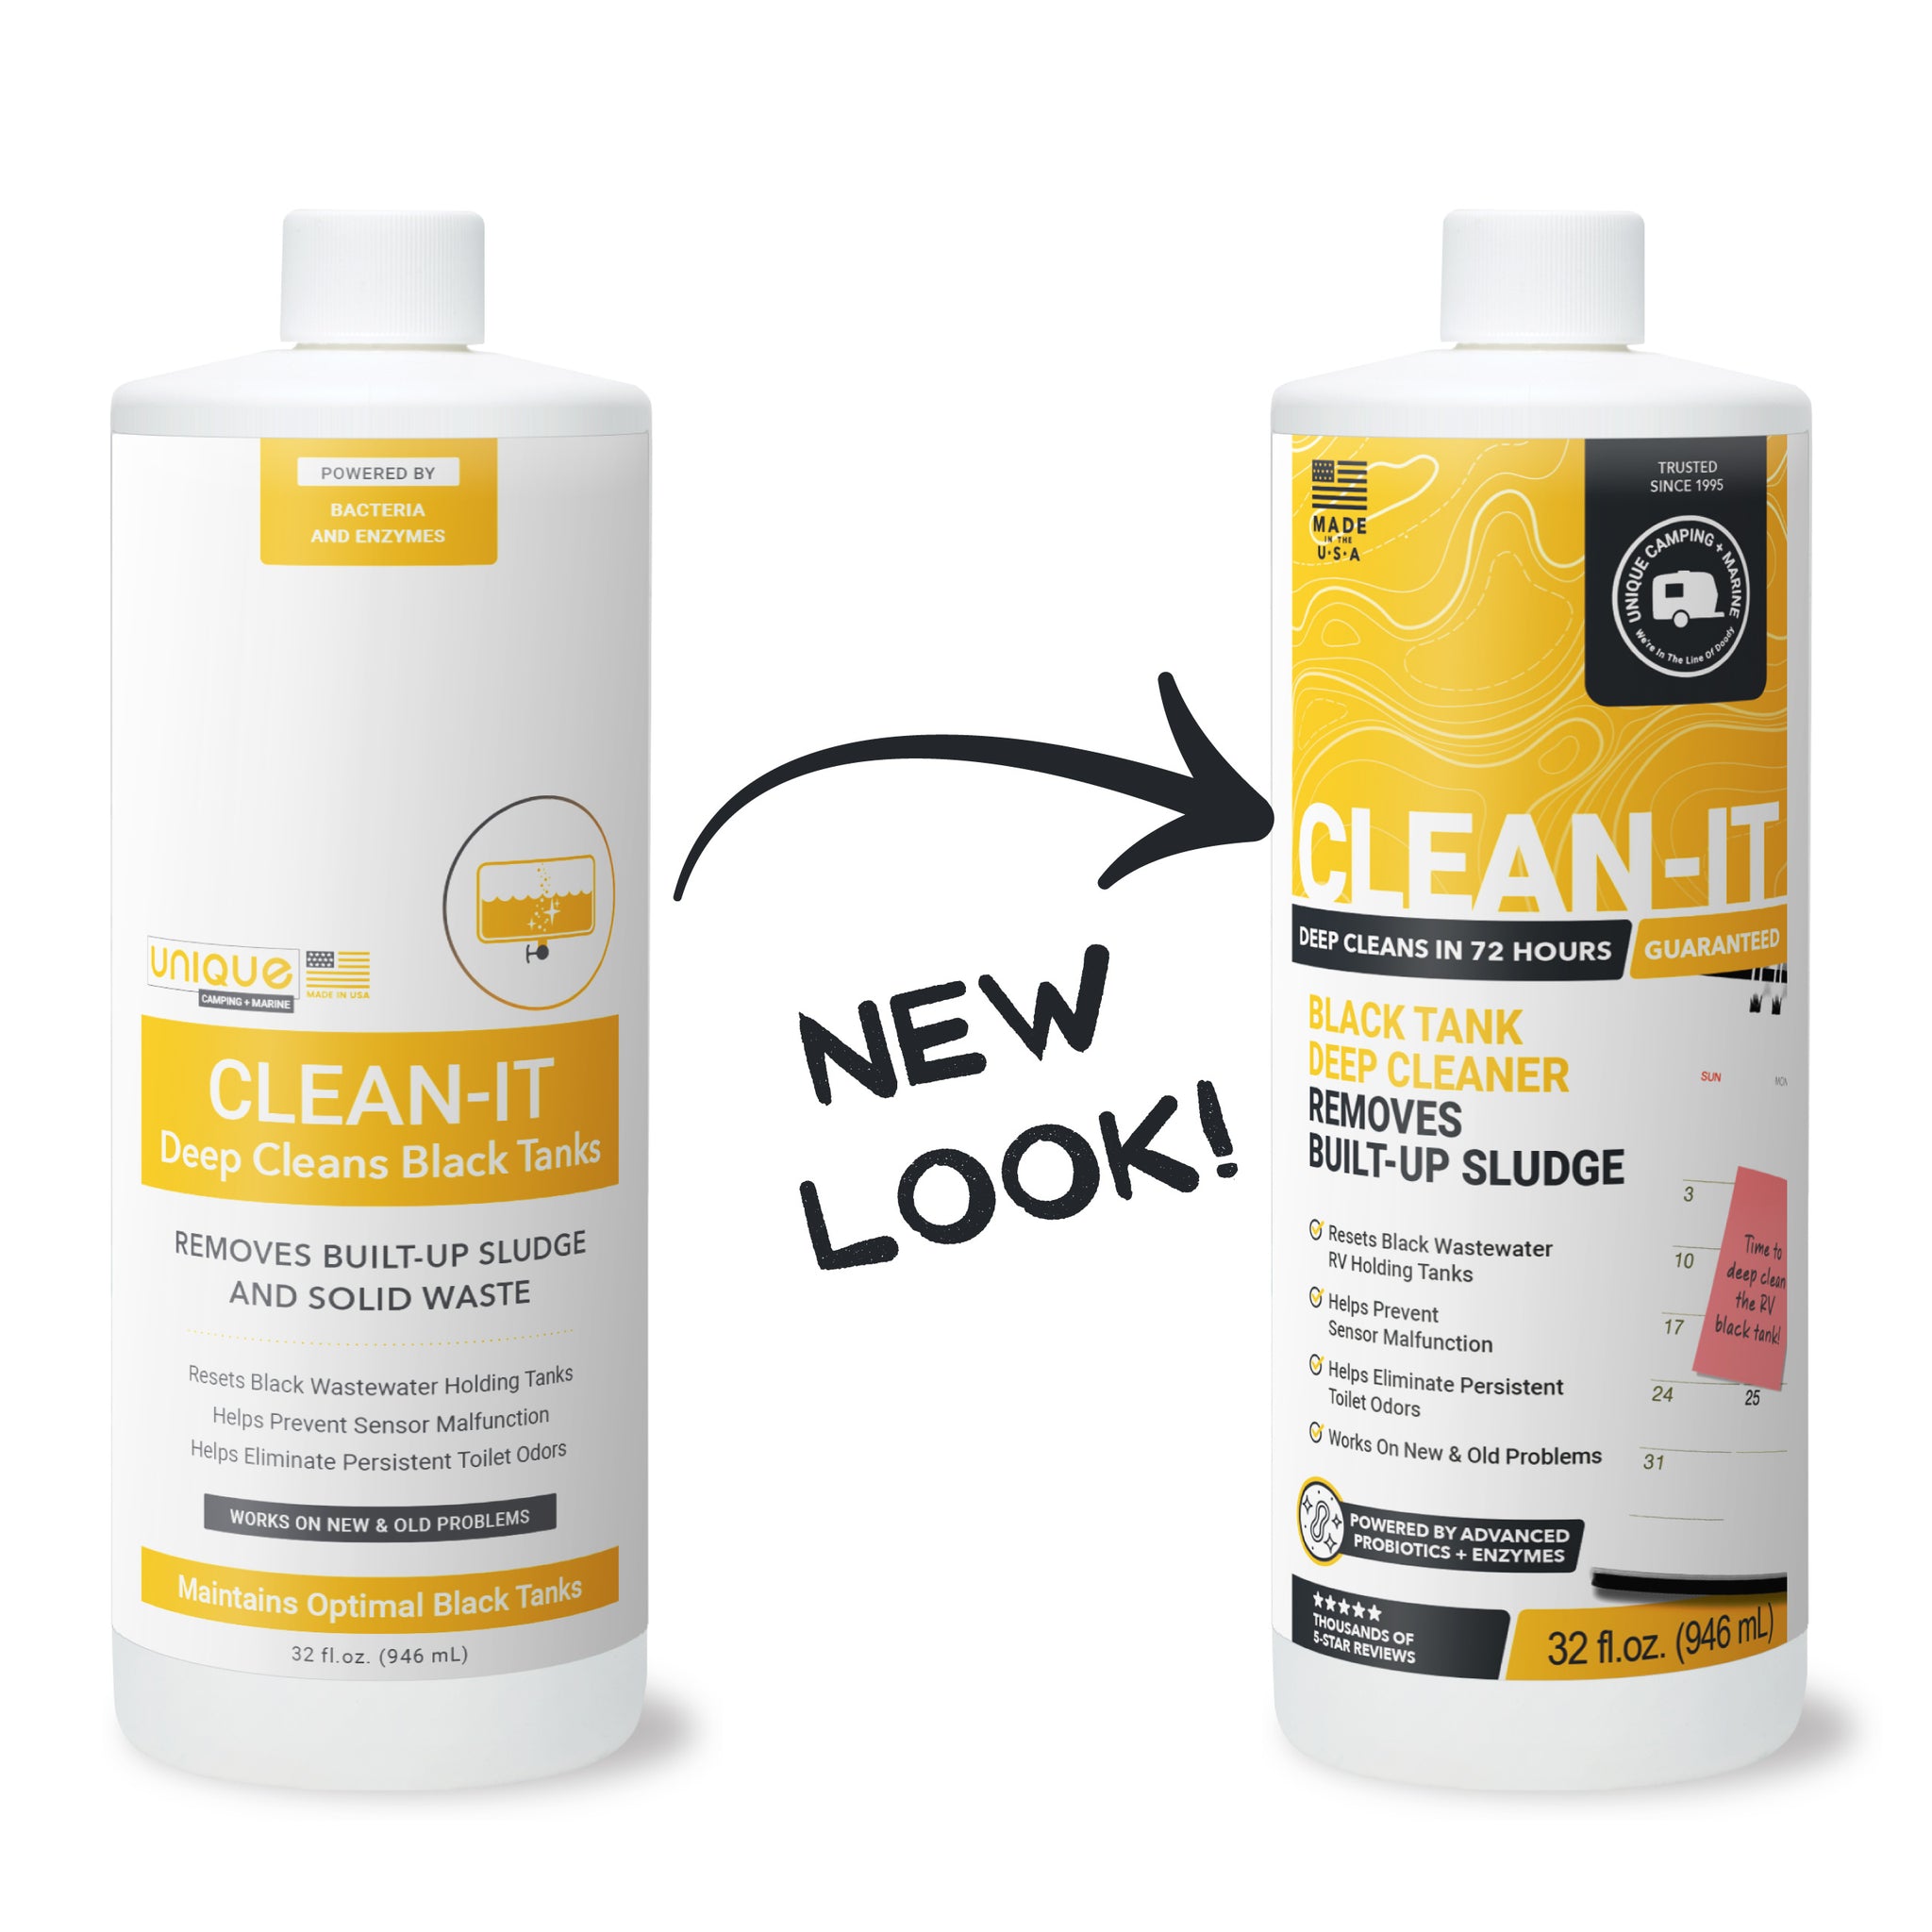
Use an enzyme or probiotic treatment that is non-formaldehyde. These help break down waste and reduce odors without harming seals.
Can I leave the black tank valve open at a full-hookup site?
No. Solids will pile up and form a hard mass. Keep the valve closed and dump when the tank is near full.
Why do my tank sensors always read full?
Debris sticks to the sensor probes or walls. Do an overnight enzyme soak and a strong backflush, then test again.
Is bleach safe for cleaning an RV black tank?
Use bleach only as a last resort and very diluted. Never mix bleach with other chemicals, and rinse well after use.
How much water should I keep in the tank after dumping?
Add 3–5 gallons into the black tank after you dump. Also keep a small pool of water in the bowl to seal odors.
Does the ice cube trick work for cleaning?
It does little. Directed rinsing and enzyme soaks are far more effective and safer for sensors and seals.
Conclusion
Now you know how to clean an RV black tank with a clear plan. Use plenty of water, rinse at every dump, and do a regular enzyme soak. Keep the vent clear and the bowl sealed. Your tank will flow well, sensors will read right, and trips will smell fresh.
Make this your next trip routine: dump, backflush, gray rinse, recharge with water and treatment. If you found this guide useful, subscribe for more RV care tips, or leave a comment with your own hard-won lessons.