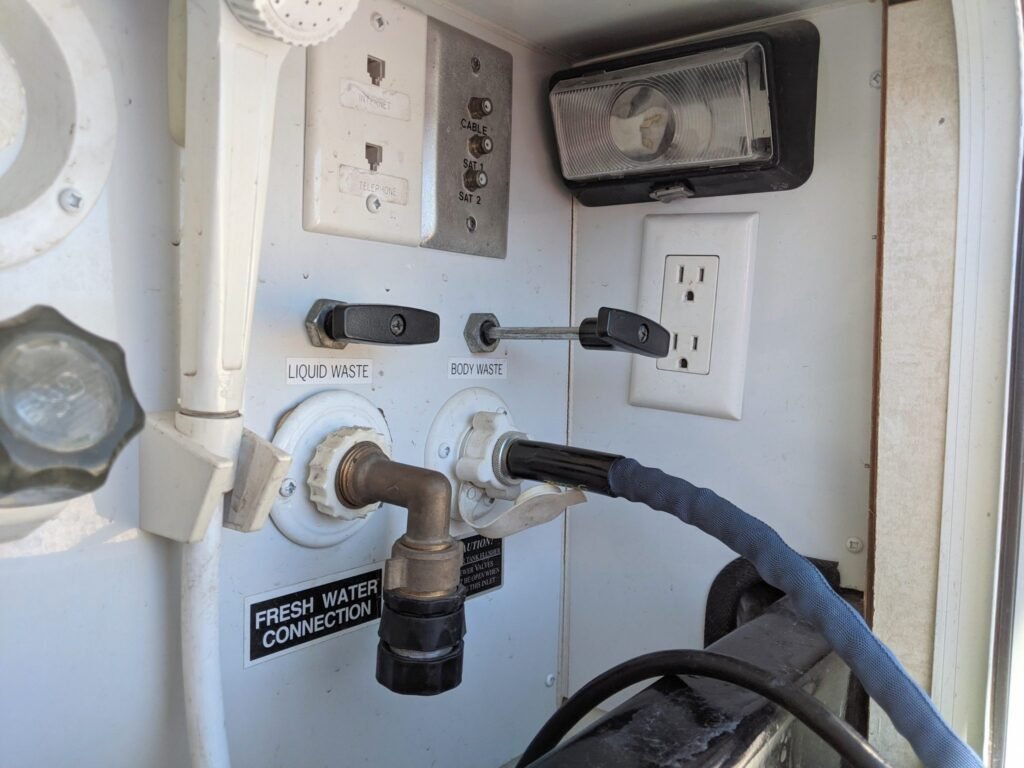
In this guide, I focus on an RV Tank Flush for the black holding tank—the tank that collects toilet waste. Flushing helps rinse away waste and loose residue after draining, but it’s important to use the correct inlet, hose, and procedure.
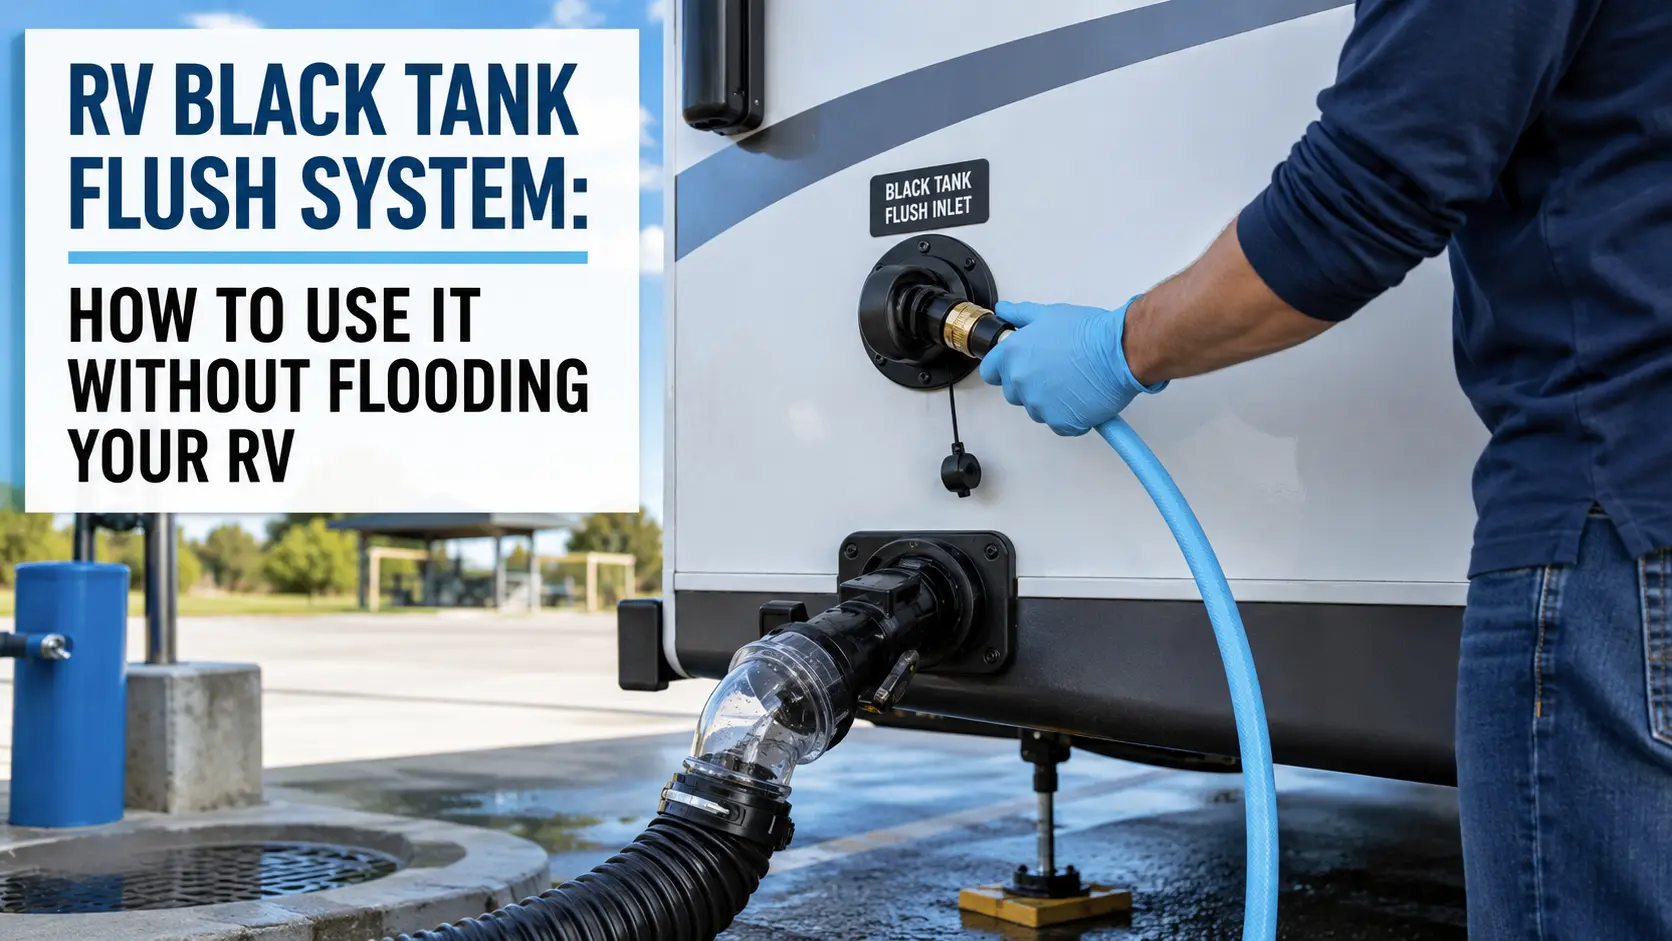
For a built-in system, I recommend checking your RV manufacturer’s instructions first. Use a dedicated rinse hose that is never used for drinking water, connect it to the labeled black tank flush inlet, and keep the black tank drain valve open while flushing. Never leave the water running unattended, and only flush where the campground or approved dump station permits it.
I’ll walk you through setup, safe flushing, common problems, and cleanup. Freshwater tank sanitation is a separate job that requires a different process.
What Does an RV Tank Flush Do?
A black tank flush sends rinse water through a nozzle or spray head inside the waste tank. The spray helps loosen residue so it can leave through the sewer outlet.
Flushing is not the same as dumping. Dumping drains the tank’s contents. Flushing adds rinse water to help carry out what remains. It also does not sanitize the tank or guarantee clean level sensors.
Know which tank and connection you are using before you start:
| Component | What it handles | What matters during flushing |
|---|---|---|
| Black tank | Toilet waste and flush water | Drain it before using its rinse system |
| Gray tank | Water from sinks and showers, depending on the RV | Usually drained after the black tank |
| Freshwater tank | Water used by the RV’s plumbing | Keep it separate from all waste-rinse gear |
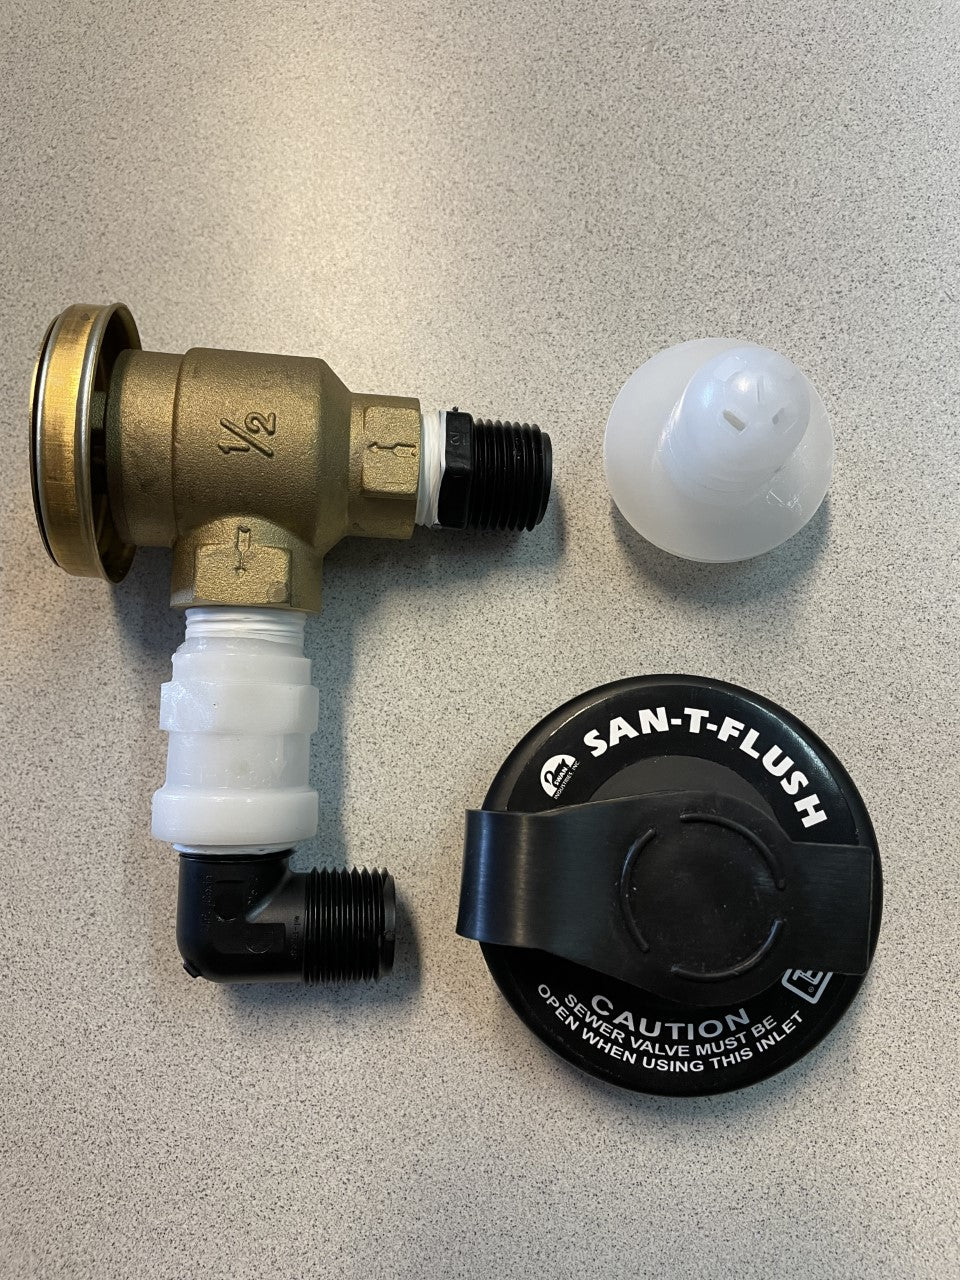
| Black tank flush inlet | Water supplied to an internal tank sprayer | Use only as the RV manual directs |
| City water inlet | Water supplied to the RV’s water system | Do not mistake it for the tank flush inlet |
Not every RV has a built-in flush system. Some have more than one black tank, separate dump outlets, or tank connections that serve different compartments. Labels and the plumbing diagram matter more than the inlet’s location or appearance.
What You Need Before Flushing an RV Tank
You need an approved sewer connection, working drain equipment, a separate rinse hose, and the instructions for your RV’s flush system. Check the dump station’s rules before you set up; some sites limit water use or do not allow extended rinsing.
Gather these items:
- Disposable gloves.
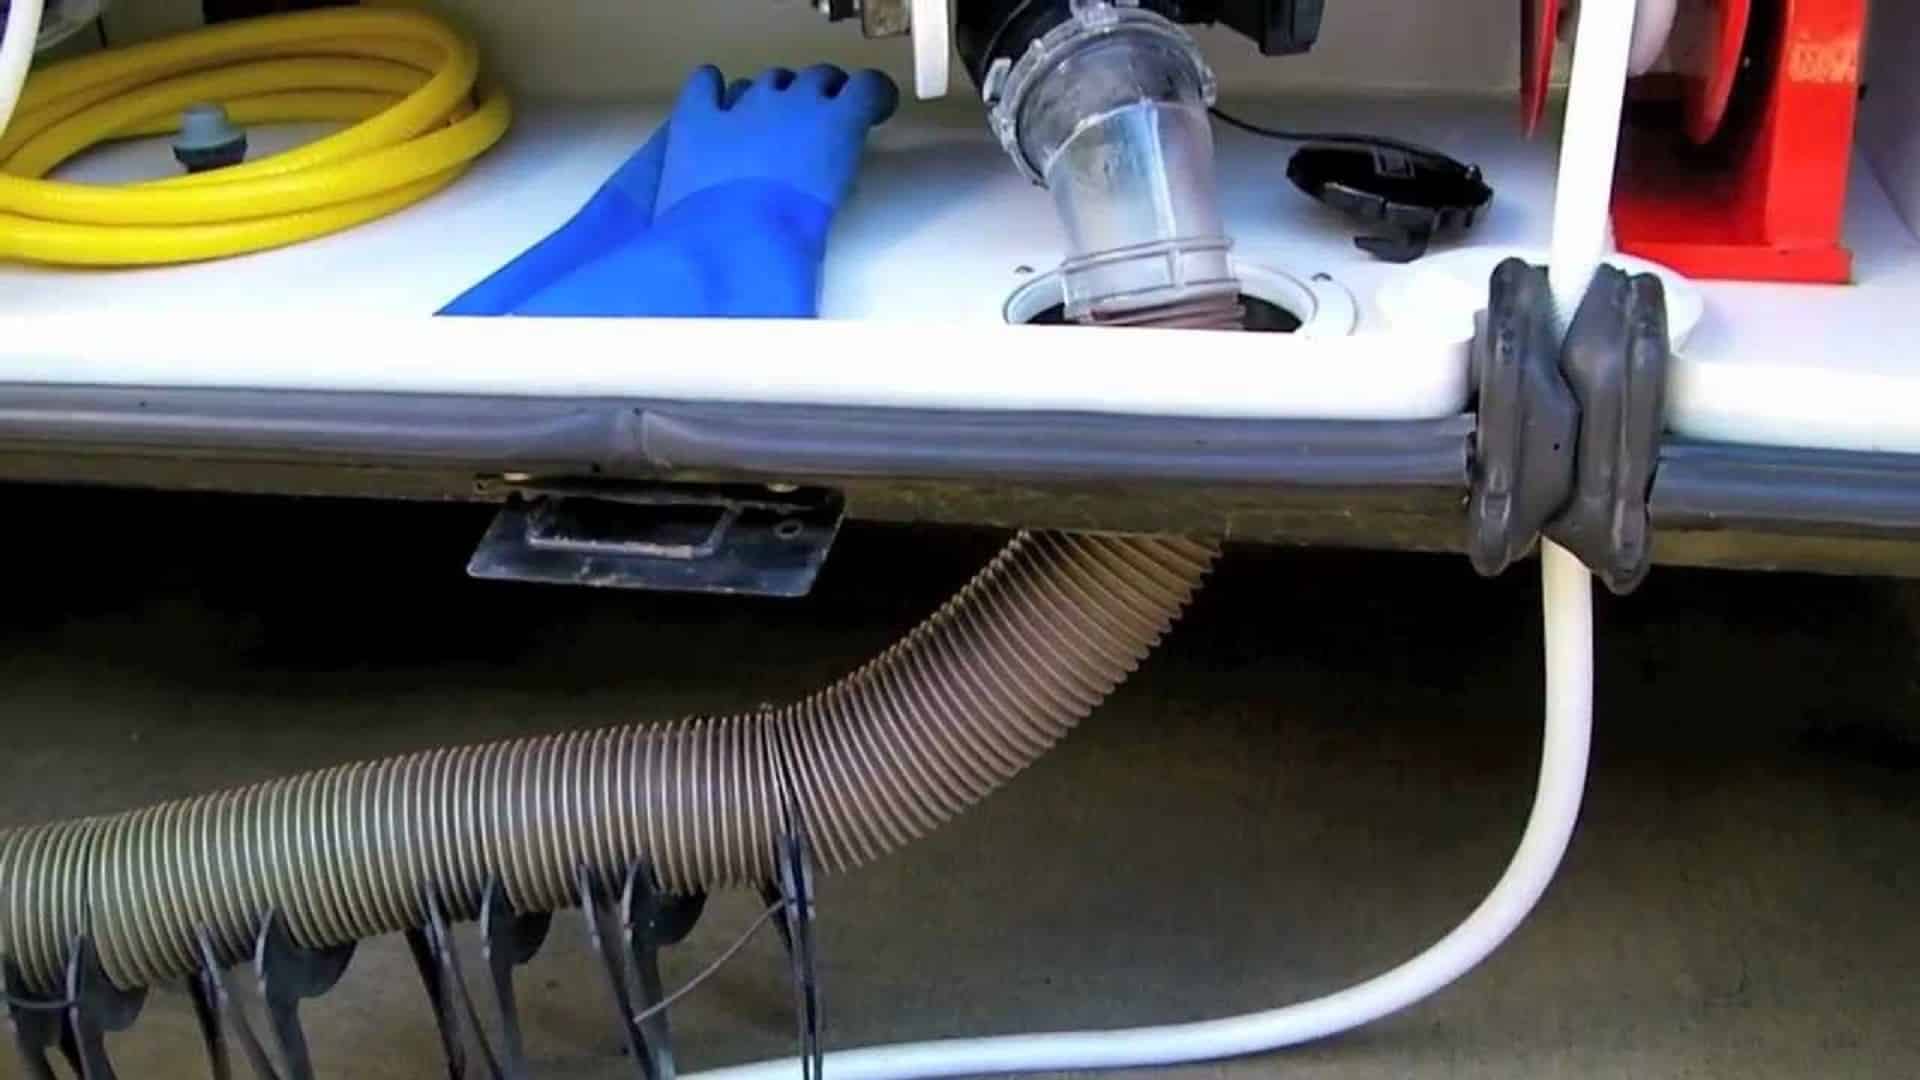
- An RV sewer hose with sound fittings.
- A sewer adapter suited to the receiving inlet.
- A dedicated rinse hose, kept separate from drinking-water hoses.
- A clear sewer elbow, if available, to help you see discharge.
- Any pressure regulator or other equipment required by the RV manual.
- Soap and clean water for handwashing afterward.
Do not use your drinking-water hose for a black tank flush. Keep rinse fittings away from potable-water gear, and store them separately.
Check the water connection and backflow protection
A tank flush system needs protection against contaminated water flowing backward toward the supply. Your RV may have a vacuum breaker or other backflow device in the flush line. The water source may also require its own protection under local rules.
Do not remove or bypass a backflow device to improve flow. A dedicated rinse hose helps prevent mix-ups, but it does not replace backflow protection. If you cannot confirm the system’s setup, check the manual or have an RV technician inspect it.
Check the sewer path
Secure both ends of the sewer hose before opening a tank valve. Arrange the hose so waste can drain without a crushed section, sharp kink, or loose fitting.
If the sewer inlet is blocked or the hose cannot drain, do not start flushing. Adding water to a tank with no safe outlet creates an overflow risk.
How to Flush an RV Black Tank Step by Step
Drain the black tank first, then rinse it with its drain valve open unless the exact manufacturer procedure states otherwise. Do not improvise a closed-valve fill-and-release method.
The steps below describe a common built-in flush setup. Your RV’s manual controls the valve positions, water pressure, and operating limits for your model.
1. Park safely and identify the correct valves
Park as the dump station requires, secure the RV, and put on gloves. Confirm which handle opens the black tank and which inlet feeds its flush system.
If the RV has two black tanks, do not assume one flush inlet serves both. Check the labels or plumbing diagram.
2. Connect the sewer hose
Attach the sewer hose to the RV outlet and secure its other end at the approved sewer inlet. Use the correct adapter and support the hose as needed.
Check the fittings before opening a valve. Keep pets and other people clear of the work area.
3. Drain the black tank
Open the black tank valve and let the tank drain. Wait until the strong flow has dropped to a small stream or drip.
If little or nothing comes out when you expect a full tank, stop and investigate. A blockage, frozen contents, wrong valve, or faulty level reading may be involved. Flushing is not a safe way to test whether a suspected blockage will clear.
4. Connect the dedicated rinse hose
With the water supply off, connect the rinse hose to the labeled black tank flush inlet. Follow the manual’s requirements for supply pressure and connection order.
Keep the inlet cap and hose ends off the ground. Do not connect to an unlabeled port based on a guess.
5. Start the flush and watch the discharge
With the black tank drain valve open, turn on the rinse water as directed. Stay at the controls and watch for discharge, leaks, or signs of backup.
Stop the water at once if:
- Discharge stops unexpectedly.
- The sewer hose backs up or shifts.
- Water leaks inside the RV or around the inlet.
- Water rises in the toilet.
- You hear or see signs that the tank is filling rather than draining.
Do not rely on the tank gauge as an overflow alarm. The gauge may be inaccurate, including during the very conditions that make flushing useful.
6. End the rinse and let the tank drain
Stop when the discharge contains much less visible waste, or when the manual’s operating limit is reached. Clearer discharge is a useful sign, but it does not prove that all tank surfaces or sensors are clean.
Turn off the water supply first. Allow the remaining rinse water to drain, then close the black tank valve when the tank has finished draining.
7. Drain the gray tank
If the gray and black tanks share a sewer outlet, drain the gray tank after the black tank. This helps carry residual waste through the shared sewer hose, though it does not sanitize the hose.
If your RV has separate outlets, use the procedure for each outlet. Do not assume all tanks drain through the same connection.
8. Disconnect, cap, and reset
With the water off, disconnect the rinse hose as the manual directs. Drain and store the waste-handling equipment, secure the outlet cap, and close the required valves.
Before normal toilet use, add the starting amount of water specified by the RV or toilet manufacturer. The aim is to keep new waste from landing in a dry tank. Remove your gloves and wash your hands with soap and clean water.

How Long Should You Flush, and How Much Water Should You Use?
There is no single flush time or gallon amount that fits every RV. Tank shape, sprayer design, supply flow, residue, and manufacturer limits all affect the task.
Use the manual’s directions and watch the discharge. A fixed timer cannot show whether the drain has become blocked.
| Condition | What it means for your next step |
|---|---|
| Discharge is flowing freely and contains less waste | Finish within the manual’s limits, then let the tank drain |
| Water runs but no discharge appears | Shut off the supply and check the drain path |
| The tank drains well but the gauge still reads full | Check the sensor system rather than flushing without limit |
| The dump station has a line or restricts rinsing | Complete the dump and do a longer rinse later where allowed |
| The manual gives a pressure or time limit | Follow that limit for the exact system |
Why an open drain matters
Even modest water flow can add a large volume if the outlet is closed. In a hypothetical example, a hose flowing at 2 gallons per minute adds 20 gallons in 10 minutes.
That is a calculation, not a measured RV flush rate. Actual flow varies. It shows why a closed valve, blocked outlet, or unattended hose can turn a rinse into an overflow.
The black tank is not a pressure vessel. Do not pressurize it or use water pressure to force a suspected blockage through.
Troubleshooting RV Tank Flush Problems
Start by shutting off the rinse water. Then check the simplest, safest causes before adding more water or taking parts apart.
| Symptom | Possible causes | First safe check |
|---|---|---|
| No rinse flow | Supply off, kinked hose, blocked screen, valve fault, or failed backflow device | Confirm the supply and inspect the external hose |
| Weak rinse flow | Restricted supply, kink, clogged inlet, or sprayer blockage | Check accessible parts with the supply off |
| Leak behind a wall or panel | Loose fitting, cracked line, or failed vacuum breaker | Stop using the flush system and arrange inspection |
| Tank drains slowly | Hose restriction, partly open valve, buildup, or blocked outlet | Stop rinsing and inspect the external drain path |
| Tank gauge still reads full | Residue, sensor fault, wiring fault, or remaining contents | Check actual drainage and the sensor instructions |
| Strong odor after dumping | Residue, dry toilet seal, vent issue, leak, or another plumbing fault | Check for visible leaks and confirm the toilet seal holds water |
If the sprayer will not flow
Check that the water source works and the dedicated hose is not kinked. With the supply off and pressure released, inspect any user-serviceable inlet screen mentioned in the manual.
Do not raise the pressure beyond the system’s limit to force a blockage clear. If external checks do not restore flow, the sprayer, backflow device, or concealed plumbing may need service.
If the tank will not drain
Do not keep adding rinse water. First check for a kinked sewer hose, a closed valve, or a problem at the receiving inlet.
If waste remains trapped, keep the system contained and contact an RV service provider or pump-out service. Do not open a loaded sewer connection to probe the blockage.
If the tank monitor stays full
A tank monitor reading is not proof that the tank still holds the displayed amount. Some internal probe systems can give false readings when residue bridges the probes. Other sensor types have different limits.
If the tank drains freely, check the sensor maker’s cleaning and diagnostic steps. Repeated flushing will not repair a wiring fault or a failed sensor.

Alternatives When Your RV Has No Built-In Flush
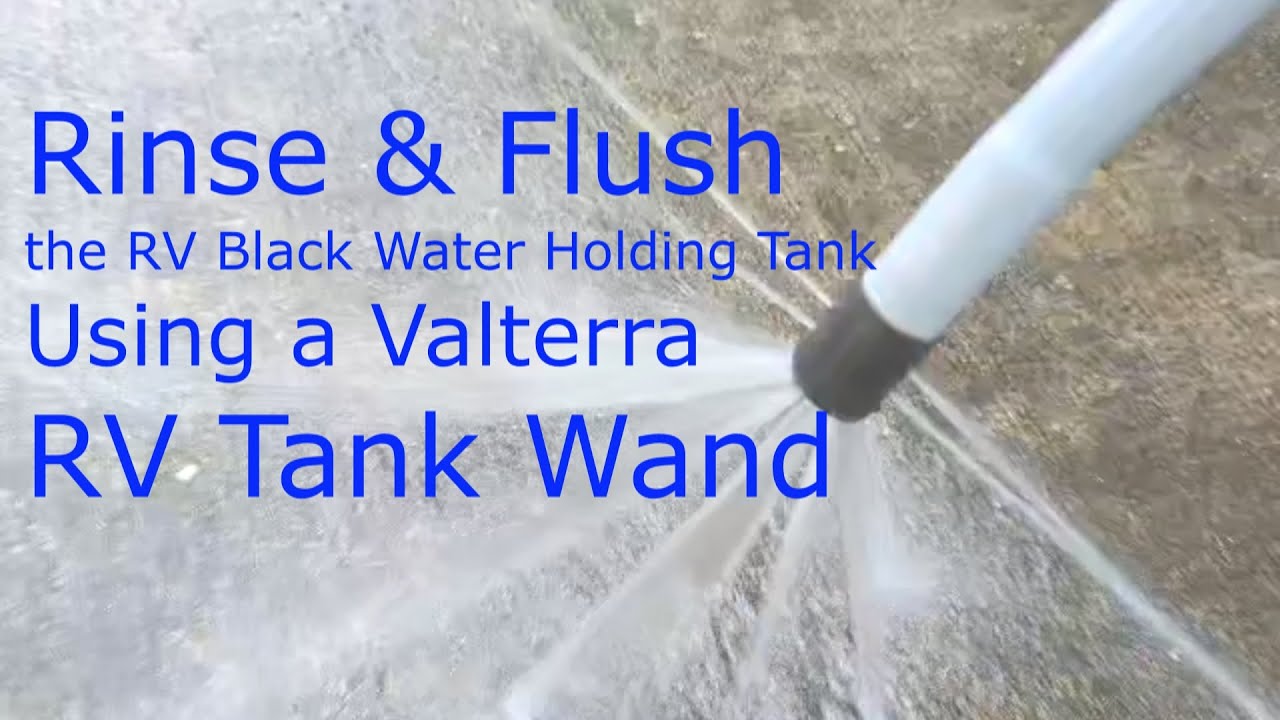
An approved rinse wand or compatible outlet-mounted rinse device may help, but neither works the same way as an internal tank sprayer. Choose based on the tank’s layout and the equipment maker’s instructions.
| Method | When it may help | Main limit |
|---|---|---|
| Toilet rinse wand | A compatible toilet provides access toward the black tank | Bends and offset plumbing can block access; splash control is essential |
| Outlet-mounted rinse device | The outlet layout allows rinse water to reach the tank | Elbows and long pipe runs can limit its reach |
| Added water and normal dumping | Routine use needs more liquid to carry waste | It does not provide the same spray action |
| Professional tank cleaning | Buildup or drainage problems persist after basic checks | It may not fix damaged valves, plumbing, or sensors |
A clear sewer elbow lets you see discharge; it does not, by itself, flush a tank. An outlet device that sprays water backward may rinse only part of the drain path, depending on the plumbing.
Do not push a wand or other tool into a toilet with unknown plumbing, a macerator, or an electric waste system. Confirm compatibility first.

Common Mistakes and Safety Limits
The most serious mistakes involve mixing waste gear with drinking-water gear, adding water without a clear drain path, or leaving the flush unattended. Avoid those errors before trying to improve cleaning results.
- Leaving the black valve open during normal campsite use. Liquids can drain away while solids remain. Keep it closed between dumps unless the RV manufacturer specifies a different operating method.
- Closing the drain valve during an unattended rinse. This can overfill the tank and send wastewater into the RV.
- Using a rinse hose for drinking water later. Mark it clearly and store it apart from potable-water gear.
- Treating flush water as harmless. Waste equipment and runoff can carry contamination.
- Adding household drain cleaner. It may harm seals or plumbing and create chemical hazards.
- Mixing bleach with tank treatments or other cleaners. Hazardous reactions can occur.
- Dumping on the ground or into a storm drain. Use an approved disposal point and follow local rules.
Do not expect flushing to remove every odor. A dry toilet seal, damaged vent, leaking fitting, or plumbing fault needs its own repair.
If sewage spills, stop the flow, keep people and pets away, and notify the site operator. Follow the site’s cleanup procedure rather than washing the spill toward a drain or nearby ground.
RV Tank Flush FAQs
Should you flush the black tank after every dump?
Follow the RV manufacturer’s maintenance guidance and the dump station’s rules. A brief rinse may be practical at a full-hookup site, while a busy public station may not allow time for one. Persistent odor, poor drainage, or heavy residue calls for diagnosis, not just more frequent rinsing.
Can you use the black tank flush to sanitize the freshwater tank?
No. The black tank flush serves a waste system. Freshwater sanitation requires a separate procedure, the correct disinfectant concentration, and the contact time specified for that system.
Can you flush an RV tank in freezing weather?
Only when the water source, hoses, tank, and drain path can remain functional and protected from freezing. Do not add water to a frozen or blocked waste system. If you suspect frozen plumbing, stop and seek model-specific thawing guidance.
Does the flush line need to be winterized?
It may. The flush inlet, sprayer line, and backflow device can retain water. Follow the winterization instructions for the exact RV; winterizing the main water lines does not prove the flush circuit is protected.
Will tank treatment replace flushing?
No. A compatible treatment may help manage waste or odor under its labeled conditions, but it does not physically remove all residue. Water use, sound dumping habits, and working plumbing remain essential.
Sources, Research Scope, and Next-Question Map
This is a general U.S. maintenance guide, not a verified procedure for one RV model. Live browsing and hands-on testing were not available for this article, so current competitor pages, manual revisions, and model-specific limits were not inspected. No search ranking, product performance, or tested cleaning result is claimed.
Before acting, use the manual for your RV’s model and year. Useful primary-source starting points include:
- Forest River owner resources for applicable owner manuals and system instructions.
- Winnebago manuals and diagrams for model-specific documentation.
- The installed flush-system, toilet, and sensor manufacturers’ manuals.
- CDC handwashing guidance for hand hygiene after handling contaminated equipment.
These links are reference destinations, not a claim that each current document was reviewed. Exact pressure limits, valve instructions, winterization steps, and backflow requirements remain model-specific.
Compact next-question gap map
The questions below are inferred next needs from the task, not verified search-demand findings. Competitor coverage is not checked.
| Question | Reader stage and basis | Competitor coverage | Reader benefit | Evidence needed or used | Priority and placement |
|---|---|---|---|---|---|
| What if rinse water enters but nothing drains? | During use; inferred overflow risk | Not checked | Prevents continued filling | Exact plumbing layout and drain inspection | High; steps and troubleshooting |
| Can a full gauge reading be false? | After use; inferred diagnostic need | Not checked | Avoids needless flushing | Sensor type and its service instructions | High; troubleshooting |
| Does the flush line need separate winterization? | Storage; inferred freeze risk | Not checked | Helps prevent hidden line damage | Exact RV winterization procedure | High; FAQ |
| Will an outlet rinser reach the tank? | Before setup; inferred compatibility need | Not checked | Prevents choosing the wrong method | Outlet geometry and device instructions | Medium; alternatives |
This page serves as a central informational guide. No site map was supplied, so no parent or neighboring pages are assumed. No competing site or site-wide spam settings were inspected.
Conclusion
For a safe RV tank flush, identify the correct inlet, secure the sewer hose, drain the black tank, and follow the model’s rinse instructions. Keep the drain path open, use a dedicated hose, and stay with the system while water runs.
Before your next dump, find the tank-flush section in your RV manual. If the tank will not drain or water leaks inside the RV, stop flushing and fix the fault before adding more water.