Use bacteria-based treatments, lots of water, steady flushing, and regular rinsing.
I have managed black tanks in desert heat, freezing winter camps, and long full timing stretches in humid campgrounds. Every condition taught me something new about what actually works. After enough trial and error I built a simple RV black tank treatment routine that holds up no matter where I am parked.
Most RV owners overcomplicate this. Good RV black tank treatment comes down to the right product, enough water, and a consistent routine. Get those three things right and odors stay gone, sensors read correctly, and dump day is quick and clean. This guide covers exactly what I learned so you can get it right from your very next trip.
How the RV black tank works and why treatment matters
Your black tank is a holding tank for toilet waste. It is not a septic system. It stores waste until you dump it. That means odor and clogs form fast if you do not manage water and breakdown.
The two big goals of any RV black tank treatment are simple. Keep waste and paper soft so it drains. Control odor so the RV stays livable. The best results come from good habits plus the right product, not from chemicals alone.
A little movement helps too. Driving after a rinse lets water slosh and free stuck bits. Sensors read better when they are clean and wet, not dry and coated. Good treatment supports all of this.
What “treatment” really means for RV black tanks
RV black tank treatment is any method you use to reduce odor, break down solids, and help waste flow. This can be a product, a rinse routine, or both. The point is to make dumping clean and easy.
Think of treatment like dish soap for a greasy pan. You can scrub, but soap makes it faster. In the tank, water is the scrub, and treatment is the helper. The mix makes clogs and smells far less likely.
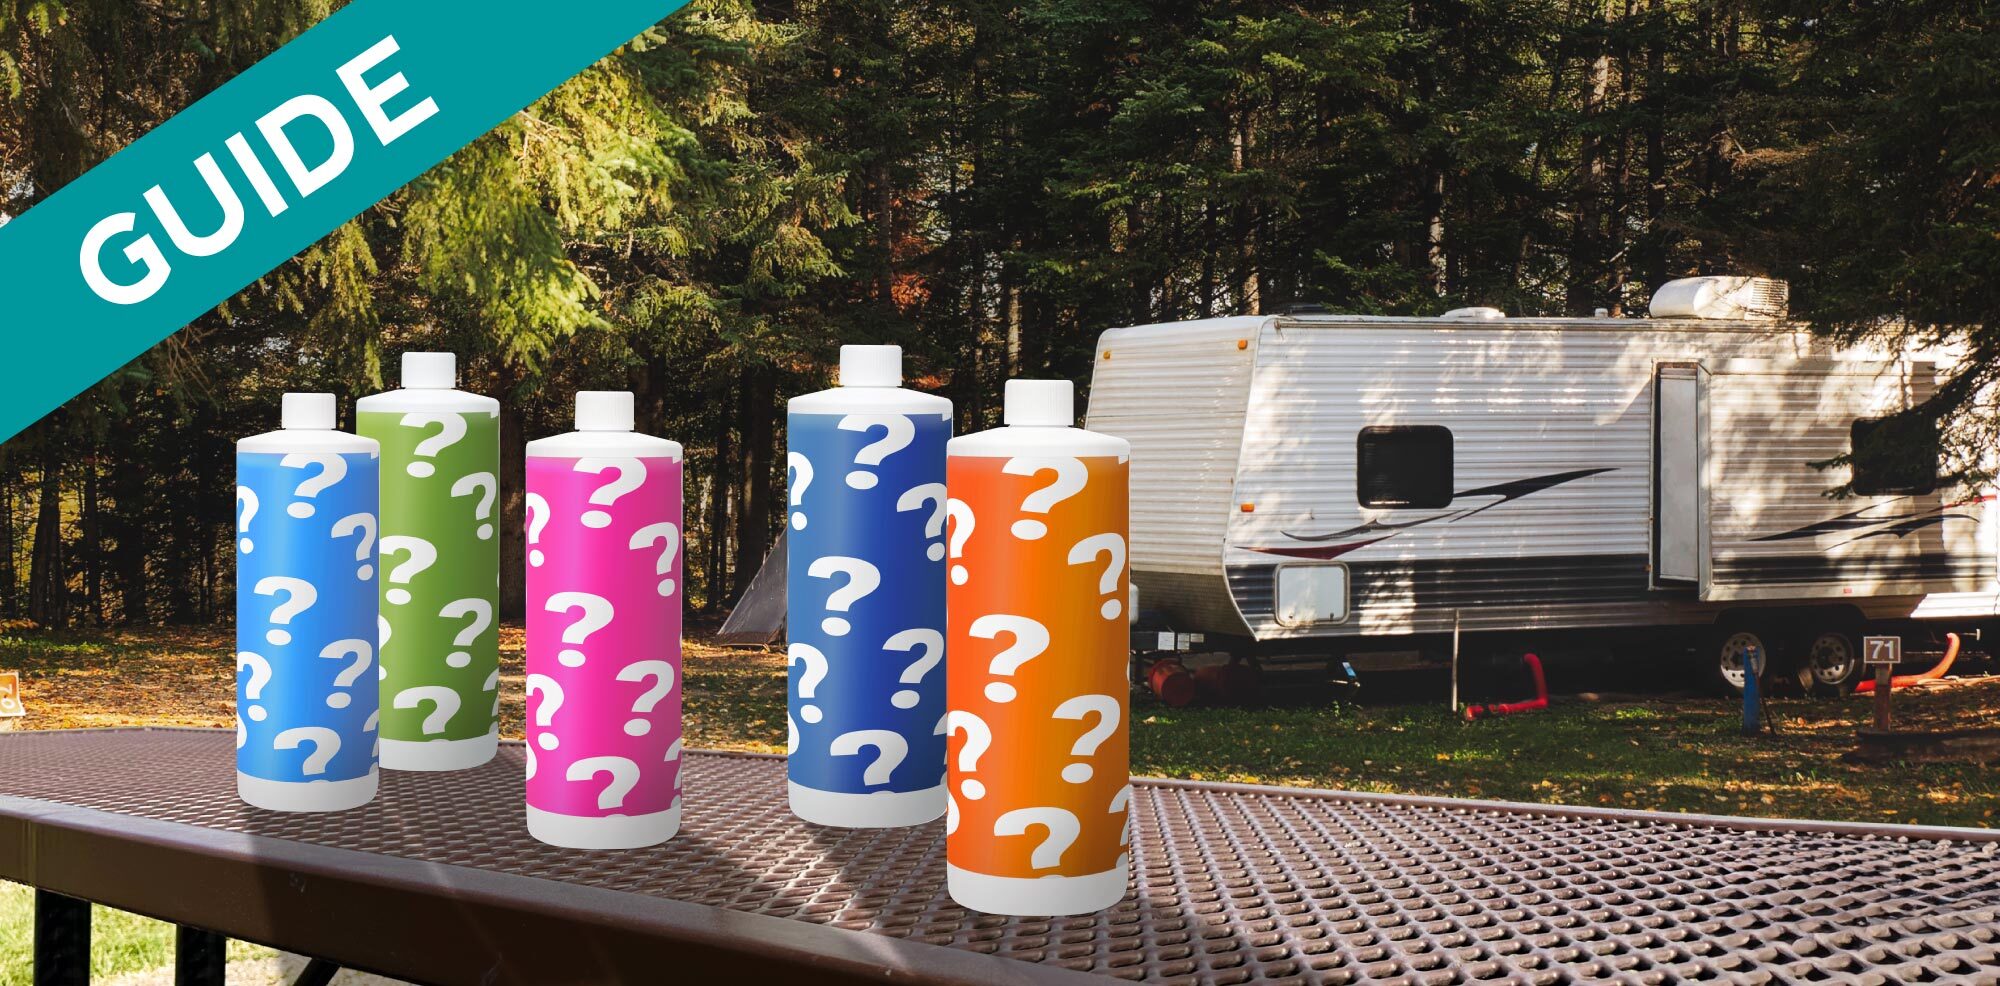
Types of RV black tank treatment: pros and cons
There are four main categories. Each has a place. Your setup and travel style will guide the best choice.
Biological (bacteria/enzyme) packets or liquids
Pros: Break down waste and paper, reduce odor at the source, septic friendly.
Cons: Slower in cold weather, can be weakened by harsh chemicals.Odor control without bio action (nitrates/oxidizers/essential oils)
Pros: Control smell even with light use, often formaldehyde-free.
Cons: May not speed breakdown much.Formaldehyde or glutaraldehyde deodorizers
Pros: Strong odor control.
Cons: Many campgrounds and states restrict or ban them; tough on septic systems.DIY methods (water softener, mild detergent, oxygen cleaners)
Pros: Cheap, can help sensors and scum.
Cons: Mixed evidence, can harm bio action if overused, easy to overdose.
A balanced plan often uses a biological RV black tank treatment plus a good rinse routine. Add light DIY steps only when needed.
What actually works: evidence and field results
After years on the road, a few rules stay true. They line up with what techs, manufacturers, and wastewater pros advise.
Water first, then treatment, then use
Start with 2–3 gallons of water in the empty tank. This prevents the “pyramid plug,” a hard cone of solids right under the toilet.Bacteria/enzyme products plus water beat perfume
Biological RV black tank treatment reduces odor by digesting waste. It works best when the tank stays wet and warm.Flush and rinse matter more than brand
Backflushing or using a rinse wand after most dumps clears paper mats. A clean tank is a sweet tank.Drive time helps
Even 30–60 minutes of travel with 5–10 gallons of water in the tank loosens film on walls and sensors.Sensors need a soak, not a miracle
Soft water, a mild surfactant, and time help restore sensor accuracy. Avoid harsh chemicals that can damage seals.
When I tested side by side, biological RV black tank treatment with a steady water routine beat strong deodorizers on both odor and drain speed. The tank emptied faster, and hoses stayed cleaner.
The simple weekly routine that prevents problems
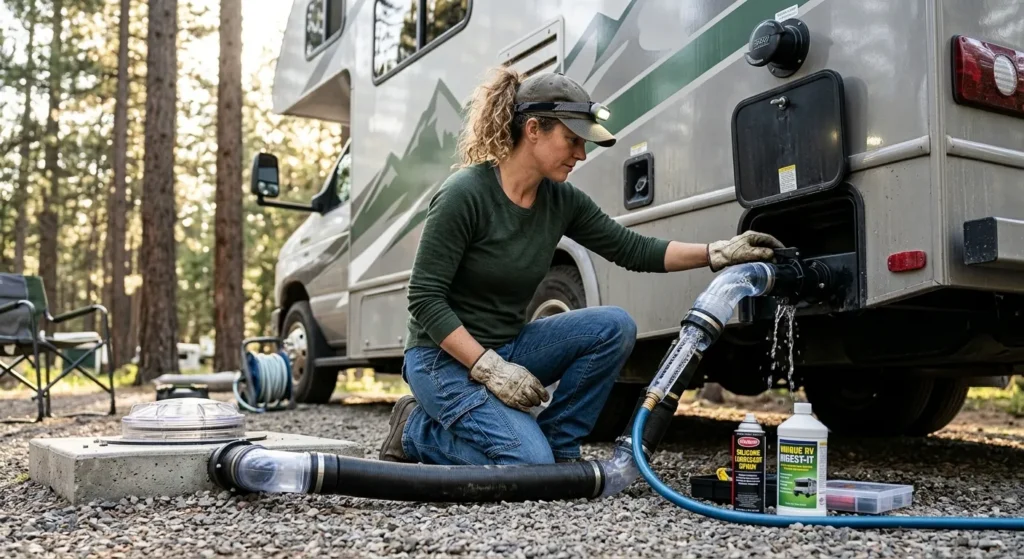
This is the RV black tank treatment routine I teach to new RVers. It is fast and it works.
- After dumping, close the valve and add 2–3 gallons of water.
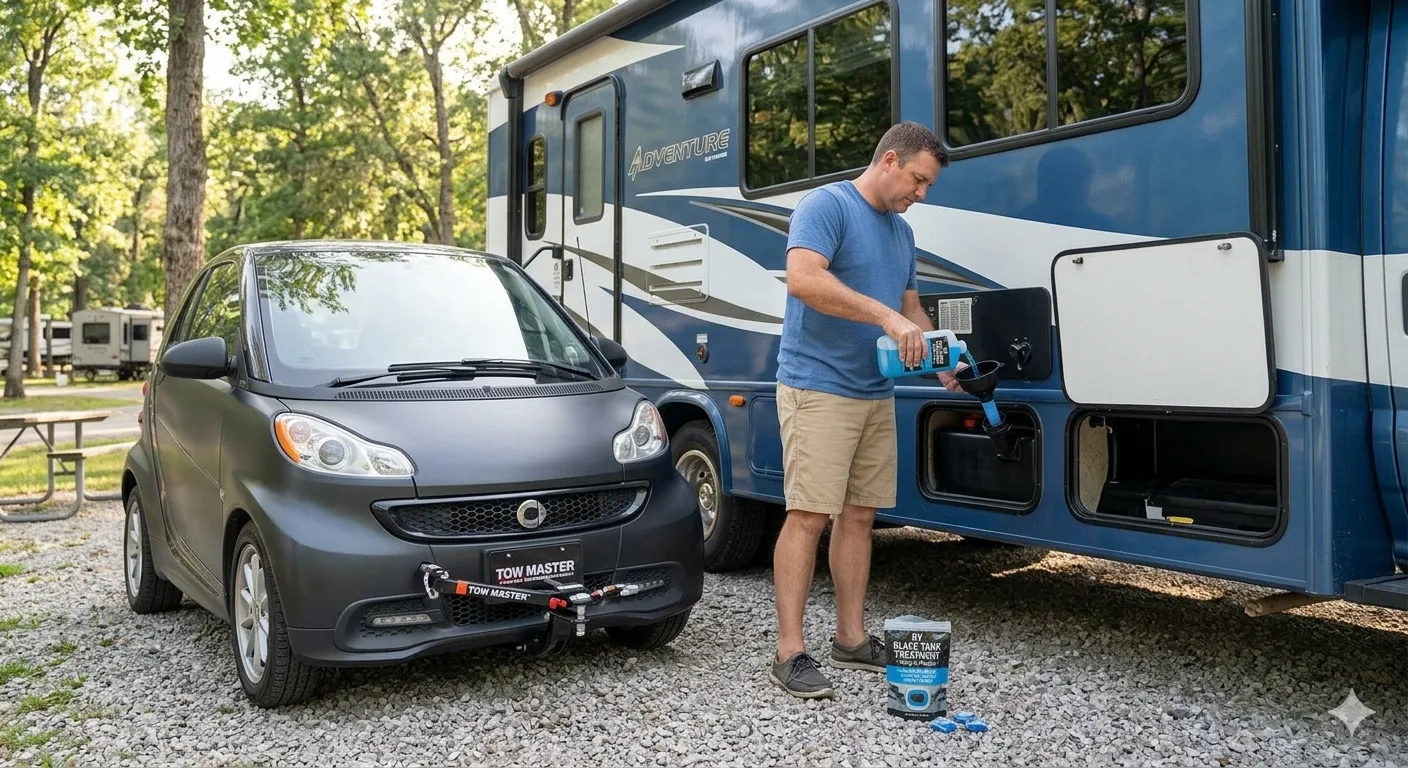
- Add your RV black tank treatment per label. Packets are easy.
- With each flush, hold the pedal long enough. Aim for 1–2 quarts of water per flush.
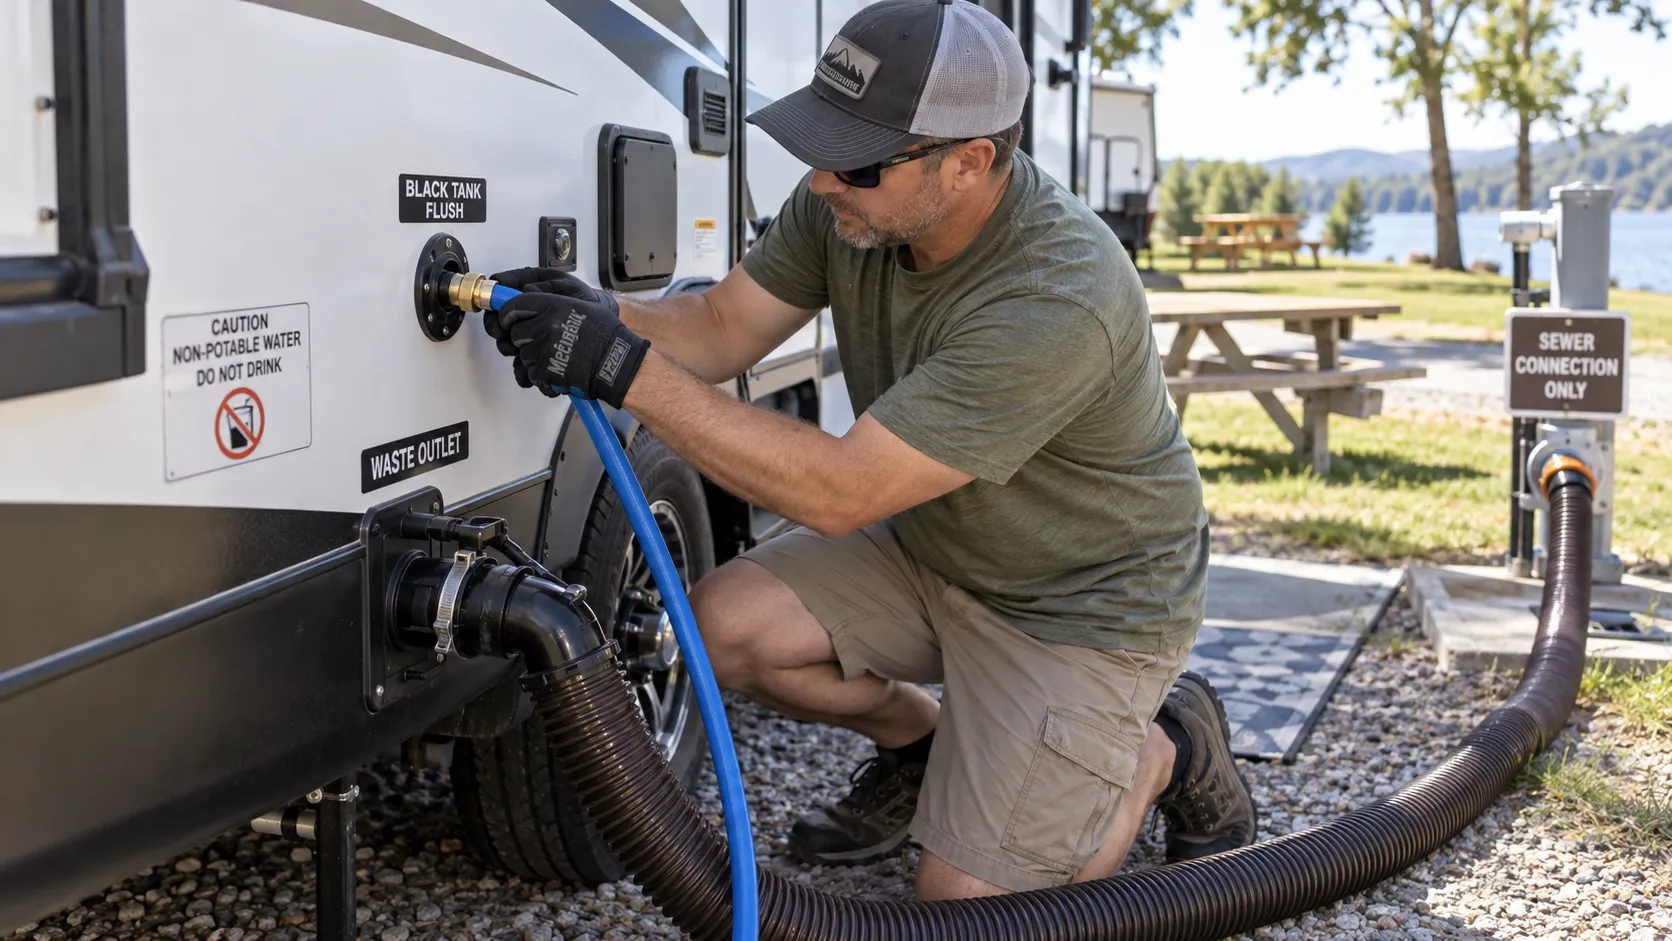
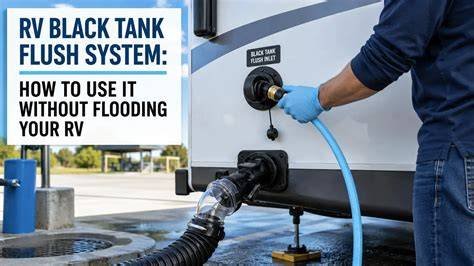
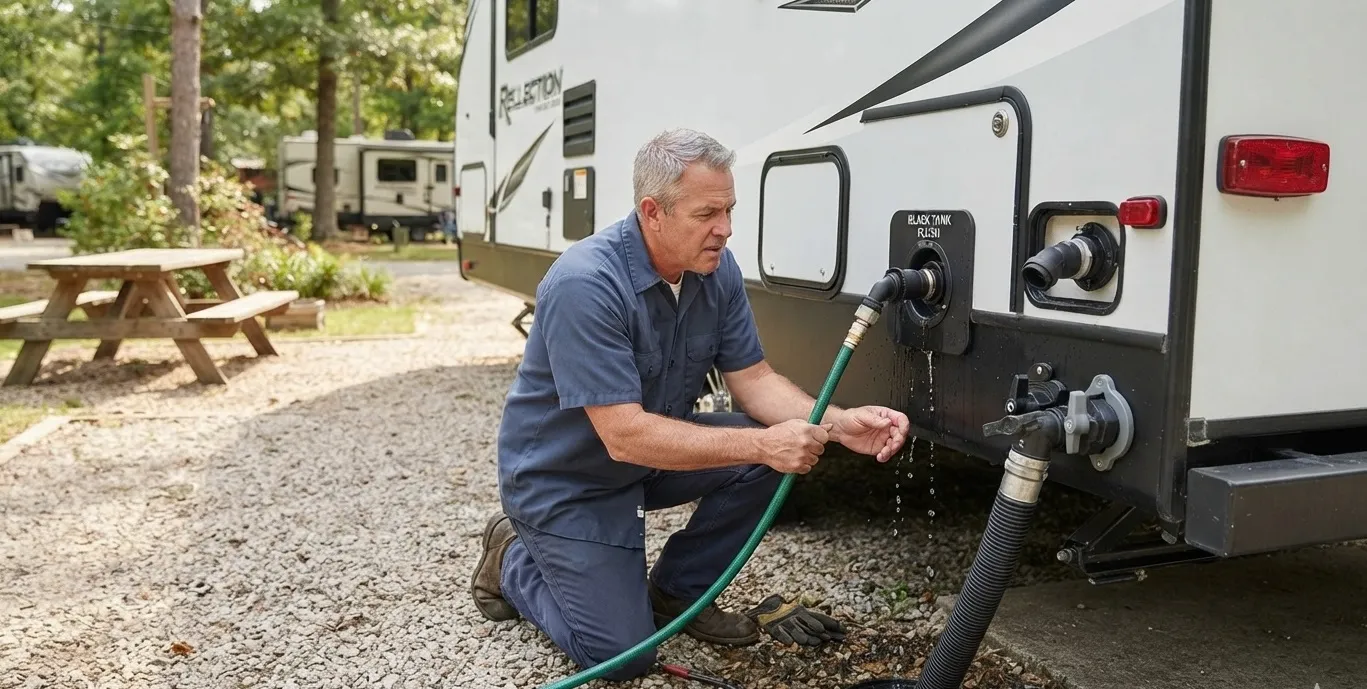
- Rinse the tank every dump. Use the built-in flush or a wand until the water runs clear.
- Once a month, do a “soak.” Add 5–8 gallons of water and drive 30 minutes before dumping.
- Check your vent and toilet seal. Good airflow and sealed bowls cut odor a lot.
This routine makes most clogs and smells vanish before they start. It also keeps sensors honest.
Troubleshooting common issues
Even with a solid RV black tank treatment plan, stuff happens. Here is how to fix the big three.
Bad odor inside the RV
Check the roof vent for nests or kinks. Keep a little water in the bowl to seal smells. Use a fan sparingly while flushing to avoid drawing air from the tank.Slow drain or “pyramid plug”
Close the valve. Fill the tank with warm water up to two-thirds. Add treatment. Let it soak overnight. Drive if you can, then dump and rinse hard.False full sensors
Add warm water, a dose of water softener, and a small splash of mild dish soap. Let it sit during a drive. Rinse well. Avoid heavy chemicals that etch probes.
A backflush clear elbow helps you see progress. Clear water out means you are winning.
My tested product picks and DIY options
I rotate products based on season and trip length. Here is what has worked best for me.
Daily driver: Bacteria/enzyme packets
Simple to use, septic safe, good odor control. This is my base RV black tank treatment most of the year.Hot weather booster: Nitrate-based deodorizer
Use with bio packets during heat waves. It cuts odor without killing the good bugs.Deep clean: Dedicated tank rinser
A built-in rinser saves time. A wand works if you are on a budget.DIY helpers
A small dose of liquid water softener can keep minerals from sticking. A tablespoon of mild dish soap helps lube seals. Go light. Skipping is better than overdoing.
I avoid formaldehyde products. Many parks ban them, and they can harm septic systems that we all share.
Myths, mistakes, and safety notes
A few popular tips waste money or cause damage. Skip them.
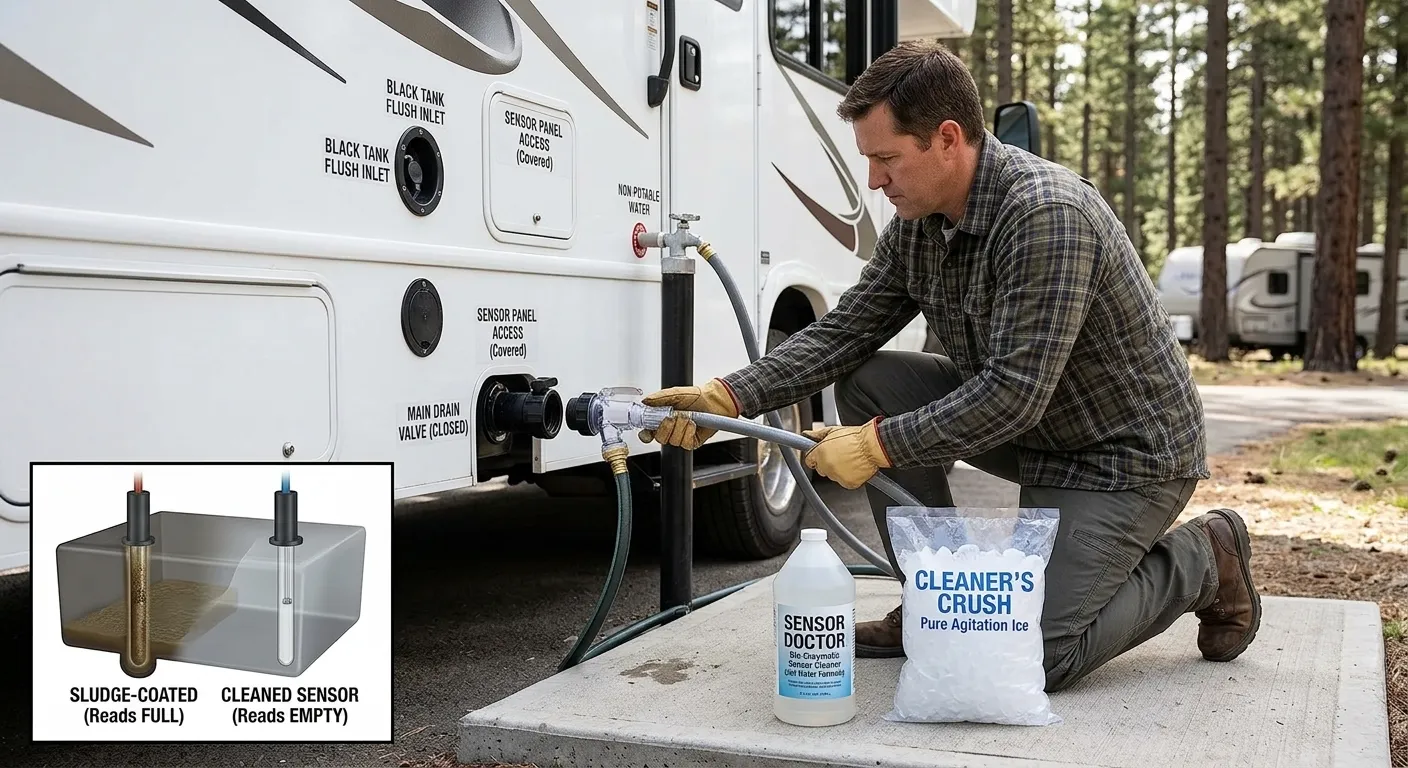
Ice cube “scrub”
Ice melts too fast to scour a tank wall. Water and motion do the job better.Leaving the black valve open at full hookup
This causes the pyramid plug. Keep it closed until you dump a full tank.Overloading chemicals
More is not better. Too much can stop bio action and attack seals.Mixing cleaners
Do not mix bleach with ammonia or other chemicals. It can make toxic gas. Be careful, and rinse between products.Using dry tank or little water
Dry waste sticks and smells. Water is your cheapest and best RV black tank treatment.
Environmental rules and campground etiquette
Good treatment is also good manners. It protects the places we love.
- Many states and parks restrict formaldehyde and similar deodorizers.
- Use septic-safe RV black tank treatment and avoid bleach dumps.
- Rinse spills right away and clean the station after you finish.
- Do not flush wipes, even if they say “flushable.” They clog systems fast.
These habits keep campgrounds open and dump fees fair for all of us.
Frequently Asked Questions of RV Black Tank Treatment: What Actually Works?
How much water should I start with after dumping?
Add 2–3 gallons of water before the first use. This keeps waste from forming a hard cone and helps treatment spread.
Do I need special RV toilet paper?
You do not. Any septic-safe, fast-dissolving paper works. Test by shaking a sheet in a jar of water until it breaks down.
How often should I use RV black tank treatment?
Use it after every dump. In hot weather or long stays, refresh midweek with a half dose and extra water.
Can I put bleach in the black tank?
Avoid it. Bleach can harm seals and kill the good bacteria in campground systems. Use a rinse and a bio-friendly cleaner instead.
Why do my sensors always read full?
They are coated with residue. Do a warm water soak with a little softener and mild soap, then drive and rinse. Repeat until readings improve.
Is the GEO method safe?
In small doses, many RVers use it. Results vary, and too much detergent can stop bio action. Start light and watch your results.
Should I leave the black valve open at a full hookup site?
No. Keep it closed until the tank is at least half full. Then dump and rinse for a clean, strong flow.
Conclusion
The secret to a sweet-smelling RV is simple: water, movement, and a steady routine. Pair a proven bacteria-based RV black tank treatment with real rinses and enough flush water. Most odors and clogs will disappear, and sensors will behave.
Start with the routine above on your next trip. Track what you use and how it works. Then fine-tune for your rig and climate. Want more practical RV care tips? Subscribe and drop your questions or wins in the comments—I read every one.