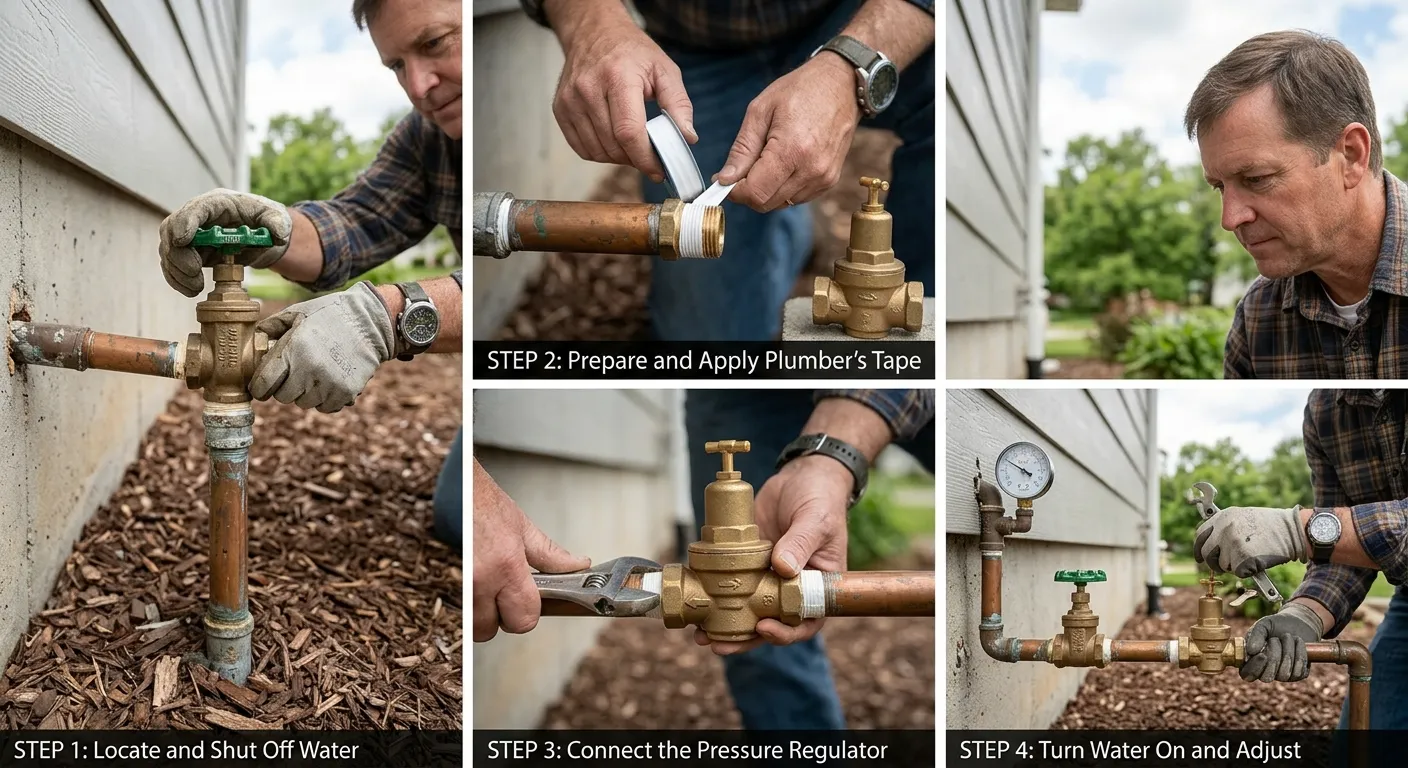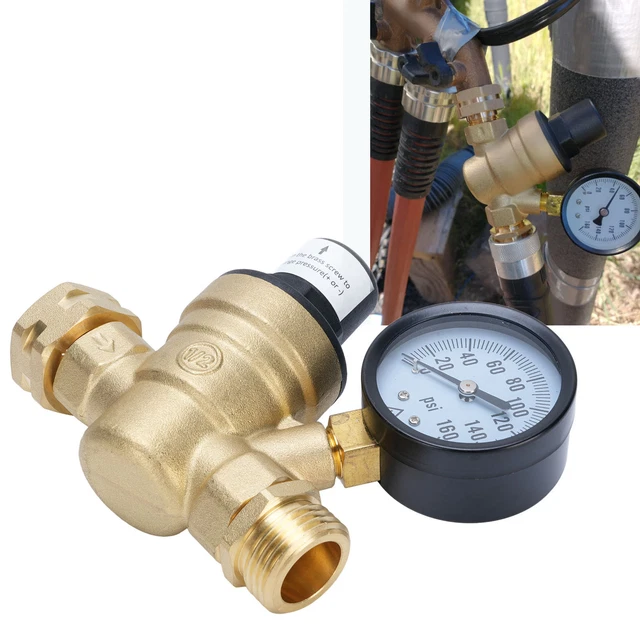
Before connecting my RV to campground water, I check the recommended pressure limits—not just how strong the water flows. An RV Water Pressure Valve, commonly called a water pressure regulator, reduces incoming city-water pressure to help protect plumbing, fittings, and hoses.
I install the regulator at the campsite faucet, before the drinking-water hose, unless the equipment instructions specify otherwise. While 40–50 psi is a practical working range for many RVs, I follow the owner’s manual and never exceed the lowest pressure rating among connected components. One important limitation: a regulator can reduce excessive pressure, but it cannot boost a weak campground supply.
What Is an RV Water Pressure Valve?
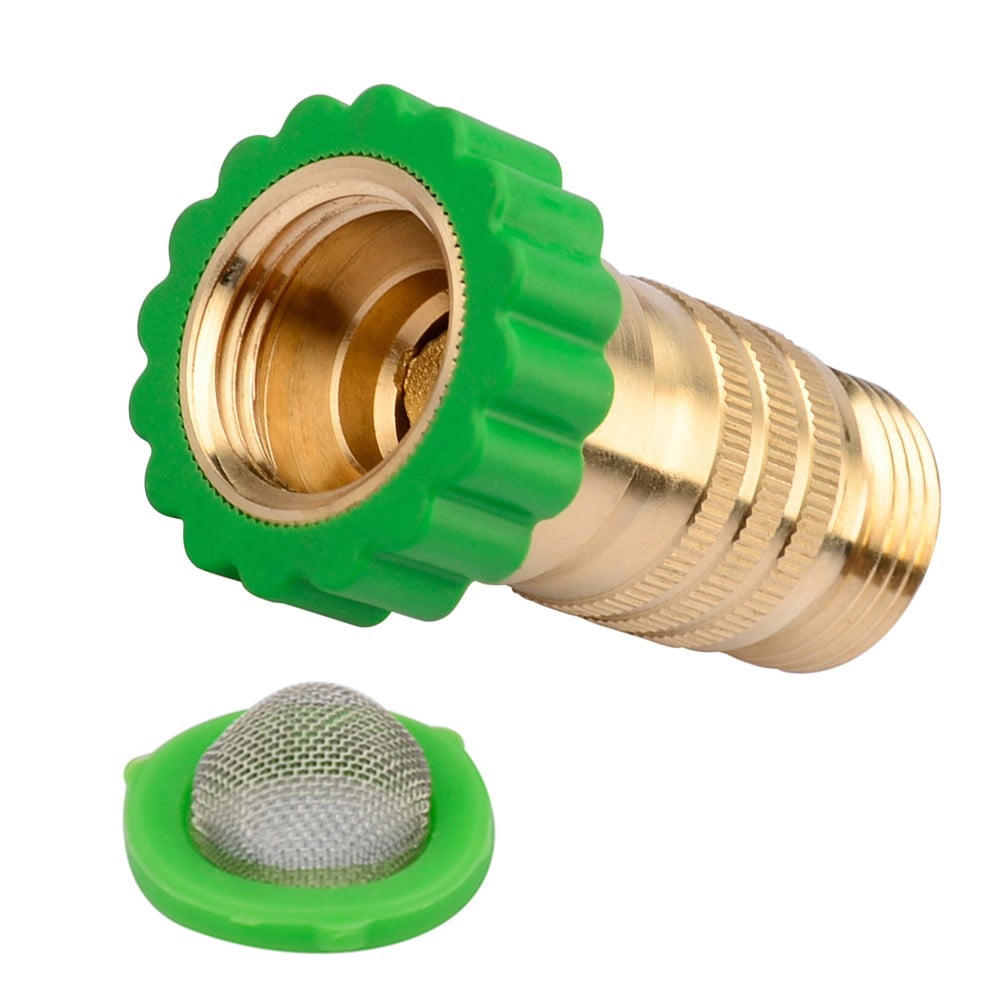
An RV water pressure regulator is a valve that controls the pressure of water entering the rig from an outside supply. It helps protect hoses, fittings, faucets, and appliances from pressure above their rated limits.
Most mechanical regulators use a spring and diaphragm to adjust the valve opening. As downstream pressure rises, the valve restricts incoming water. Think of it as a gate that controls pressure, not a pump that adds force.
Several other RV valves have different jobs:
| Part | Main job | Does it regulate campground pressure? |
|---|---|---|
| Water pressure regulator | Reduces incoming supply pressure | Yes |
| City-water check valve | Helps stop reverse flow through the inlet | No |
| Water heater relief valve | Relieves excess temperature or pressure at the heater | No |
| Shutoff valve | Starts or stops water flow | No |
| Onboard pump pressure switch | Controls when the fresh-water pump runs | No |
Do not use a water heater’s relief valve as a way to control normal water pressure. It is a safety device, not a substitute for a regulator.

What Water Pressure Should an RV Have?
Use the pressure stated in your RV’s manual, then check the limits of the hose, filter, regulator, and other connected parts. The lowest applicable working-pressure limit governs the setup.
If the manual gives a maximum pressure, treat that value as a ceiling, not a target. A lower setting may provide enough flow while leaving room below the limit. If the manual gives no clear guidance, ask the RV manufacturer before choosing a higher setting.
Is 40–50 psi always safe?
No pressure range is safe for every RV in every condition. Older fittings, damaged hoses, aftermarket filters, or poorly made repairs may leak below an original factory rating.
For an RV whose documentation permits it, 40–50 psi is a reasonable range to evaluate. Start at the lower end and check performance. Do not raise pressure beyond a component’s limit to improve a weak shower.
Also, do not treat a hose’s advertised burst pressure as its allowed working pressure. Those ratings mean different things.
Static pressure and flowing pressure
Static pressure is the reading when all fixtures are closed. Flowing pressure, also called dynamic pressure, is the reading while water is running.
Both readings matter. A system might show 45 psi with the taps closed but fall sharply when the shower runs. That can point to a restricted filter, a narrow hose, an undersized regulator, or weak supply capacity.
A gauge measures pressure at its own location. A gauge near the campsite faucet does not show the exact pressure at the shower after water passes through hoses, filters, and fittings.
How to Choose an RV Water Pressure Regulator
Choose a regulator based on pressure control, flow capacity, drinking-water suitability, and clear operating instructions. A high pressure rating alone does not show how well it will work in your RV.

Fixed versus adjustable regulators
The main trade-off is simplicity versus control.
| Feature | Fixed-pressure regulator | Adjustable regulator |
|---|---|---|
| Pressure setting | Factory-set | User-set within a stated range |
| Setup | Simple; check the stated outlet pressure | Requires correct adjustment |
| Gauge | May be absent or included | Often included, but verify |
| Useful when | The preset matches the RV’s needs | You need to inspect and adjust outlet pressure |
| Main limit | Cannot change the setting | Can be set incorrectly |
Neither type is automatically better. A well-sized fixed regulator may serve a small camper well. An adjustable unit can be useful when you need to monitor changing supply conditions.
Check flow capacity, not just psi
Pressure and flow are related, but they are not the same. Pressure is the force available to move water. Flow is the amount delivered, often measured in gallons per minute (gpm).
A regulator can show an acceptable static pressure yet restrict flow when two fixtures run at once. Where available, compare the manufacturer’s flow data at the pressure conditions relevant to your setup. The phrase “high flow” alone is not a test result.
Verify drinking-water suitability
Choose parts intended for potable water, including the hose and any adapters. Check the exact model’s certifications rather than relying only on “lead-free” wording.
For U.S. drinking-water products:
- NSF/ANSI/CAN 61 addresses health effects from materials in contact with drinking water.
- NSF/ANSI/CAN 372 addresses lead-content requirements.
These standards address different issues. Neither, by itself, proves strong flow, freeze resistance, or dependable pressure regulation.
Also confirm the thread type. Many U.S. campground connections use garden-hose threads, but pipe-thread fittings are different and should not be forced together.
How to Install and Set an RV Water Pressure Valve
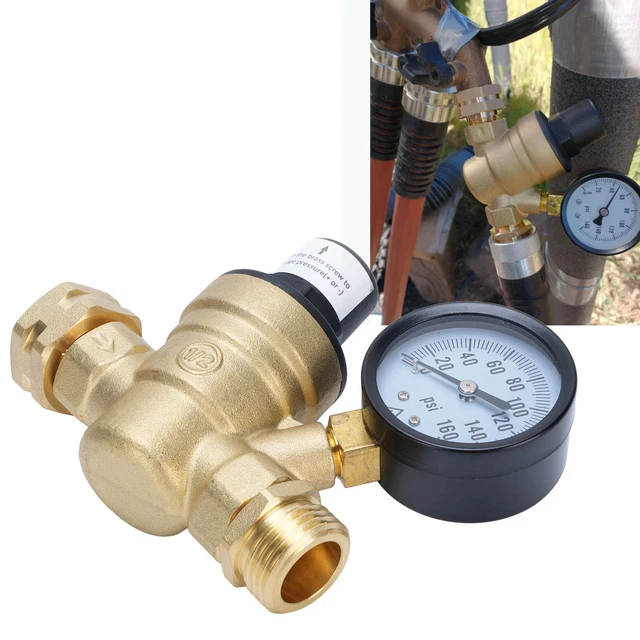
Place a portable regulator at the campground faucet when the equipment instructions allow it. This protects more of the water path than placing it only at the RV inlet.
A common arrangement is:
Campground faucet → regulator → potable-water hose → filter → RV city-water inlet
Filter location varies. Follow the filter’s mounting instructions and pressure limit. Do not expose a low-pressure filter to unregulated supply water unless the manufacturer allows it.
Before you start
Have these items ready:
- A potable-water hose in good condition
- A regulator suitable for the RV’s pressure range
- A working downstream pressure gauge
- Sound hose washers
- The RV, regulator, and filter instructions
Check whether your RV has a built-in regulator or a special water-management panel. Do not assume that the city-water inlet contains a regulator just because it contains a check valve.
Installation and adjustment steps
- Turn off the onboard water pump. This makes it easier to assess city-water performance without pump assistance.
- Keep the campground faucet closed. Inspect the faucet and connection points. Keep potable-water parts away from sewer equipment.
- Flush the faucet briefly if campground rules allow. Keep the hose end off the ground.
- Attach the regulator in the marked flow direction. Use the correct washer. Garden-hose swivel connections normally seal at the washer, not with thread tape.
- Connect the hose, filter, and RV inlet. Support heavy fittings so they do not strain the faucet or inlet.
- Open the supply slowly. Fill the system, then open a cold-water tap until trapped air clears.
- Set an adjustable regulator as its manual directs. Some models require water flow during adjustment. Check which direction raises pressure; do not assume.
- Check flowing and static pressure. Run a faucet, note the reading, then close all fixtures and watch the gauge.
- Inspect for leaks. Check the outside connections and accessible plumbing inside the RV.
- Recheck after the system settles. Pressure should remain within the allowed range.
If the RV has a water heater, follow its filling procedure before turning on its heat source. Do not energize an empty water heater.
Signs the setup is working
The system should deliver usable flow without leaks, large pressure swings, or a continuing rise above the set pressure. A small change when a faucet opens or closes is not the same as a sustained loss of control.
If pressure keeps rising with all fixtures closed, shut off the supply and investigate. Do not leave a questionable regulator connected and unattended.

Troubleshooting Low Pressure, Leaks, and Rising Gauge Readings
Check restrictions before raising the regulator setting. More pressure will not fix a clogged screen, and it can expose other parts to excess stress.
| Symptom | Possible causes | Useful first check |
|---|---|---|
| All fixtures have weak flow | Partly closed faucet, kinked hose, dirty filter, restricted regulator, weak supply | Check faucet position, hose routing, and filter condition |
| Only one fixture is weak | Clogged aerator, showerhead, or local valve fault | Inspect that fixture first |
| Static pressure is normal, but pressure drops during use | Flow restriction or limited campground supply | Test one fixture at a time and inspect shared restrictions |
| Pressure rises with all fixtures closed | Regulator seat leakage, trapped-water heating, or faulty gauge | Compare with a known-good gauge and investigate the cause |
| A hose connection leaks | Damaged washer, loose swivel, cracked fitting, or excess pressure | Shut off water, relieve pressure, and inspect |
| Water pulses | Pump cycling, regulator behavior, or unstable supply | Turn the onboard pump off and retest |
Check low flow in a safe order
Start with the checks that require the least disassembly:
- Confirm that the campsite faucet is fully open.
- Look for hose kinks and crushed sections.
- Check the filter’s service status.
- Inspect accessible inlet screens after shutting off and depressurizing the system.
- Clean the affected faucet aerator or showerhead.
- Compare performance with a known-good regulator, if available.
If the filter’s instructions allow a temporary bypass, it can help isolate a restriction. Do not bypass the regulator into the RV just to test flow from an unknown-pressure supply.
A comparison with the onboard pump can also help. If tank-and-pump service works well but city water does not, focus on the external hose, regulator, filter, inlet screen, and city-water check valve. The comparison narrows the search; it does not prove which part has failed.
Understand pressure creep
Pressure creep is a gradual rise downstream after water use stops. Debris or wear at the regulator’s valve seat can let water leak through and raise pressure.
Heating water in a closed system can also raise downstream pressure, and a faulty gauge can give a false reading. A regulator may not relieve pressure created downstream unless its design includes that function.
Never plug, cap, or defeat a water heater relief valve. If pressure rise continues or the relief valve repeatedly discharges, have an RV technician assess the system.

Maintenance, Freeze Protection, and Replacement
Inspect the regulator whenever you connect to a new water supply. Look for cracks, damaged threads, leaks, and a gauge that no longer returns to zero when fully depressurized.
Before removing any part, shut off the supply and open a faucet to relieve pressure. Clean screens and service the regulator only as its instructions allow. Some units are serviceable; others require replacement.
Freezing can damage a regulator or gauge even when the housing looks intact. Drain and store the unit as directed before freezing weather. A heated hose does not automatically protect an exposed regulator.
Replace or professionally service a regulator that cannot hold its setting, shows freeze damage, leaks from its body, or has a failed gauge needed for safe adjustment. There is no single replacement interval that fits all models and use conditions.
When leaving the campsite, shut off the outside water supply. A regulator reduces one source of risk, but it cannot stop every leak or burst caused by wear, damage, or failed fittings.

Frequently Asked Questions
Do I need a regulator if my RV has PEX tubing?
PEX tubing alone does not establish the pressure limit of the whole RV. Fittings, faucets, filters, valves, and appliances also matter. Follow the RV manufacturer’s guidance for the complete system.
Can a pressure regulator improve low campground pressure?
No. A standard pressure-reducing regulator cannot boost pressure. If the supply is weak, ask campground staff about it or use the fresh-water tank and onboard pump as the RV manual permits.
Does the regulator protect the onboard water pump system?
A regulator at the campsite faucet controls incoming city water. It generally does not control pressure produced by the onboard pump. Pump pressure depends on the pump and the RV’s plumbing design.
Is a pressure regulator also a backflow preventer?
Not necessarily. Pressure regulation and backflow prevention serve different purposes. Do not remove or replace a required backflow device on the assumption that a regulator does the same job.
Can I connect two regulators in series?
It may work, but it can add restriction and complicate troubleshooting. A built-in regulator may already control pressure inside the RV while leaving the supply hose exposed. Check both devices’ instructions before adding a second unit.
Sources, Research Limits, and Follow-Up Coverage
The controlling source for a pressure setting is the manual for the exact RV and connected equipment. Useful primary references include the Winnebago operator-manual library, Airstream owner manuals, and the EPA’s guidance on lead-free drinking-water plumbing products.
Live browsing and hands-on testing were not available for this article. Current competitor pages, model revisions, and individual product certifications were not inspected. No product ranking, current price, or verified search-demand claim is made.
The following follow-up needs are inferred from the setup and troubleshooting task, not from inspected search results.
| Next question | Reader stage and basis | Competitor coverage | Reader benefit and evidence needed | Priority and placement |
|---|---|---|---|---|
| Why does pressure drop when the shower runs? | During use; inferred from pressure-versus-flow behavior | Not checked | Avoid unsafe adjustment; verify with gauge readings and component flow data | High; troubleshooting |
| Does a built-in regulator protect the hose? | Before setup; inferred from component location | Not checked | Identify which parts remain exposed; confirm in the RV plumbing diagram | High; installation |
| Why does pressure rise after faucets close? | After setup; inferred from regulator and heating behavior | Not checked | Separate regulator faults from downstream pressure rise; use model instructions and inspection | High; troubleshooting |
| When should the regulator be replaced? | Ongoing use; inferred from wear and freeze risk | Not checked | Recognize failure signs without inventing a service interval; follow manufacturer guidance | Medium; maintenance |

Conclusion
An RV water pressure valve should reduce campground pressure to a level your whole water system can handle. Choose a potable-water regulator, install it in the correct direction, and verify pressure both with water running and with all fixtures closed.
Start with your RV’s manual—not a universal psi claim. If flow is poor, check for restrictions before raising pressure. If pressure will not stay controlled, shut off the supply and correct the fault before leaving the system connected.