When I repair RV black tank valve problems, my first priority is keeping sewage contained—not rushing to remove parts. I start by draining and rinsing the tank at an approved U.S. RV dump station or sewer hookup. Then I check for trapped debris, worn seals, loose linkage, cable damage, or cracks in the valve housing. The fault determines whether cleaning, a component repair, or complete valve replacement makes sense.
My most important safety rule is simple: never loosen the valve bolts while the tank contains waste. I wear waterproof gloves and eye protection before inspecting the drain system. If the valve is stuck shut and the tank cannot drain, I stop and contact an RV service technician who can arrange safe waste removal before repairs begin.
How an RV Black Tank Valve Works
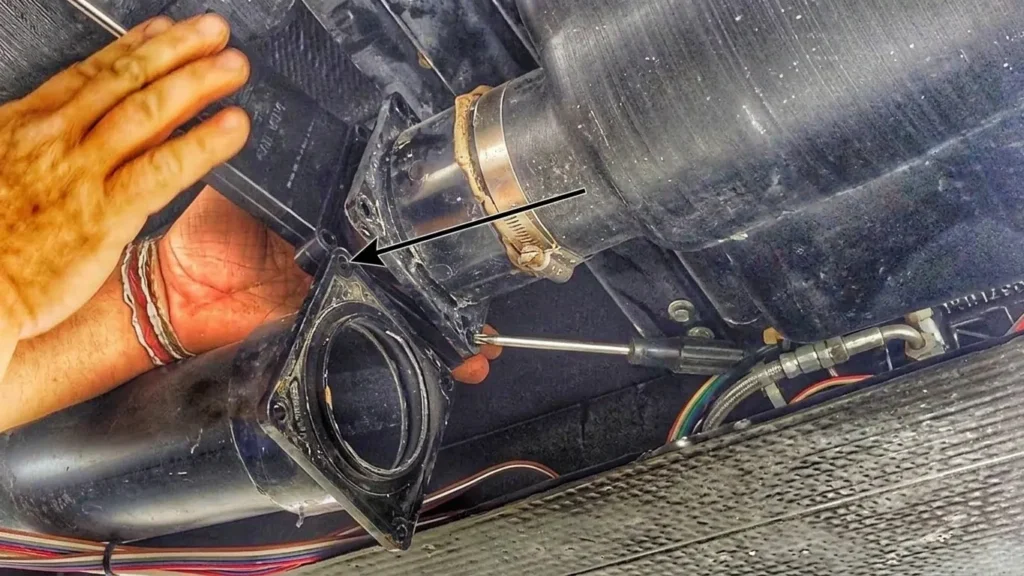
The black tank valve controls the flow of toilet waste from the holding tank to the sewer outlet. Most common designs use a flat sliding gate, often called a blade, that moves between seals. The seals stop waste from passing when the gate is shut.
The handle may connect straight to the gate through a rod. On other RVs, a remote cable links the handle to a valve hidden behind the underbelly. Some rigs use an electric actuator.
Many RV black tank drain valves have a nominal 3-inch opening, but size alone does not confirm fit. Check the valve model, flange style, space around the body, and how the handle connects.
Also, make sure you have found the right valve. A shared sewer outlet may serve both the black and gray tanks. Fluid behind the outlet cap does not, by itself, prove which valve leaks.
Read more on : How To Change Black Tank Valve: RV Replacement Guide
Diagnose the Fault Before Buying Parts
Start with the leak location and handle behavior. These clues help you tell a seal fault from a cable fault, a blocked drain, or a cracked housing.
Use this table to choose the first check.
| Symptom | Possible cause | First useful check |
|---|---|---|
| Waste slowly collects behind the outlet cap | Debris at a gate seal, worn seals, or a gate that does not close fully | Confirm full valve travel, then drain and rinse before further checks |
| Fluid leaks around the valve body | Damaged seals, uneven flange seating, or a cracked body | Clean and dry the outside to locate the leak |
| Fluid leaks at a pipe joint beside the valve | Failed fitting or pipe damage | Inspect the joint rather than replacing the gate valve by default |
| Handle is hard to move | Debris, seal drag, corrosion, cable binding, or freeze damage | Check visible linkage and cable routing without forcing the handle |
| Handle moves with little resistance, but flow does not change | Loose rod, disconnected cable, or broken internal connection | Inspect accessible connections |
| Valve opens, but the tank will not drain | Blocked outlet, compacted waste, frozen contents, or failed gate travel | Confirm actual gate movement if visible; seek service if the tank remains full |
Rule out trapped liquid before condemning the valve
A small amount of liquid may remain in a low spot between the valve and outlet cap after dumping. That is not the same as a steady leak past the gate.
With the tank safely drained and the hose still connected to an approved sewer inlet, let the downstream pipe finish draining. Later, a controlled clean-water test can help show whether fluid continues to pass a closed gate.
Know when to stop
Stop if the tank is full and the valve will not open, the valve body is cracked, or access requires moving a tank or structural support. The same applies if the drain pipe shifts when you touch the valve.
Do not force a stuck handle with a hammer, pry bar, or extension pipe. More force can turn a stiff gate into a broken gate—and leave a full tank with no sound shutoff.

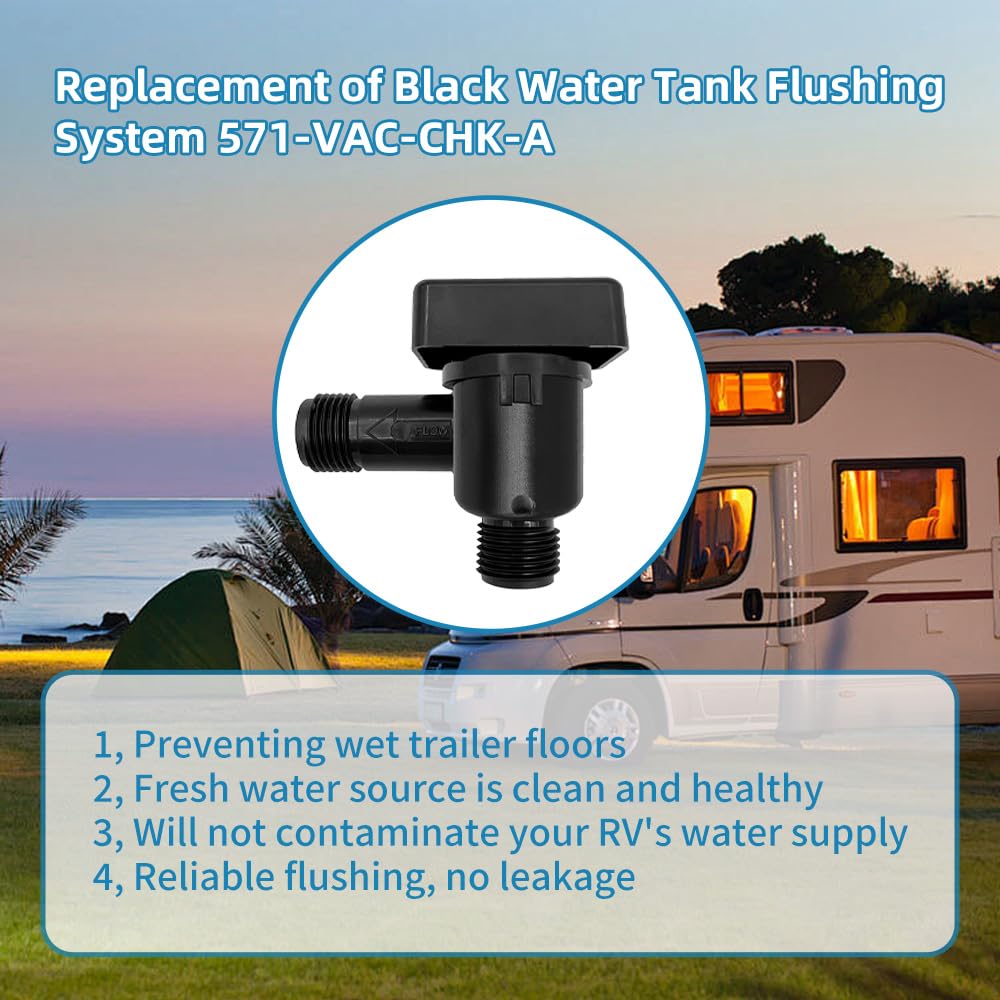
Read more about RV Black Tank Flush Valve: Camco RhinoBlaster
Prepare the RV and Contain the Waste
Begin only when you can drain the tank legally and contain the liquid left in the plumbing. An “empty” tank can still leave contaminated water in the valve and drain pipe.
Gather the right tools and parts
Have these items ready before you open the system:
- Waterproof gloves and splash eye protection.
- A connected RV sewer hose and a secure sewer connection.
- A shallow catch pan for residual liquid.
- Wrenches or sockets that fit the valve hardware.
- Disposable towels and a soft cleaning brush.
- The correct replacement seals, valve, cable, or linkage parts.
- Lubricant only if approved for the valve and its seals.
- Pipe supports, if needed to keep the flanges from shifting.
Do not choose seals by appearance alone. Match the part to the valve maker and model where possible.
Make the work area safe
Park on firm, level ground. Set the parking brake and chock the wheels. If you must work under the RV, use support rated for the vehicle and task; never rely on a jack alone.
For an electric valve, isolate power as directed by its manufacturer before service. Do not disconnect or work on energized wiring.
Work in open air. Keep your face away from an open waste line. Never enter a holding tank or place your head inside an enclosed tank space. If sewage odors are strong inside a service bay, stop and arrange professional help.
Drain and rinse the tank
Connect the sewer hose before opening either waste valve. Drain the black tank, then rinse it using the RV maker’s procedure. If you use a built-in flush system, follow its instructions and stay with the RV while water runs.
Do not leave a flush system running unattended. A closed or blocked drain can let the tank overfill.
Allow the line to finish draining, then set up the catch pan beneath the valve. Do not use the drinking-water hose for sewage cleanup or tank rinsing.
How to Repair or Replace the Black Tank Valve
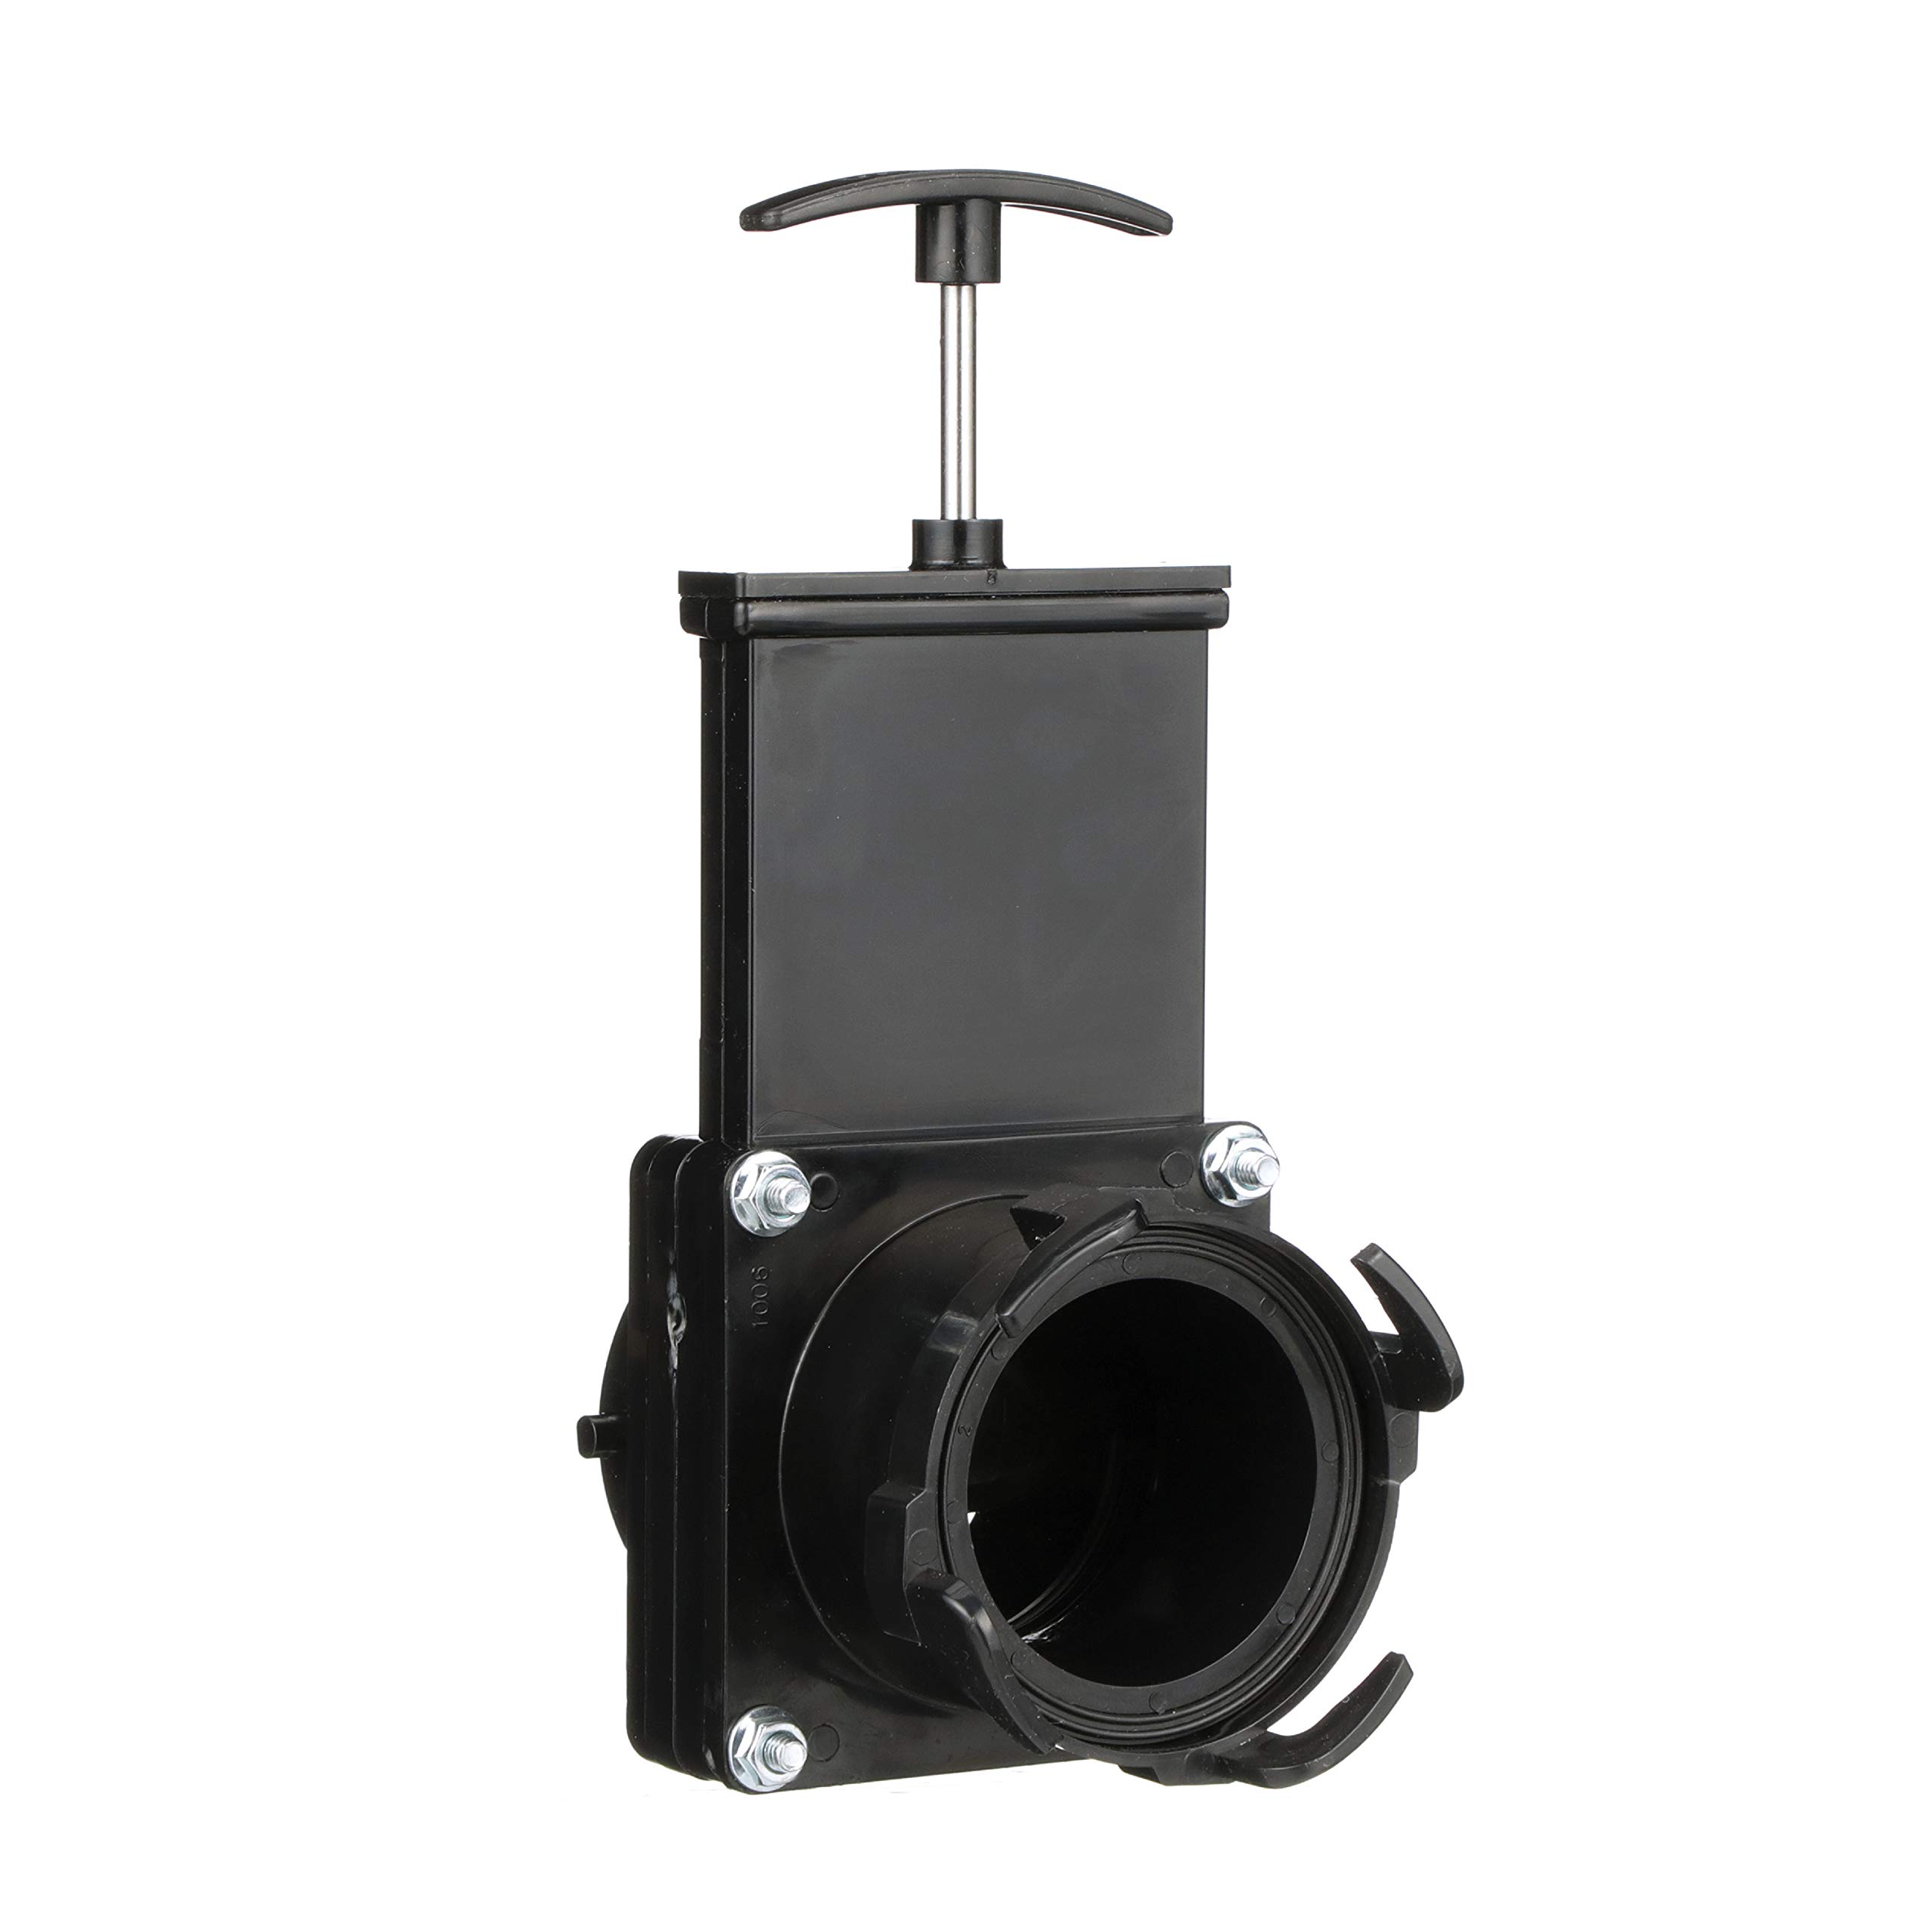
The steps below apply to a common, serviceable gate valve held between two drain flanges. Cable-operated, electric, and integrated assemblies may need a different method. The instructions for the exact valve take priority, especially for gate position, seal placement, and bolt torque.
1. Inspect the handle, rod, and cable
Check accessible connections before removing the valve. Look for a loose handle, detached cable end, cracked mount, or a cable housing that moves instead of staying fixed.
A remote cable can bind if it has a sharp bend or damaged housing. Correct its routing only within the maker’s limits. Do not assume that oil poured into a cable will fix it; some cable designs need a specific service method or replacement.
If the linkage is sound but the gate still sticks, move on to the valve body.
2. Support the drain pipe
Support the pipe on both sides of the valve if it may shift when the bolts come out. The valve should not carry the weight of a loose drain assembly.
Inspect the flanges before taking anything apart. A cracked, warped, or badly misaligned flange can cause leaks even with a new valve.
3. Remove the valve assembly
Place the catch pan directly under the joint. Keep gloves and eye protection on.
Loosen the bolts in stages. Watch for pipe movement and trapped liquid as the seal breaks. If more than a small residual amount continues to flow, stop; the tank or an upstream section may not be empty.
Remove the valve without prying hard against the plastic flanges. Take out the old seals and note how they fit. A photo can help, but use the model’s instructions—not memory alone—for reassembly.
4. Clean and inspect the parts
Rinse residue into the controlled waste collection area. Clean the gate path and sealing surfaces with a soft brush or cloth. Do not use sharp tools that could score the plastic or gate.
Inspect for:
- Cracks around the body or bolt holes.
- A bent, chipped, or deeply scored gate.
- Torn, flattened, swollen, or hardened seals.
- A loose or damaged gate-to-rod connection.
- Distorted flange faces.
Replace seals only when the body, gate, and mating flanges are sound. Replace the valve if its gate or housing is damaged. A new seal cannot correct a cracked body.
5. Fit the correct seals or replacement valve
Confirm that the new parts match the old assembly’s size and connection type. Check the handle position and clearance as well.
Place each seal in its designated seat. Keep the seals flat and free of grit. If the instructions call for lubricant, use the specified type and amount.
Do not add petroleum grease, thread tape, or sealant to a gate-valve flange unless the manufacturer calls for it. These joints typically depend on fitted seals, not material packed around the bolts.
6. Reassemble without pinching the seals
Bring the valve and flanges together with the seals still seated. Insert the bolts and tighten them by hand first.
Tighten the hardware evenly in a cross pattern. Use the specified torque when one is provided. Do not pull misaligned pipes into place by cranking down the bolts.
Overtightening can distort plastic parts and cause the leak you are trying to fix. If the flanges will not sit square, correct the support or alignment before going further.
7. Check full travel
Move the valve through its full open and closed stroke as the instructions allow. It should move without a hard bind or a loose, disconnected feel.
If the gate binds after assembly, stop. Recheck seal seating, flange alignment, bolt tension, and cable routing. Forcing the handle is not a valid test.
Test the Repair Before Using the Toilet
Test with clean water while the sewer hose remains connected to an approved drain. This checks both the outside joints and the closed gate without adding fresh waste.
- Close the repaired valve.
- Add a small amount of clean water through the toilet.
- Dry the outside of the valve and inspect the body, flanges, and nearby joints.
- Check for continued water flow past the closed gate. A clear sewer fitting can help, if used as intended.
- Open the valve and confirm that water drains.
- Close the valve again and repeat the check.
A small test is a first check, not proof under all tank levels. Increase the water level cautiously, within the RV maker’s limits, while watching the repair. More water places greater pressure on the closed valve.
Signs the repair worked
The valve opens and closes through its full stroke. The outside joints stay dry. No continuing flow passes the closed gate after the downstream line has drained.
If it still leaks
An external leak may point to a displaced seal, uneven assembly, a cracked flange, or a nearby pipe joint. A leak past the closed gate may point to debris, gate damage, or incomplete travel.
Drain the test water before taking the valve apart again. If a second careful assembly still leaks, have an RV technician check flange alignment and connected plumbing.
After cleanup, remove gloves and wash your hands with soap and water. Clean and disinfect contaminated tools and surfaces according to the cleaning product’s label; remove visible waste before disinfecting.
Choose Between Cleaning, Seal Repair, and Replacement
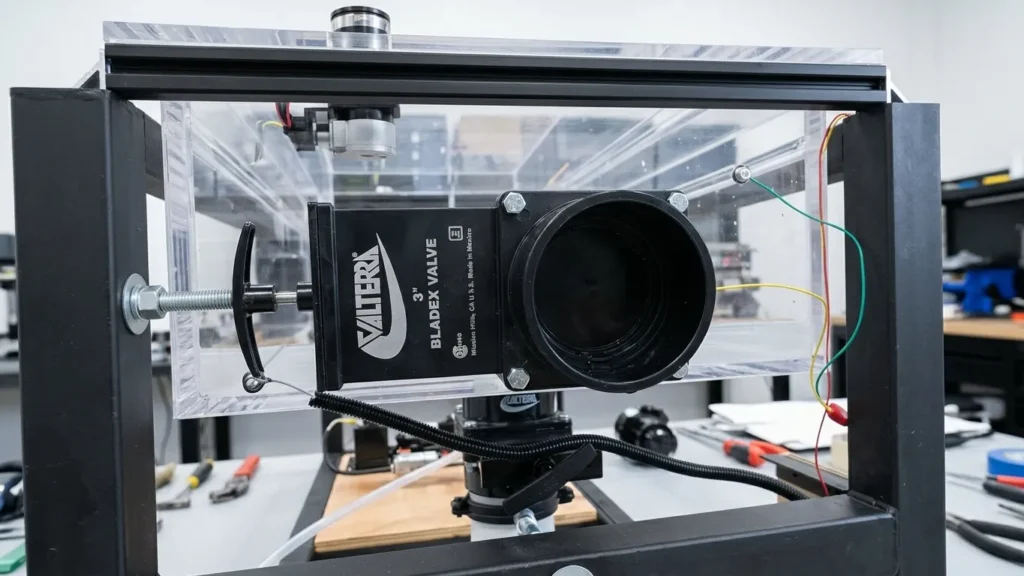
Choose the smallest repair that corrects the actual fault. Cleaning is useful for debris. New seals are useful for failed seals. Neither will fix broken hardware.
| Condition | Reasonable repair path | Key limit |
|---|---|---|
| Debris at an otherwise sound gate | Drain, rinse, and clean | Do not scrape or force the gate |
| Worn seals with an undamaged body and gate | Install a matched seal kit | Confirm exact fit and flange condition |
| Cracked housing or damaged gate | Replace the valve assembly | Check adjacent pipe and flanges too |
| Binding or broken remote cable | Repair routing or replace the cable as specified | A new valve alone may not fix the fault |
| Damaged or misaligned drain plumbing | Repair the plumbing and supports | Valve replacement alone is unlikely to last |
| Full tank behind a stuck-closed valve | Arrange professional waste removal and service | Do not loosen the valve body |
A twist-on outlet valve may serve as a temporary secondary shutoff on a compatible, intact outlet. It does not repair the original valve, a cracked pipe, or a failed flange. It can also trap sewage between two valves.
If you use one, plan how to drain that trapped section safely. Do not treat the outlet cap as a substitute for a working waste valve.
Prevent the Same Valve Problem From Returning
Keep the black tank valve closed during normal use at a full-hookup campsite, unless the RV manufacturer gives a different procedure. Leaving it open lets liquid drain away while solids may remain in the tank.
Use water with each flush and follow the RV maker’s tank-care guidance. Dump at a suitable tank level rather than relying only on a sensor reading, which may be inaccurate.
Keep these practices in place:
- Keep wipes, hygiene products, and other nonapproved items out of the toilet.
- Use only seal-compatible tank treatments and lubricants.
- Check exposed cables, mounts, and pipe supports during routine service.
- Winterize the waste system as specified for the RV.
- Avoid open flames or uncontrolled heat when dealing with frozen plumbing.
Tank treatment is not a repair for a cracked gate, damaged seal, or failed cable. If the handle grows harder to move, inspect it before it fails with a full tank behind it.
Frequently Asked Questions
Can I repair an RV black tank valve without removing the tank?
Often, yes. An accessible valve mounted between serviceable flanges can usually be removed without taking out the tank. Enclosed underbellies and integrated drain assemblies can make access much harder.
Can I use household drain cleaner to free a stuck valve?
Do not use it unless both the RV and valve manufacturers expressly approve the exact product. A drain cleaner does not fix a broken linkage or damaged gate, and it can create a chemical exposure risk during disassembly.
Can I drive with a leaking black tank valve?
Do not travel if wastewater can escape from the RV. Even when an outlet cap appears to contain an internal leak, sewage may collect behind it and spill when the cap comes off. Drain and repair the fault before travel where possible.
Does a black tank valve repair need silicone sealant?
Most serviceable gate-valve joints use fitted seals rather than a bead of silicone. Follow the instructions for the exact assembly. Extra sealant can interfere with seating and make future service harder.
How much does the repair cost?
Cost depends on the failed part and access. An exposed manual valve may need far less labor than a cable-operated valve behind an enclosed underbelly. Ask for an estimate that separates diagnosis, parts, access work, waste handling, and plumbing repairs.
Evidence Limits and Next-Question Gap Map
This guide provides a general repair method, not model-specific service instructions. Live browsing and competitor-page inspection were not available for this article. No current search positions, prices, torque values, or model compatibility claims have been verified.
For the final repair procedure, use the RV’s plumbing documentation and the exact valve manufacturer’s instructions. Manufacturer resources include Valterra and LaSalle Bristol. General safety resources include CDC hygiene guidance and OSHA confined-space guidance; these do not replace valve service instructions.
The following questions are inferred from the repair task, not presented as verified search demand. Competitor coverage is not checked.
| Next question | Reader stage and basis | Reader benefit | Evidence needed for the final decision | Priority and placement |
|---|---|---|---|---|
| What if the tank is full and the valve is stuck shut? | Before repair; inferred from the failure risk | Prevents uncontrolled sewage release | RV layout and a qualified service assessment | High; diagnosis and repair decision table |
| Is fluid behind the cap proof of a failed black valve? | Diagnosis; inferred from shared outlet designs | Avoids replacing the wrong part | Controlled drain and clean-water test | High; troubleshooting |
| Why does a new valve still leak? | After repair; inferred from seal and flange interfaces | Directs checks toward seating and alignment | Exact assembly instructions and inspection | High; testing section |
Conclusion
To repair an RV black tank valve, drain and rinse the system first, then isolate the fault. Clean debris from a sound valve, replace worn seals only when the gate and body are intact, and replace damaged hardware.
Your next step is to identify the valve model and confirm safe drainage and access. If the tank cannot drain or the surrounding plumbing is damaged, stop before loosening the bolts and arrange RV service.