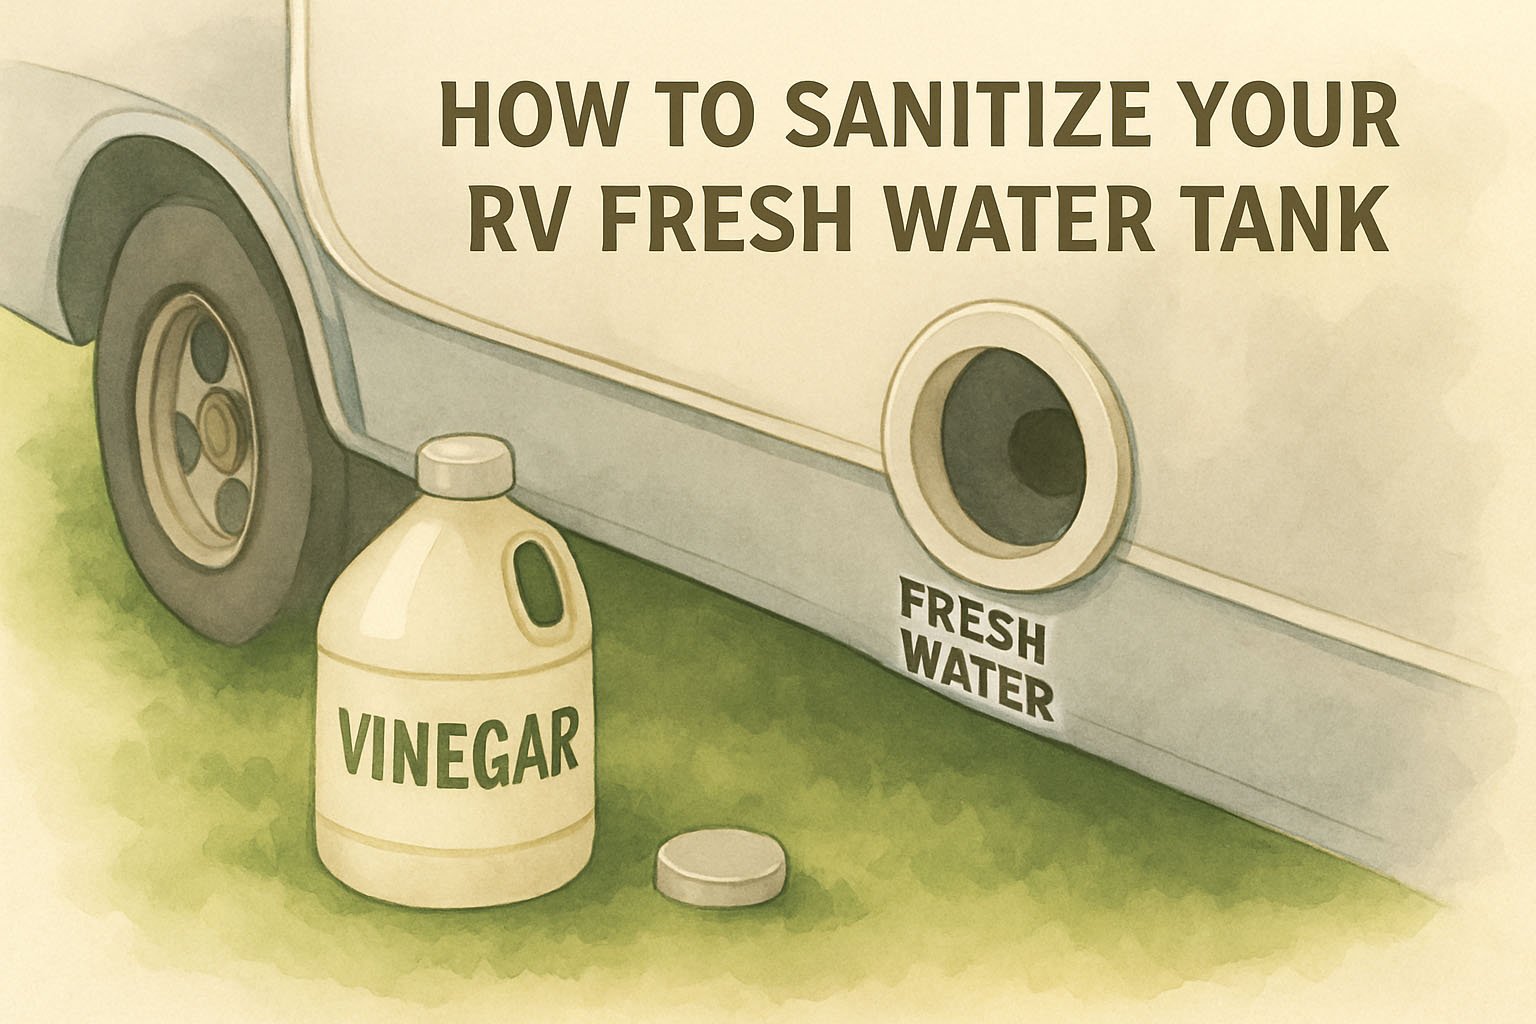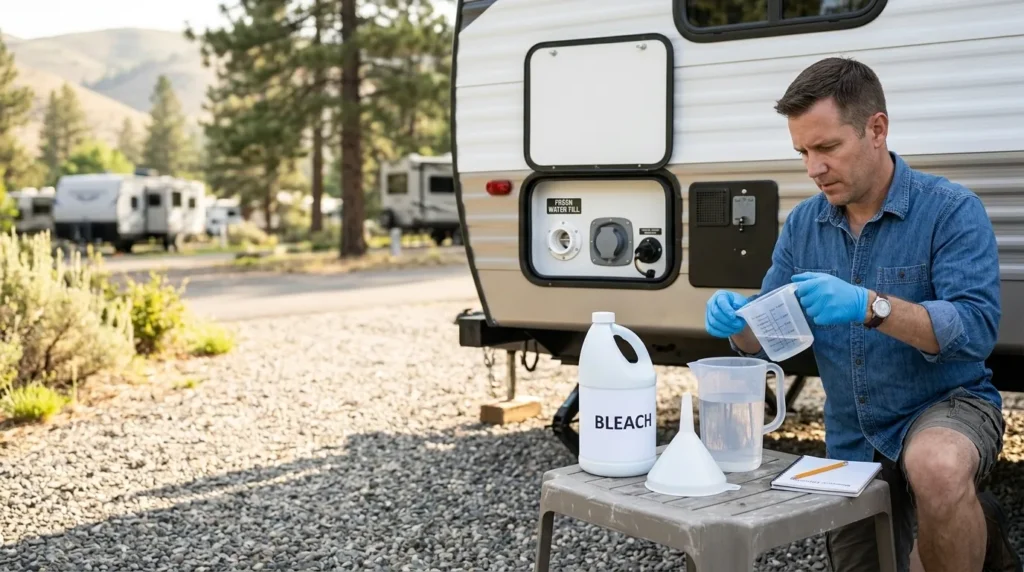
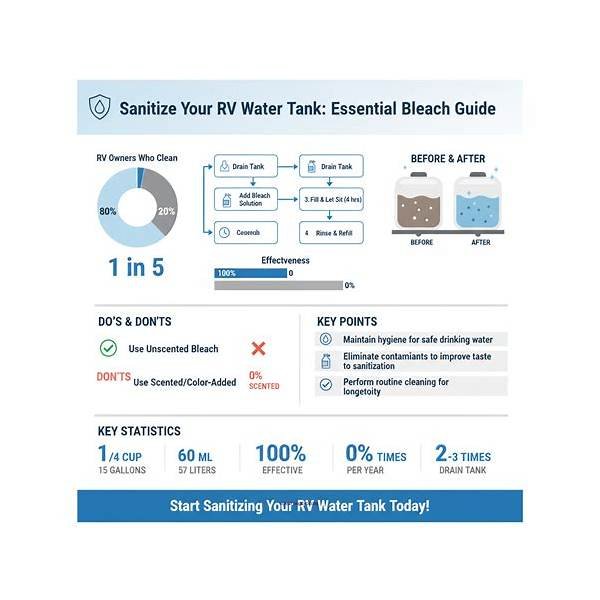
My quick answer to How Much Bleach To Clean RV Water Tank starts with your tank’s capacity, the bleach concentration, and your RV manufacturer’s instructions. For most U.S. RVs, a commonly used sanitizing ratio is ¼ cup (2 fl oz) of plain, unscented 5–6% household bleach per 15 gallons of fresh-water tank capacity. I recommend checking your owner’s manual first, because the specified dosage and contact time can vary.
For example, a 60-gallon fresh-water tank typically calls for about 1 cup of 5–6% bleach using that ratio. If you have 7.5% concentrated bleach, adjust for the strength printed on the label: approximately 0.8 cup replaces 1 cup of 6% bleach, while ⅔ cup replaces 1 cup of 5% bleach. That distinction matters—“use 20% less” is only accurate when converting from 6% to 7.5%.
I also recommend removing or bypassing carbon filters before sanitizing and using only bleach labeled as suitable for disinfection—never scented, splash-less, or gel formulas. This process sanitizes the fresh-water tank and plumbing, not the gray or black tanks. Follow the manufacturer’s contact-time instructions, then drain and flush with potable water before drinking. Never mix bleach with other cleaners.
The Right Bleach Dose at a Glance
- Target level: About 50 ppm free chlorine for routine sanitizing of the RV’s fresh-water tank and plumbing. This level is widely used by U.S. public health guidance for potable water system shock sanitizing and is effective against most bacteria and biofilm when given adequate contact time.
- Use only: Plain, unscented household bleach (sodium hypochlorite). Avoid “splash-less,” scented, color-safe, or thickened products. Check the label for the sodium hypochlorite percentage.
- Adjust for concentration:
- 5–6% bleach: 1/4 cup per 15 gallons
- 7.5% bleach: 1/5 cup per 15 gallons (20% less than above)
Why the amount works: At 5–6% strength, 1/4 cup per 15 gallons yields approximately 50 ppm free chlorine in the tank—a level that can penetrate biofilm and sanitize lines when left to sit for several hours.
Shelf-life note: Bleach loses strength over time, especially after opening or with heat. If your bottle is older than a year or stored in a hot area, assume reduced potency and round up slightly or verify with free-chlorine test strips.
Before You Start: Prerequisites and Safety
- Confirm this is your fresh-water system. Do not add bleach to gray or black tanks.
- Turn off water heater power (electric and gas). If your RV has a water-heater bypass, engage it to save bleach and reduce metal exposure. You can flush the heater separately with fresh water later.
- Remove or bypass carbon/charcoal filters, softeners, and RO membranes. Chlorine will damage them and they will strip chlorine from the water you need for sanitizing.
- Use only a drinking-water-safe hose for filling.
- Work outdoors or in a ventilated area. Wear gloves and eye protection; avoid inhaling fumes.
- Do not mix bleach with vinegar, ammonia, or acids. Mixing can release toxic gas.
- Know your tank size (owner’s manual or label near the tank).
Step-by-Step: Sanitize Your RV Fresh-Water Tank and Plumbing
- Calculate and pre-dilute the bleach
- Amount: 1/4 cup of 5–6% bleach per 15 gallons of tank capacity (or 20% less for 7.5% bleach).
- In a clean pitcher, dilute the measured bleach in at least 1 gallon of clean water to prevent spot-concentrations that can stress plastics or seals.
- Add bleach solution to the fresh tank
- Pour the diluted bleach into the gravity fill or the designated fill port.
- Fill the tank completely with potable water. Filling fully ensures treated water contacts the whole tank wall and reduces headspace.
- circulate through all lines
- Turn on the water pump.
- Open each cold faucet one by one until you smell chlorine, then close it. Repeat with hot faucets (the water heater can be bypassed to save solution; if not bypassed, run until you smell chlorine on the hot side too).
- Don’t forget the shower(s), outside shower, toilet valve, low-point drains, washing machine inlet (if equipped), and fridge/icemaker supply. Briefly depressurize the city-water inlet by gently pressing the check valve with a clean tool or spray it with a mild chlorine solution (1 tbsp bleach per quart), then rinse later.
- Contact time
- Let the system sit for 4–12 hours. Overnight is common. Avoid exceeding 24 hours to limit corrosion risk on metallic components.
- Drain and flush
- Drain the freshwater tank completely. Open low-point drains and faucets to remove chlorinated water from lines.
- Refill the tank with potable water and flush all outlets until the chlorine smell is very faint to gone. You may need 1–3 complete refills.
- Restore and finish
- Return the water heater from bypass and flush it with fresh water until the chlorine odor dissipates.
- Reinstall or replace carbon filters after sanitizing and flushing.
- Taste test from an interior faucet. If you still notice odor/taste, continue flushing or see Troubleshooting below.
Signs of success
- Light chlorine odor detected at every fixture during the circulation step.
- After flushing, no slimy residue at faucets, no musty smell from the tank, and water tastes clean.
Dosage Calculator and Examples
Use these for approximately 50 ppm with 5–6% bleach. For 7.5% bleach, multiply by 0.8 (20% less).
Simple formula (5–6% bleach):
Bleach (cups) = Tank gallons × 0.0167
Bleach (fl oz) = Tank gallons × 0.133
Examples (5–6% bleach):
- 20 gal tank: ~0.33 cup (about 5.3 tbsp)
- 30 gal tank: 0.5 cup (8 tbsp)
- 40 gal tank: ~0.67 cup (10.7 tbsp)
- 50 gal tank: ~0.83 cup (13.3 tbsp)
- 60 gal tank: 1.0 cup (16 tbsp)
- 80 gal tank: ~1.33 cups
- 100 gal tank: ~1.67 cups
If using 7.5% bleach:
- 60 gal tank: ~0.8 cup (instead of 1.0)
- 100 gal tank: ~1.33 cups (instead of 1.67)
Tip: When in doubt, slightly under 100 ppm is safer for materials than over. If your water was heavily contaminated, you can repeat the 50 ppm process rather than doubling the dose.
Common Mistakes, Limits, and Material Safety
- Using the wrong bleach: “Splash-less,” scented, or gel bleaches often are not EPA-registered disinfectants and may not sanitize effectively. Stick to plain, unscented household bleach.
- Overdosing and long soaks: More is not better. Concentrations above ~100 ppm or soaks beyond 24 hours increase risk to metals (heater tanks, fittings) and rubber components.
- Forgetting to bypass/remove filters: Carbon strips chlorine and becomes a bacteria harbor if sanitized improperly. Always remove it first and replace cartridges afterward.
- Not opening every outlet: Bacteria hide in seldom-used lines (outside shower, low-point taps, toilet sprayer). Verify a chlorine smell at each point.
- Water heater concerns: Bypass the heater during initial sanitizing to save bleach and reduce exposure to aluminum/steel. After flushing the system, take it off bypass and run fresh water through until odor is gone. Consult your heater manufacturer if unsure.
- Old bleach: Potency drops over time. If bleach is older than a year or stored hot, increase slightly or confirm with free-chlorine test strips.
- Disposal: Low-level chlorinated water is typically allowed down sanitary drains in the U.S. Avoid dumping onto vegetation or waterways. Use a dump station or your home sewer cleanout when possible, and follow local rules.
Troubleshooting: Odors, Slime, or Low Pressure
Persistent chlorine taste or odor
- Likely cause: Incomplete flushing or residual chlorine trapped in the water heater or low spots.
- Fix: Drain tank, refill, and flush again. Running water through the hot side for several minutes helps. Installing a new carbon post-filter after sanitizing will polish taste.
Musty or “rotten egg” smell returns quickly
- Likely cause: Biofilm or sulfur-reducing bacteria, often in warm, stagnant tanks.
- Fix: Repeat 50 ppm sanitizing with full 8–12 hours contact. Ensure heater was flushed. Keep the tank dry during storage or refill with treated potable water and use regularly.
Slime or particles at faucets
- Likely cause: Biofilm shedding after shock.
- Fix: Flush thoroughly, then replace faucet aerators and clean screens. Consider a second sanitizing cycle if slime persists.
Pump runs but low flow
- Likely cause: Clogged strainer or aerators with loosened debris.
- Fix: Clean pump strainer and aerators. Verify all valves are open and no kinks are present.
No chlorine smell at a fixture during the “circulate” step
- Likely cause: A carbon filter still in place or a closed valve.
- Fix: Remove/bypass filters and open valves; run until chlorine odor is present.
Alternatives to Bleach (and When to Use Them)
Chlorine dioxide products (RV sanitizers such as stabilized sodium chlorite systems)
- Pros: Effective at biofilm control and odor at lower taste impact; less corrosive than high-dose bleach.
- Cons: Costlier; requires careful dosing per label.
Food-grade hydrogen peroxide (3% diluted appropriately)
- Pros: Oxidizer with less odor impact; breaks down to water and oxygen.
- Cons: Less persistent residual; dosing for reliable biofilm removal can be higher; verify materials compatibility.
UV or ozone for ongoing treatment
- Pros: Good for maintenance and taste.
- Cons: Not a substitute for periodic system sanitizing; complexity and cost.
If you use an alternative, follow the manufacturer’s dosing and contact-time directions for potable water systems in the U.S., and still replace filters after treatment.
FAQs
Q1: Can I sanitize only the tank and skip the lines?
A: No. Bacteria and biofilm live in plumbing, valves, and aerators. You must draw chlorinated water through every outlet until you smell chlorine.
Q2: Do I need to sanitize the water heater?
A: For most RVs, bypass the heater during the main sanitizing to save solution, then flush the heater thoroughly with fresh water afterward. Check your heater manual for guidance; avoid prolonged high-chlorine exposure on metal tanks and anodes.
Q3: How often should I sanitize my RV’s fresh-water system?
A: At least at the start of each U.S. camping season, after storage, after filling from a questionable source, or every 3–6 months if you use the RV regularly.
Q4: Is baking soda or vinegar helpful for odor after sanitizing?
A: You can dissolve a small amount of baking soda in a tank refill to help with residual odor. Do not use vinegar with any residual chlorine present; mixing acids with bleach can release toxic gas.
Q5: Can I drink the first tank after sanitizing?
A: Not until the chlorine smell is gone and you’ve flushed at least one full tank. Many RVers add or use a carbon filter after sanitizing for better taste.
Key Takeaways
- For U.S. RVs, use plain 5–6% household bleach at 1/4 cup per 15 gallons (20% less if 7.5%).
- Aim for about 50 ppm free chlorine with 4–12 hours contact time.
- Bypass filters, circulate to every outlet, then drain and flush thoroughly.
- Avoid “splash-less” or scented bleach and don’t mix chemicals.
- Repeat the process or seek alternatives if odors or biofilm persist.
Conclusion: Your Next Step
Measure your tank size, calculate the dose from this guide, and plan a half-day window to sanitize and flush. Keep a set of chlorine test strips and spare carbon cartridges on hand. Done once per season—and after any suspect fill—you’ll maintain clean, safe-tasting water across your U.S. trips.