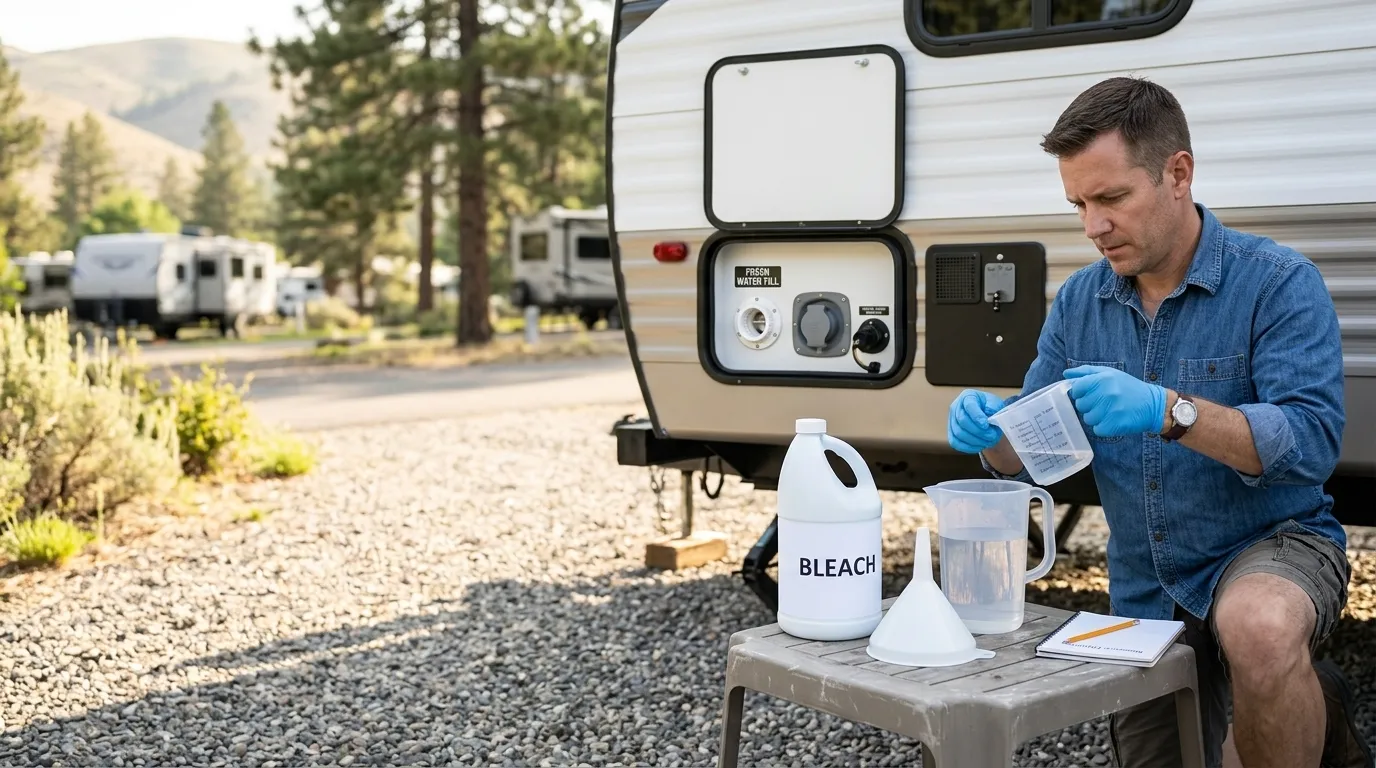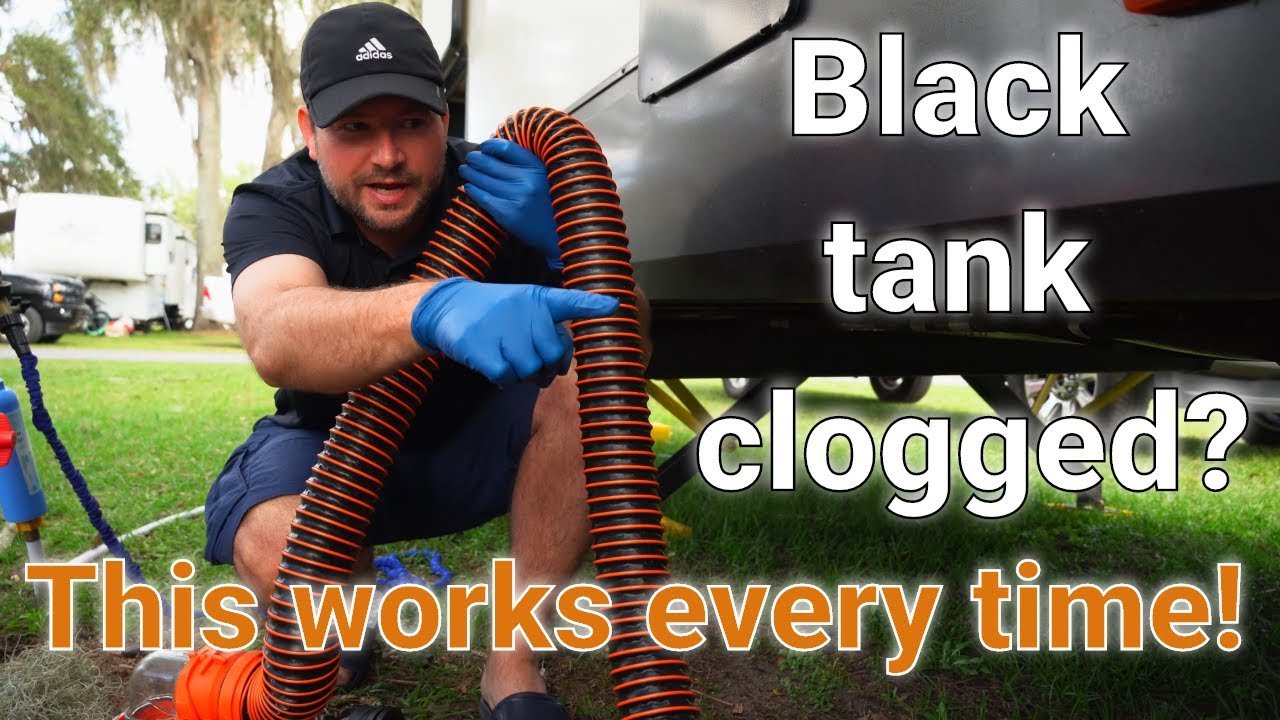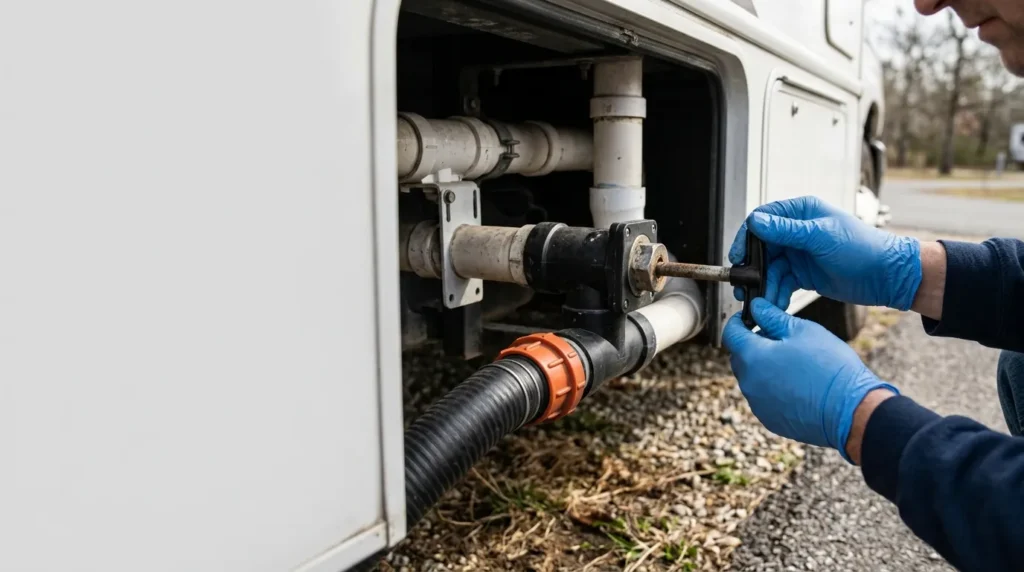
Unable to open the RV black tank valve usually stems from debris or corrosion blocking it.
If your RV Black Tank Valve Won’t Close, I recommend putting spill prevention first—not forcing the handle. Debris around the gate, damaged seals, or a binding operating cable can prevent the valve from closing, and each problem needs a different approach.
In this guide, I’ll walk you through practical checks to help identify the cause, explain which maintenance steps may help, and highlight when to stop and contact an RV technician. Before attempting repairs, I recommend checking your RV and valve manufacturer’s instructions. Most importantly, never loosen or remove the valve while the tank contains wastewater.
Quick Answer: What Should You Do First?
When a black tank valve will not close, I start with three priorities:
- Keep wastewater contained. If the sewer hose is already connected securely to an approved disposal point, do not disconnect it while discharge may continue.
- Stop forcing the handle. Excessive force can damage the operating rod, cable, gate, or surrounding plumbing.
- Check the operating mechanism before assuming the valve has failed. A binding cable or actuator problem can prevent a working gate from reaching its closed position.
Debris, damaged seals, mechanical misalignment, and freezing are common possibilities. The correct solution depends on whether the valve is accessible, whether the tank contains waste, and what type of operating mechanism your RV uses.
If you cannot contain the discharge or safely empty the tank, stop troubleshooting and arrange professional service.
How the Black Tank Gate Valve Closes
A conventional RV waste gate valve contains a sliding gate that moves across the discharge passage. Seals around the gate create the closure that holds wastewater in the tank.
The gate may be operated by:
- A direct-pull handle and rod.
- A remote handle connected through a cable.
- An electric actuator.
For a direct-pull valve, pushing the handle inward normally moves the gate toward its closed position. Cable-operated and electric systems perform the same basic function through additional components.
A handle that appears closed does not always prove the gate is sealed. Likewise, a handle that is difficult to move does not automatically mean the valve body needs replacement.
I separate these two questions during troubleshooting:
- Can the gate complete its travel?
- Does the gate seal after it closes?
They can point to different faults.
Why an RV Black Tank Valve Won’t Close
Debris Is Blocking the Gate
Toilet paper, waste residue, or other material can interfere with the gate’s path or prevent it from seating against its seals.
Possible signs include:
- The handle stops before its usual closed position.
- Resistance appears near the end of travel.
- Wastewater continues entering the outlet after attempted closure.
These symptoms suggest an obstruction, but they do not confirm one. A cable fault or damaged seal can feel similar.
The Seals Are Damaged or Displaced
Worn, swollen, pinched, or damaged seals may interfere with movement or allow wastewater to pass a closed gate.
This is especially worth considering if the problem started after valve replacement or nearby plumbing work. Incorrect seal positioning can affect both movement and sealing.
Lubrication cannot reliably correct a physically damaged or displaced seal.
The Operating Cable Is Binding
On a remote-operated system, the handle may be some distance from the actual valve.
A cable can bind because of:
- Tight bends.
- Corrosion.
- Damaged cable housing.
- Loose mounting points.
- Incorrect routing or adjustment.
I check accessible cable components before recommending valve replacement. Replacing the valve will not necessarily solve a fault in the cable.
The Rod, Gate, or Plumbing Is Misaligned
A bent operating rod, damaged gate, or distorted housing can prevent normal movement.
Plumbing stress may also affect the assembly. Unsupported pipes or an improperly fitted replacement can place loads on the valve and its connections.
If the handle or rod looks bent, I do not recommend trying to straighten it while the waste system is in service.
The System Is Frozen
Wastewater or moisture can freeze around the valve in cold conditions, restricting movement.
Forcing a frozen valve may damage its seals, housing, or operating mechanism. Follow your RV’s cold-weather instructions and seek assistance if safe thawing is not straightforward.
Never use an open flame.
An Electric Actuator Is Not Completing Its Travel
On an electrically operated valve, failure to close may involve the power supply, wiring, switch, control system, or actuator.
Use the manufacturer’s diagnostic procedure. A manual override, if provided, should be used only as instructed; it is not necessarily safe to move the mechanism by hand.
Safe Troubleshooting: My Step-by-Step Approach
Step 1: Establish a Safe Work Area
Wear disposable gloves and keep children and pets away from the discharge area.
If the hose is connected, confirm that its fittings and sewer connection remain secure. Do not open the valve into an unconnected outlet to test it.
If wastewater is escaping onto the ground:
- Stop the discharge if you can do so safely.
- Keep people away.
- Notify campground or dump-station staff.
- Follow local cleanup requirements.
Do not wash sewage into soil or storm drains.
Step 2: Confirm Which Valve Is Involved
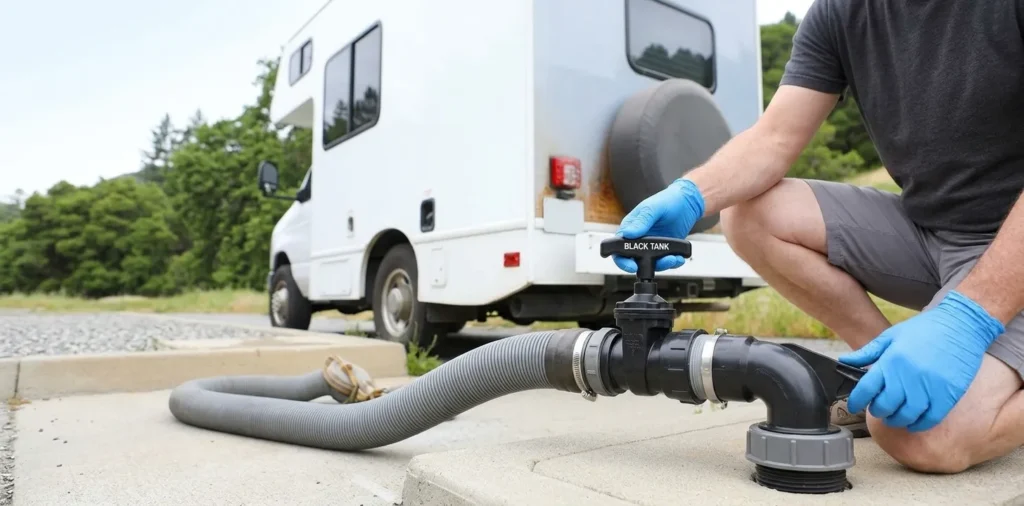
Many RVs have black and gray tank valves feeding a shared outlet. Some have more than one gray tank.
I check labels and the plumbing layout rather than relying on handle color.
Repeated liquid accumulation behind the outlet cap may come from any connected valve. Residual liquid after dumping can also remain in shared plumbing, so moisture alone does not identify the faulty component.
Step 3: Inspect the Accessible Mechanism
Without disassembling the waste plumbing, look for:
- A bent handle or rod.
- Loose cable brackets.
- Damaged cable housing.
- Unusual cable bends.
- Cracks in the valve body.
- Misaligned or unsupported pipes.
- Signs of freezing.
If inspection requires working beneath the RV, use proper vehicle-support procedures. Never work beneath an RV supported only by a jack.
Step 4: Try Gentle Operation Only
With the discharge securely connected or otherwise safely contained, try normal handle movement using steady pressure.
Stop if resistance increases or the mechanism feels damaged.
I do not recommend using pliers, a hammer, a pry bar, or a handle extension. Those tools can apply enough force to break parts without solving the underlying problem.
If the manufacturer recommends a particular procedure for clearing minor gate interference, follow that procedure rather than repeatedly forcing the valve.
Step 5: Consider an Approved Rinse
Rinsing may help if loose residue is interfering with closure—but only when the tank can drain safely and the manufacturer permits the procedure.
For a built-in flushing system:
- Follow the required valve-position instructions.
- Maintain a secure sewer connection.
- Use a dedicated non-potable hose.
- Maintain the required backflow protection.
- Supervise the entire operation.
Never use flushing to overcome a blocked or uncertain discharge path. The tank can overfill if water enters faster than it leaves.
Do not use compressed air, improvised pressure equipment, or excessive water pressure to clear the valve.
Step 6: Reassess Without Opening the System
After any approved rinse, check whether normal closure has returned.
If the handle now reaches its usual position but leakage continues, the issue may involve sealing rather than travel. If movement remains restricted, the cable, rod, gate, or housing may require service.
Follow the manufacturer’s prescribed leak-check procedure. Do not remove a cap that may be retaining wastewater simply to see whether the valve leaks.
Troubleshooting Reference Table
| Symptom | Possible cause | Safest next step |
|---|---|---|
| Handle stops short of closed | Debris, cable restriction, seal interference | Inspect the mechanism and follow approved cleaning procedures |
| Handle reaches closed position, but leakage continues | Damaged seals, gate damage, another leaking valve | Identify the source using the prescribed leak-check procedure |
| Remote handle is unusually stiff | Cable routing, corrosion, damaged housing | Inspect accessible cable components |
| Rod or handle appears bent | Mechanical damage | Stop forcing it and arrange repair |
| Valve fails during freezing weather | Frozen moisture or wastewater | Follow approved cold-weather procedures |
| Electric valve will not close | Power, wiring, control, or actuator fault | Consult the model-specific troubleshooting instructions |
When Cleaning or Lubrication May Help
Cleaning or lubrication may improve operation when residue or friction is the problem.
However, I use only products confirmed compatible with the valve’s plastics and seals. General-purpose oils, petroleum grease, penetrating sprays, and household remedies should not be assumed suitable.
Also, a holding-tank additive is not necessarily an approved valve lubricant.
Cleaning and lubrication cannot reliably repair:
- A cracked housing.
- A bent rod.
- A damaged gate.
- A displaced seal.
- A failed cable or actuator.
If the valve keeps sticking after approved maintenance, repeated treatment is not a substitute for diagnosis.
When the Valve Needs Repair or Replacement
Repair or replacement becomes more likely when:
- The valve housing is cracked.
- The gate or rod is damaged.
- Seals are worn or displaced.
- The valve repeatedly fails to close fully.
- Leakage continues after the source has been confirmed.
- The mechanism cannot operate reliably.
Some models allow seal replacement. Others are more practical to replace as an assembly. Check the service instructions and parts availability for your valve.
Can You Replace It Yourself?
I consider replacement a possible DIY job only when:
- The tank has been safely emptied.
- The valve is accessible.
- Residual wastewater can be contained.
- The replacement is confirmed compatible.
- No significant plumbing alteration is required.
A tank-monitor reading is not enough to confirm that the tank is empty. Waste-tank sensors can be inaccurate.
Do not loosen valve bolts while the tank contains wastewater. If the faulty valve prevents safe emptying, arrange professional service first.
Replacement Overview
The exact procedure varies, but a typical replacement involves:
- Confirming the correct valve and seals.
- Safely emptying and rinsing the tank.
- Preparing for residual liquid in the plumbing.
- Documenting the assembly’s orientation.
- Removing the valve without stressing nearby pipes.
- Inspecting the flange surfaces and fittings.
- Installing the seals in their specified positions.
- Tightening hardware evenly to the manufacturer’s requirements.
- Confirming full operating travel.
- Completing the prescribed clean-water leak test.
On common bolted gate valves, the flange seals form the watertight joint. Thread tape or improvised sealant does not replace correct seal installation.
Will an External Twist-On Valve Solve the Problem?
An external twist-on waste valve can provide a secondary closure at the shared outlet when it is compatible with the system.
It does not repair the original valve.
If the internal valve leaks, wastewater can remain trapped between the two valves. That liquid must be managed safely and may freeze in cold weather.
I also consider the installation risk: attaching an external valve may require removing an outlet cap that is already retaining wastewater. If you suspect a substantial trapped volume, seek assistance rather than attempting a quick installation.
How to Prevent Future Closing Problems
Keep the Black Tank Valve Closed Between Dumps
At a full-hookup campsite, normally keep the black valve closed until dumping. Leaving it open lets liquids drain away while solids may remain behind.
Use Adequate Flushing Water
Follow your RV manufacturer’s flushing guidance. Too little water can contribute to waste buildup and drainage problems.
Add water after dumping as recommended for your system.
Watch for Changes in Handle Effort
A gradual increase in resistance deserves attention before the valve becomes unusable.
I treat a change in operating feel as an inspection prompt—not an invitation to pull harder.
Inspect Accessible Cables and Plumbing
Look for loose brackets, damaged cable housing, unsupported piping, and signs of leakage.
Follow Winterization Instructions
Protect the valve and connected plumbing according to your RV’s winterization or cold-weather operating procedures.
Frequently Asked Questions
Can I drive with a black tank valve that will not close?
I would not assume that travel is safe simply because the outlet cap is installed. The cap may be retaining wastewater rather than containing a normally closed system.
Containment, equipment condition, and any leakage need to be assessed. Get professional guidance if you cannot secure the system reliably.
Does a hard-to-push handle mean the valve needs replacement?
No. A binding cable, freezing, or residue can produce similar symptoms. Diagnose the operating mechanism before replacing the valve.
Can tank treatment fix the problem?
A compatible product may help with certain residue-related issues, but it will not repair a damaged seal, cracked housing, bent rod, or failed actuator.
Should I force the valve closed to stop a leak?
No. Excessive force may break the mechanism or worsen the failure. Keep discharge contained and arrange service if gentle operation does not work.
Is wastewater behind the outlet cap proof of a bad black tank valve?
Not necessarily. Shared discharge plumbing can hold residual liquid, and a gray tank valve may also leak. Repeated or substantial accumulation needs investigation.
When should I call an RV technician?
Call when you cannot contain the discharge, cannot safely empty the tank, cannot access the mechanism safely, or suspect damage requiring disassembly. An inaccessible valve or complex electric system is also a good reason to seek professional help.
Final Thoughts
When a black tank valve will not close, I focus on containment and diagnosis before repair. Debris, cable problems, damaged seals, and freezing can produce similar symptoms, but they require different solutions.
Keep the discharge secure, avoid forcing the handle, and follow the instructions for your exact equipment. If the tank cannot be emptied safely or the repair requires opening a waste-filled system, professional service is the safest next step.