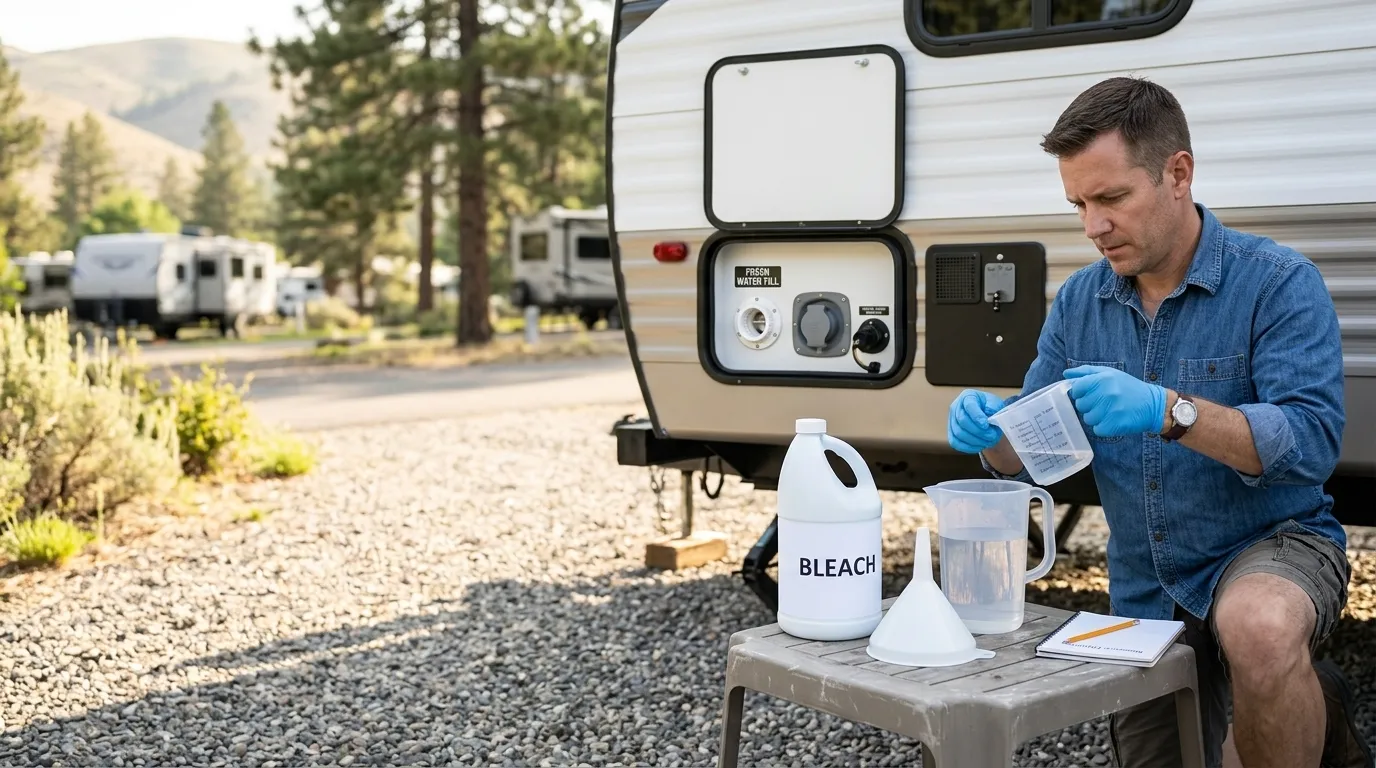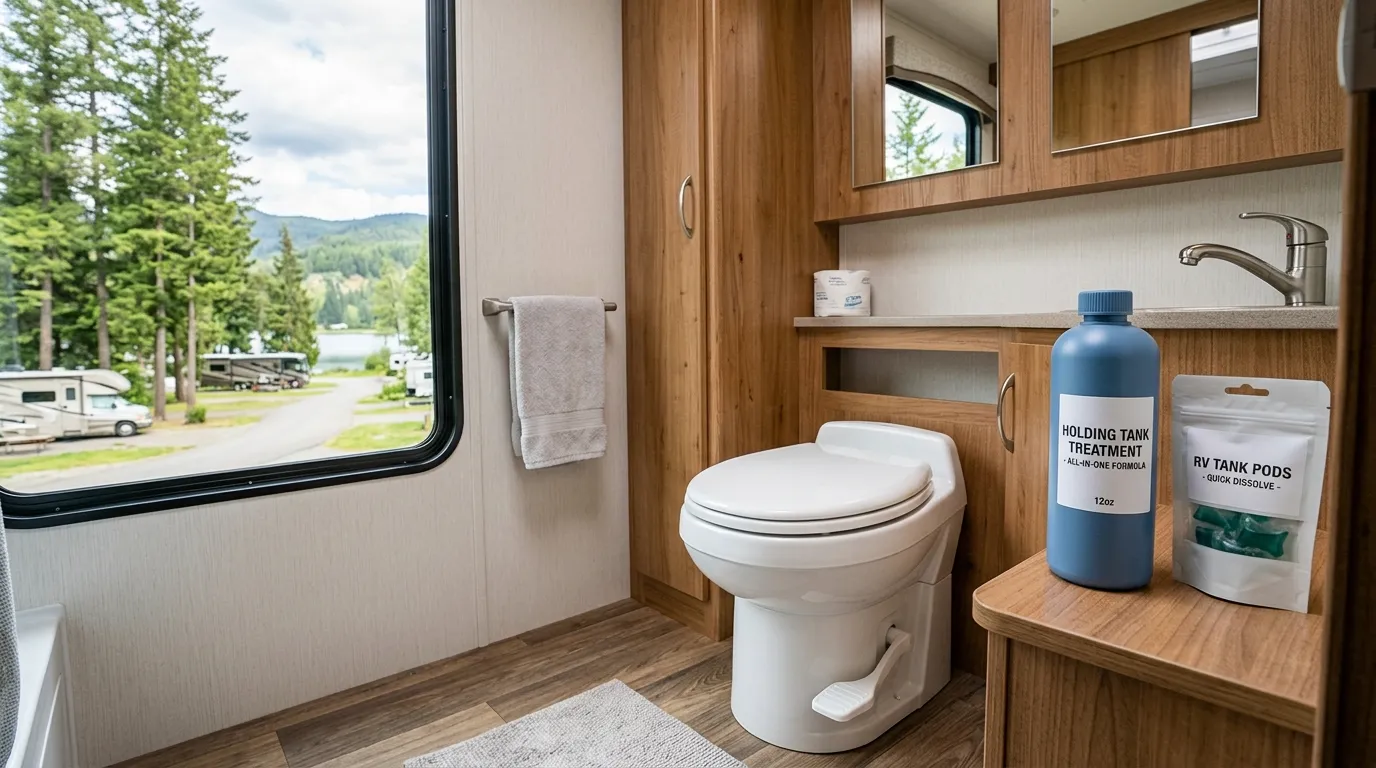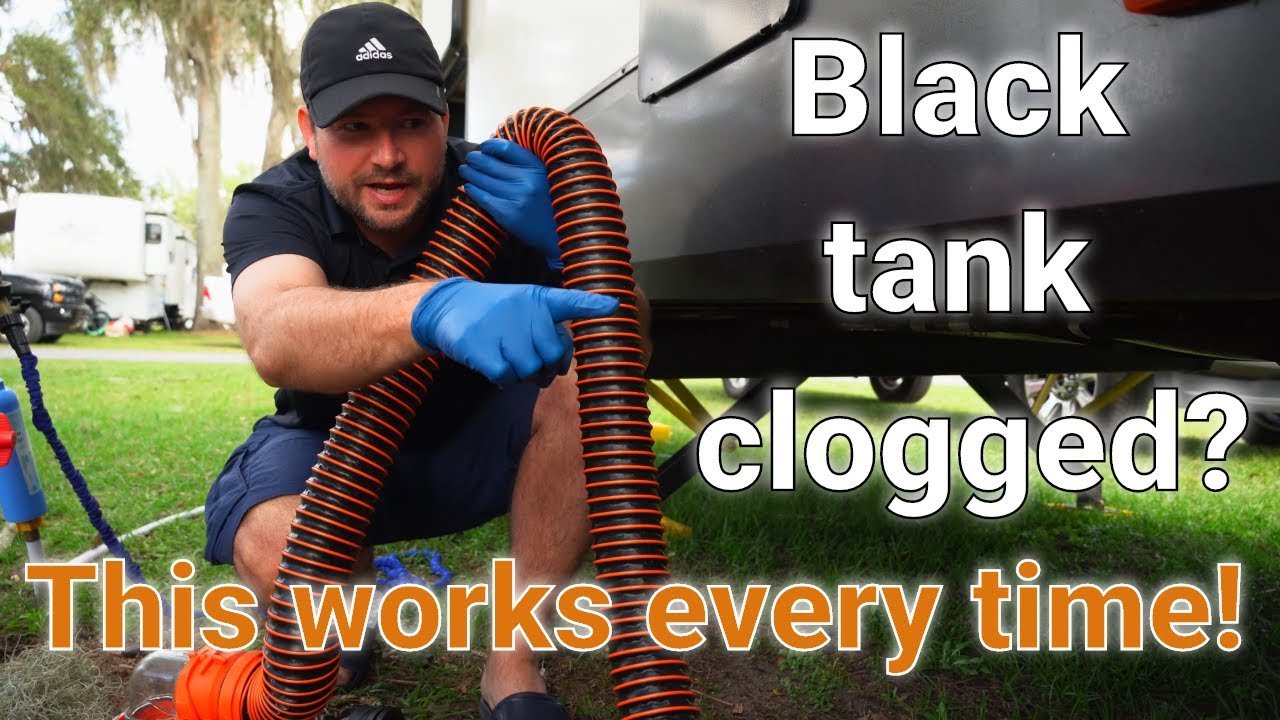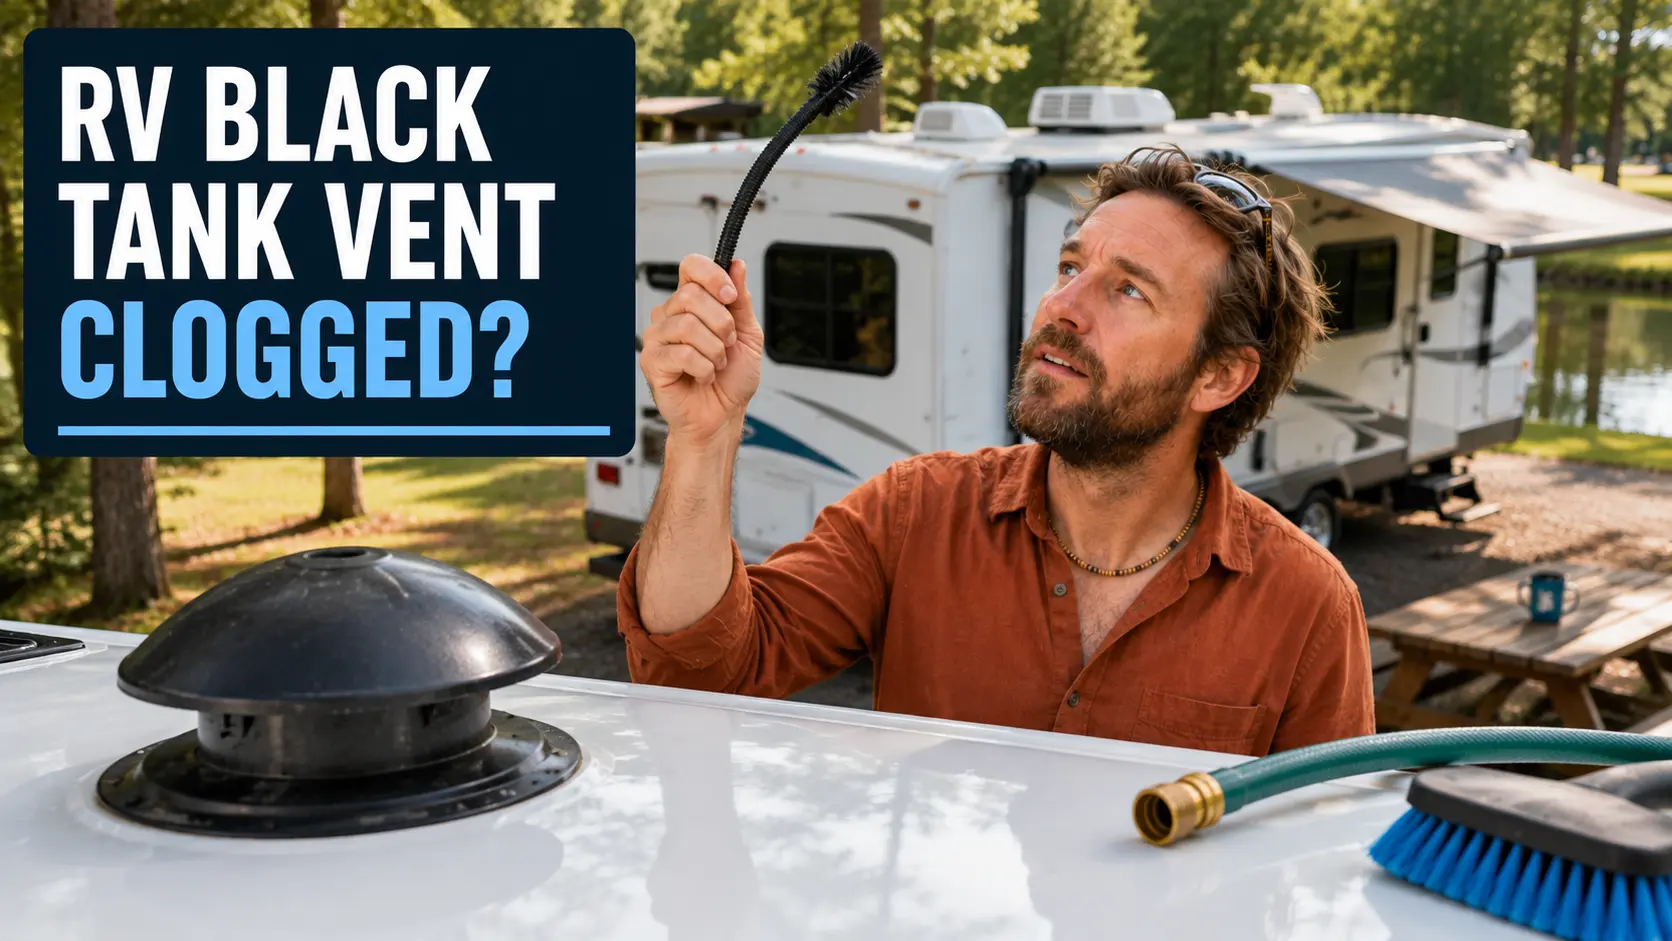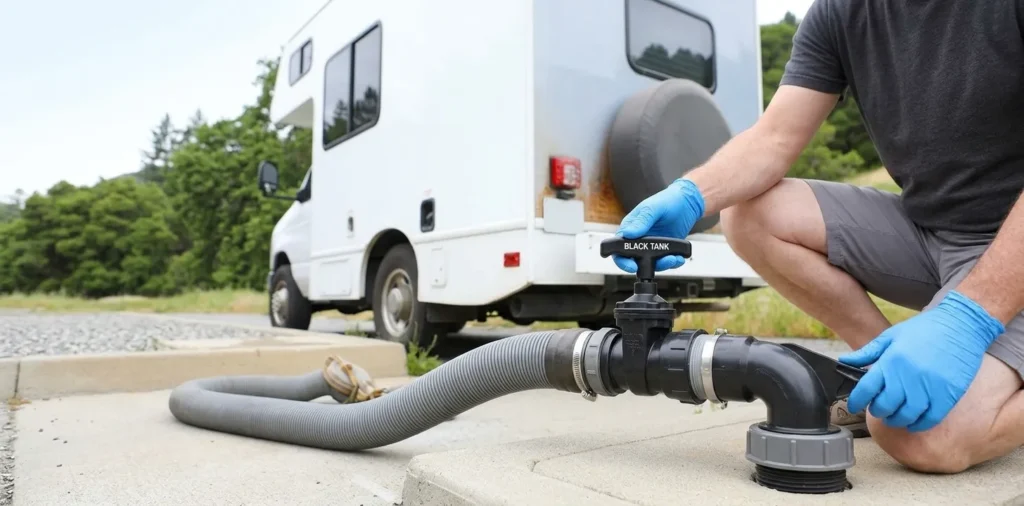
The RV Black Tank Gate Valve is essential for efficient waste management, preventing leaks and clogs.
Keeping my RV’s waste system clean and reliable starts with understanding the RV Black Tank Gate Valve. This valve controls the discharge of wastewater from the black tank, which holds toilet waste. In this guide, I’ll explain how it works, how to recognize problems such as leaks or a sticking handle, and how to approach routine maintenance safely. My focus is on practical troubleshooting, hygienic dumping habits, and knowing when to follow the manufacturer’s instructions or seek professional help.
What Is an RV Black Tank Gate Valve?
An RV black tank gate valve controls the discharge of wastewater from the tank that holds toilet waste. It remains closed while the tank is collecting waste and opens when you empty the tank at an approved dump station or sewer hookup.
The valve contains a sliding gate positioned between seals. When closed, the gate blocks the discharge opening. When open, it retracts so wastewater can flow into the sewer hose.
Many RV black tank systems use a nominal 3-inch gate valve, but valve sizes and installation designs vary. Check the existing part and your RV’s documentation before purchasing a replacement.
Common Valve Operating Systems
RV gate valves generally use one of three operating arrangements:
- Direct-pull handle: A handle and rod move the gate directly.
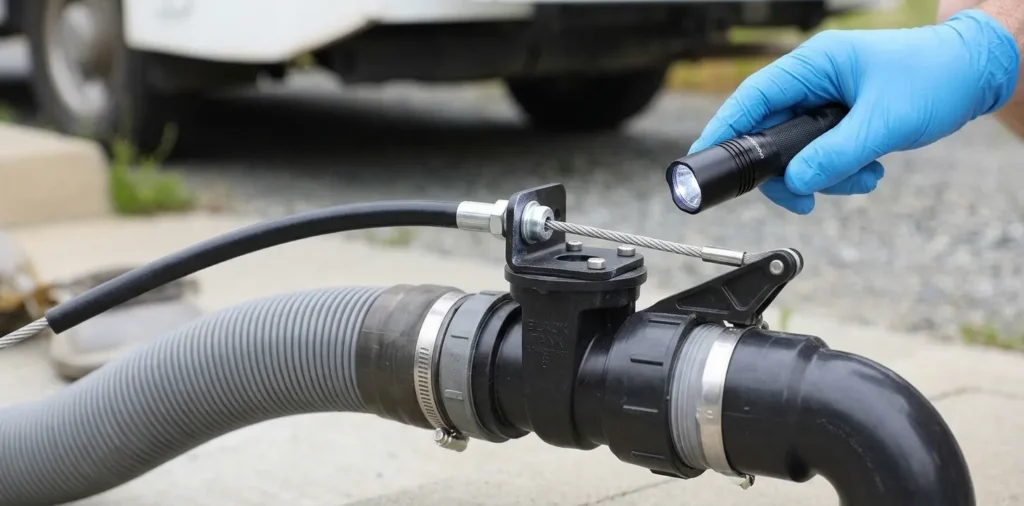
- Cable-operated handle: A remote handle operates a valve located elsewhere, often behind an enclosed underbelly.
- Electric actuator: A switch controls a motorized valve mechanism.
The operating system matters when troubleshooting. A stiff remote handle, for example, may indicate a damaged cable rather than a defective gate valve.
Black Tank vs. Gray Tank Valves
The black tank holds toilet wastewater. Gray tanks generally collect wastewater from sinks and showers.
Each tank usually has a separate valve, although several valves may connect to one shared sewer outlet. Some RVs have multiple gray tanks or unusual plumbing layouts.
Identify the correct valve using labels, the owner’s manual, or a plumbing diagram. Handle color alone is not a dependable identifier.
How to Operate an RV Black Tank Gate Valve
Correct operation helps prevent spills and reduces the chance of leaving solids behind in the tank.
1. Prepare the Dumping Area
Use an approved dump station or sewer connection. Wear disposable gloves and keep children and pets away from the work area.
Inspect the sewer hose and fittings for cracks, loose connections, or damaged seals. Secure the hose at both ends according to the equipment instructions and facility rules.
Do not open a waste valve until the sewer hose is properly connected.
If you suspect wastewater has collected behind the outlet cap, use additional precautions before removing it. A leaking valve can leave more than a few drops trapped in the outlet.
2. Open the Black Tank Valve
Open the valve with steady, controlled pressure. For most conventional systems, the valve should open fully during dumping.
Avoid jerking or forcing the handle. If it will not move normally, stop and investigate rather than risking a broken handle or operating rod.
Allow the wastewater to drain until the flow has finished.
3. Flush the Tank Only as Directed
If the RV has a built-in tank-flushing system, follow the manufacturer’s instructions for valve position, water pressure, and flushing time.
Never leave flushing unattended. A blocked discharge or incorrectly positioned valve can allow the tank to overfill.
Use a dedicated non-potable hose for tank flushing and maintain the required backflow protection. Do not use that hose for drinking-water service.
4. Close the Black Valve and Drain the Gray Tank
After dumping and any approved rinsing, close the black tank valve completely.
Then drain the gray tank if your RV’s operating procedure calls for it. Gray water helps move some remaining residue through the shared outlet and sewer hose, but it does not disinfect them.
5. Disconnect and Clean Up
Close every discharge valve before disconnecting the hose. Drain and rinse equipment only where permitted, replace the outlet cap, and store sewer equipment separately from drinking-water supplies.
Remove gloves carefully and wash your hands thoroughly.
Add fresh water to the black tank according to the RV manufacturer’s recommendations. Some water in the tank helps prevent waste from immediately collecting on a dry tank floor.
Should the Black Tank Valve Stay Open at a Campsite?
Normally, the black tank valve should remain closed between dumping sessions—even at a full-hookup campsite.
Leaving it open allows liquids to drain away while solids may remain behind. This can contribute to hardened waste buildup and difficult blockages.
Keeping the valve closed allows wastewater to accumulate, providing more liquid flow to carry solids out during dumping.
The appropriate dumping interval depends on tank capacity, occupancy, flushing habits, and manufacturer guidance. Avoid overfilling, and do not rely entirely on tank-monitor readings.
Common RV Black Tank Gate Valve Problems
Wastewater Behind the Outlet Cap
Repeated wastewater accumulation behind the sewer outlet cap may indicate that a valve is not sealing properly.
Possible causes include:
- Debris between the gate and seals.
- Worn or damaged seals.
- A gate that does not close fully.
- A binding operating cable.
- Leakage from another tank valve connected to the same outlet.
Some residual liquid can remain in shared plumbing after dumping. However, repeated or substantial accumulation needs investigation.
Do not assume that the black tank valve is responsible without checking the system layout and other connected valves.
A Sticking or Hard-to-Pull Handle
A stiff handle can result from dried residue, seal friction, a bent operating rod, or cable problems.
For cable-operated systems, inspect accessible cable routing and mounting points. Tight bends, corrosion, or misalignment can prevent normal operation.
Avoid using pliers, extensions, or excessive force to move the handle. These can turn a minor operating problem into a broken component.
The Valve Will Not Close Completely
A gate that stops before reaching its normal closed position may have debris in its path or an operating mechanism that cannot complete its travel.
A partially closed valve is not secure. Wastewater may continue entering the discharge plumbing.
If approved rinsing and gentle operation do not restore normal movement, arrange further diagnosis or repair.
Leakage Around the Valve Body
External leakage may come from:
- Damaged flange seals.
- A cracked housing.
- Unevenly tightened fasteners.
- Misaligned plumbing.
- Freeze damage.
Where safe, clean and dry the area before inspecting it. Locate the first point where moisture appears rather than assuming the lowest wet surface is the source.
Slow or Incomplete Draining
Slow drainage does not automatically mean the gate valve has failed.
Check for:
- A kinked or obstructed sewer hose.
- A gate that is not fully open.
- Blockage in the discharge plumbing.
- Accumulated solids inside the tank.
If the tank still contains wastewater and will not drain, professional service may be necessary before the valve can be repaired safely.
RV Black Tank Gate Valve Troubleshooting Checklist
| Problem | Possible cause | Recommended response |
|---|---|---|
| Handle is difficult to move | Residue, seal friction, cable binding, rod damage | Stop forcing it and inspect accessible components |
| Liquid repeatedly collects behind the cap | Incomplete closure, damaged seals, another leaking valve | Identify the leaking component before replacing parts |
| Valve leaks externally | Seal damage, cracked housing, plumbing misalignment | Contain leakage safely and arrange repair |
| Valve will not open | Frozen components, failed cable, actuator fault | Follow manufacturer troubleshooting instructions |
| Tank drains slowly | Hose restriction, blockage, partial opening | Check the discharge path and valve travel |
| Electric valve does not respond | Power, wiring, switch, or motor problem | Use the specified diagnostic and manual-override procedure |
If sewage spills, stop the discharge if you can do so safely, keep people away, and notify campground or dump-station staff. Follow local cleanup requirements rather than washing sewage into soil or storm drains.
Routine Black Tank Gate Valve Maintenance
Inspect Accessible Components
Periodically check the valve, handle, cable, and nearby plumbing for:
- Drips or staining.
- Cracked plastic.
- Damaged rods or handles.
- Loose mounting points.
- Kinked or frayed cables.
- Unsupported or misaligned piping.
If inspection requires working beneath the RV, follow proper vehicle-support procedures. Never crawl under an RV supported only by a jack.
Monitor Operating Effort
Pay attention to changes in how the valve feels. Increasing resistance can signal developing residue, cable damage, or seal problems.
Test valve operation only with the discharge safely connected or contained. Opening it into an unconnected outlet can release wastewater.
Use Only Compatible Lubricants
Follow the valve manufacturer’s lubrication recommendations.
Do not assume penetrating oil, petroleum grease, general-purpose spray lubricant, or household remedies are safe for the valve’s plastics and seals.
A compatible lubricant may reduce friction, but it will not repair damaged seals, a cracked housing, or a bent gate.
Use Adequate Flushing Water
Insufficient water can contribute to waste accumulation and discharge problems.
Follow the RV manufacturer’s guidance for toilet flushing and for adding water after dumping. Holding-tank treatments cannot compensate for inadequate water or poor dumping practices.
Treat Tank Additives as Maintenance Products, Not Repairs
Some holding-tank products may help manage odors or residue when used as directed. They do not reliably repair mechanical leaks.
Check product compatibility, follow the label, and observe disposal-facility restrictions. Avoid mixing chemicals.
Prevent Freeze Damage
Freezing wastewater can damage the gate valve and surrounding plumbing.
Follow the RV’s winterization or cold-weather operating instructions. Do not force a frozen valve or use an open flame to thaw it.
When Should You Replace the Valve?
Replacement may be appropriate when:
- The housing is cracked.
- The gate or operating rod is damaged.
- The valve repeatedly leaks after proper diagnosis.
- Seals are worn and cannot be serviced separately.
- The mechanism no longer opens or closes reliably.
There is no universal replacement interval. Condition, use, storage, and freezing exposure are more useful indicators than age alone.
Can You Replace It Yourself?
A replacement may be manageable when the valve is accessible, the tank has been safely emptied, and the plumbing does not require modification.
Seek professional help if the valve is stuck closed with waste in the tank, the installation is inaccessible, or surrounding pipes must be cut or repositioned.
Never loosen or remove valve bolts while the tank contains wastewater. An opening in the assembly can release sewage uncontrollably.
General Replacement Overview
Always use the instructions supplied for the specific valve.
- Confirm the correct valve size, flange arrangement, and operating mechanism.
- Empty and rinse the tank safely.
- Prepare protective equipment and containment for residual liquid.
- Photograph the existing assembly and component positions.
- Remove the old valve without stressing the tank outlet or pipes.
- Inspect and clean the sealing surfaces.
- Install the specified replacement valve and seals.
- Tighten hardware evenly using the manufacturer’s requirements.
- Confirm full operating travel.
- Perform the recommended clean-water leak test.
On common bolted gate valves, flange seals form the watertight connection. Thread tape or improvised sealant is not a substitute for correctly installed seals.
Can an External Twist-On Valve Help?
An external twist-on waste valve can provide a secondary closure at the shared sewer outlet. When compatible with the equipment, it may help manage residual liquid or temporarily contain leakage from an internal valve.
However, it does not repair the original valve.
Wastewater can remain trapped between the leaking internal valve and the external valve. That creates sanitation concerns and can cause problems in freezing weather.
Check attachment security, clearance, and the procedure for draining trapped wastewater. Treat an external valve as an additional control—not a reason to postpone necessary repairs indefinitely.
Frequently Asked Questions
Can a leaking black tank valve cause odors inside the RV?
It may contribute to waste-system problems, but indoor odors can also involve toilet seals, tank vents, and other plumbing components. Diagnose the source before replacing the valve.
Will tank treatment stop a valve leak?
Not reliably. A compatible product may help with residue or friction, but it cannot repair a cracked housing or physically damaged seals.
Can I replace only the seals?
Sometimes. Seal replacement may be suitable if the gate and housing are undamaged and the manufacturer provides a service procedure. Otherwise, replacing the valve assembly may be necessary.
Does an empty tank-monitor reading mean the valve is safe to remove?
No. Waste-tank sensors can be inaccurate. Safe emptying must be confirmed through the proper dumping procedure before disassembly.
What should I do if the valve is stuck closed?
Do not force it or dismantle it while the tank contains waste. Follow the manufacturer’s troubleshooting instructions or contact an RV service professional.
Final Thoughts
Understanding black tank gate valve operation helps you dump safely, recognize developing problems, and avoid unnecessary repairs.
Keep the valve closed between dumping sessions, use adequate flushing water, inspect for leaks, and address changes in operating effort early. When a tank cannot be emptied safely or a repair requires opening a waste-filled system, professional service is the safest next step.