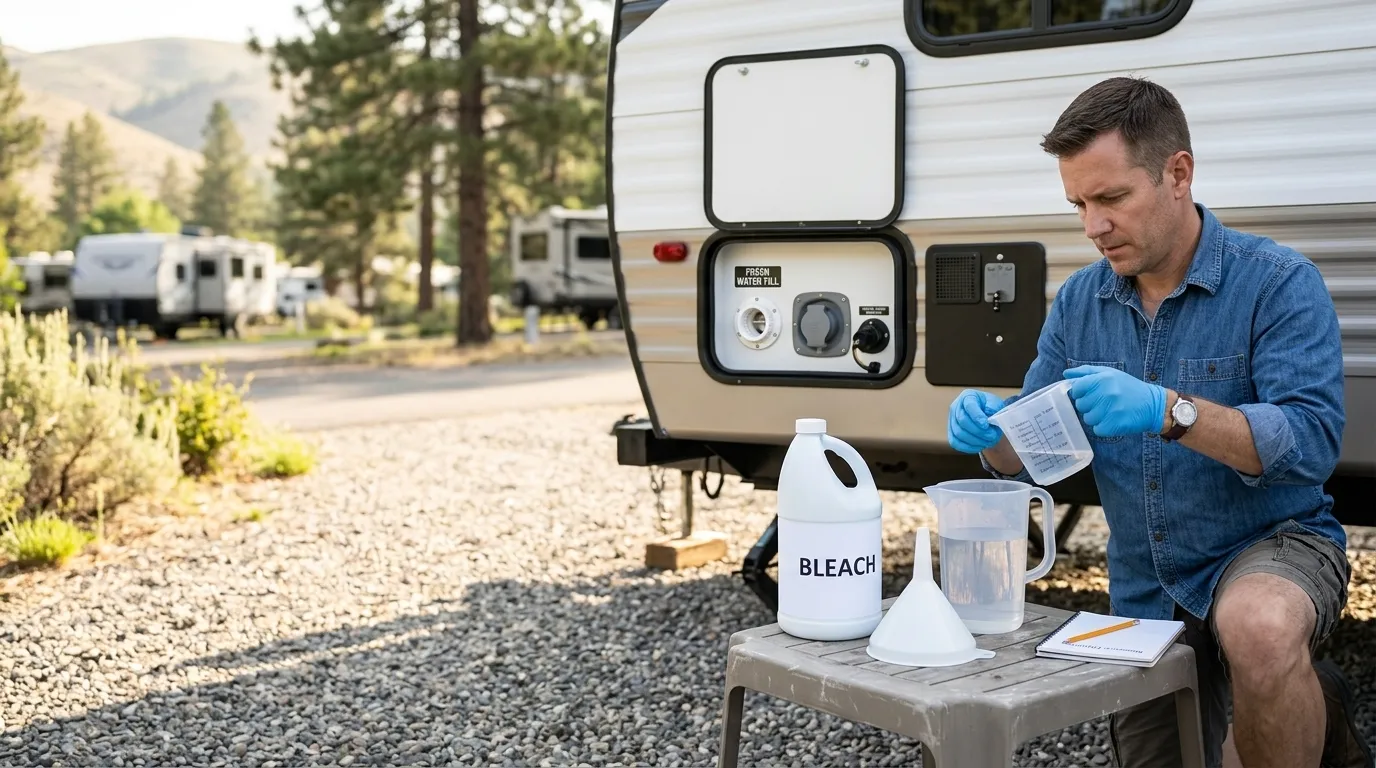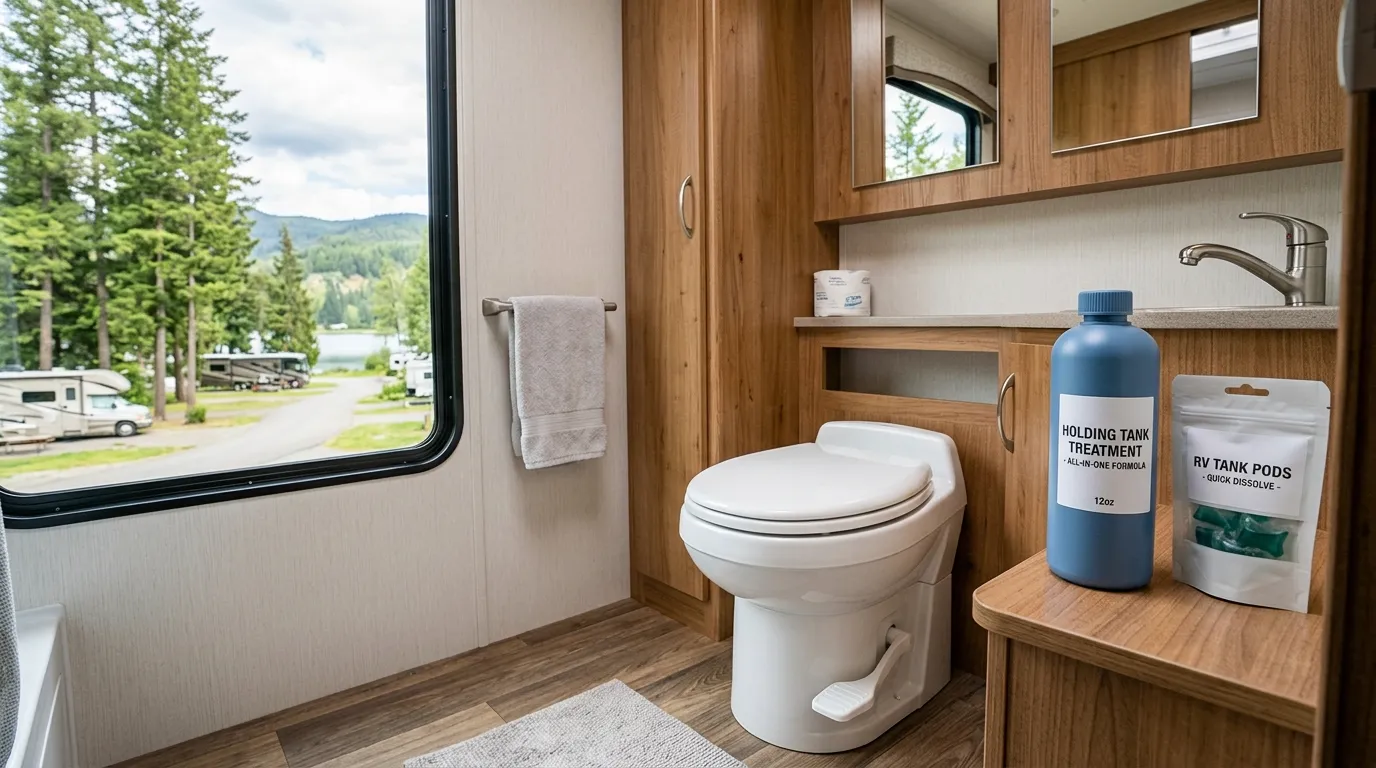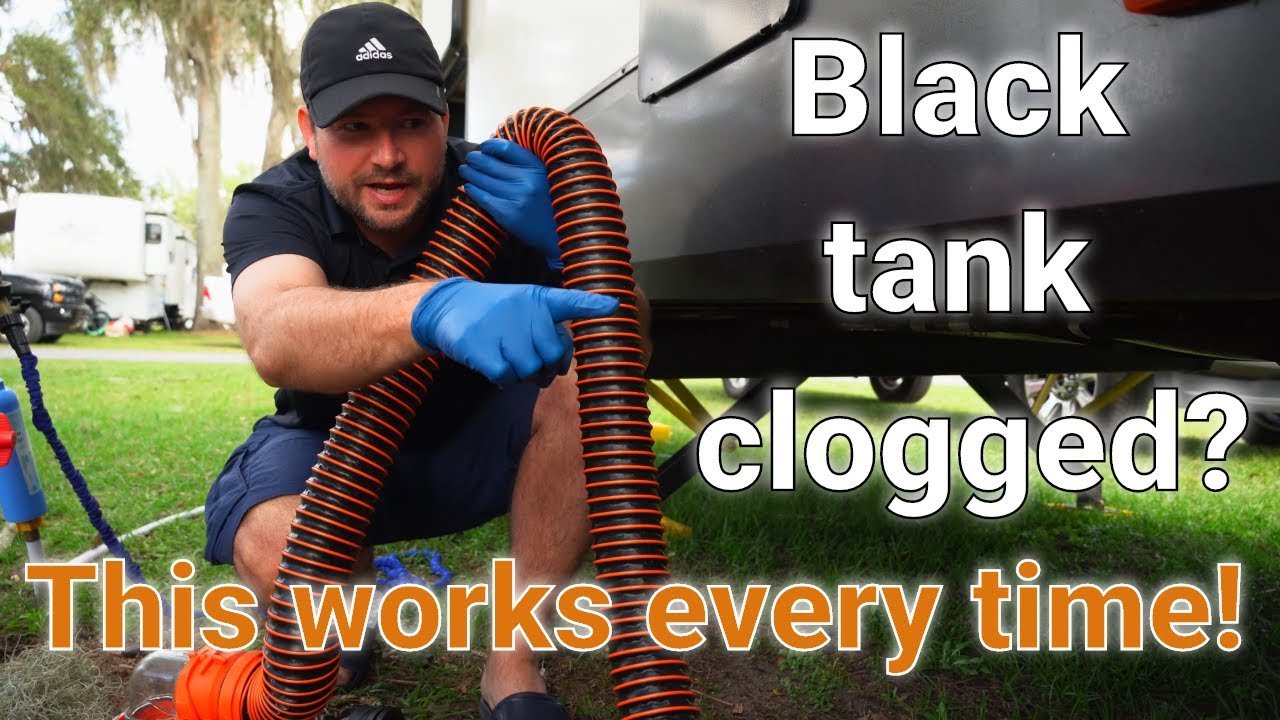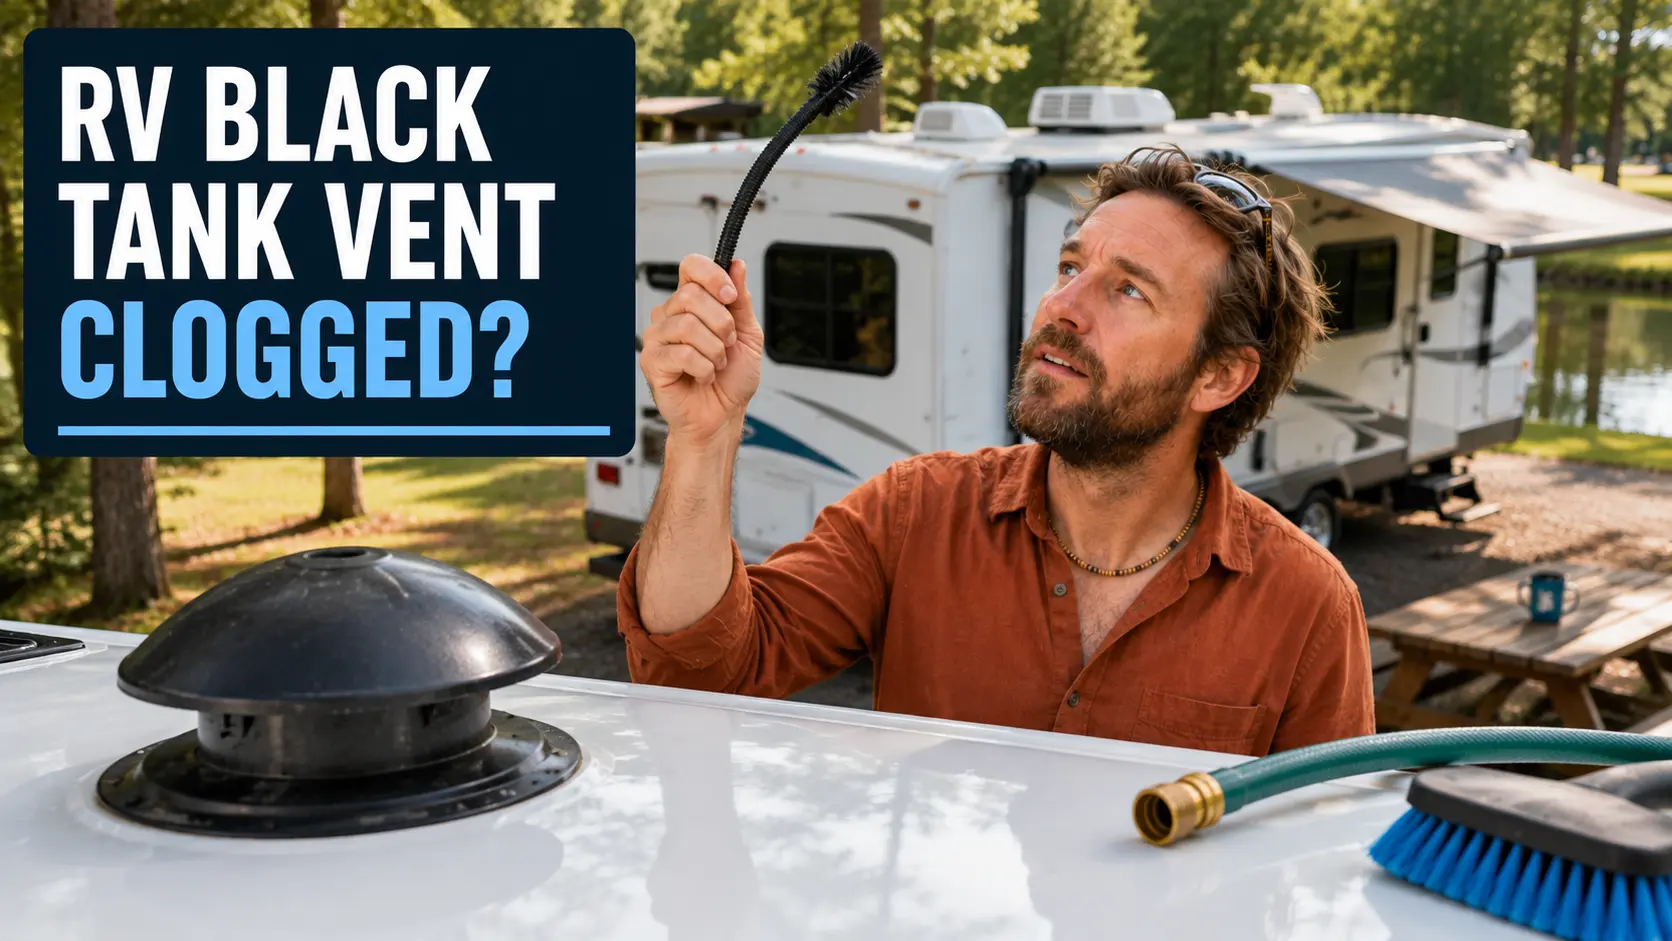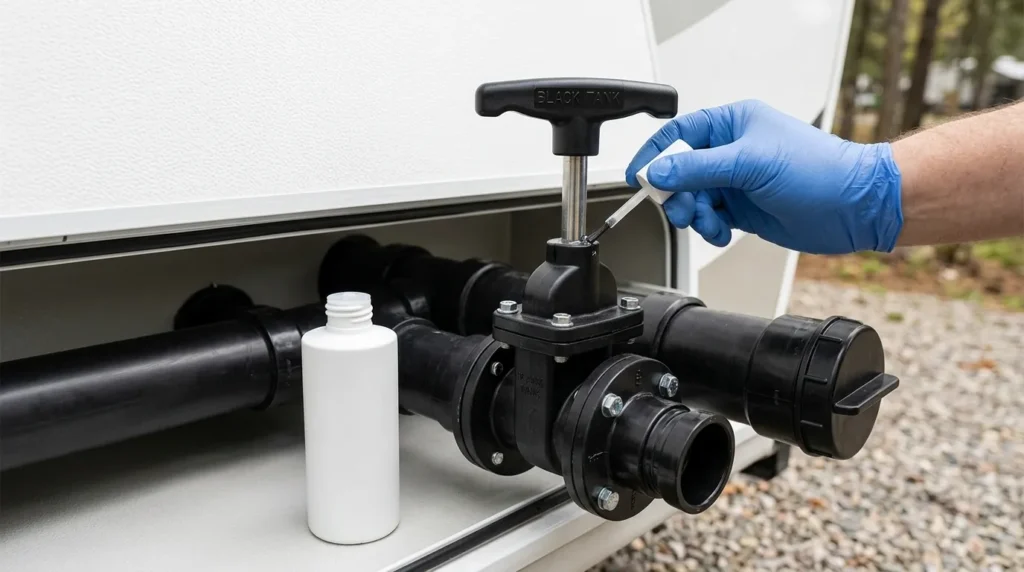
Lubricating an RV black tank valve ensures smooth operation and prevents leaks or jams.
A stiff black tank valve can make an ordinary dump-station stop frustrating—but forcing the handle can damage the mechanism. In this guide, I’ll explain how to lubricate RV black tank valve seals, check for debris, and choose a lubricant approved for your valve’s materials. I’ll also cover safe preparation, including emptying the tank at an approved dump station and wearing protective gloves, plus the warning signs that call for repair rather than more lubricant.
Understanding the RV Black Tank Valve
The black tank valve is integral to disposing of waste in an RV. It controls the flow of wastewater from the tank to the dumping site. This mechanism needs periodic maintenance to ensure it operates without issues. Here’s why maintaining your RV black tank valve is essential:
- Preventing Blockages: Regular lubrication helps prevent debris from causing blockages.
- Ease of Use: A well-lubricated valve is easier to operate.
- Prolonging Lifespan: Proper maintenance extends the life of the valve, saving on repairs.
Can You Lubricate an RV Black Tank Valve?
Yes, some RV black tank valves can benefit from lubrication. However, the right product and application method depend on the valve’s design and the manufacturer’s maintenance instructions.
I recommend identifying the cause of the resistance before applying anything. Lubrication may reduce friction, but it will not repair a cracked housing, bent shaft, damaged seal, or failing cable. Most manual RV waste valves use a sliding gate that moves between seals. Pulling the handle opens the gate; pushing it closes the gate. Cable-operated and electric valves use different mechanisms to move that gate, so a stiff or unresponsive valve does not always indicate a seal-lubrication problem
Why Is My RV Black Tank Valve Hard to Open?
Several problems can make a black tank valve difficult to operate. Understanding the likely cause helps you avoid spending money on a lubricant that cannot solve it.
Debris Around the Gate or Seals
Waste residue and toilet paper can collect near the gate or sealing surfaces. This buildup may interfere with movement or prevent the valve from closing completely.
I would start with proper emptying and rinsing before assuming the valve needs lubrication. Follow your RV’s flushing instructions, and never leave a tank-flush system running unattended.
Seal Friction or Deterioration
The gate moves against seals that help prevent wastewater from escaping. Friction at those surfaces can contribute to stiff operation.
However, lubrication cannot restore torn, displaced, hardened, or otherwise damaged seals. If the valve remains difficult to move or leaks after appropriate maintenance, inspect it further rather than repeatedly adding lubricant.
Handle, Shaft, or Cable Problems
A stiff handle can come from the operating mechanism instead of the internal seals.
Possible causes include:
- Corrosion or contamination on an exposed shaft
- A bent shaft or damaged handle
- A sharply bent or binding control cable
- Loose mounting hardware
- A damaged actuator on an electric valve
For cable-operated valves, I check whether the cable routing appears kinked, strained, or unsupported. I would not assume that lubricating the gate seals will solve resistance in the cable.
Misalignment or Physical Damage
A distorted housing or misaligned plumbing can affect gate movement. Incorrect installation or unevenly tightened hardware may also contribute to binding.
Do not loosen valve bolts to “free it up” while the tank contains wastewater. Opening a connection can release the tank’s contents.
What You Need Before Starting
Gather the supplies required by your valve’s approved maintenance procedure:
- Protective gloves suitable for wastewater work
- Eye protection
- Your valve’s model information and maintenance instructions
- A manufacturer-approved lubricant or valve-treatment product
- Cleaning supplies reserved for wastewater equipment
- Disposable towels or dedicated rags
- A containment tray if the procedure involves opening plumbing
- Basic hand tools, if specified by the manufacturer
- Replacement seals or a replacement valve, if inspection reveals damage
I keep wastewater-maintenance supplies separate from drinking-water hoses and equipment to reduce the risk of cross-contamination.
Safety reminder: Before opening any wastewater connection, empty and rinse the affected tank at an approved dump station. Residual wastewater may remain in the valve and plumbing even after draining.
How to Lubricate Your RV Black Tank Valve Safely
There is no single application method that works for every RV waste valve. Some products are applied to accessible moving components, while others are designed to be added to the holding tank.
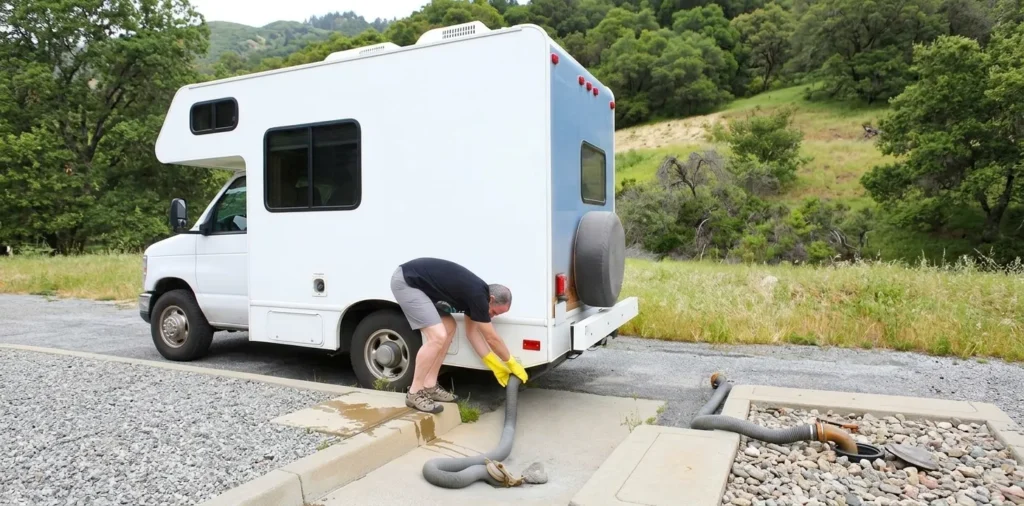
The following process helps you choose and carry out the appropriate method without guessing.
Step 1 — Identify Your Valve and Operating Mechanism
Look for the manufacturer’s name, model number, or markings on the valve housing. If the valve is enclosed beneath the RV, check the owner’s manual or component documentation.
Determine whether you have:
- A manual pull-handle gate valve
- A cable-operated gate valve
- An electrically operated waste valve
Then find the maintenance instructions for that specific assembly.
For an electric valve, follow the manufacturer’s power-isolation instructions before servicing it. Do not try to force the actuator or apply a manual-valve procedure to an electric system.
Step 2 — Empty and Rinse the Tank
Empty the black tank at an approved dump station with a properly connected sewer hose.
Rinse the tank according to the RV manufacturer’s instructions. If your RV has a built-in tank-flush system, follow its operating requirements, including the required valve position.
I avoid improvising with high-pressure flushing or leaving water running without supervision. Overfilling the tank can create a much larger problem than a stiff valve.
If the valve is stuck closed and the tank contains wastewater, do not disassemble the valve or disconnect downstream fittings as a troubleshooting shortcut. Arrange appropriate service or controlled wastewater removal.
Some holding-tank treatments require adding a specified amount of water after emptying. Follow the product directions rather than assuming the tank should remain completely dry.
Step 3 — Inspect for Leaks, Debris, and Damage
With the system safely emptied, inspect the accessible components.
Look for:
- Cracks in the valve housing
- Wastewater staining around joints
- A bent or corroded shaft
- Loose or broken handles
- Kinked control cables
- Signs that the gate does not travel fully
- Leakage after the valve is closed
Also check whether wastewater is accumulating behind the outlet cap. Liquid at the cap may indicate a valve that is not sealing, but it does not automatically identify which tank valve is responsible.
I treat a wet outlet cap cautiously. It can hold trapped wastewater, so stand clear of the opening and use appropriate containment when removing it.
Step 4 — Choose a Compatible Lubricant
Use a product approved for the valve’s materials and intended application point.
A product suitable for an exposed metal shaft may not be suitable for internal seals. Likewise, a holding-tank valve treatment is not necessarily intended for cables or electric actuators.
Before buying or applying a product, check:
- Whether the valve manufacturer permits it
- Whether it is compatible with the relevant seal and plastic materials
- Where it should be applied
- Whether it requires dilution or added water
- How long it should remain in contact with the valve
- Whether the valve should be operated during treatment
I do not assume that a lubricant is safe simply because it is labeled “silicone,” “multipurpose,” or “RV.” The formulation and the valve manufacturer’s guidance matter.
Step 5 — Follow the Approved Application Method
The application method generally falls into one of three categories.
| Application method | What it addresses | Main limitation |
|---|---|---|
| External lubrication | Accessible shafts, pivots, or other specified components | May not reach internal gate seals |
| Holding-tank valve treatment | Internal surfaces contacted by the treatment | Requires the correct dose, water level, and contact time |
| Disassembly and seal service | Direct inspection and servicing of internal parts | Requires safe draining, correct parts, and proper reassembly |
External Lubrication
If the manufacturer specifies lubrication of an accessible component, clean it as directed and apply the recommended product sparingly.
Keep lubricant away from areas where it is not intended, including electrical components. Wipe away excess if the instructions call for it.
External lubrication should not be presented as a guaranteed way to lubricate internal seals.
Holding-Tank Treatment
If you use a treatment designed for waste-valve lubrication, follow its directions for dosing, water quantity, dwell time, and valve operation.
Contact with the valve surfaces matters. Simply pouring a product into an empty tank does not guarantee that it will reach the parts causing resistance.
Dispose of the treated wastewater at an approved facility.
Disassembly and Seal Service
If inspection or lubrication requires removing the valve, use the manufacturer’s service procedure. Residual wastewater may still be present even after draining.
Inspect the gate and seals, replace damaged components, and follow the specified reassembly and tightening instructions. If you cannot safely access or service the assembly, use an RV technician.
Avoid improvised drilling or lubricant injection through unapproved openings. These shortcuts can damage the housing, create leaks, or expose you to wastewater.
Step 6 — Operate Gently and Check for Leaks
After the approved treatment, operate the valve as directed.
The handle should move without excessive force. If resistance remains, stop rather than repeatedly pulling harder.
Once the valve is closed, perform the leak check recommended by the manufacturer. This may involve adding a controlled amount of clean water to the tank and checking the outlet and surrounding connections.
I keep the sewer connection or suitable containment in place during testing. Easier movement is encouraging, but it does not prove that the valve seals properly.
Mistakes I Recommend Avoiding
Forcing a Resistant Handle
A hard pull can damage the handle, shaft, cable, or gate mechanism. Persistent resistance deserves diagnosis, not more force.
Using a Lubricant Without Checking Compatibility
An unsuitable product can affect seals or plastics. Check the valve instructions and lubricant documentation before applying it.
Assuming Lubrication Will Stop Every Leak
Lubrication may help friction-related problems, but damaged seals, cracked housings, and loose connections require appropriate repair.
Loosening Hardware With Wastewater in the Tank
Do not loosen valve bolts, clamps, or fittings until the affected system has been safely drained.
Applying the Wrong Procedure to an Electric Valve
Electric waste valves have additional electrical and actuator considerations. Follow the instructions for the complete assembly.
Mixing Cleaning Chemicals
Do not combine tank cleaners, disinfectants, lubricants, or household chemicals unless the manufacturers explicitly permit it. Mixing products can create hazardous reactions or damage components.
How Often Should You Lubricate the Valve?
I would follow the valve manufacturer’s maintenance schedule rather than recommend one interval for every RV.
Maintenance needs can vary with:
- Valve design
- Frequency of use
- Storage conditions
- Exposure to dirt or road spray
- Operating symptoms
- The lubricant or treatment being used
Check valve operation during routine wastewater-system inspections and before an extended trip. If the handle becomes stiff soon after approved maintenance, investigate the cause rather than shortening the lubrication interval indefinitely.
Cleaning, inspection, and correct operation are just as important as lubrication.
When Lubrication Is Not Enough
Further repair or replacement may be necessary when you find:
- Persistent leakage past the closed gate
- A cracked housing
- Torn or displaced seals
- A bent shaft
- A damaged handle
- A binding or failing control cable
- An electric actuator fault
- Resistance that continues after approved maintenance
Sometimes replacing the seals is sufficient. In other cases, replacing the valve assembly is more practical.
I would consider professional service when the tank cannot be emptied safely, the valve is difficult to access, the surrounding plumbing is damaged, or the diagnosis is uncertain.
The goal is reliable movement and dependable sealing—not merely a handle that feels easier to pull.
Frequently Asked Questions
Can I Use WD-40 on My RV Black Tank Valve?
I would not use an unspecified WD-40 product as a default black tank valve lubricant. WD-40 is a brand with multiple formulations, and suitability depends on the exact product, valve materials, and application location.
Check the valve manufacturer’s guidance and the product’s compatibility information before use.
Will a Tank Lubricant Fix a Leaking Valve?
Not necessarily. A valve-treatment product may help with friction-related operation, but it cannot reliably repair torn seals, a cracked housing, or damaged mechanical parts.
A persistent leak needs inspection.
Do I Need to Empty the Tank Before Lubricating the Valve?
Before opening wastewater connections or removing the valve, yes—the affected tank must be safely emptied and rinsed.
For a treatment added through the tank, follow the product directions. It may require a specific amount of water after emptying.
Why Is the Valve Still Stiff After Lubrication?
The lubricant may not have reached the affected surfaces, or the resistance may come from debris, damaged seals, misalignment, a bent shaft, or a binding cable.
I would stop forcing the handle and inspect the operating mechanism.
Can I Lubricate a Cable-Operated Waste Valve?
Possibly, but follow the instructions for both the valve and cable assembly. Some cables have liners or designs that require a particular maintenance approach.
Treating the gate seals will not necessarily resolve a cable problem.
Should I Lubricate a New Replacement Valve?
Follow the replacement valve’s installation instructions. Do not assume that a new valve needs additional lubricant, and do not substitute an unapproved product for a specified assembly lubricant.
Final Maintenance Checklist
Before putting the system back into regular use, confirm that:
- You identified the valve and operating mechanism.
- You followed the manufacturer’s maintenance procedure.
- You used a compatible product at the correct application point.
- The valve moves without excessive force.
- The handle, shaft, cable, or actuator appears undamaged.
- The valve closes fully.
- The assembly passed the recommended leak check.
- Wastewater and cleaning materials were handled appropriately.
My priority is to identify the cause before adding lubricant. A compatible product can help an otherwise serviceable valve operate smoothly, but persistent leakage or resistance calls for further inspection. Keeping that distinction in mind helps you maintain the system without turning a small maintenance task into a messy repair.
Manufacturer Guidance to Consult
For model-specific instructions, refer to:
- Your RV owner’s manual and wastewater-system documentation
- The valve manufacturer’s installation and service instructions
- The lubricant manufacturer’s application and compatibility information
Examples of RV sanitation component manufacturers include Valterra and Thetford. Use documentation for your actual valve model rather than assuming instructions apply across brands.
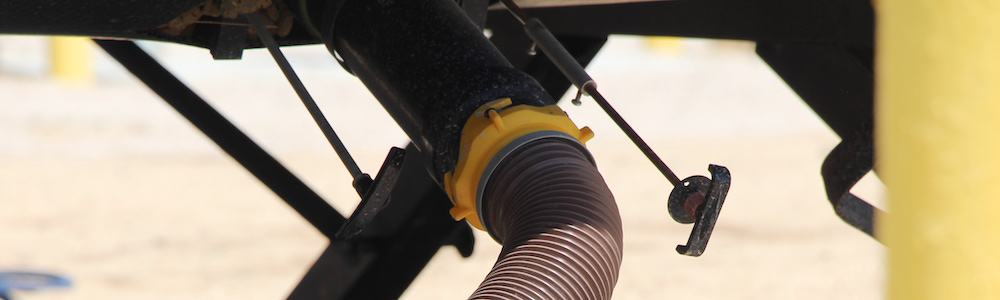
Conclusion: How To Lubricate RV Black Tank Valve
Learning how to lubricate RV black tank valve components starts with identifying your valve and following its manufacturer’s instructions. I recommend emptying and rinsing the tank before any work that opens the plumbing, inspecting for damage, and using only a compatible lubricant at the approved application point.
Never force a stiff handle or assume lubrication will fix a leak. If the valve still binds or fails to seal, investigate the seals, shaft, cable, or housing. My priority is smooth operation and a dependable seal—both are essential for cleaner, safer dump-station stops.