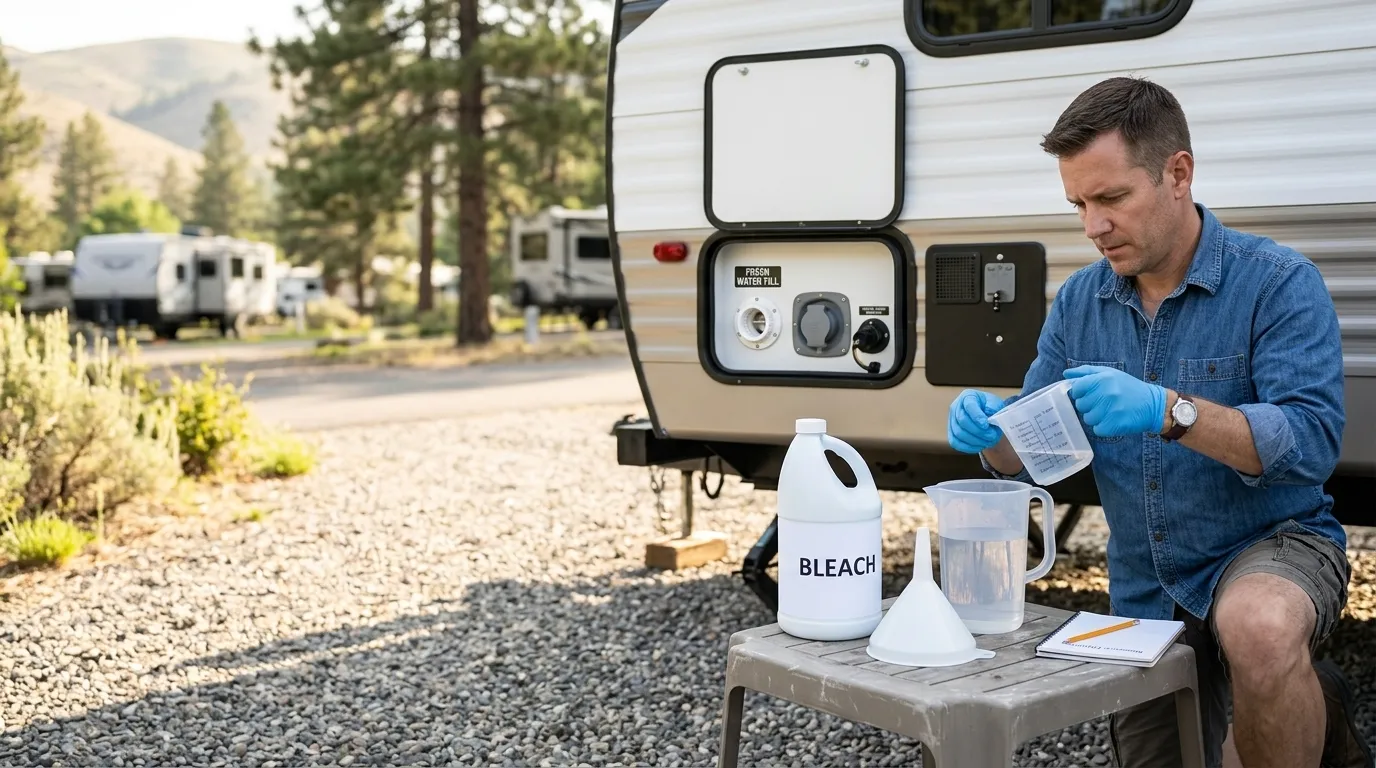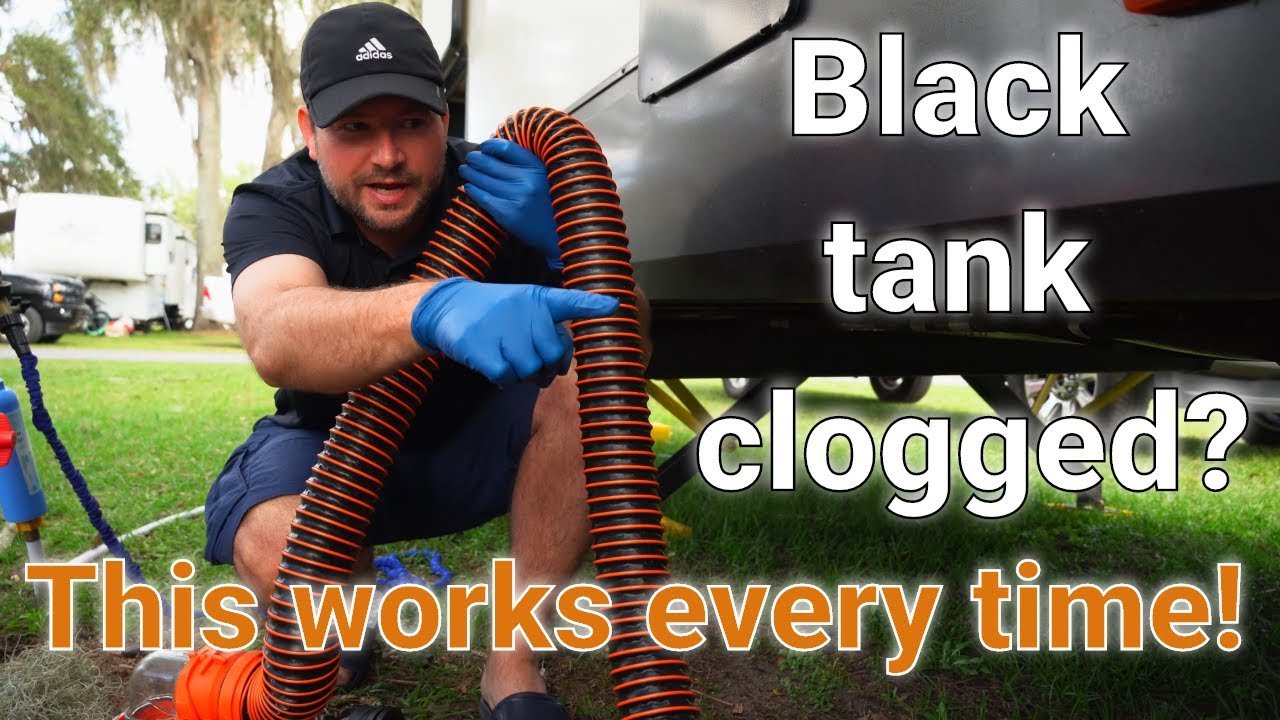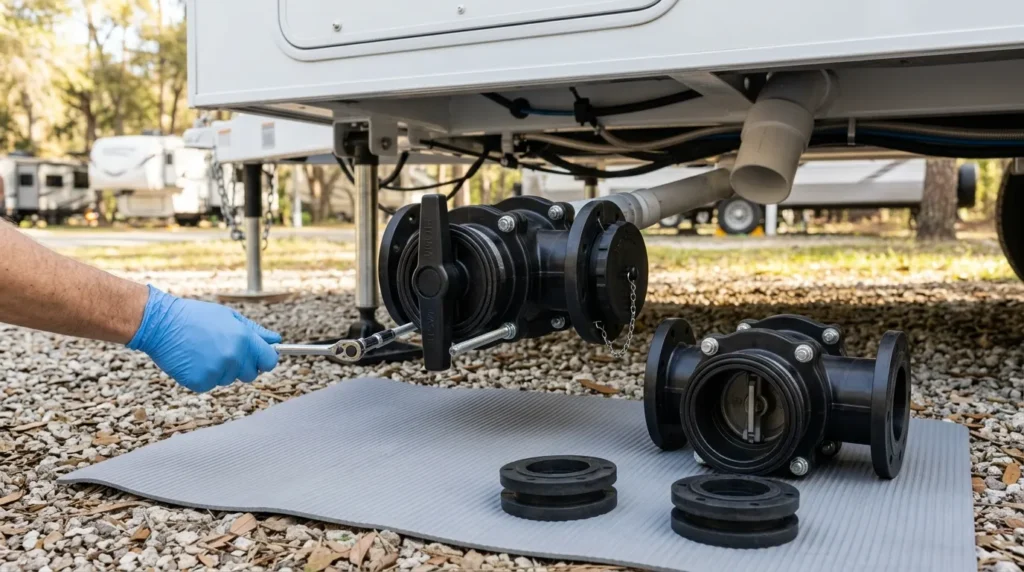
A leaking RV black tank valve can often be fixed by replacing worn seals or tightening connections.
When I notice moisture around my RV’s waste outlet, I don’t assume the valve needs replacing—I first check where the leak is coming from. An RV Black Tank Valve Leak can involve worn seals, trapped debris, or damaged fittings, and identifying the source helps avoid unnecessary repairs. In this guide, I’ll explain how to inspect the valve safely, choose the right fix, and check for leaks before heading back on the road. Before opening any waste-system connection, empty the tank at an approved dump station and wear protective gloves.
Understanding RV Black Tank Valve Leaks
When I troubleshoot an RV Black Tank Valve Leak, I start by identifying exactly where the moisture or wastewater is escaping. A leak around the valve body is different from a valve that allows waste to seep into the outlet pipe while the handle is closed. That distinction helps me decide whether to inspect the seals, check for trapped debris, or look for a damaged fitting.
The black tank holds wastewater from the RV’s toilet. Its dump valve—typically a sliding gate valve—controls discharge into an approved sewer connection or dump station. When the valve closes properly, the gate and seals prevent wastewater from passing into the downstream outlet.
Two Types of Leaks to Understand
- Internal seepage: Wastewater passes through the closed valve into the outlet pipe. There may be no visible leak underneath the RV, but liquid can collect behind the termination cap and spill when it is removed.
- External leakage: Wastewater escapes around the valve seals, mounting flanges, cracked housing, or nearby plumbing connections. I look for dampness, drips, or residue around these areas, without touching suspected wastewater with bare hands.
An outlet cap can temporarily contain internal seepage, but it does not repair the faulty valve. I treat unexpected liquid behind the cap as a warning to investigate before the next dumping session.
What Can Cause the Valve to Leak?
Common causes include debris lodged against the gate, worn or displaced rubber seals, incomplete valve closure, and damage to the valve body or adjoining plumbing. On RVs with cable-operated valves, a binding or misadjusted cable can also prevent the gate from closing completely.
I don’t force a resistant handle. Extra pressure can damage the operating mechanism without fixing the underlying obstruction. Instead, I check the manufacturer’s instructions for the valve and its actuator before attempting an adjustment or repair.
Why Prompt Inspection Matters
A leaking valve can create contaminated spills, unpleasant odors around the waste outlet, and unsafe handling conditions. However, odors inside the RV do not automatically mean the dump valve is leaking. Toilet seals, tank venting problems, or other plumbing issues may also be responsible.
Before loosening valve bolts or separating any waste-system connection, I empty the tank at an approved dump station, rinse it according to the RV manufacturer’s guidance, and prepare for residual wastewater. I wear protective gloves and eye protection and keep a suitable collection container ready. If the tank cannot be emptied safely or the plumbing is difficult to access, I leave the repair to a qualified RV technician.
Identifying the Leak Source
Before I attempt to repair an RV Black Tank Valve Leak, I check where the liquid is actually escaping. Moisture around the dump assembly can come from the valve, an adjoining pipe connection, or a sewer hose fitting. Finding the source first helps me avoid replacing a working valve while leaving the real problem unresolved.
Start With a Safe Visual Inspection
I park on level ground, secure the RV against movement, and put on protective gloves and eye protection. Without loosening any fittings, I use a flashlight to inspect the valve body, handle shaft, flange connections, and nearby plumbing.
If accessible surfaces are wet, I carefully wipe them with disposable towels and watch for fresh moisture. This can help distinguish the source from wastewater that has run along a pipe or dripped from another connection. I never crawl beneath an RV supported only by a jack.
Check These Common Leak Locations
| Leak location | Possible cause | What I check |
|---|---|---|
| Around the handle shaft | A damaged shaft seal or valve housing | Whether fresh moisture appears where the shaft enters the valve |
| Between the valve and pipe flanges | Worn, displaced, or damaged seals; misaligned connections | Damp seams, uneven alignment, or visible flange damage |
| On the valve body or adjoining pipe | Cracks, impact damage, or freeze damage | Visible splits, staining, or drips from the housing or pipe |
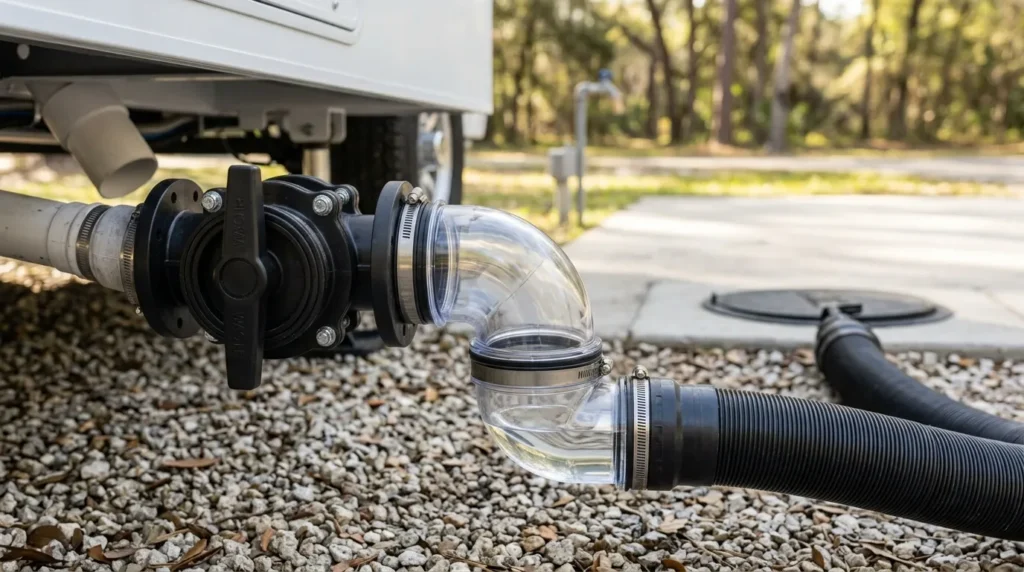
| At the sewer hose connection | A worn gasket, loose connection, or damaged fitting | Whether moisture originates at the hose coupling rather than the valve |
| Behind the outlet cap | Internal seepage past a closed valve or residual liquid from dumping | Whether liquid returns after the outlet has been safely drained |
These observations narrow down the problem, but they do not always confirm the cause. On a shared outlet, liquid behind the cap may come from either the black tank valve or the gray tank valve.
Distinguish Residual Liquid From Ongoing Seepage
A small amount of liquid behind the cap after dumping does not, by itself, prove that a valve has failed. Wastewater can remain in the downstream pipe. Liquid that repeatedly collects after that section has been drained is more concerning.
I do not remove the termination cap casually when I suspect leakage. A closed valve can still allow wastewater to collect behind it. I handle that check at an approved dump station, with appropriate protective equipment and a suitable means of containing any discharge.
Let the Leak Location Guide the Repair
Once I have identified the likely source, I check the valve manufacturer’s instructions before choosing parts or taking anything apart. A leaking hose gasket calls for a different repair than a cracked valve body or a gate that will not seal.
I also avoid tightening flange bolts indiscriminately: overtightening can distort seals or damage plastic components. Before loosening bolts or separating plumbing, I empty and rinse the tank at an approved facility and prepare for residual wastewater. If I cannot safely contain the waste or confirm the leak source, I contact a qualified RV technician.
Step-by-Step Guide to Fixing a Leaking Black Tank Valve
My approach to an RV Black Tank Valve Leak is to confirm the source, empty the system safely, and repair only the components responsible. A worn flange seal, damaged valve body, and leaking sewer hose gasket require different fixes, so I avoid ordering parts until I know what has failed.
Step 1: Confirm Where the Leak Starts
Before taking anything apart, I inspect the valve housing, handle shaft, flange seams, and nearby hose connections. I also distinguish an external drip from internal seepage past a closed gate.
If liquid collects behind a shared outlet cap, I do not automatically blame the black tank valve—the gray tank valve or residual wastewater could be responsible. I investigate at an approved dump station where any discharge can be safely contained.
Step 2: Gather Compatible Parts and Supplies
I check the existing valve’s size, model, mounting arrangement, and operating mechanism before buying replacements. Many black tank systems use a 3-inch gate valve, but I verify the actual installation rather than assuming.
Depending on the repair, I gather:
- A compatible replacement valve or manufacturer-approved seal kit
- Correct mounting hardware, if replacement is required
- Suitable wrenches or sockets
- Protective gloves and eye protection
- Disposable towels and a collection container for residual wastewater
- Manufacturer-approved cleaning supplies and seal-compatible lubricant, if specified
I use the manufacturer’s instructions to determine whether the valve is serviceable and which replacement parts fit.
Step 3: Empty and Rinse the Tank Safely
I empty the tank through a securely connected sewer hose at an approved dump station, then rinse it according to the RV manufacturer’s instructions. Even after draining, wastewater can remain in the valve and adjoining pipes.
I never loosen valve bolts or separate waste-system plumbing while the tank still contains wastewater. If the valve is stuck closed and prevents safe emptying, I stop and arrange professional service rather than removing a loaded valve.
Step 4: Prepare the Work Area
I park on firm, level ground, secure the RV against movement, and keep other people and pets away from the work area. I position a suitable container beneath the connection to catch residual liquid.
Before disassembly, I photograph the valve orientation and hardware arrangement. If access requires lifting the RV, I follow its approved lifting and support procedures; I never work beneath a vehicle supported only by a jack.
Step 5: Remove the Faulty Valve or Seals
For a typical bolt-on gate valve, I follow the manufacturer’s procedure to remove the mounting hardware and carefully separate the valve from the adjoining flanges.
I avoid prying aggressively or forcing rigid plumbing apart. Excessive movement can crack fittings or damage nearby connections. Cable-operated valves may require additional actuator-disconnection steps, so I consult the model-specific instructions.
Step 6: Inspect and Clean the Mating Surfaces
With the valve removed, I check for:
- Debris preventing the gate from seating
- Hardened, torn, or displaced rubber seals
- Cracks in the valve housing or flanges
- Damage to the gate or operating mechanism
- Misaligned or unsupported plumbing
I clean accessible mating surfaces using a method approved for the components, avoiding sharp tools that could gouge plastic or sealing surfaces.
If the housing or mechanism is damaged, replacing seals alone may not solve the problem. Conversely, a serviceable valve with damaged flange seals may only need the correct seal kit.
Step 7: Install the Replacement Components
I position the new seals exactly as the manufacturer specifies and carefully align the valve between the flanges. Seals must remain seated—not folded, pinched, or displaced—as the assembly comes together.
I reinstall the hardware and tighten it evenly to the specified torque or procedure. Tighter is not necessarily better: overtightening can distort seals or crack plastic parts.
I apply lubricant only where instructed and use a product confirmed compatible with the seals and valve materials. I do not add household caulk, pipe sealant, or petroleum-based grease unless the manufacturer specifically calls for it.
Step 8: Check Operation and Test for Leaks
Before adding water, I operate the handle to confirm that the gate moves smoothly and closes fully. I do not force it if it binds.
Following the manufacturer’s testing guidance, I add a controlled amount of clean water through the toilet and inspect the valve body and flange seams for external drips. To check for internal seepage, I use a securely connected sewer hose at an approved disposal point and look for continued discharge past the closed valve after downstream residual water has drained.
I do not rely solely on a dry exterior: a valve can leak internally without dripping underneath the RV.
Step 9: Clean Up and Recheck
Once the repair passes testing, I dispose of collected wastewater at an approved facility, clean contaminated tools and surfaces appropriately, and wash my hands thoroughly.
I inspect the assembly again after the next dumping cycle. If seepage returns, the handle still binds, or the plumbing remains misaligned, I stop troubleshooting by trial and error and seek help from a qualified RV technician.
Preventing Future Leaks
- Regular Maintenance: Inspect seals regularly and replace them as needed.
- Proper Use: Avoid excessive force when using the valve handle.
- Regular Cleaning: Ensure the tank and valves are cleaned regularly to prevent residue buildup.
Frequently Asked Questions About RV Black Tank Valve Leaking
What causes my RV black tank valve to leak?
Worn seals, loose connections, clogged valves, or cracked components commonly cause leaks.
How often should I check my RV black tank valve?
Check your valve monthly or before long trips to ensure everything is in working order.
Can I temporarily stop a leak without replacing seals?
Tightening connections may stop a leak temporarily, but replacing the seals is often necessary for a permanent fix.
What lubricant should I use for my RV black tank valve?
Use a silicon-based lubricant safe for rubber to keep your valve functioning smoothly.
Is replacing an RV black tank valve difficult?
With proper tools and patience, replacing a valve is manageable for most RV owners, though seeking professional help is advisable if unsure.
Conclusion
Fixing a leaking RV black tank valve isn’t just about stopping a mess; it’s about ensuring your travels remain comfortable and sanitary. By following these steps, you can confidently tackle valve leaks and enjoy your RV adventures worry-free. Ready to hit the road again? Implement these tips and ensure your RV is in prime condition before your next trip. Feel free to explore more resources or leave a comment to share your experiences!